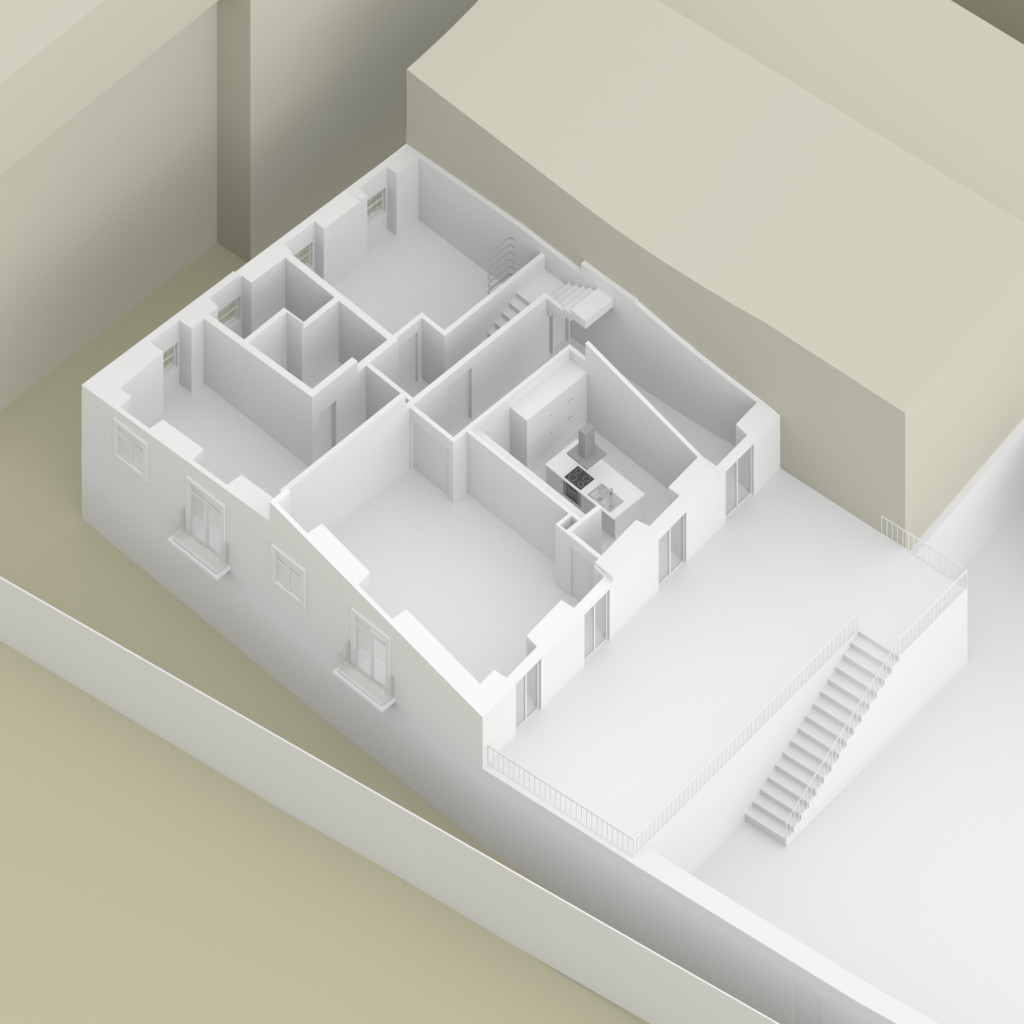
Schwindstrasse
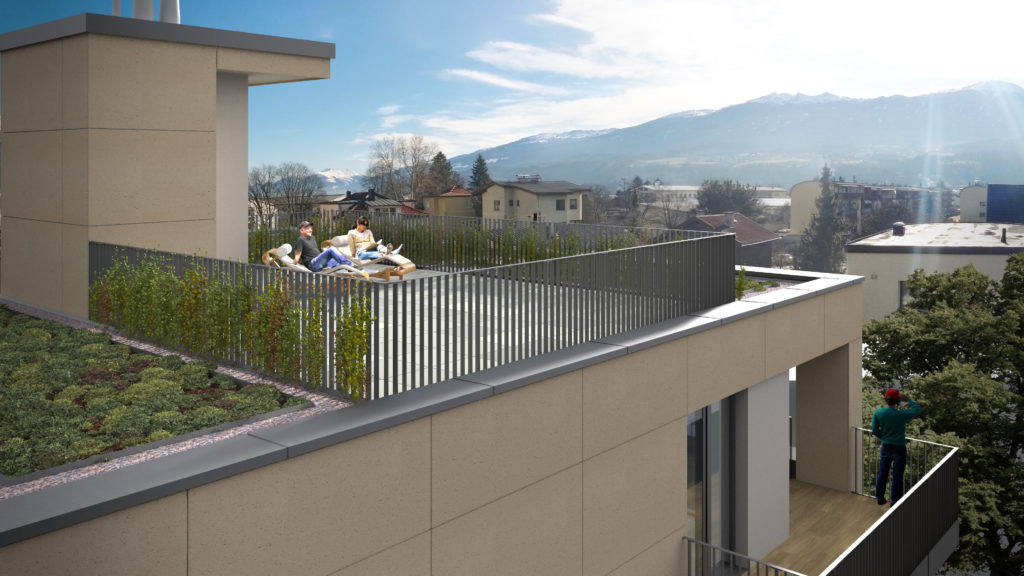
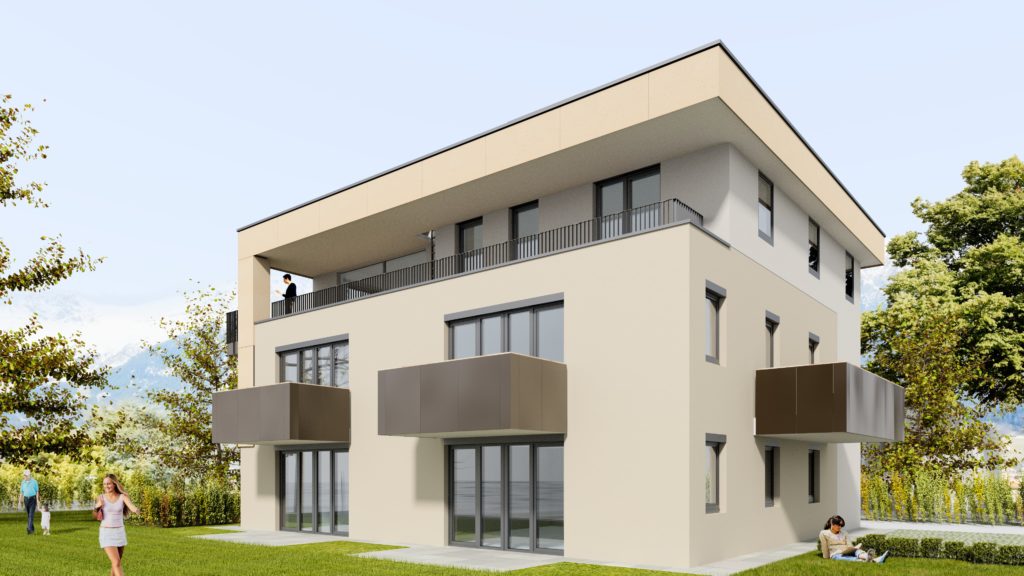
Random mapping in Cycles materials
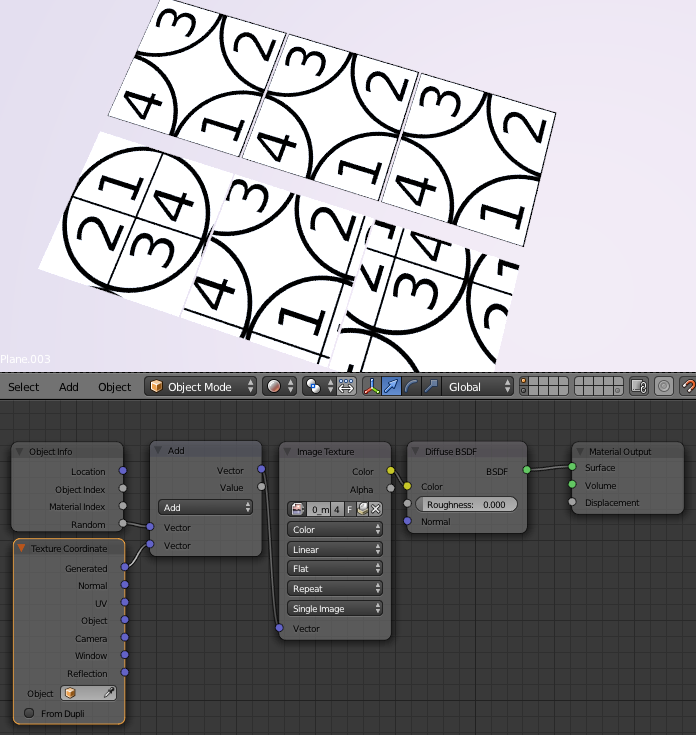
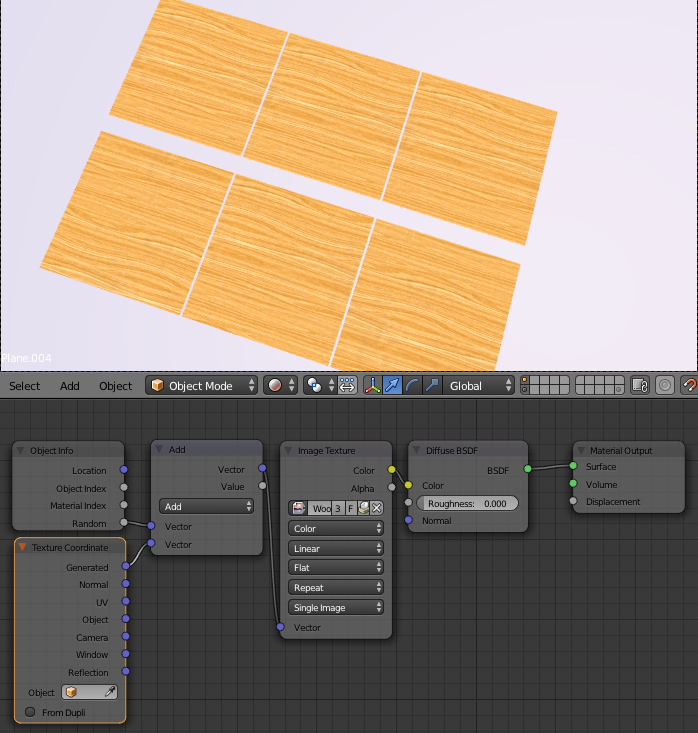
Computer graphics are commonly recognised over realistic images because of repeating elements. In this sense, randomness usually adds an added level of realism to images. This is a method to randomly apply mapping of textures in objects. Beware that this only works with individual objects. This means you are left with a floor made of 1000 stone blocks, in which each stone is a separate object.
The trick here is to modify the vetor mapping with a Random number issued by each object. Of course this method is only good if no particular location for the texture is needed.
Following, 3 images. In each of them, you can see a rendering in which a top row with three objects use the same mapping, and the bottom row uses the tweaked mapping to achieve randomness.
- Example with Blender’s default testing image.
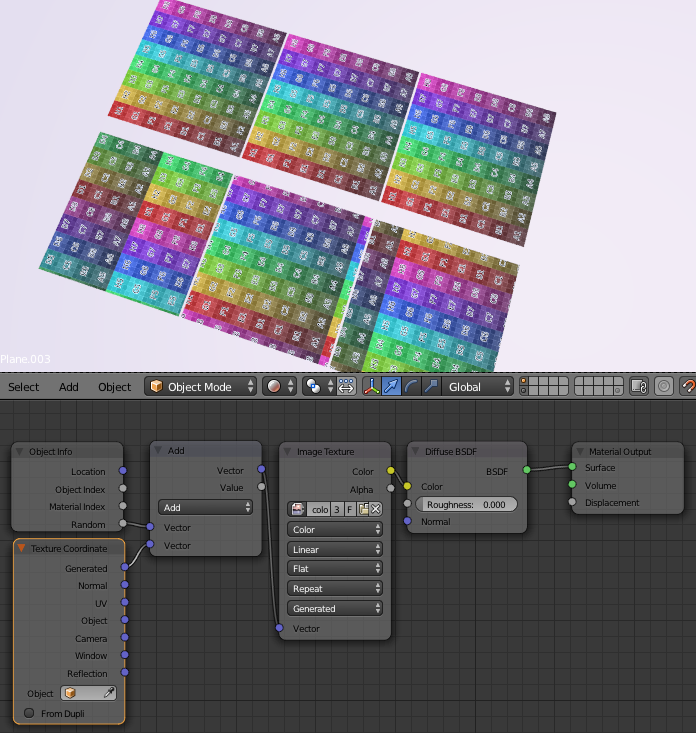
2. Example with our test texture
3. Example with a common wood texture.
Random colouring in Cycles material
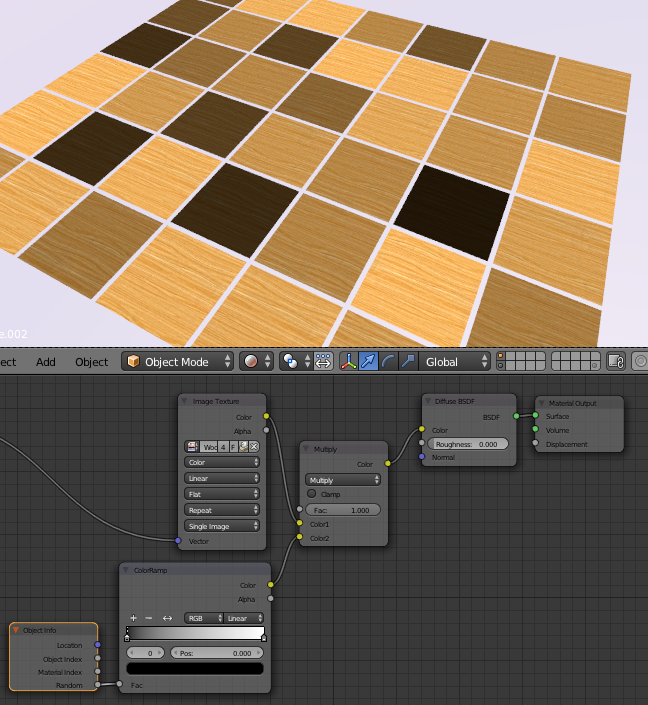
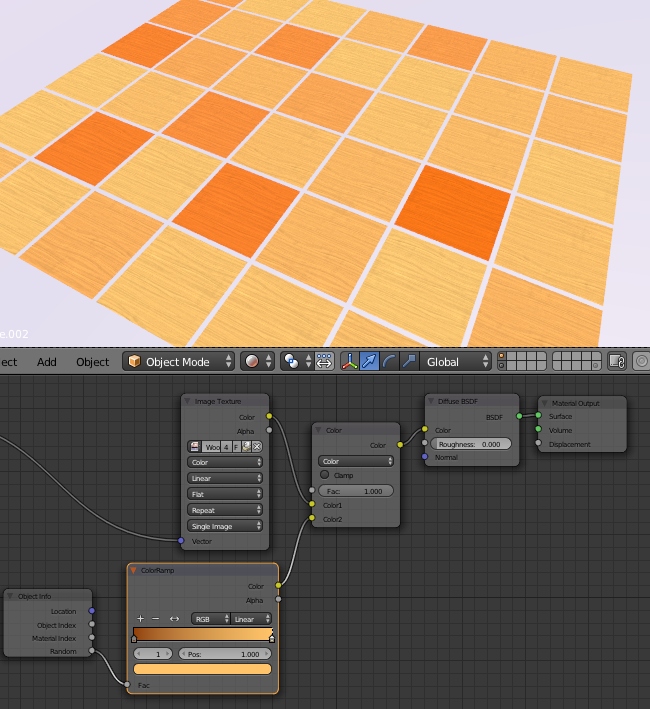
We can use the Objecto Info node to apply randomness to materials. The key here is to use a ColorRamp node to translate the range of random values into actual color values. These color values will then be applied to other nodes, usually affecting textures with a MixRGB node in which you can easily modify lightness (Screen), darkness (Multiply), Hue (Color), etc. Of course you can change color and lightness by using cascading MixRGB components.
Particle instancing to save Cycles memory
When rendering a scene to Blender Cycles with lots of vegetation, we noticed how it took so long to load the geometry into the BVH. We also noticed a string of text saying “0 duplicates”. After googling a bit, we found this post in BlenderArtists, advising strongly to use particles instead of linked copies.
After tinkering a lot with the settings, here is how to get lots of objects aligned with a master axis (in the case of the images, Z).
The idea is to have an object you want to repeat over another mesh. This object should be rotated so that its +Z tip is actually pointing +X. Then you should use it as a Render Object in a Hair Particle System and copy the settings in the screen shots below.
- Example with objects distributed with same rotation and scale.
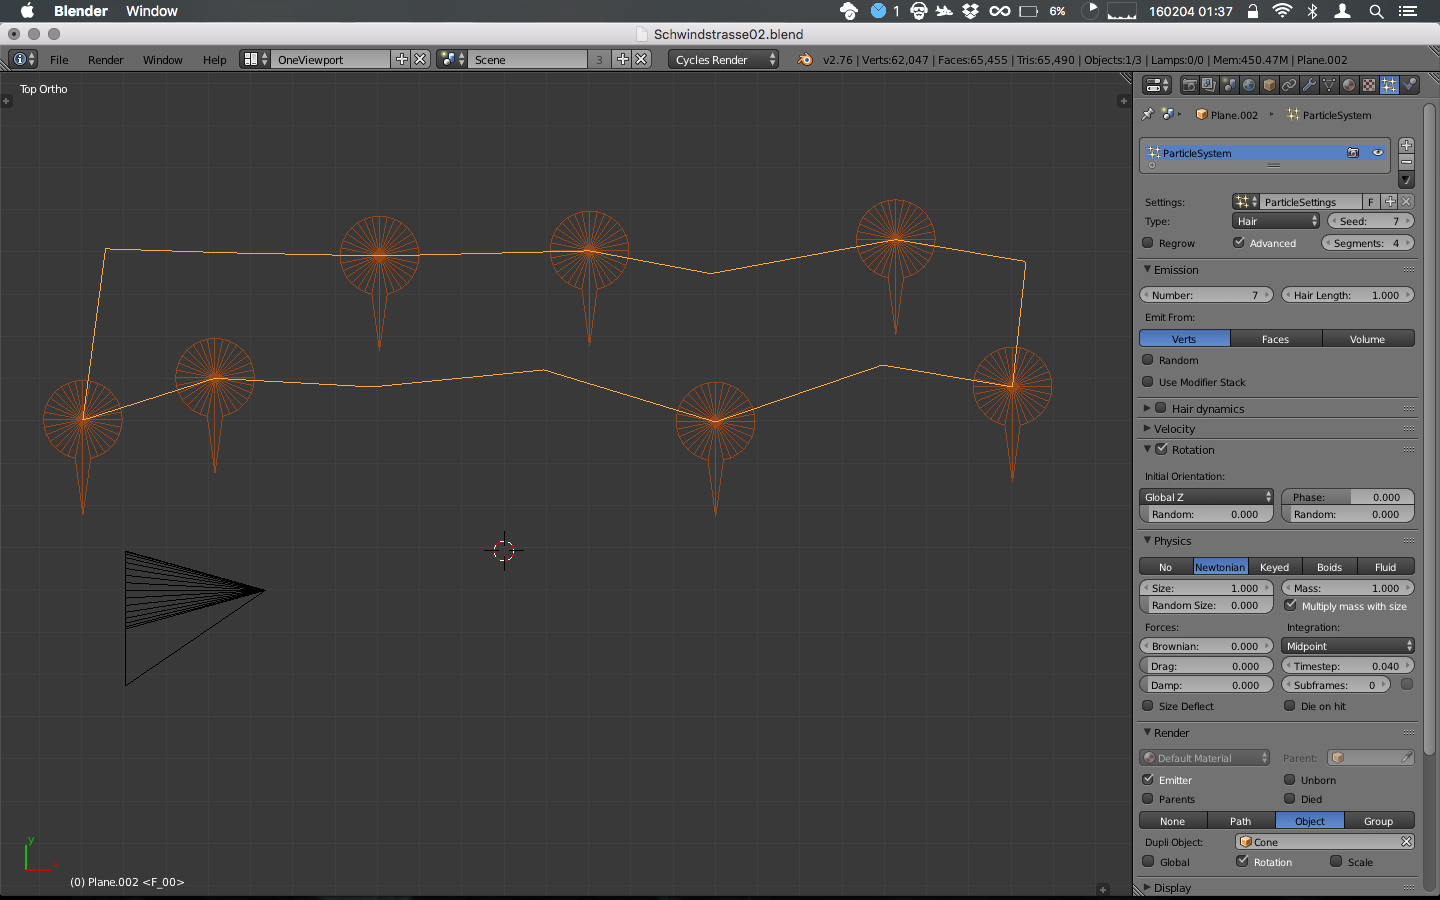
2. Example with objects with random Scale.
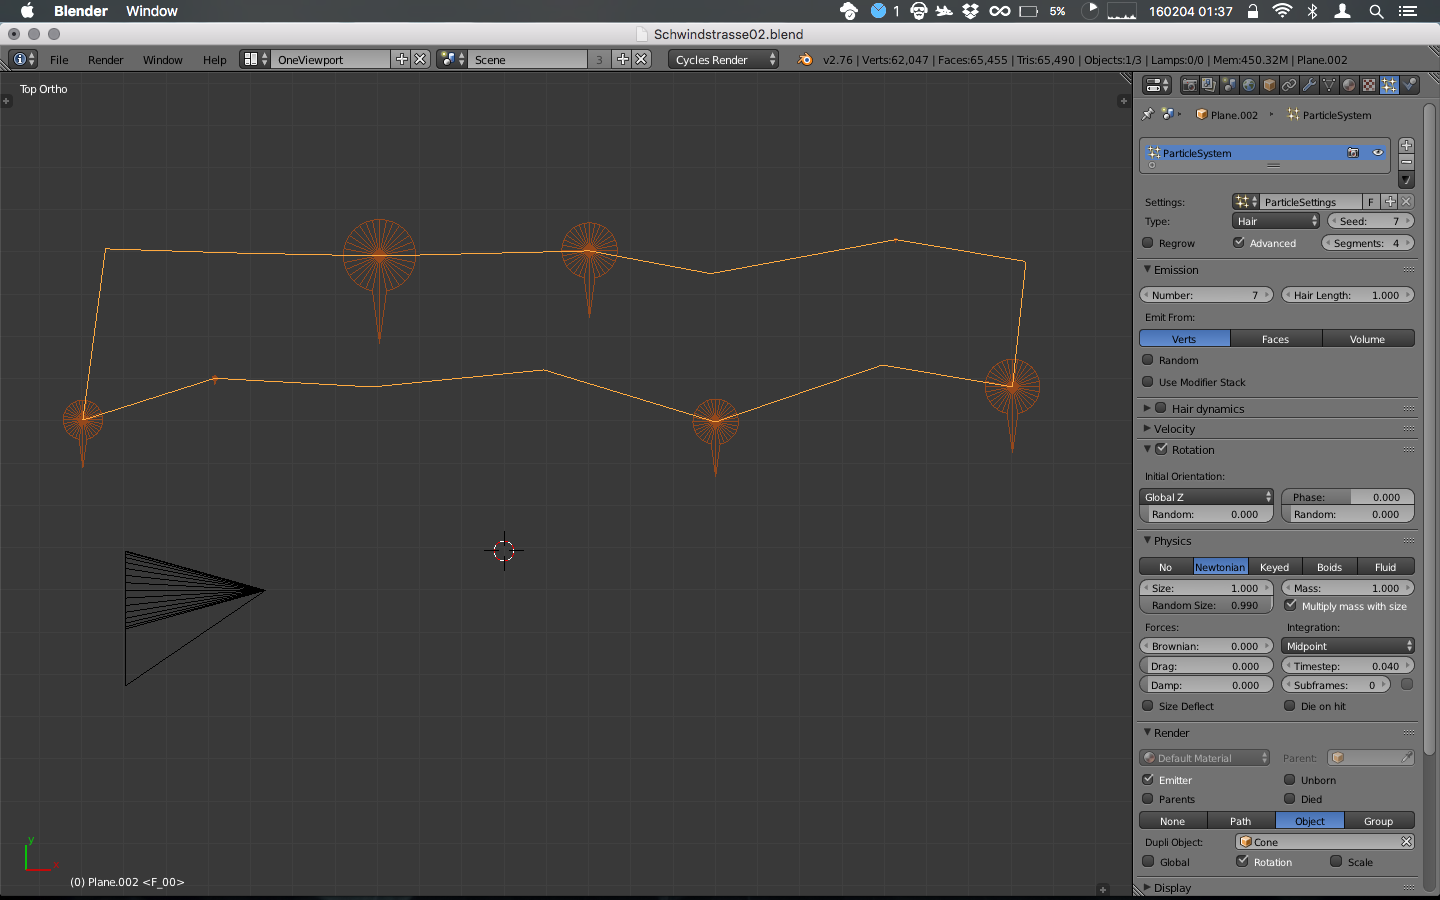
3. Example with objects with random Rotation.
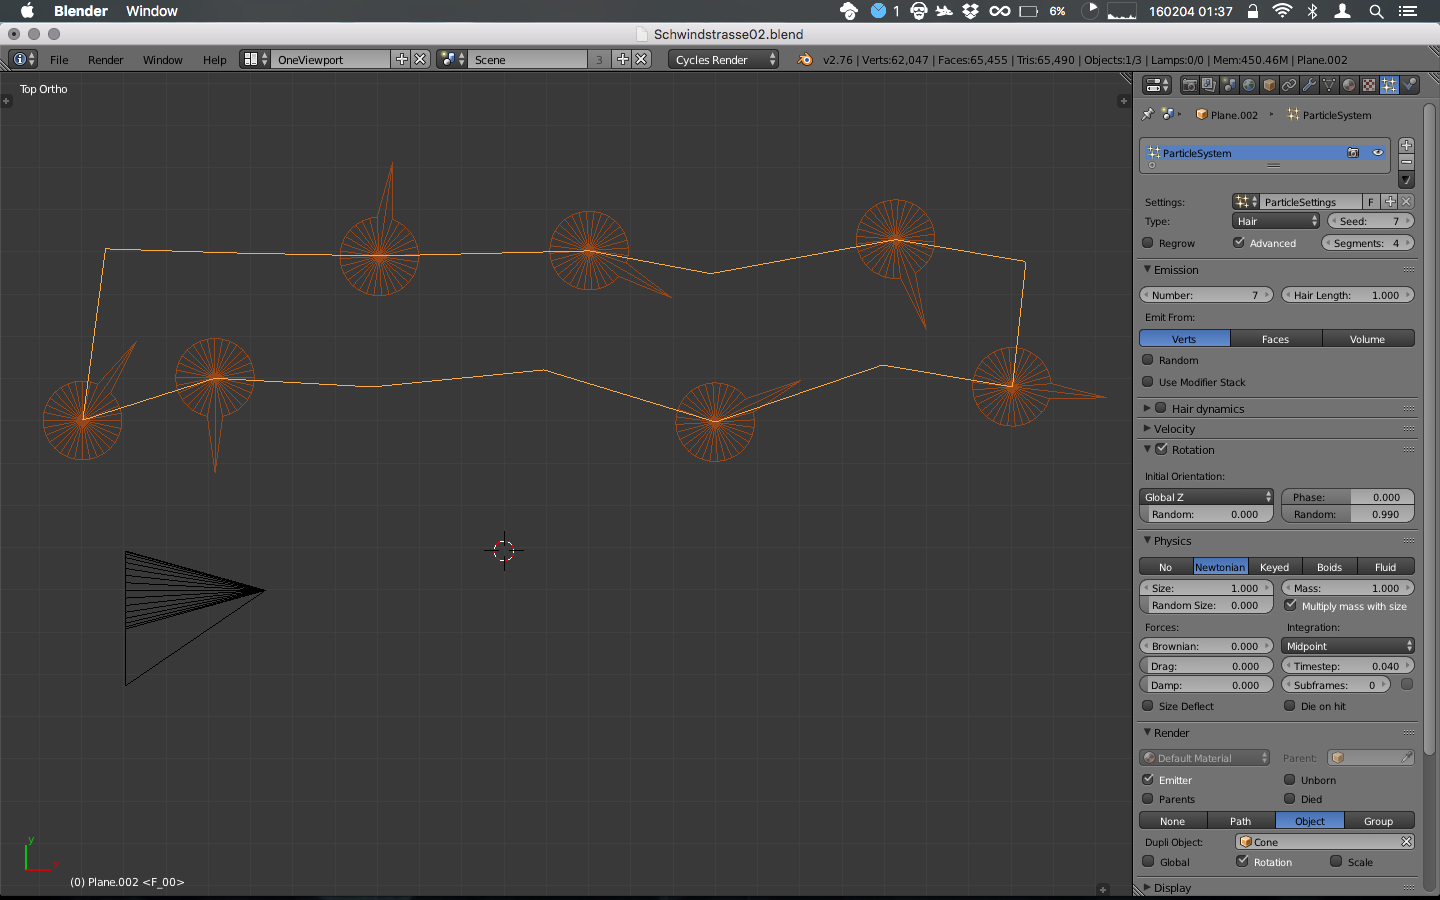
4. Example with objects with random Rotation and Scale.
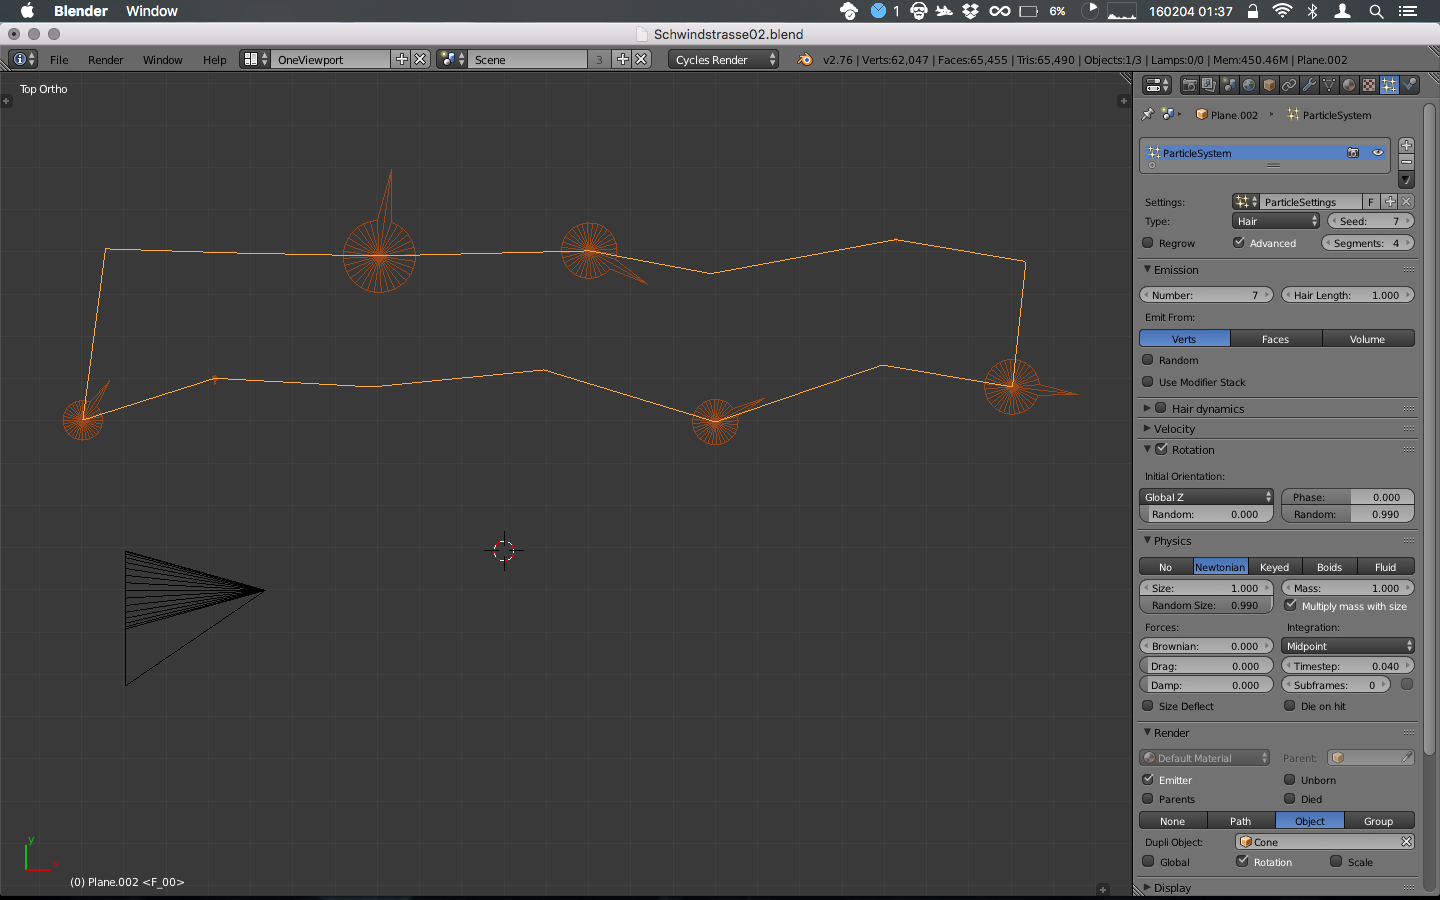
With their method, we were effectively using memory optimisation, and complex scene with thousands of objects loaded almost instantly.
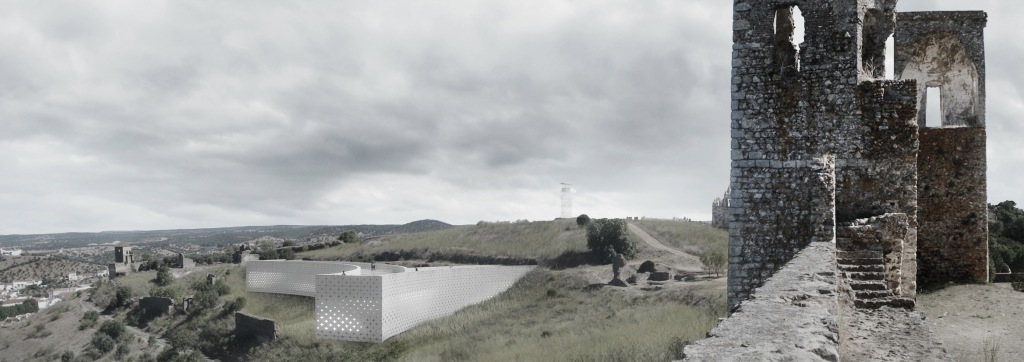
Montemor-o-Novo Site Museum
Clamp with care
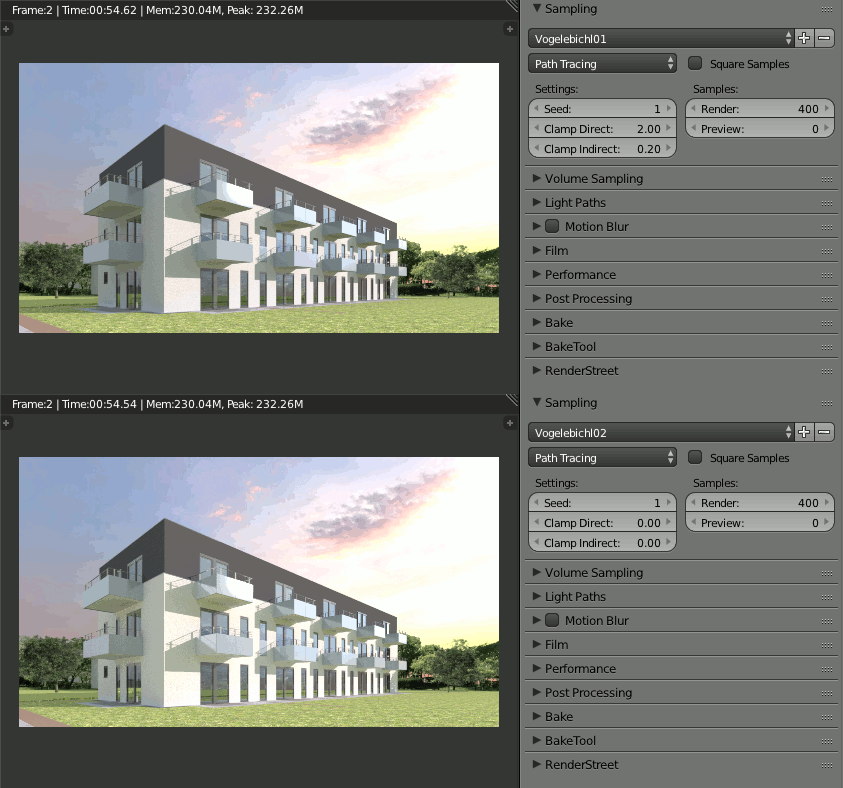
Blender Cycles clamp setting is a saviour in hard to resolve fireflies, besides a myriad of other methods. Usage of clamp should be taken with care though, as clamping does not only clamp the high values of the mischiveous fireflies, as it also clamps the good brightness of the scene. Below, you can find a comparison between two renders with different clamp settings, with noticeably duller looks on the clamped one.
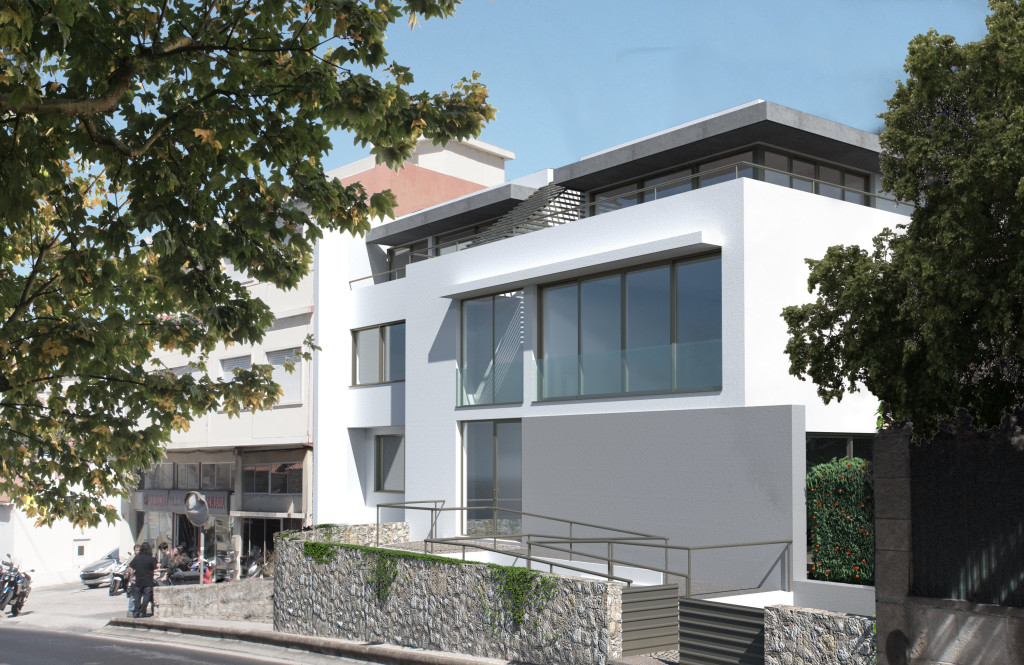
Condomínio do Mar
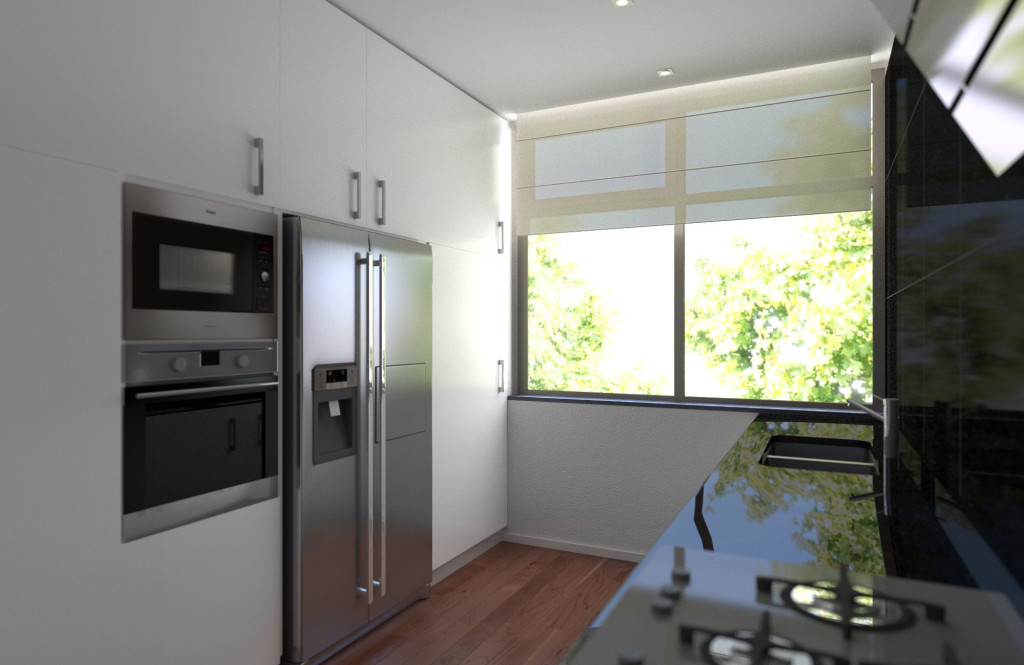
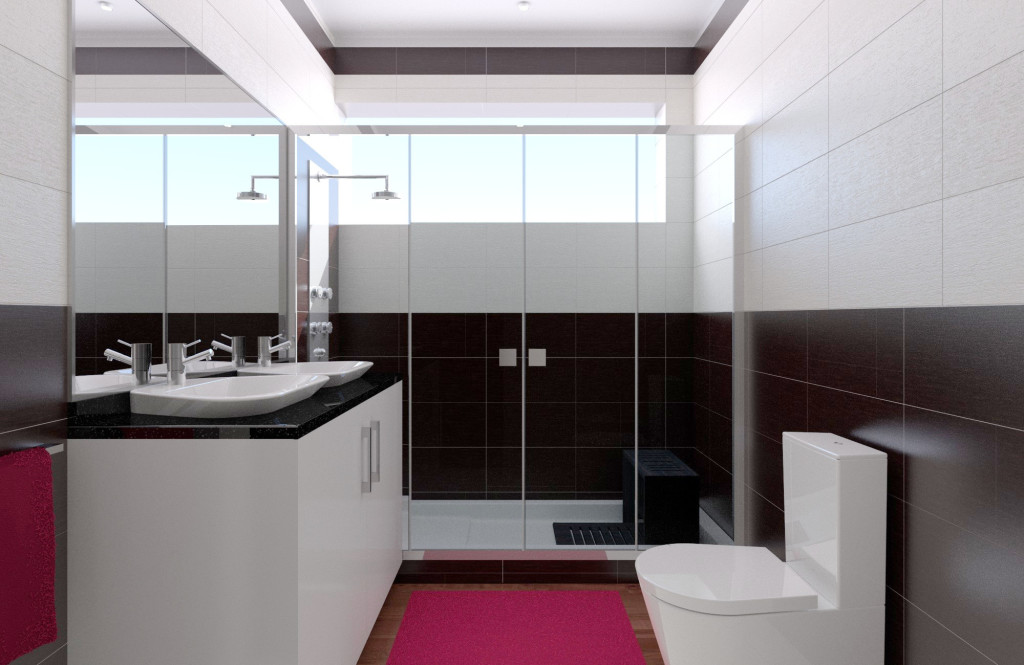
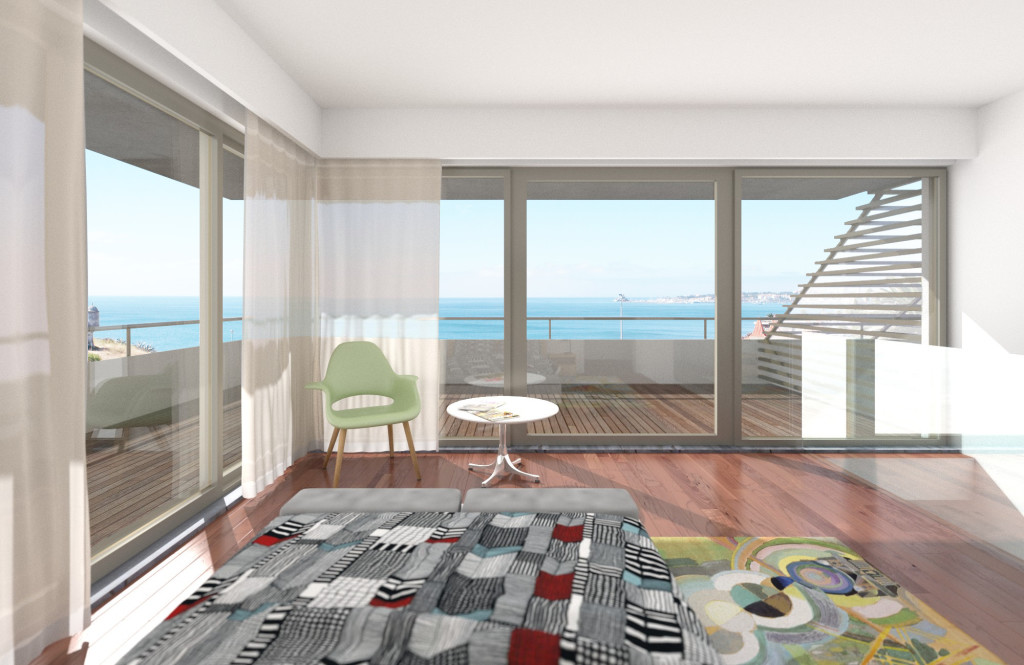
WordPress gallery images get evertyhing
While theming wordpress, the use of native gallery is very handy, but sometimes the Codex does not solve every need. Some of these needs are the attachment ID, href source or image dimensions. That is why we created this piece of code which comes in handy. Down below, an “echo” shows the variables in action.
If you need more data like attachments URL, caption, title, alt or description, you can use this one:
$galleryData = get_post_gallery( get_the_ID(), false );
$arrayGalleryIDs = explode("," , $galleryData["ids"]); //Convert a string of ID's to an array

for ($i=0; $i < count($galleryData["src"]); $i++) {
     $attachmentID = $arrayGalleryIDs[$i];
     $attachment = get_post( $attachmentID );
     $attachmentSrc = $attachment->guid;
     $attachmentTitle = $attachment->post_title;
     $attachmentCaption = $attachment->post_excerpt;
     $attachmentAlt = get_post_meta( $attachment->ID, '_wp_attachment_image_alt', true );
     $attachmentDescription = $attachment->post_content;
     $attachmentPermalink = get_permalink( $attachment->ID );

     $attachmentAttributes = wp_get_attachment_image_src( $attachmentID, 'large'); //large is set in function.php
     $attachmentWidth = $attachmentAttributes[1];
     $attachmentHeight = $attachmentAttributes[2];

     echo "<a href='" . $attachmentPermalink . "'><img src='" . $attachmentSrc . "' alt='" . $attachmentAlt . "' /></a>";
}
We hope this code is useful to your projects. If you have any doubts, please contact us!
ERDesignLab
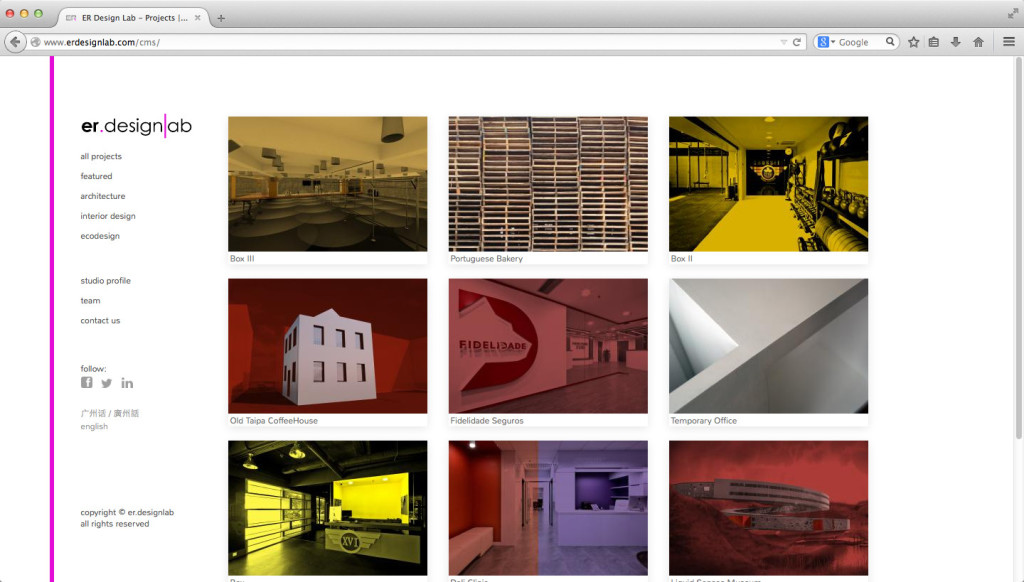
This is still a work in progress. More updates soon.
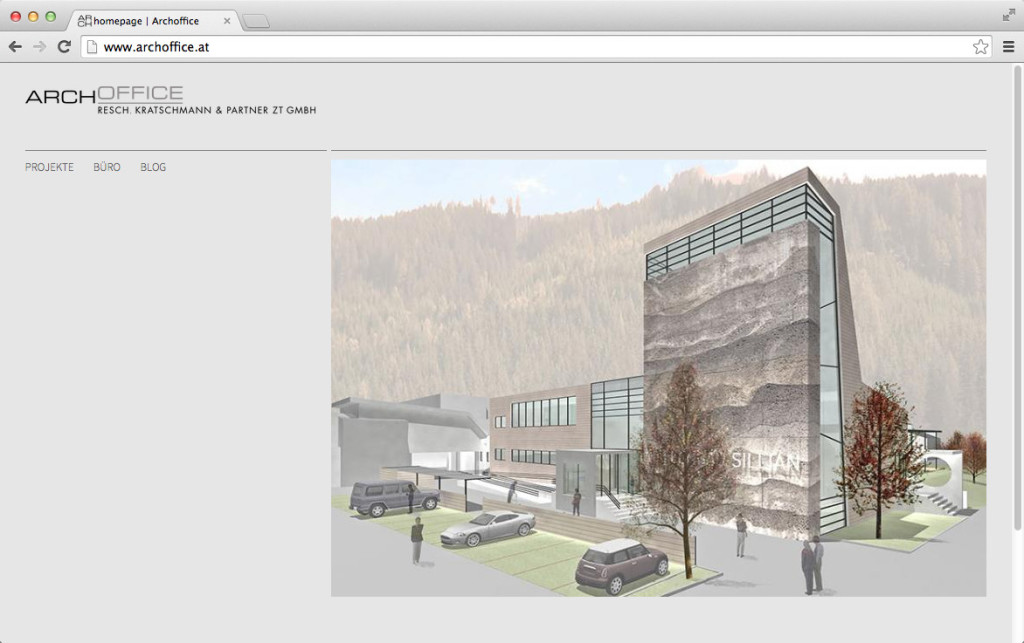
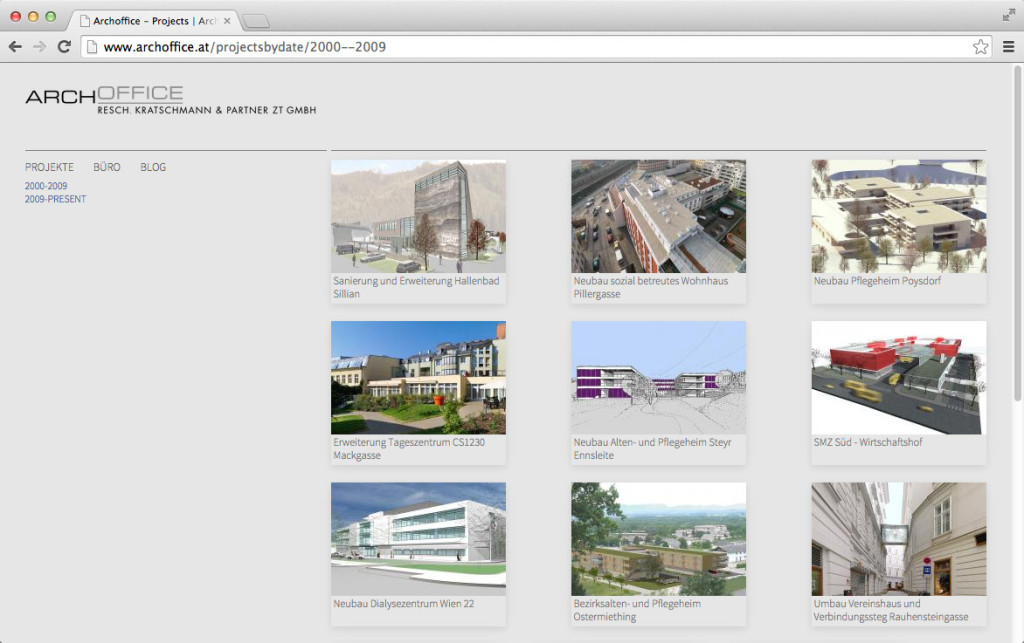
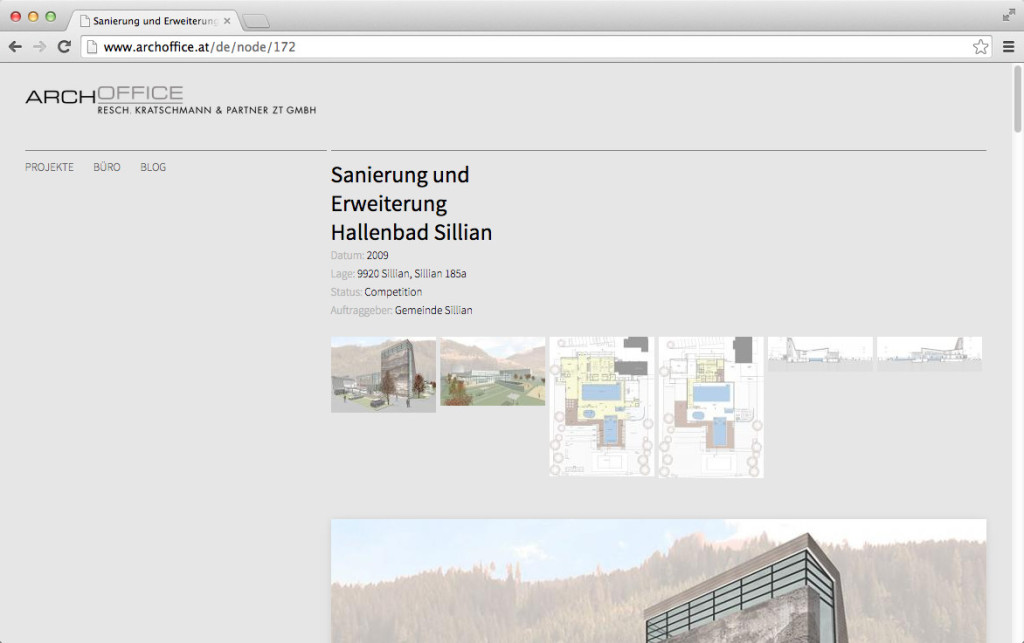
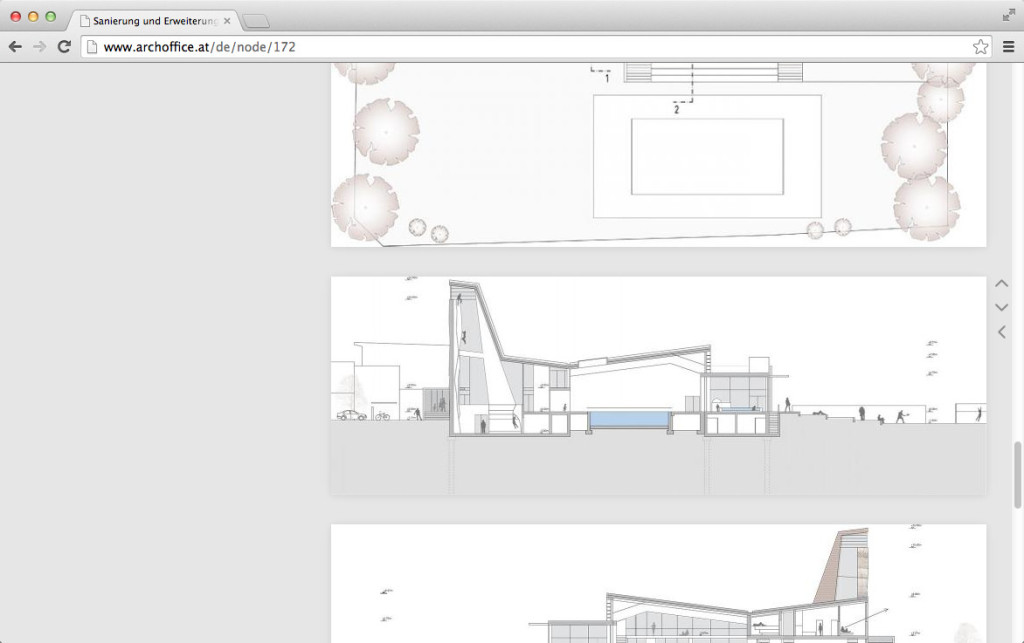
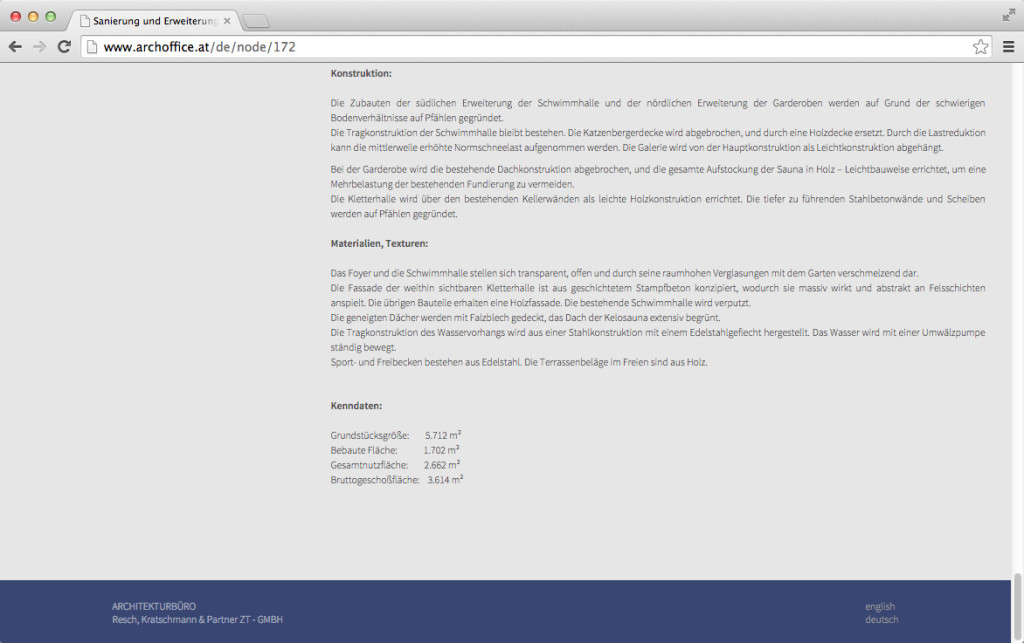
Archoffice
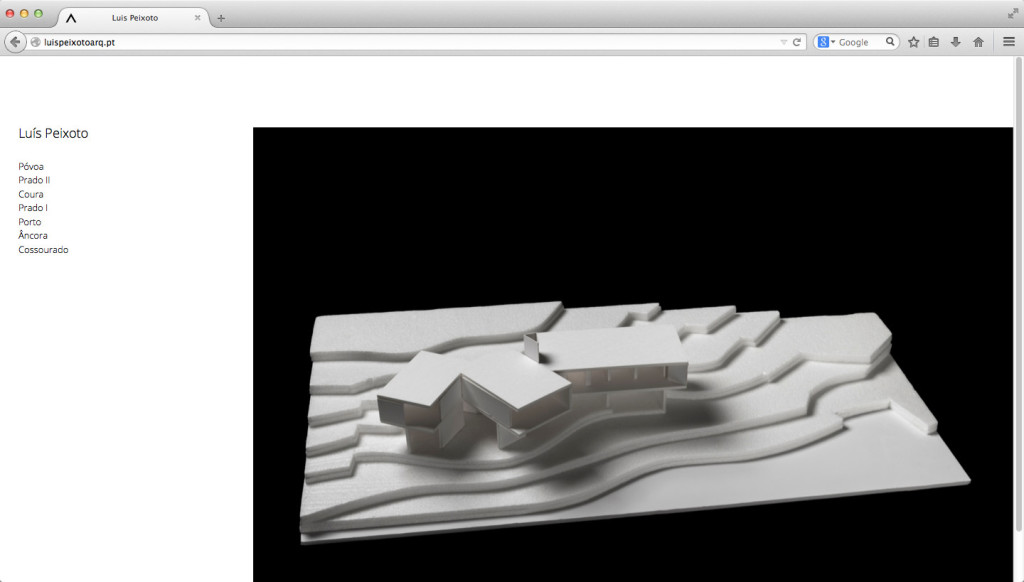
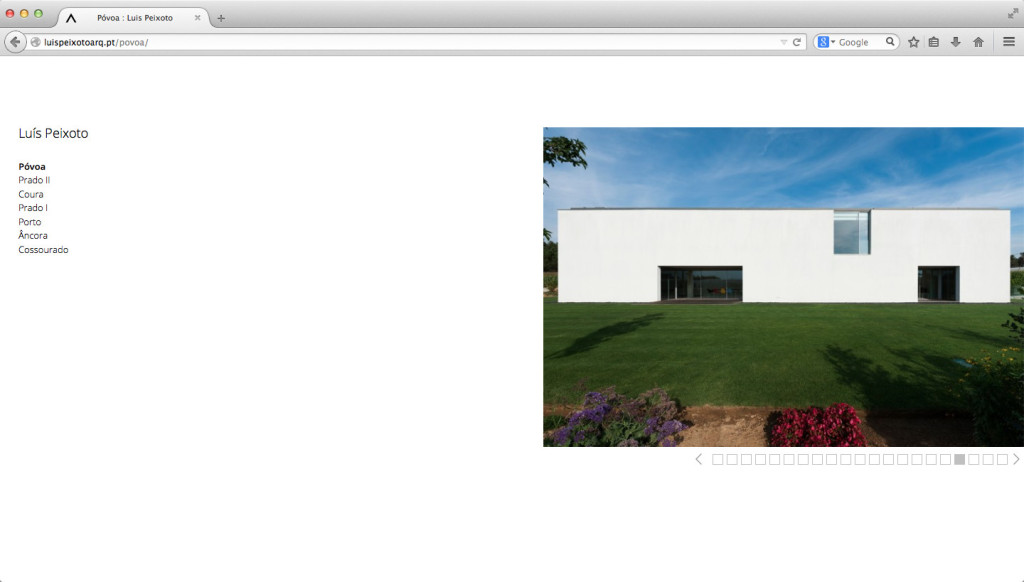
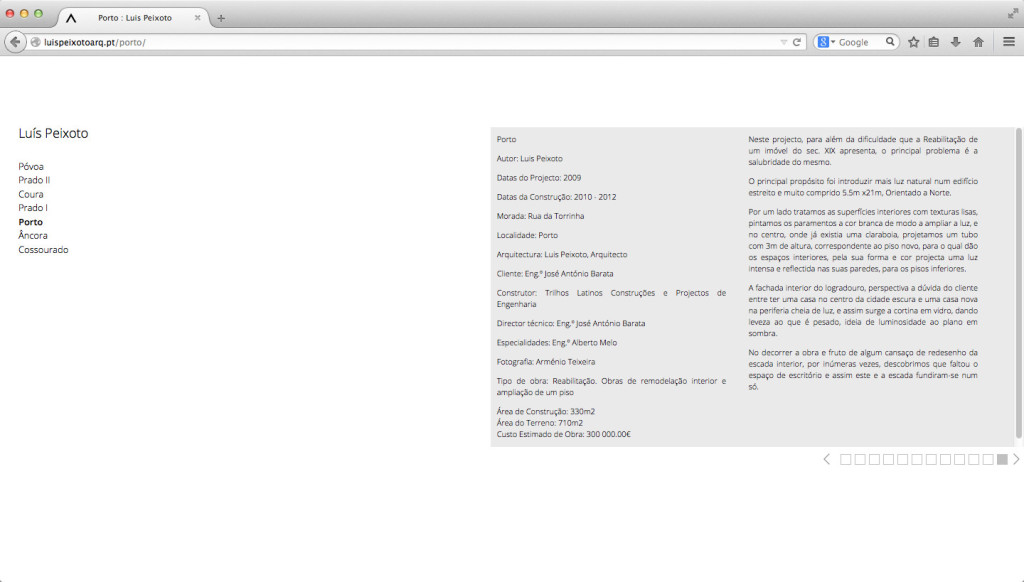
Luís Peixoto
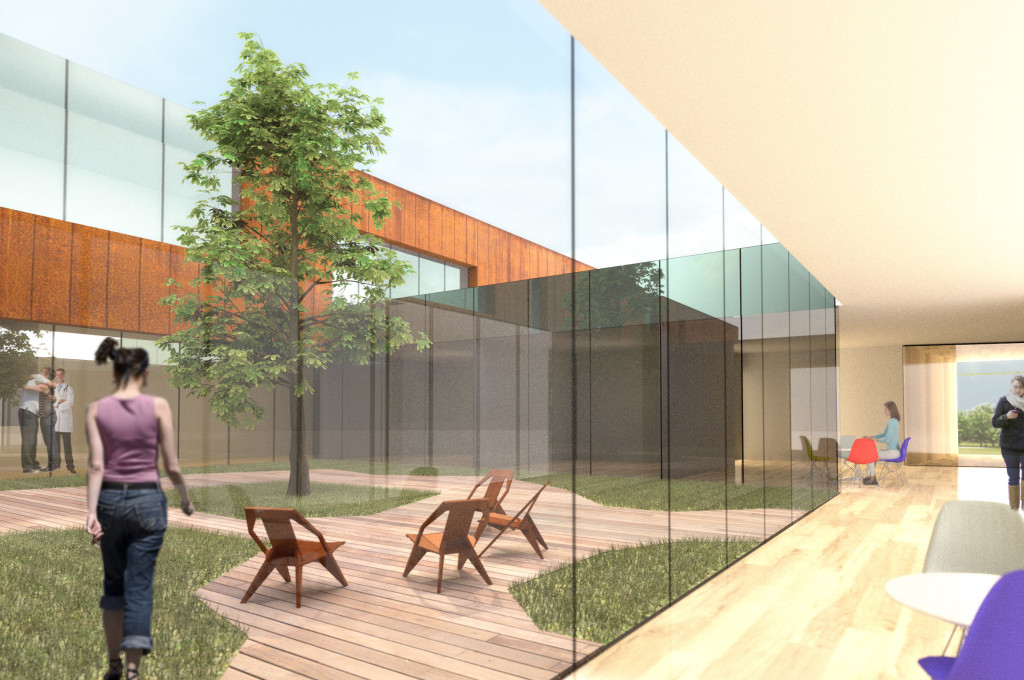
KJP
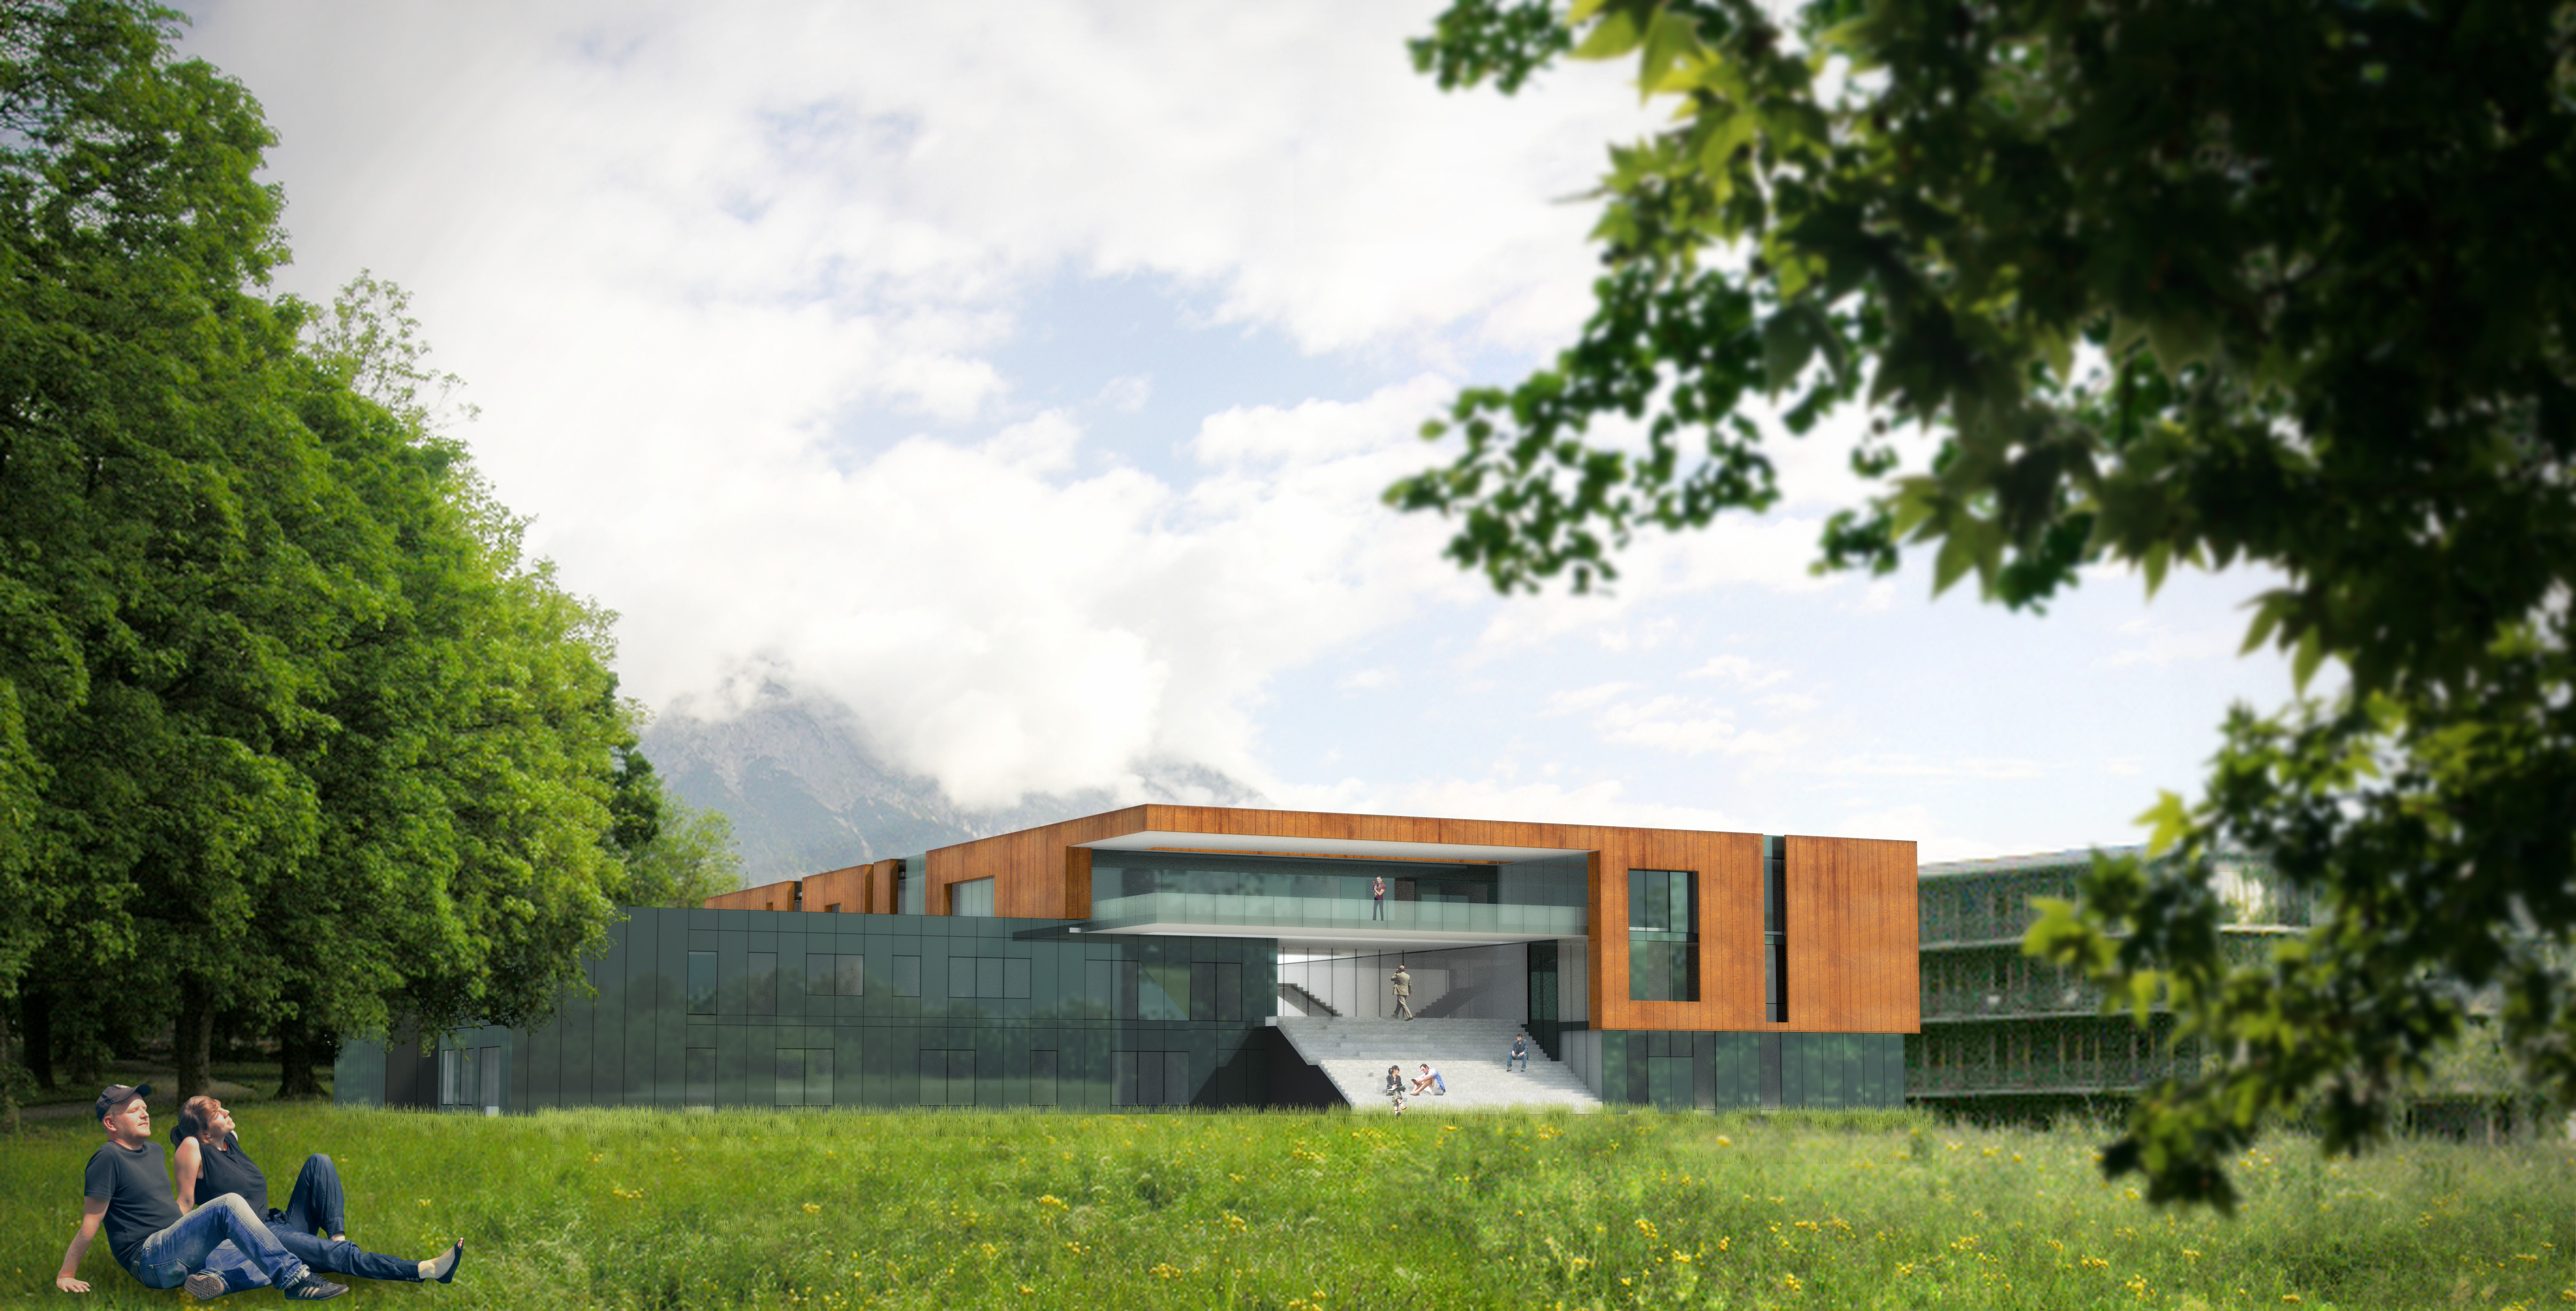
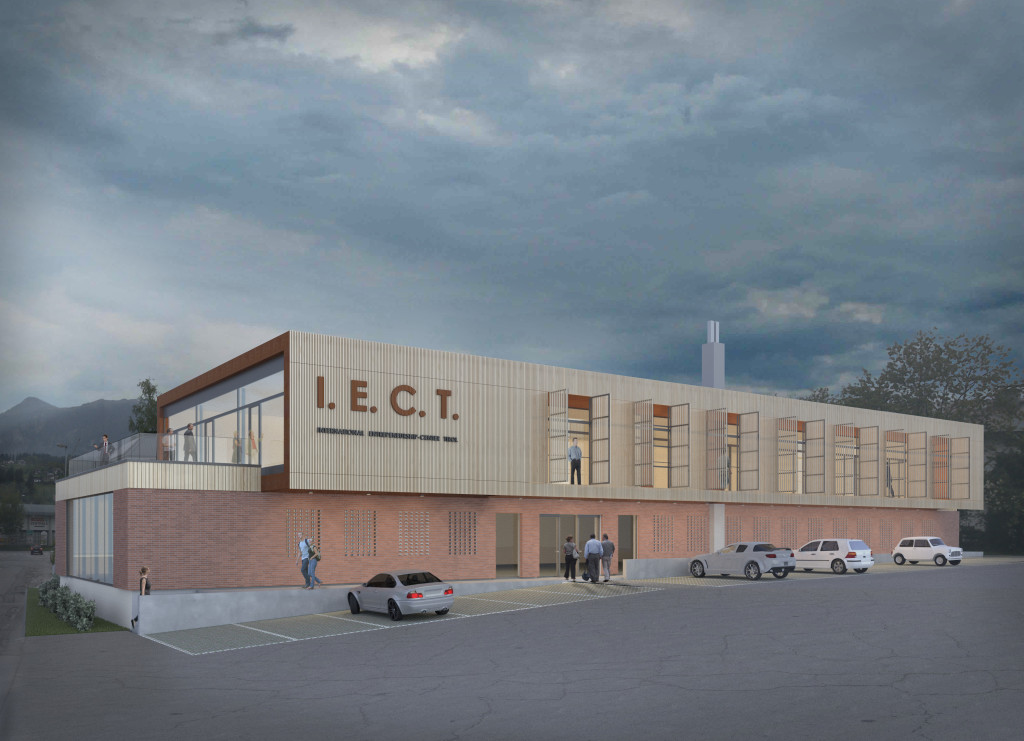
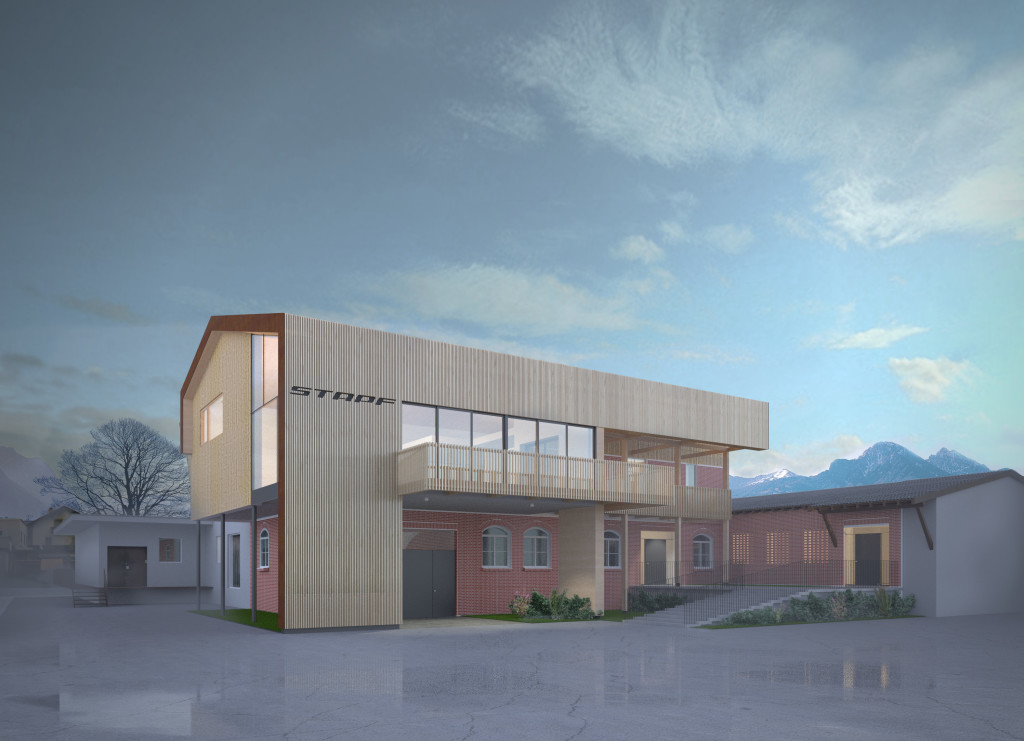
STAPF / IECT
Rehabilitation of an older structure into company headquarters.
CSS flipping panes
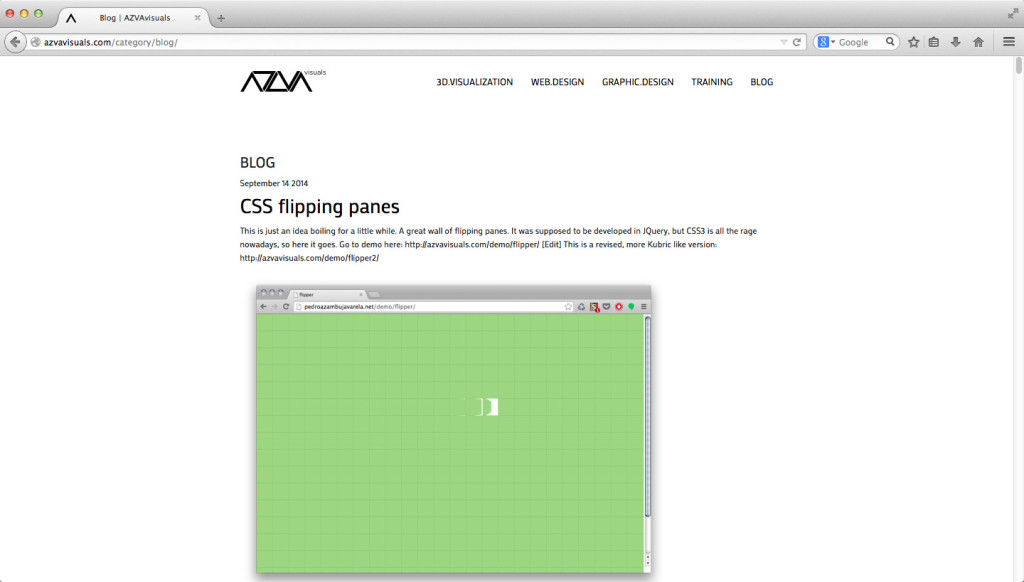
This is just an idea boiling for a little while. A great wall of flipping panes. It was supposed to be developed in JQuery, but CSS3 is all the rage nowadays, so here it goes. Go to demo here: https://azvavisuals.com/demo/flipper/
[Edit] This is a revised, more Kubric like version: https://azvavisuals.com/demo/flipper2/
Miguel Ângelo

João Lima

Ana Branco

Rui Gonçalves

Joana Fraga

Pedro de Azambuja Varela

Rosário Building
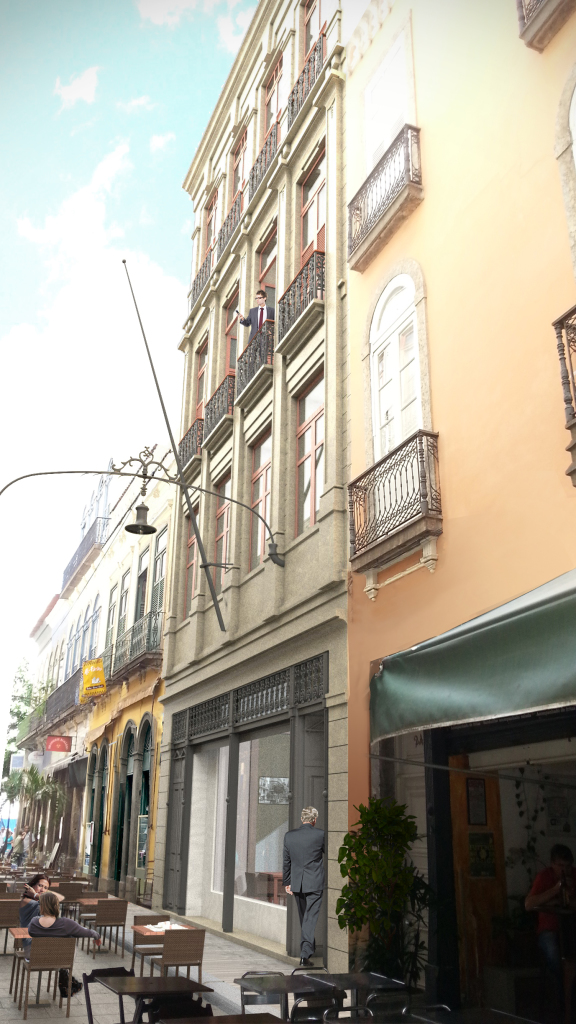
Recovery of building for business purposes.
Pearl Cork
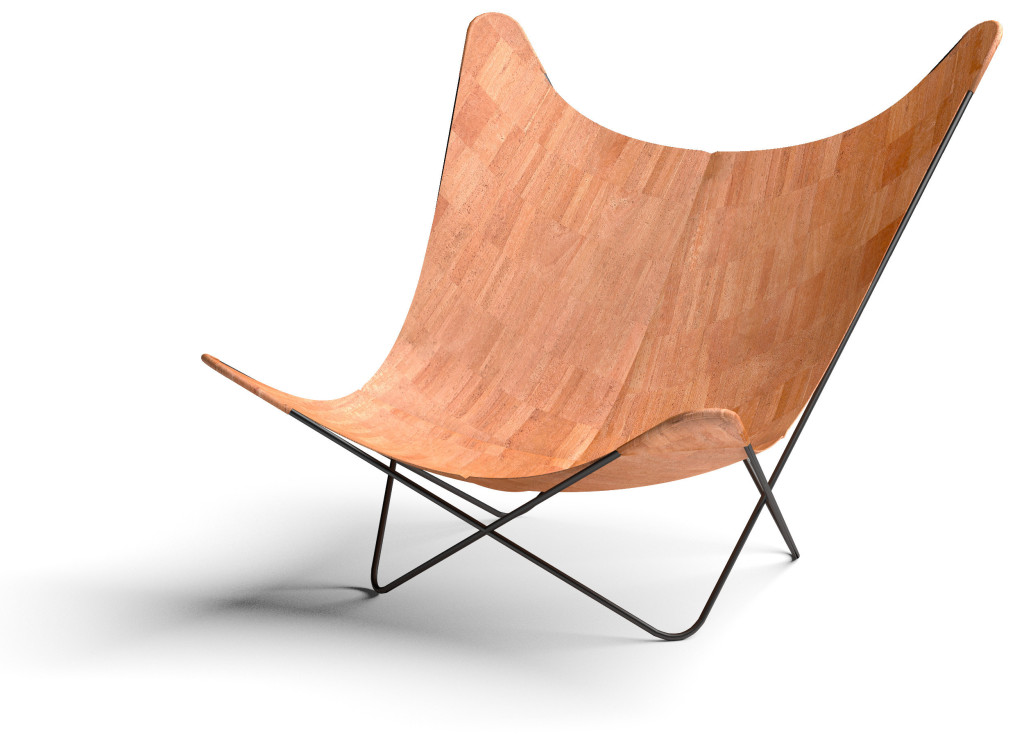
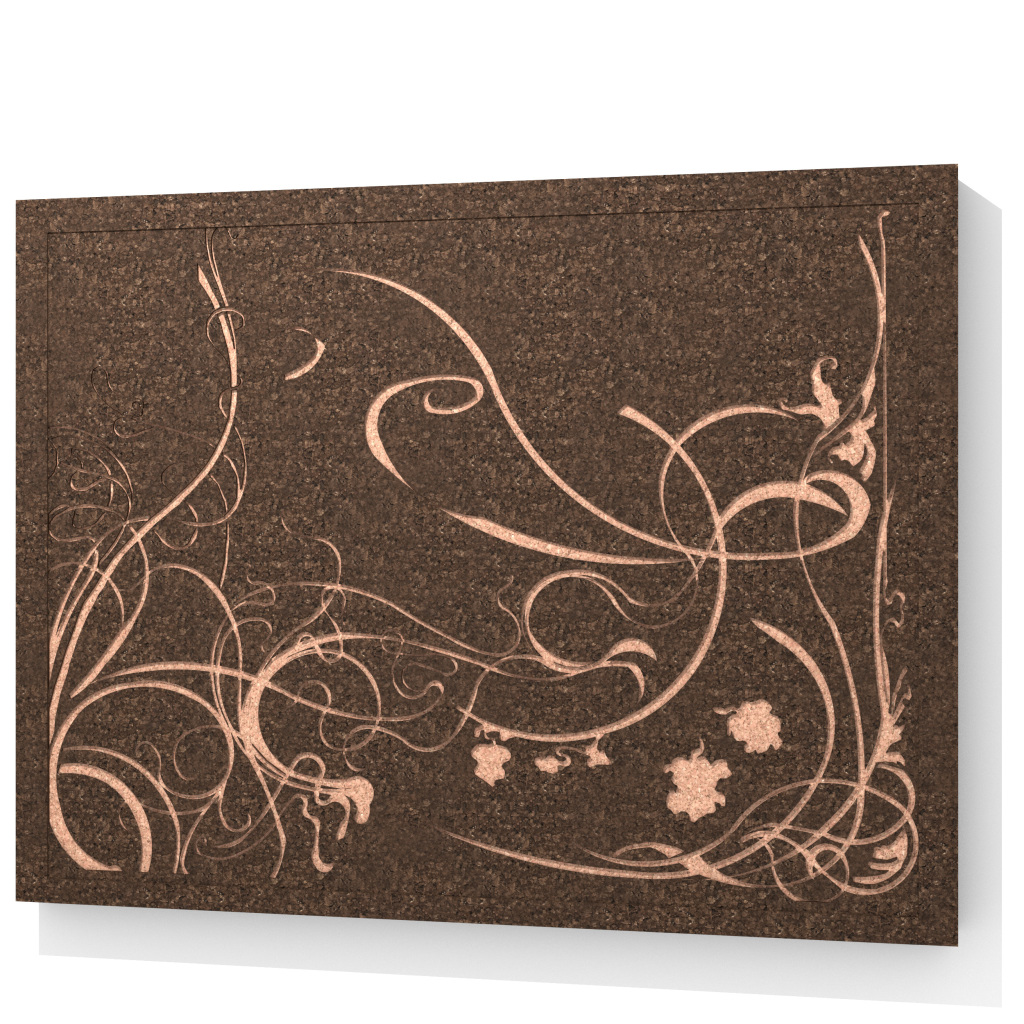
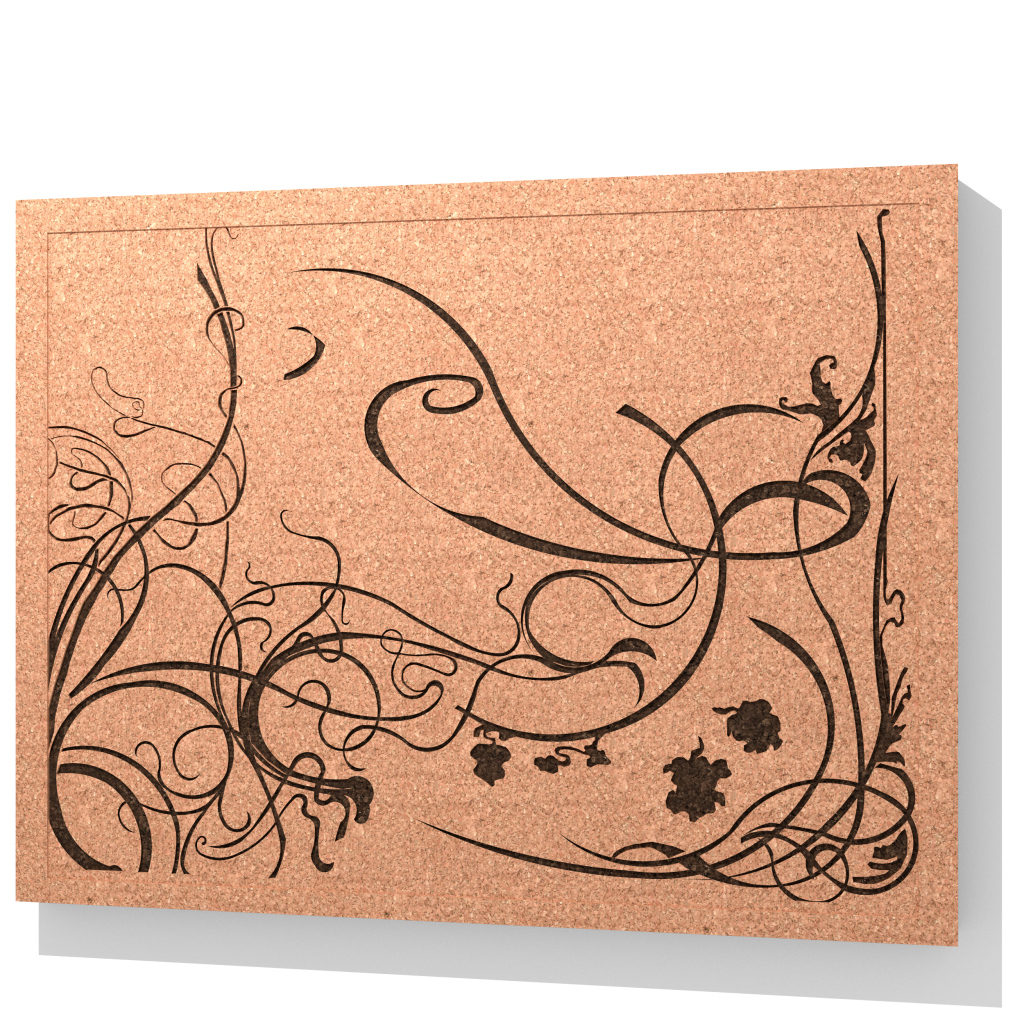
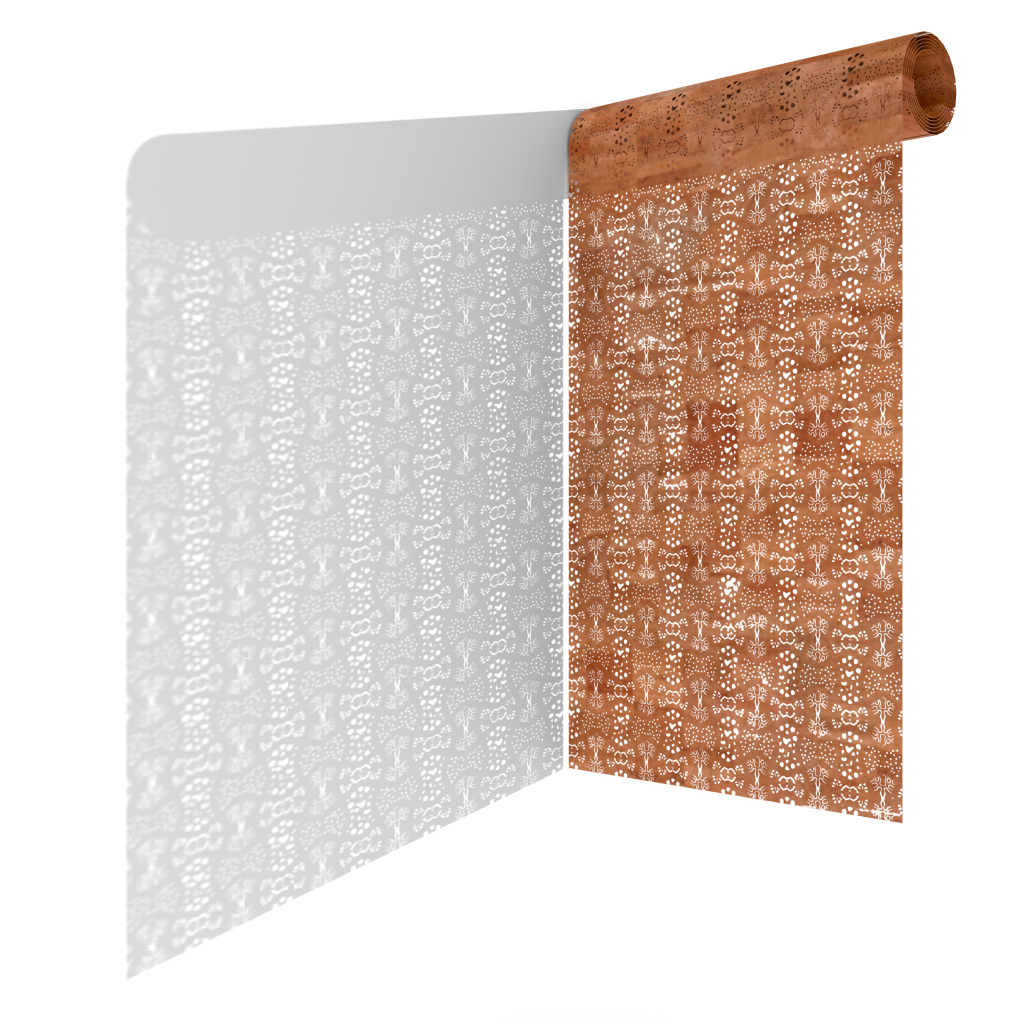
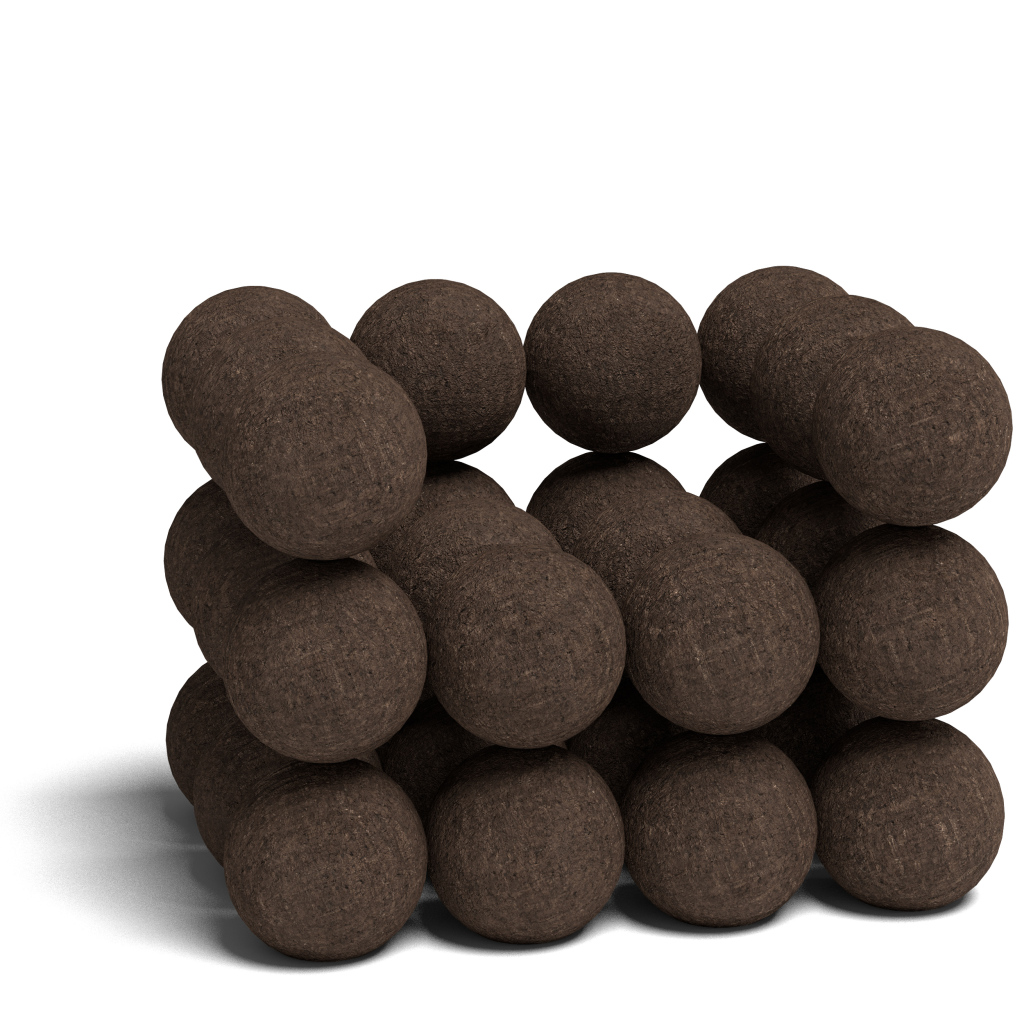


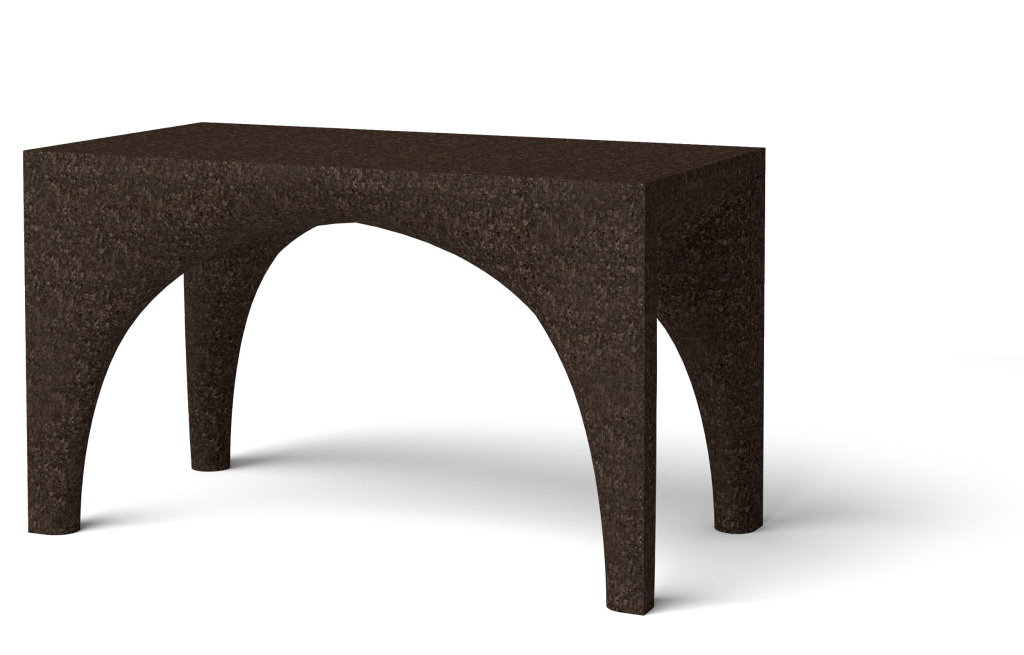

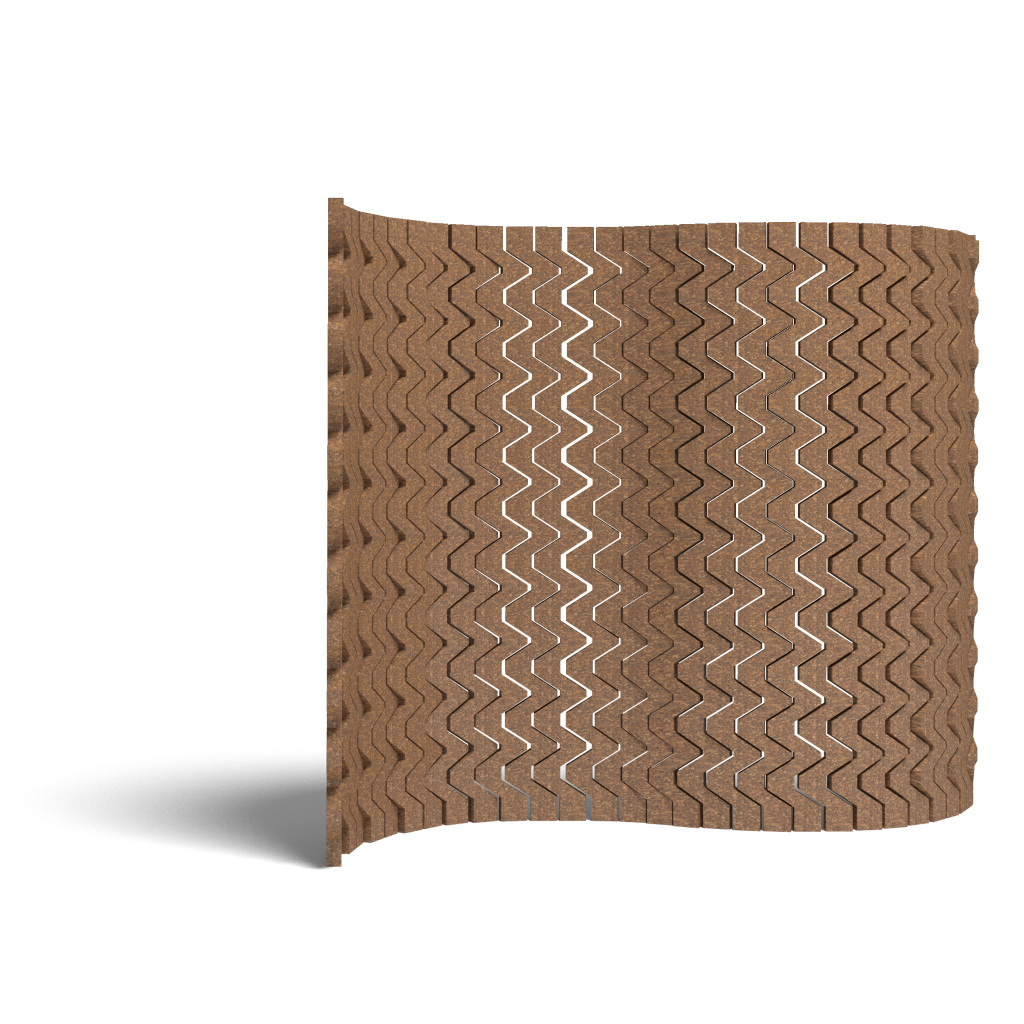
Images produced by AZVAvisuals, modelled and rendered in Blender.
Furniture Design by Joana Fraga and Pedro de Azambuja Varela.
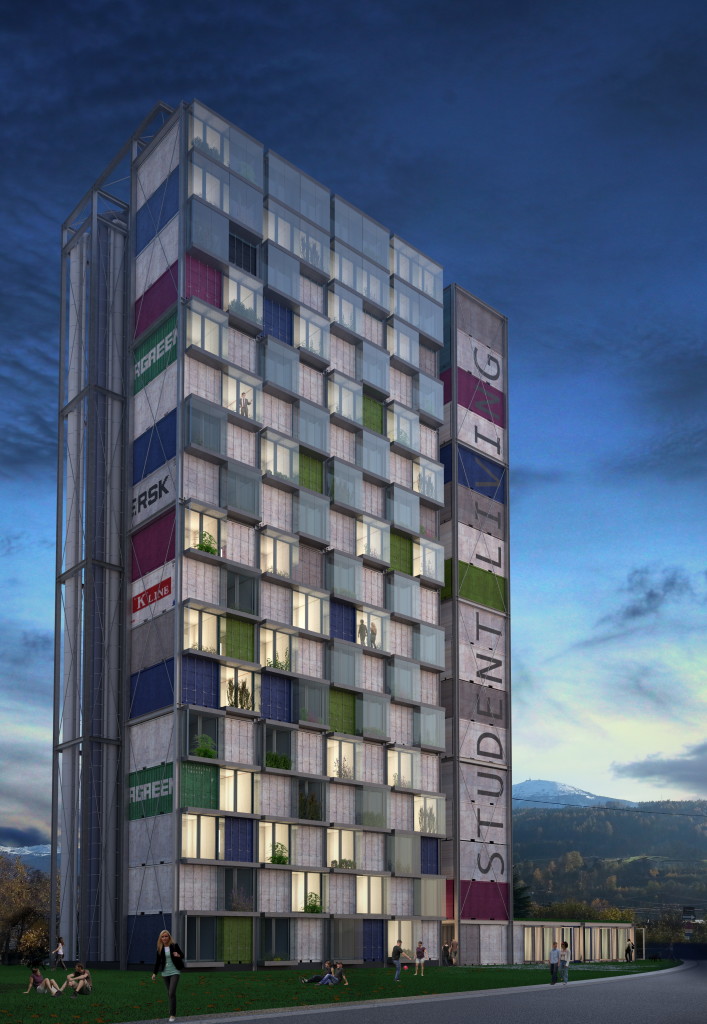
Student Housing Tower
Housing tower for students, built with containers.
Loft M&B
House MD
Menongue International Rowing Centre
Haus M
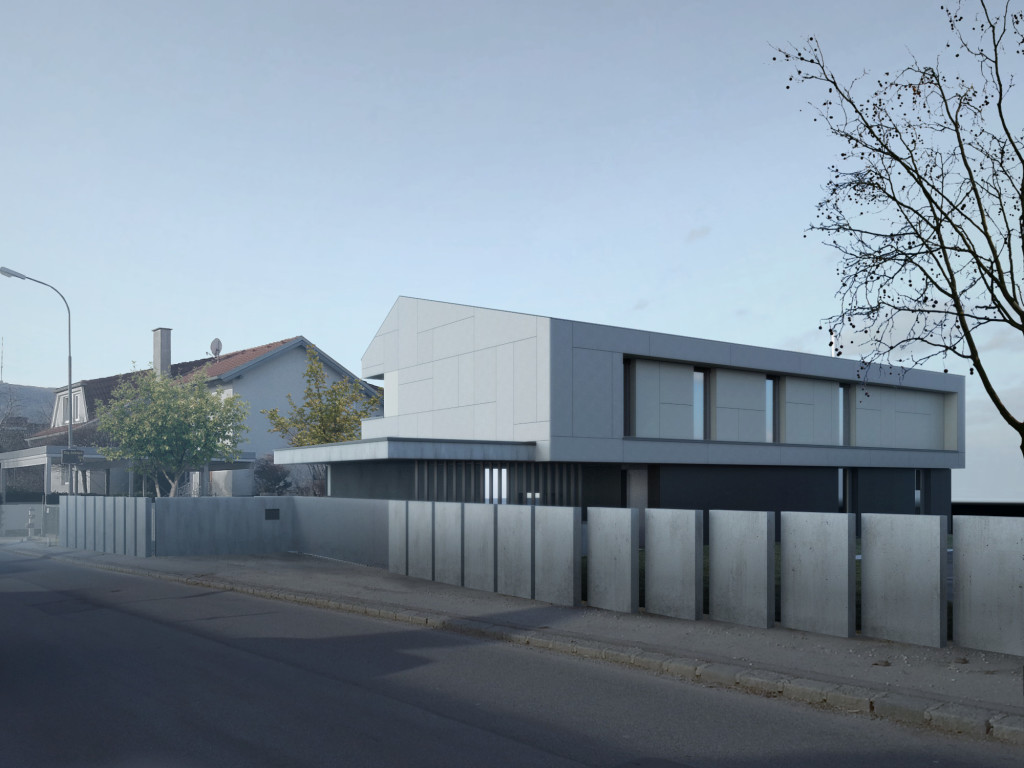
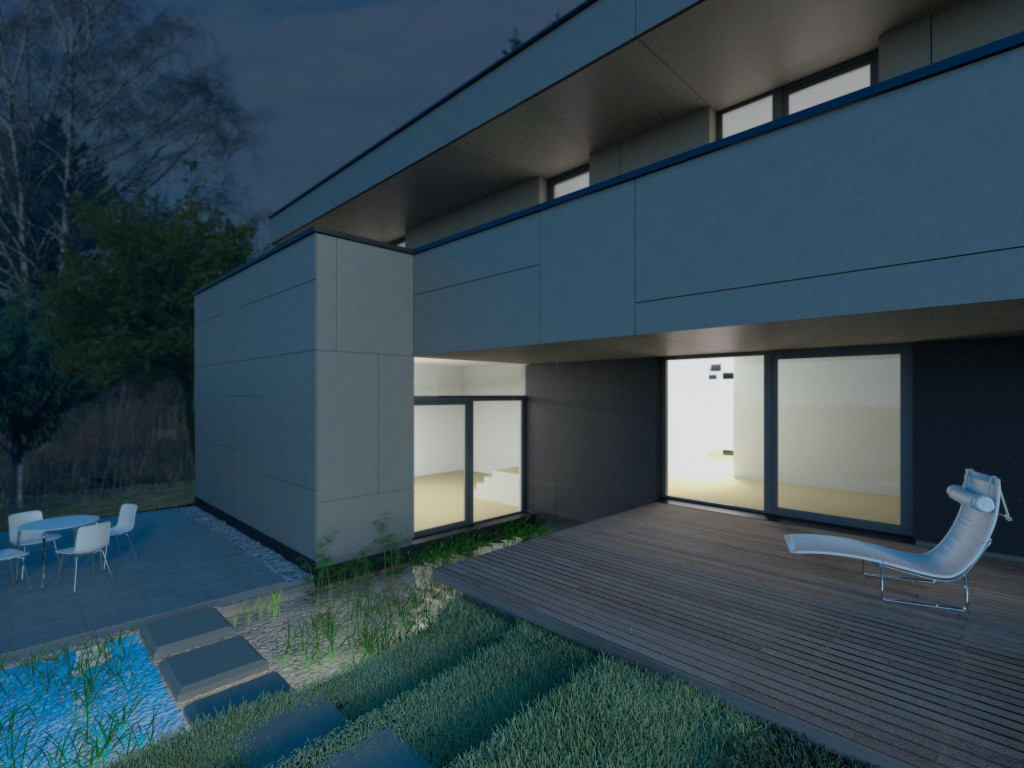
Setúbal Public Library Competition
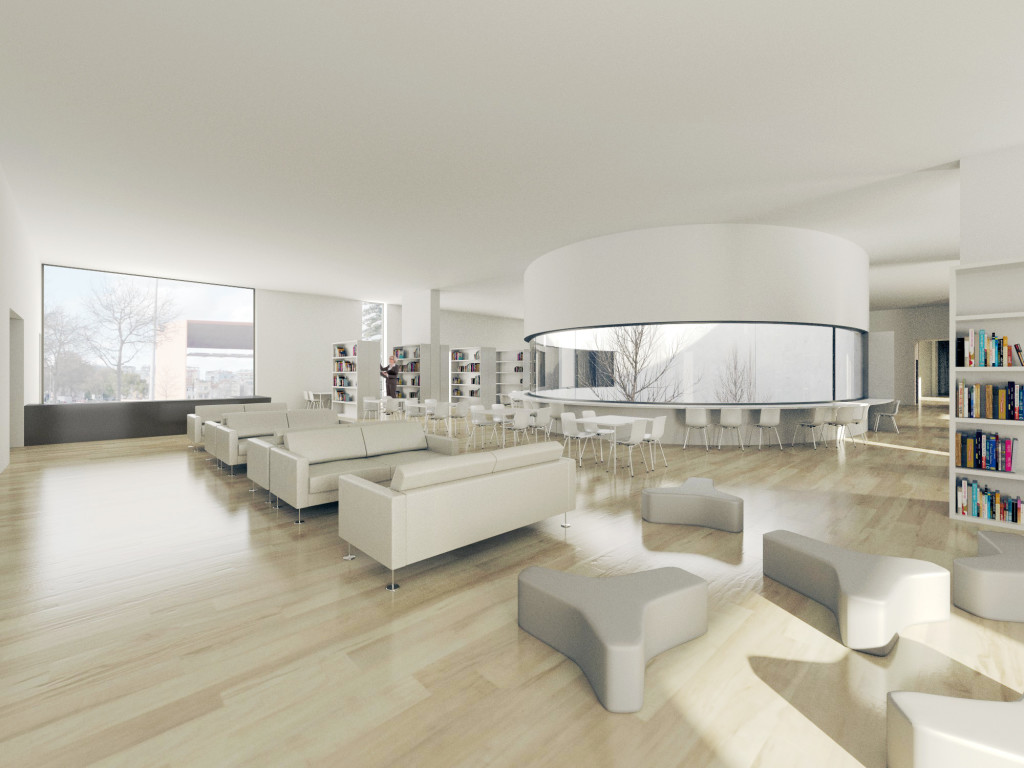
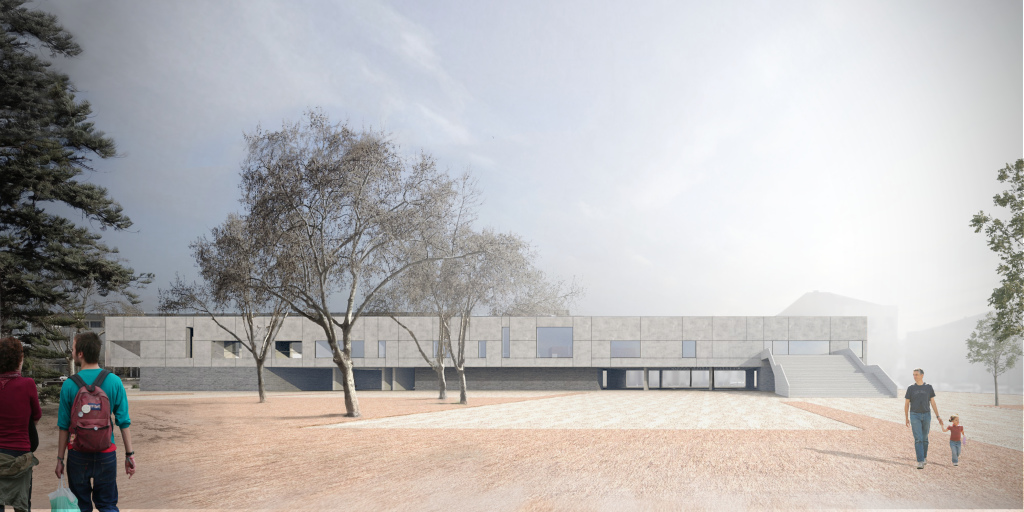
Feuerwehr und Katastrophenschutzzentrum Völs
Execution project/Costs calculation: Swietelsky Baugesellschaft m.b.H. , A.S.T Bau Ges.mb.H.
384400 – Evolo Skyscraper Competition
Parada de Todeia
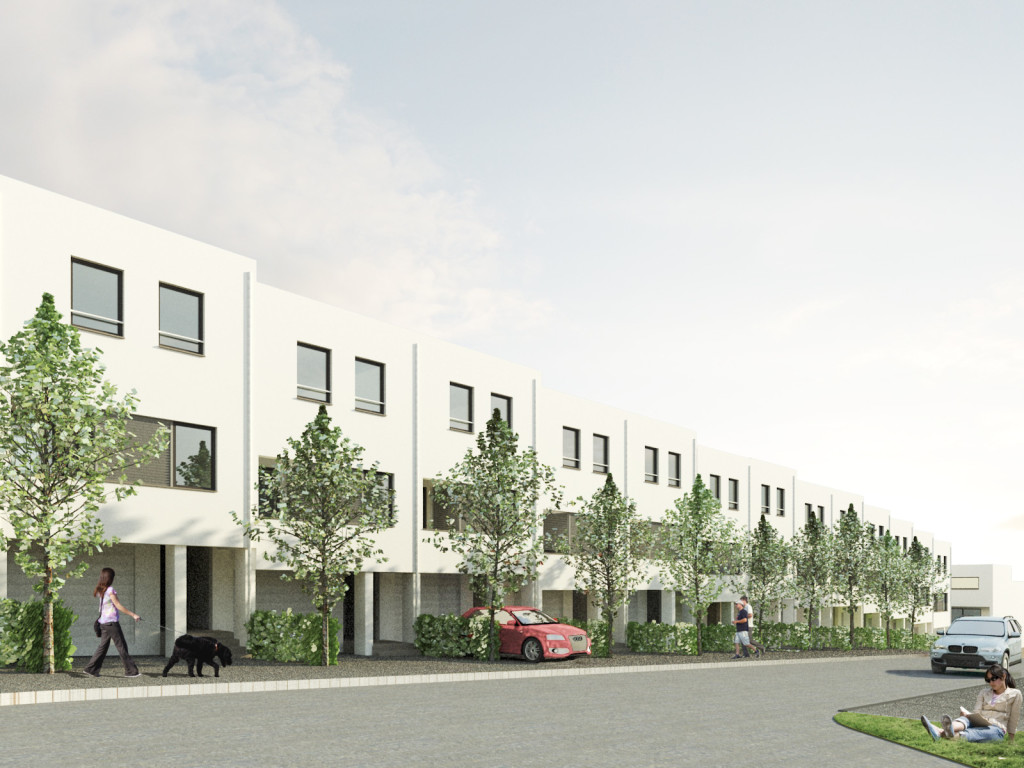
Rennweg
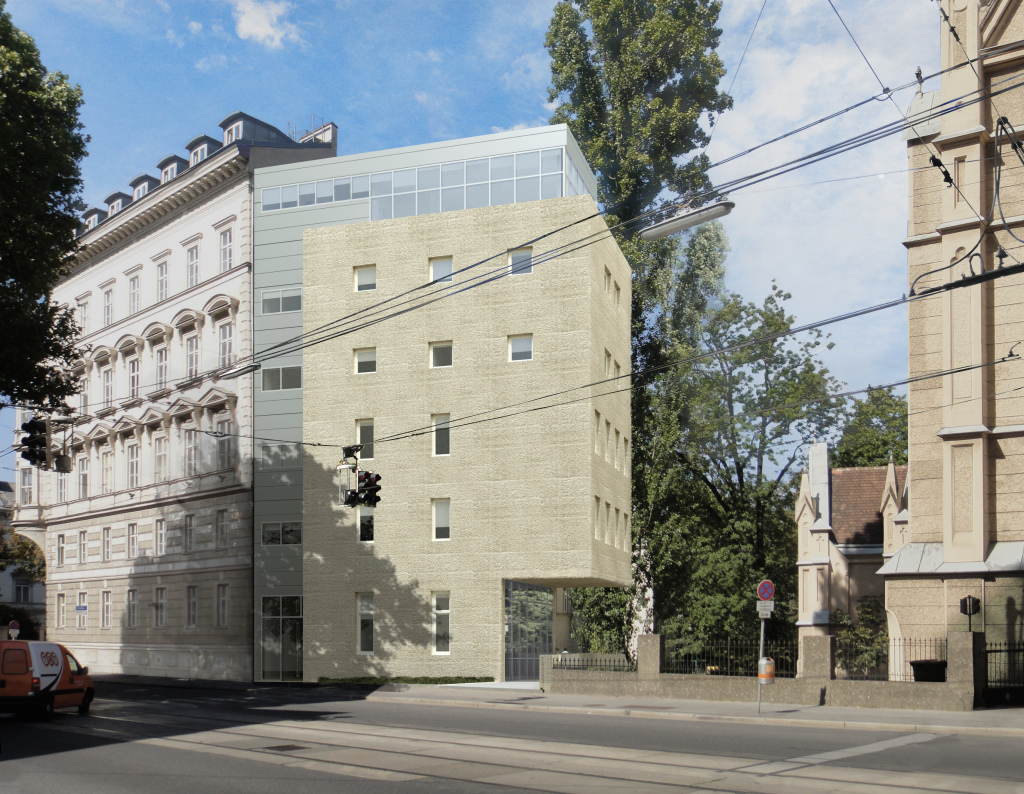
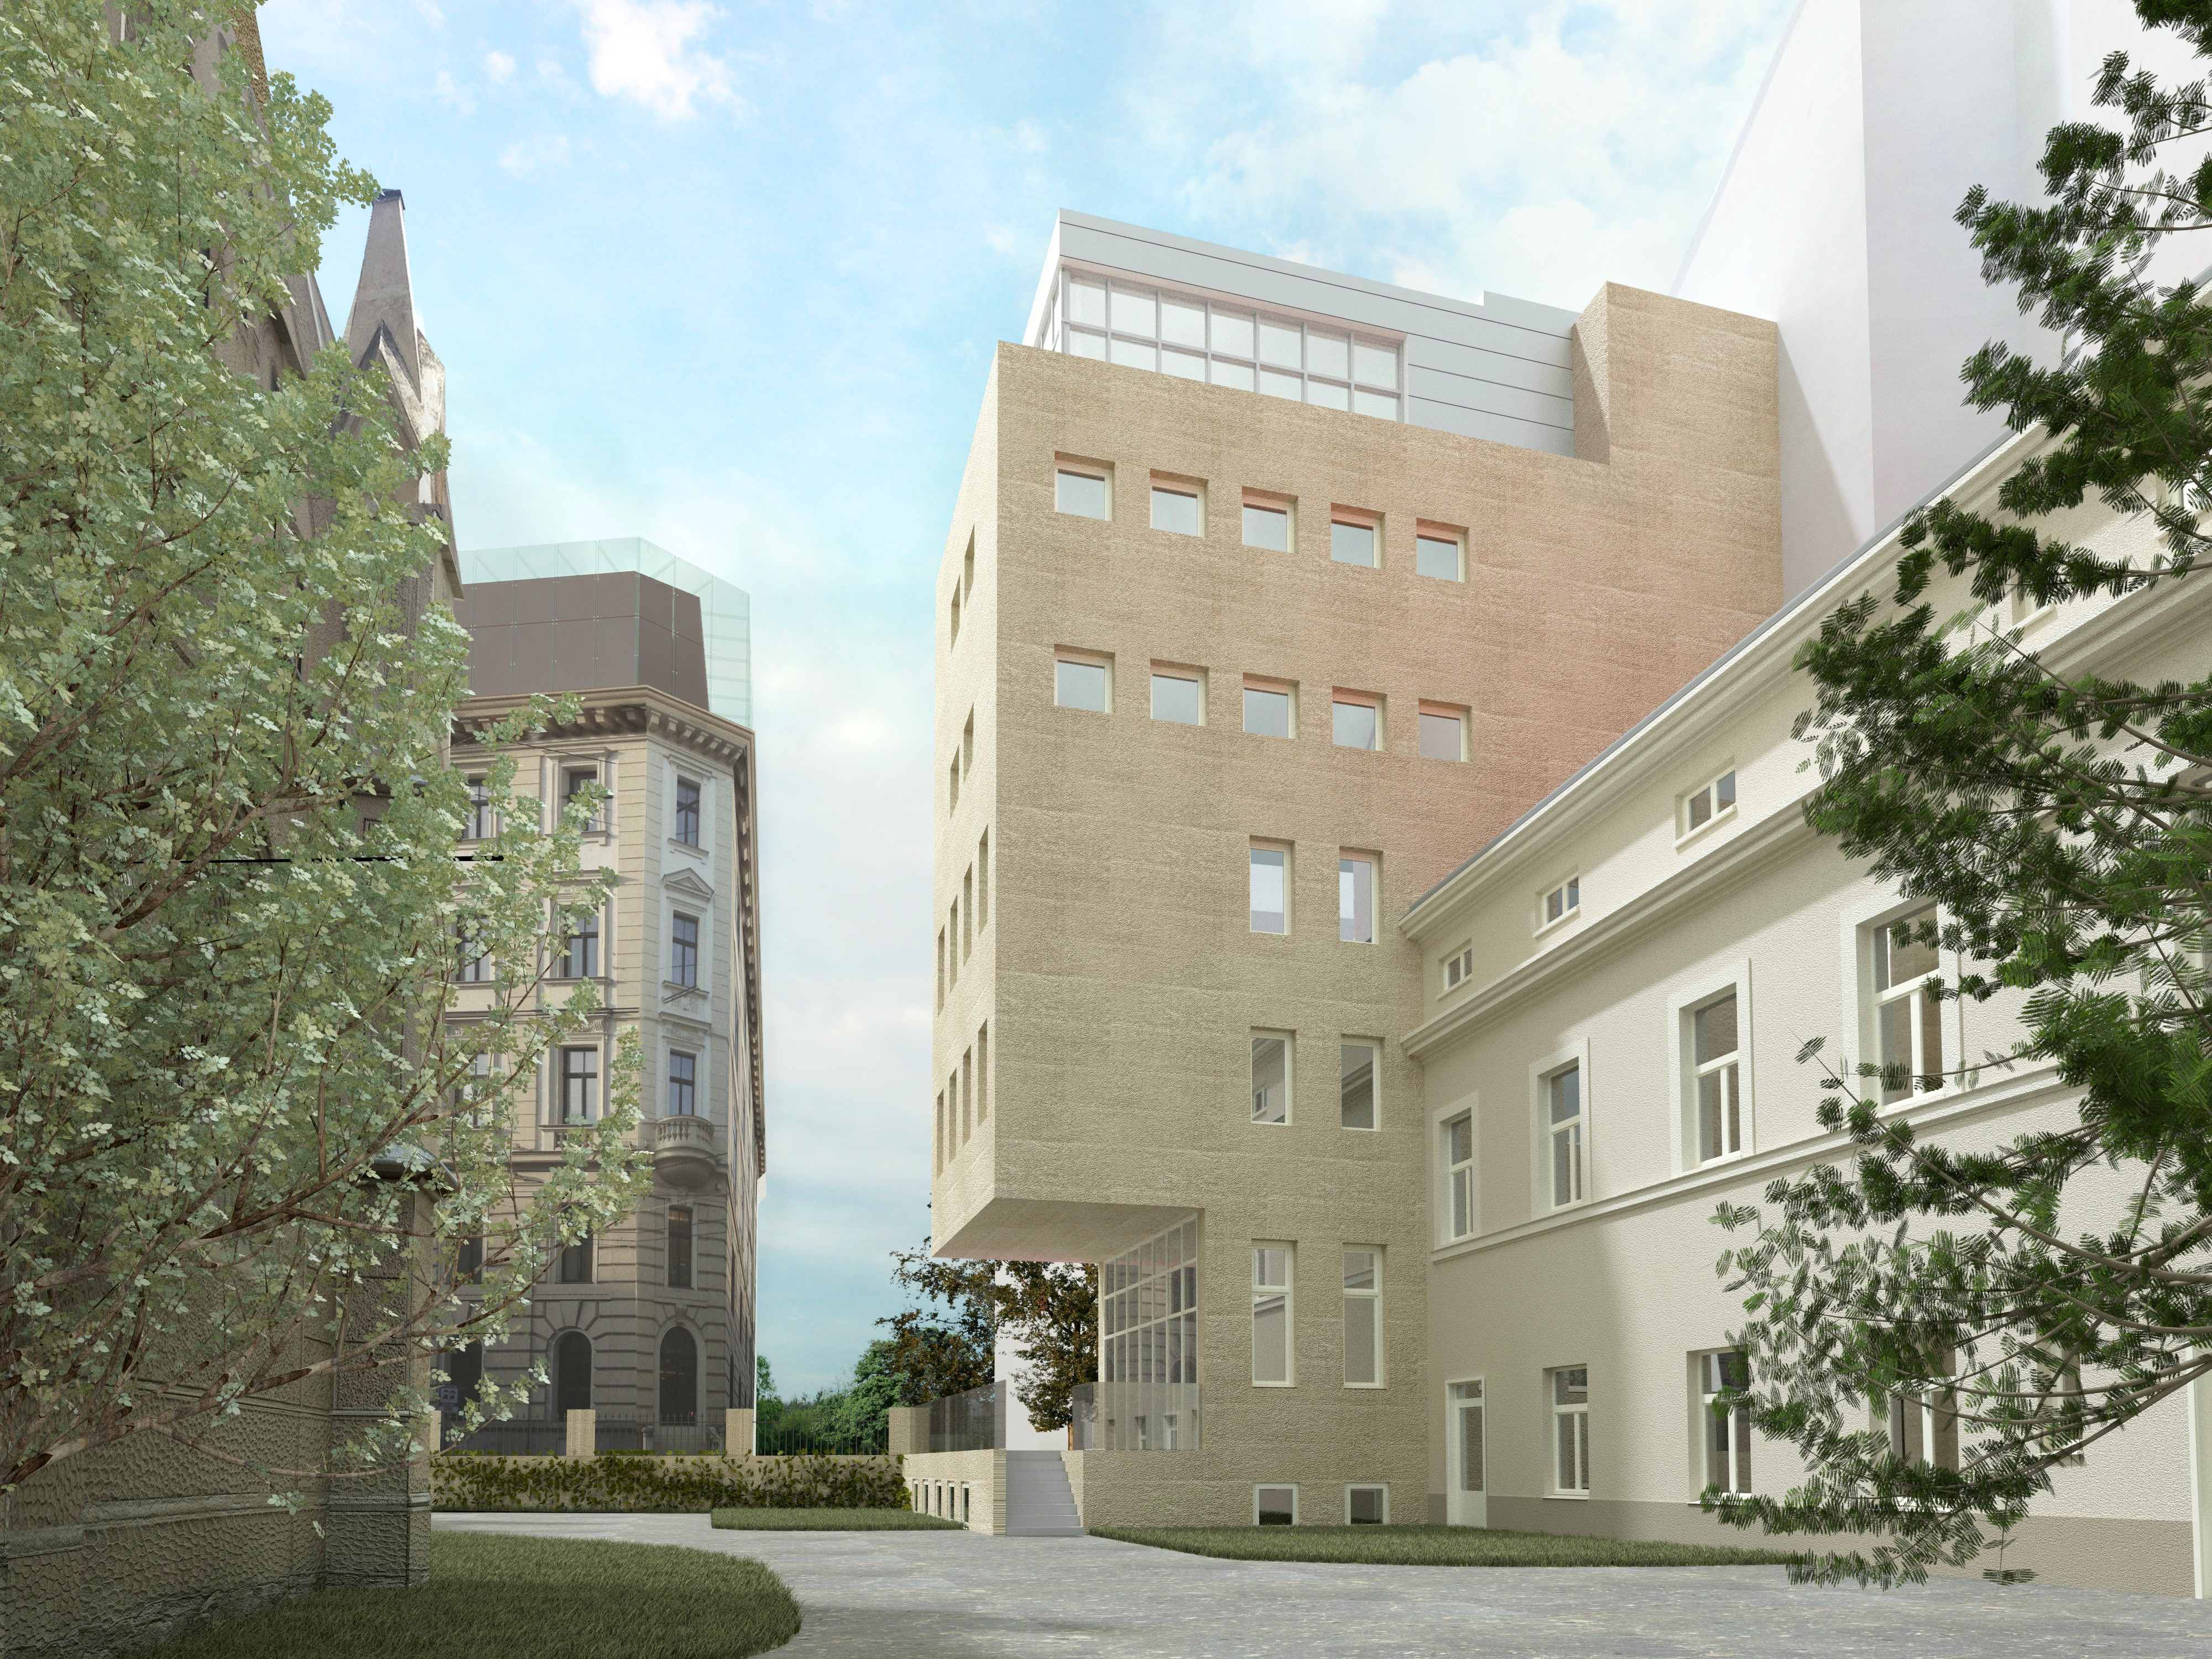
Hungerburg
Visualization studies as project developing tool.
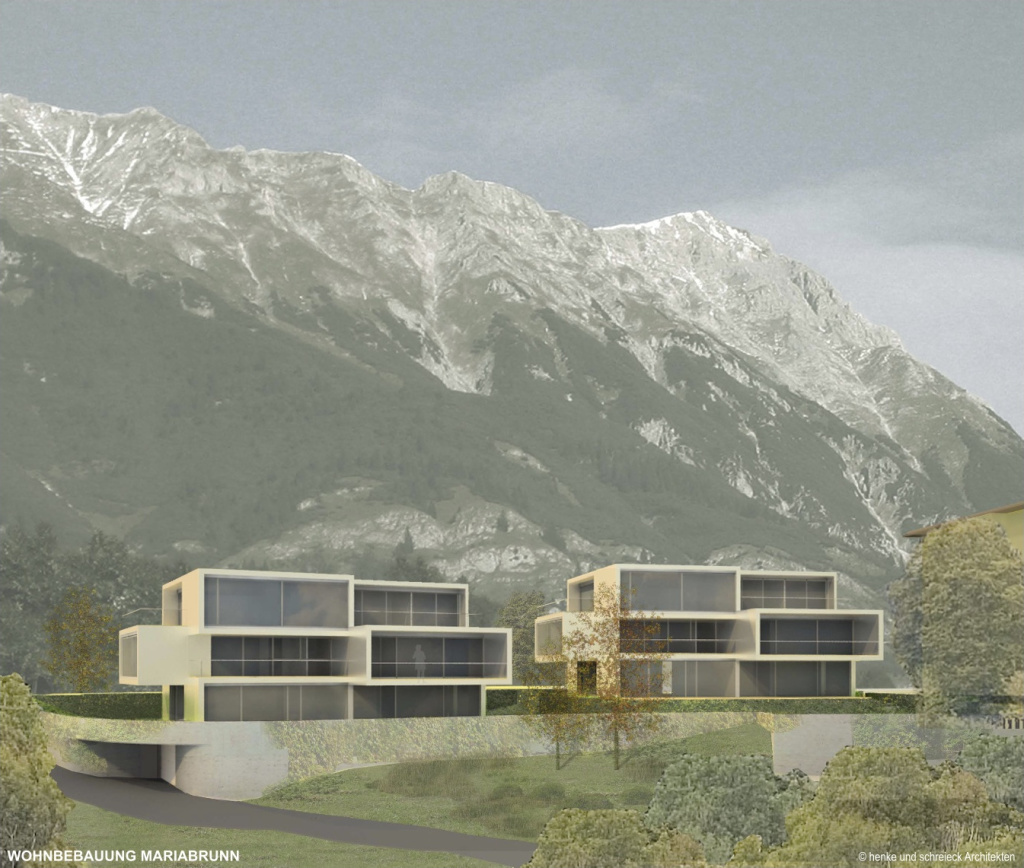
Mariahilfer Strasse 36
Visualization studies as project developing tool.
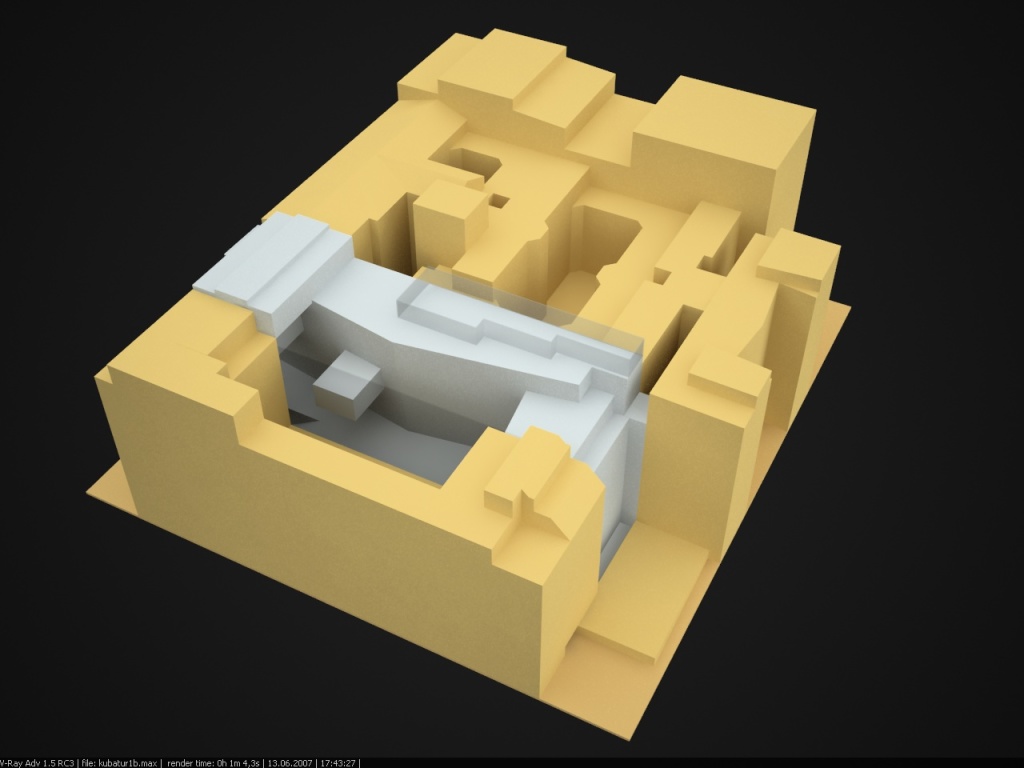
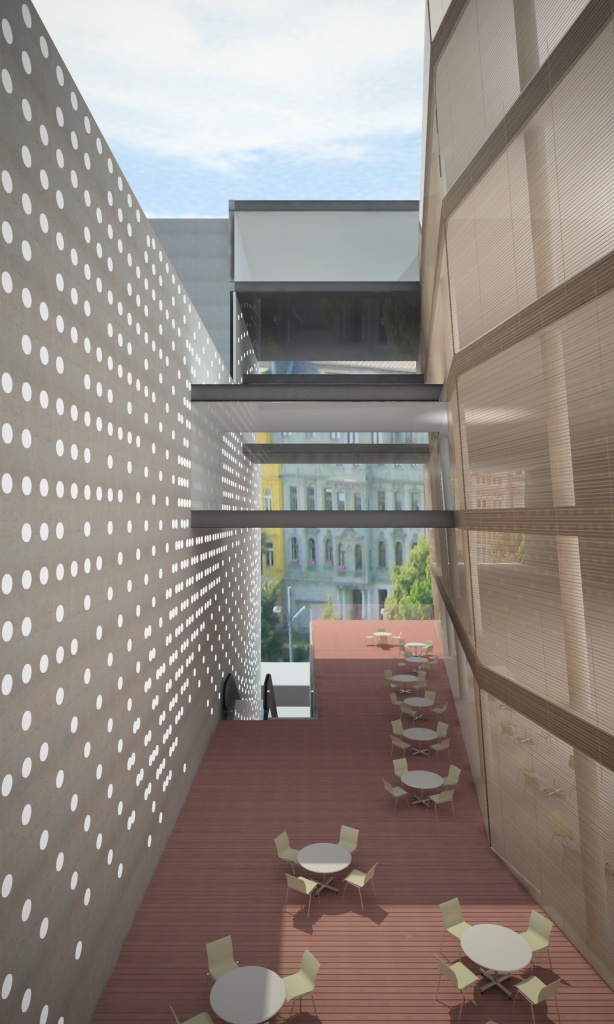
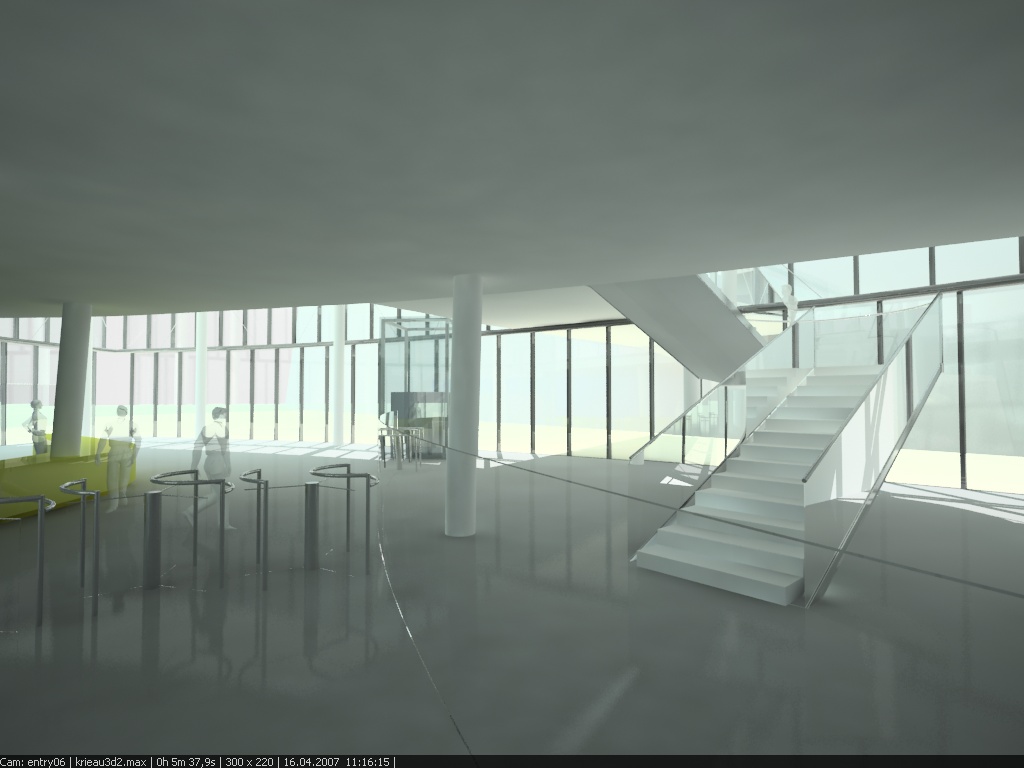
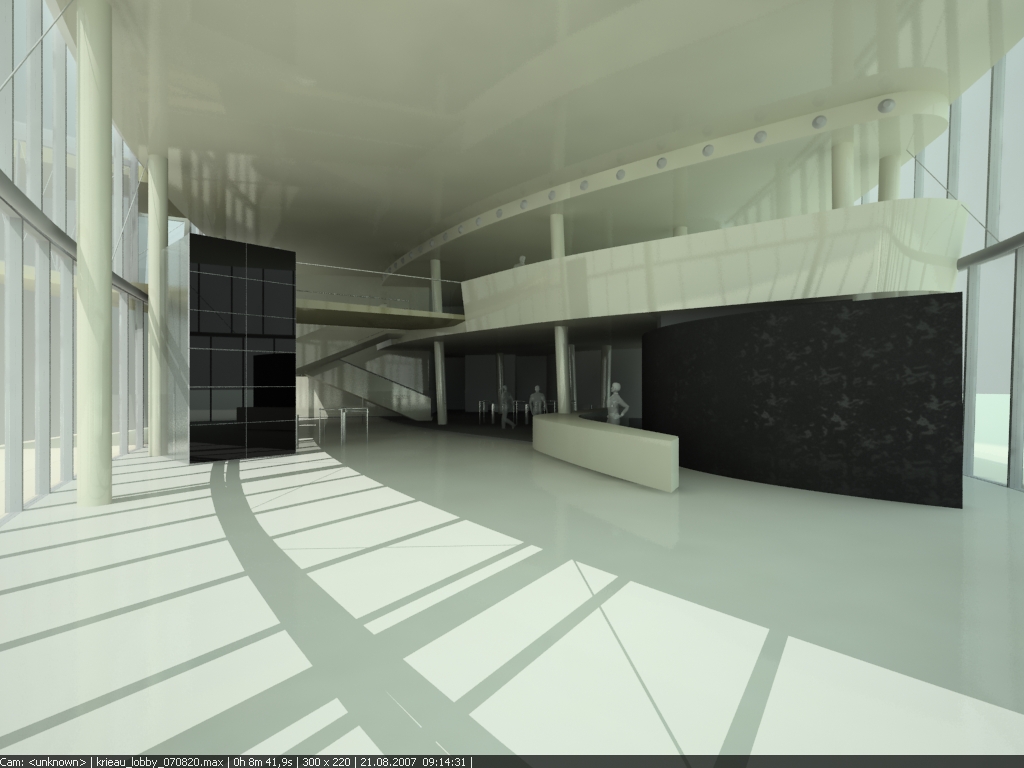
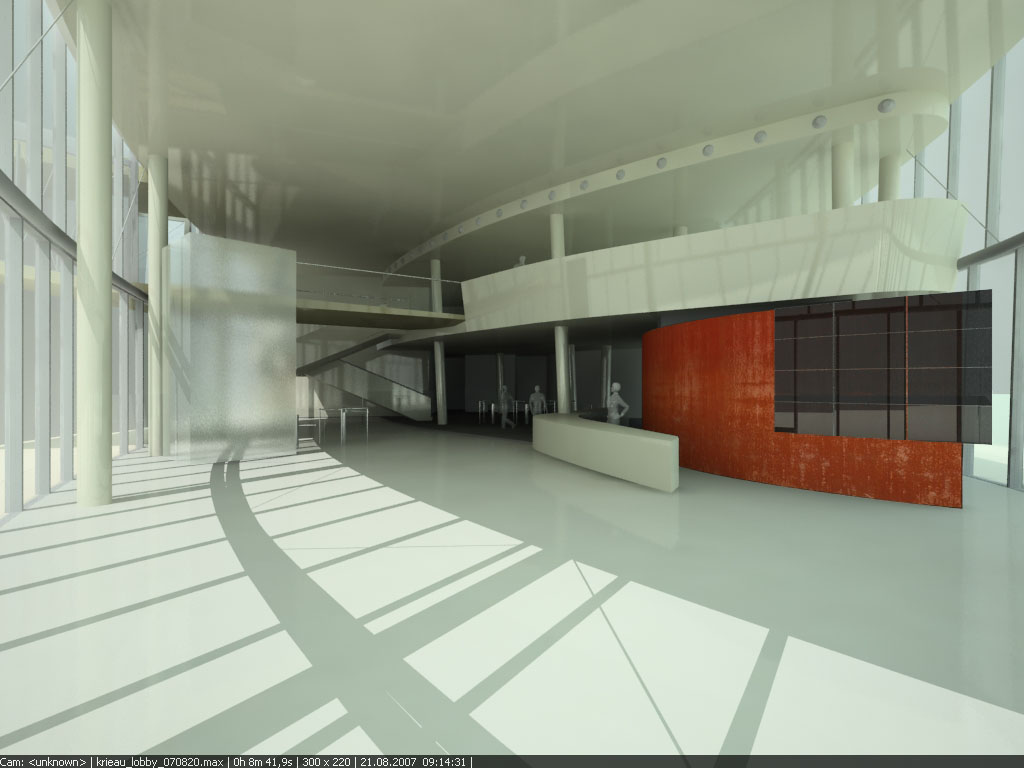
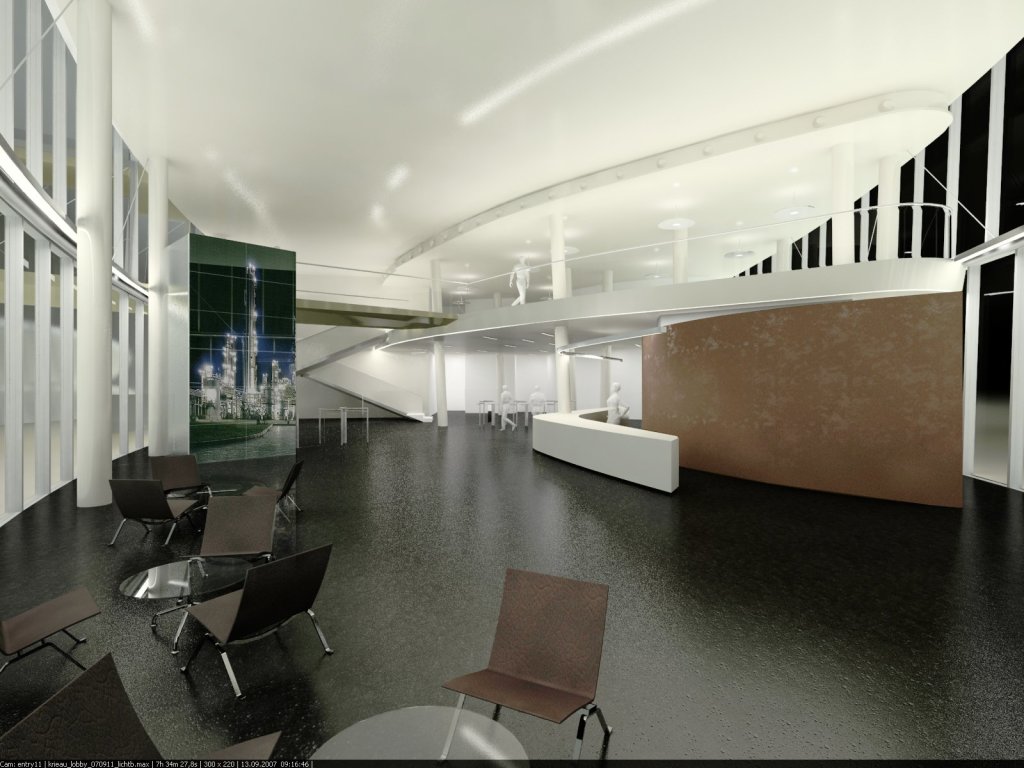
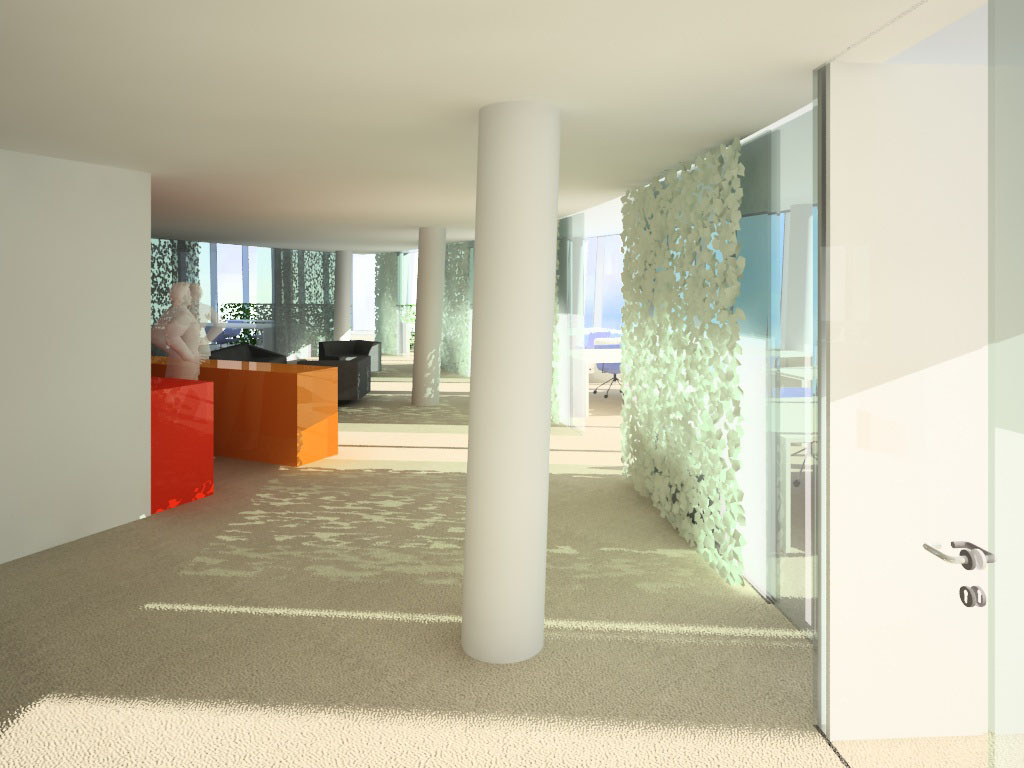
Bürohaus Hoch Zwei Wien – Lobby space study
Visualization studies as project developing tool.
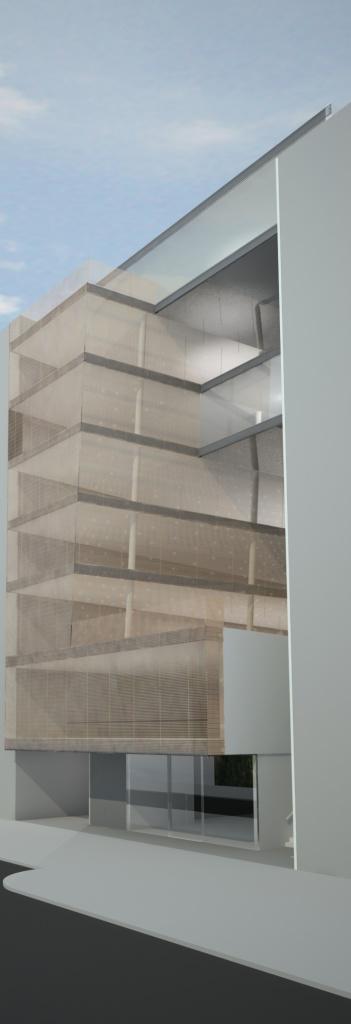
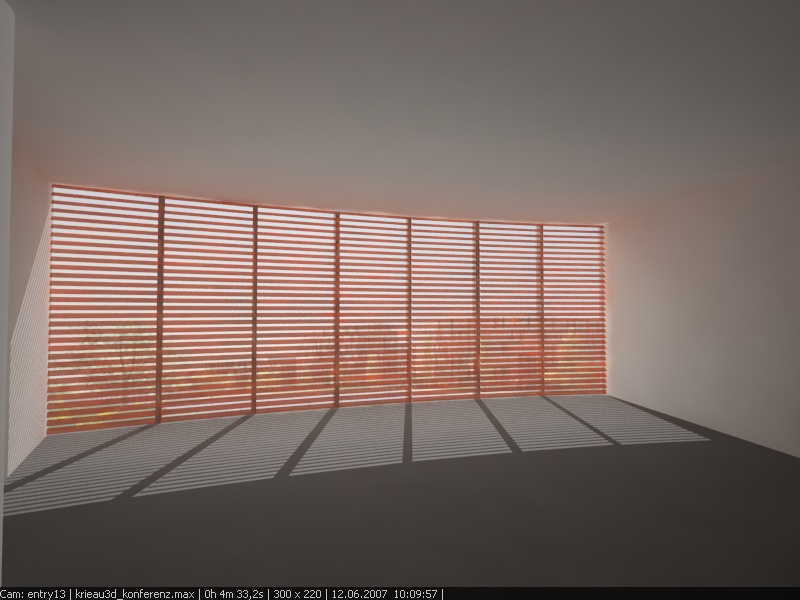
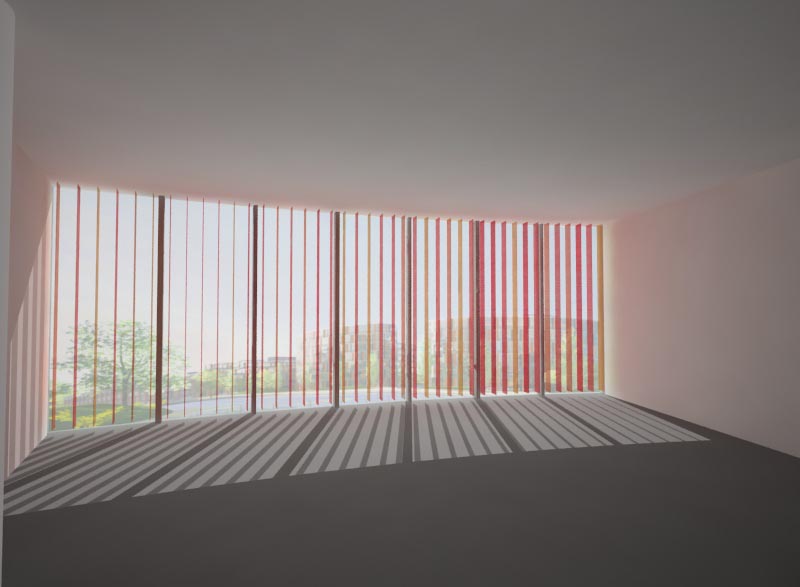
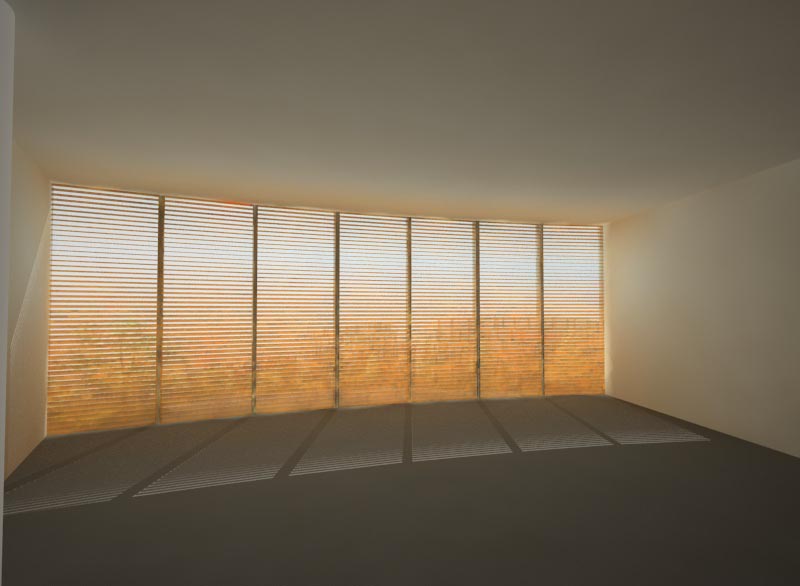
Bürohaus Hoch Zwei Wien – Sun protection study
Visualization studies as project developing tool.
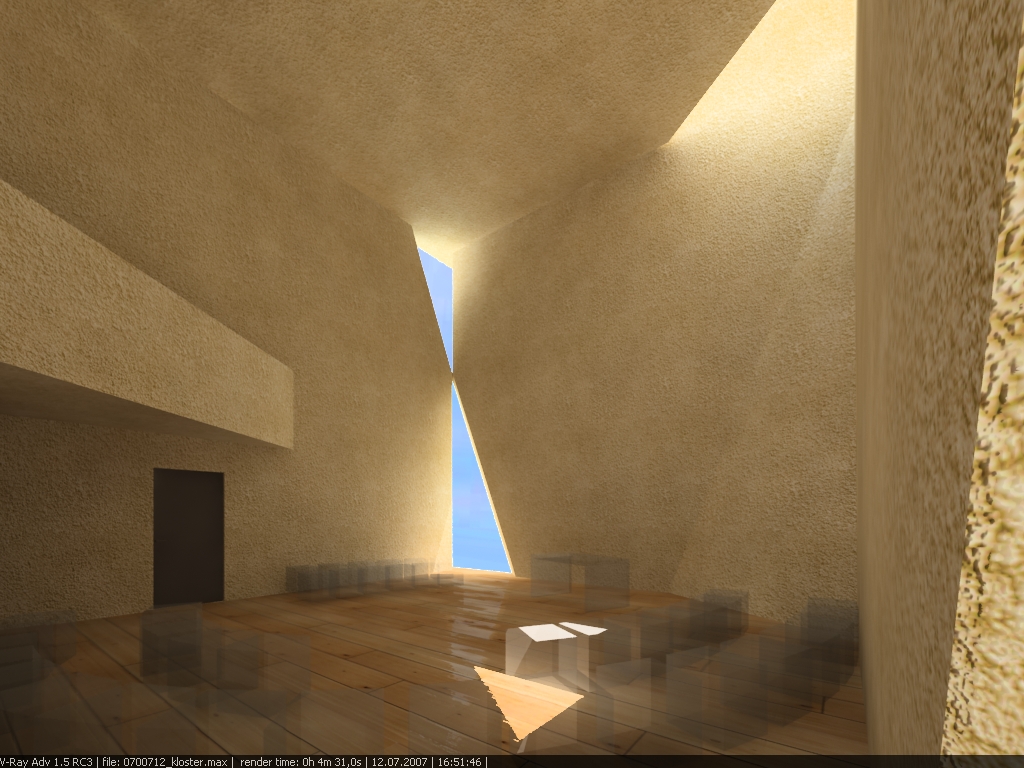
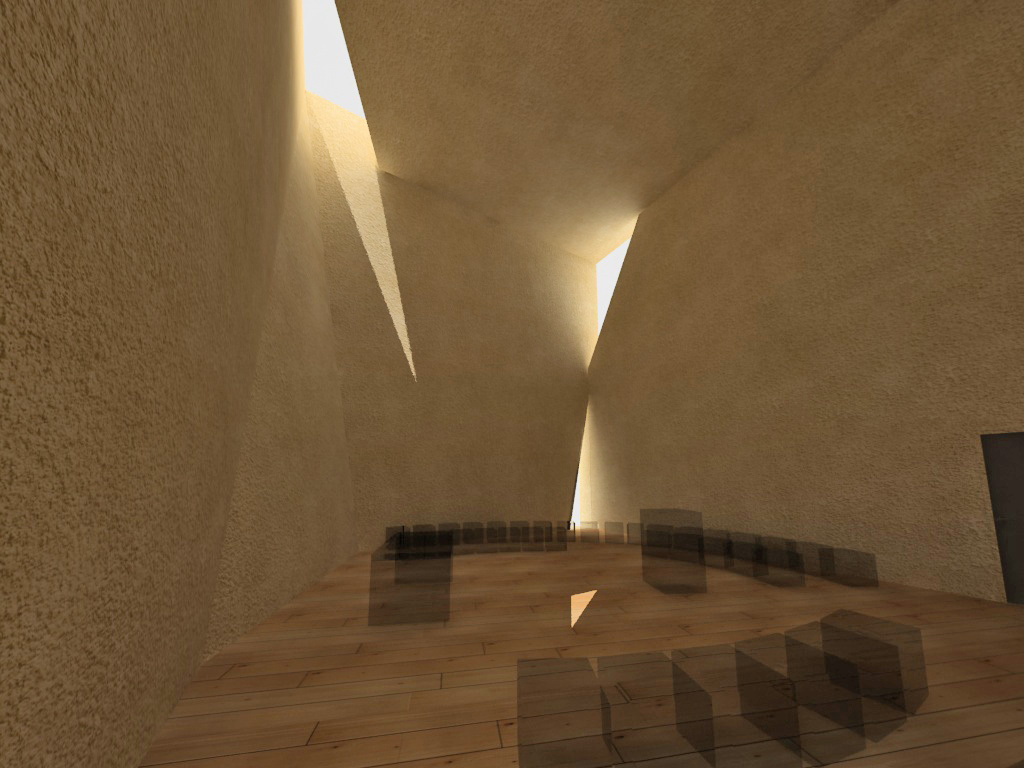
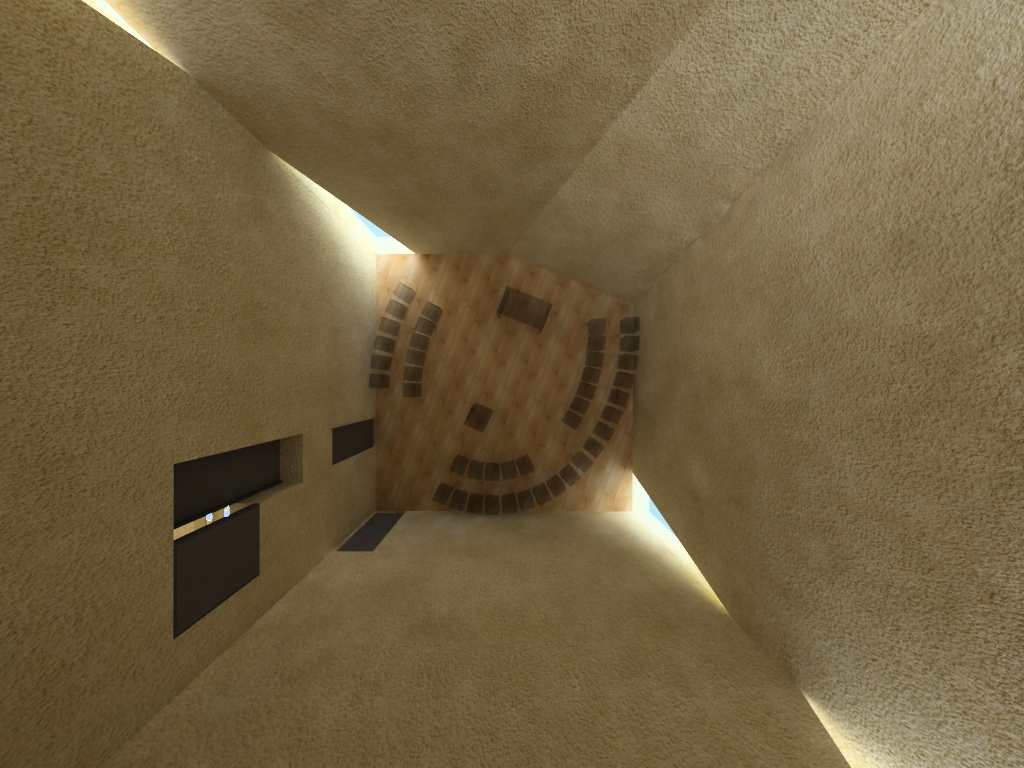
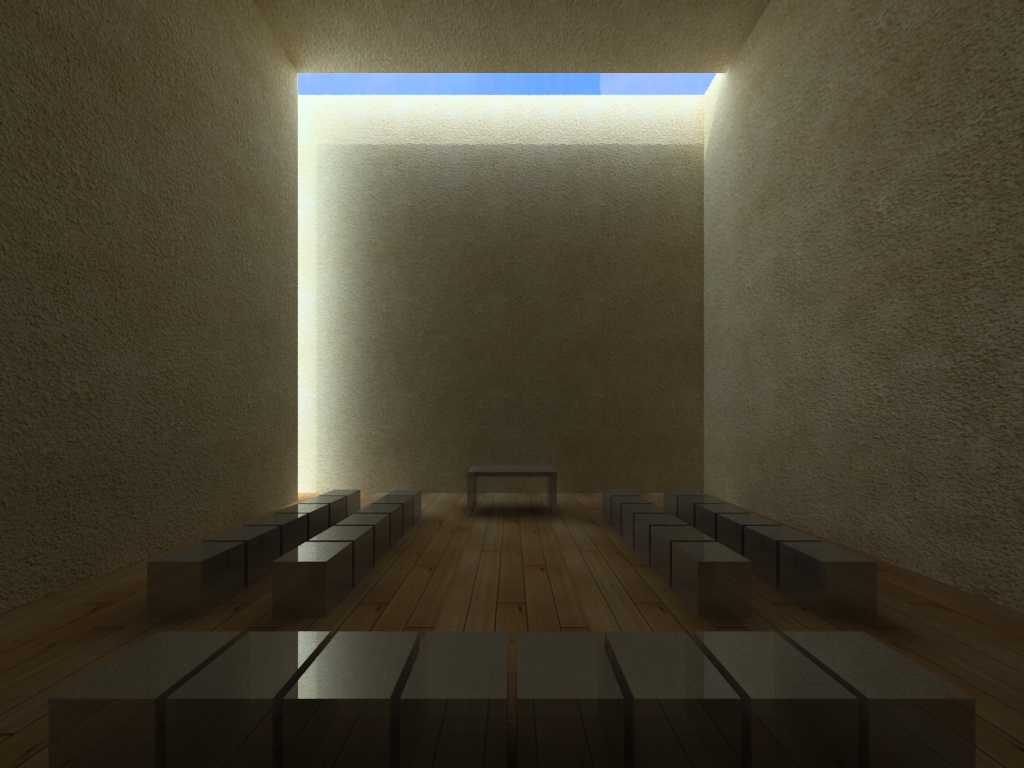
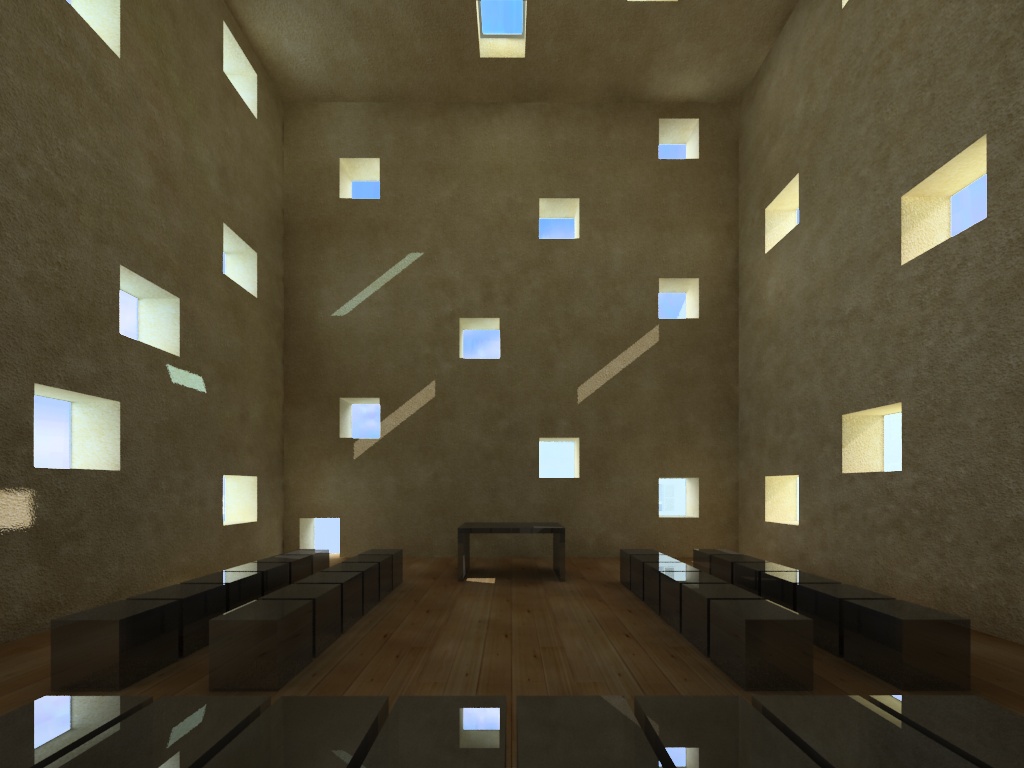
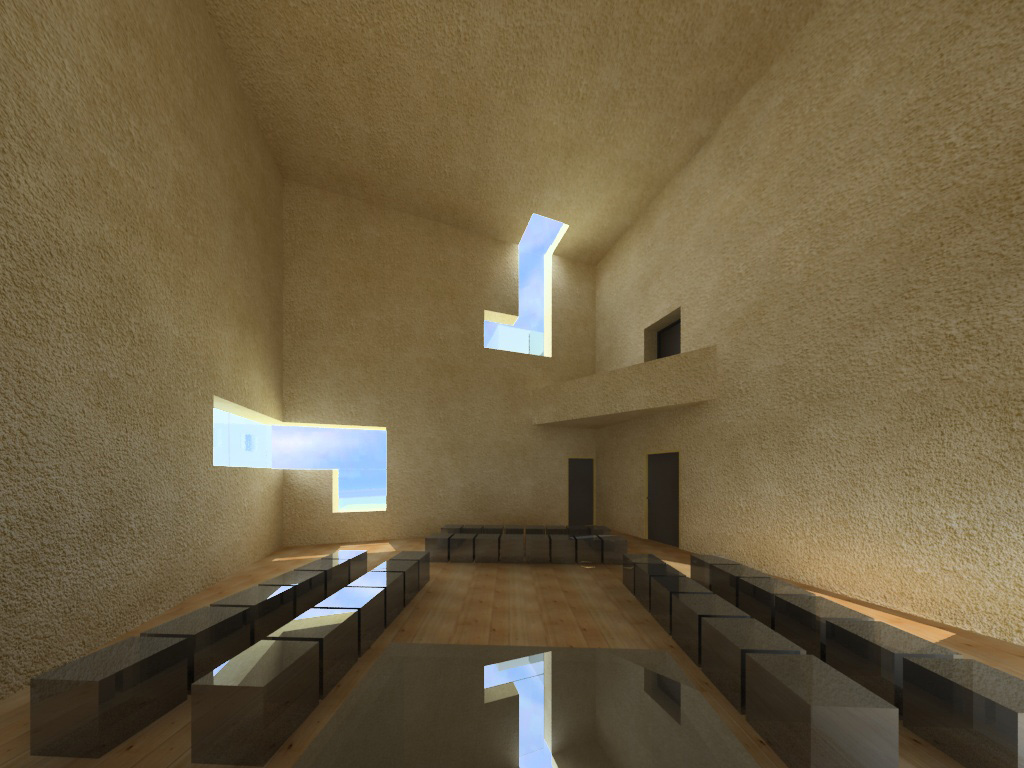
Kloster St. Gabriel
Chapel light studies.
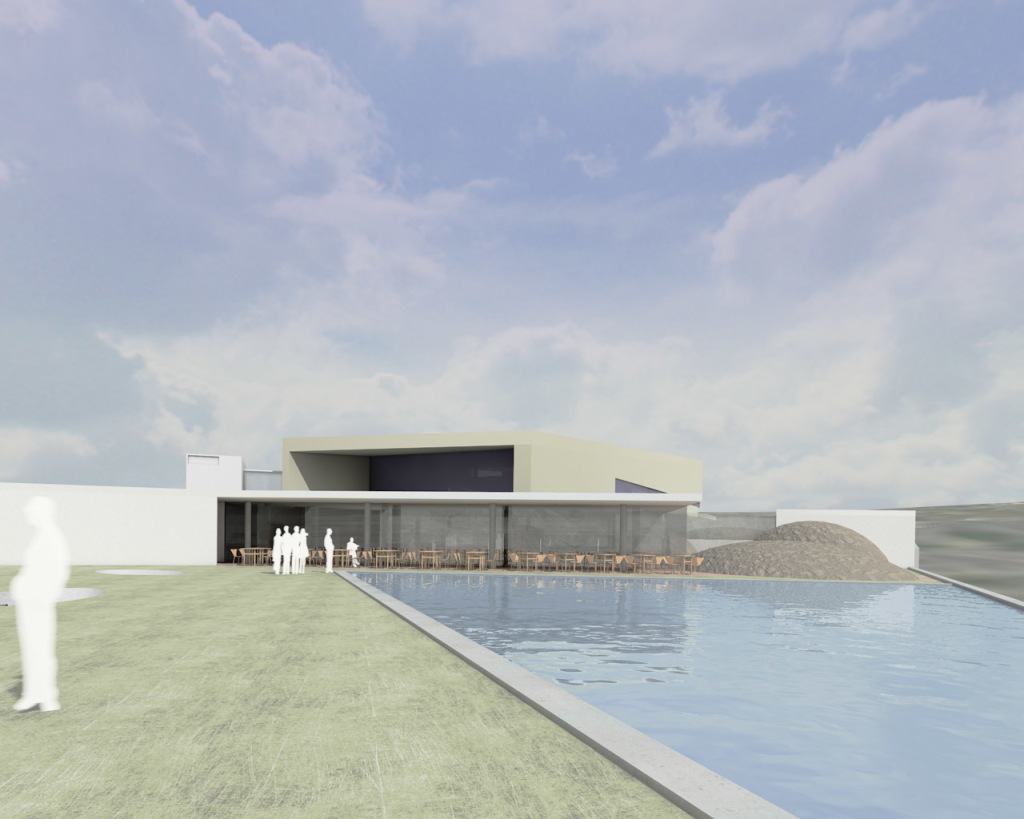
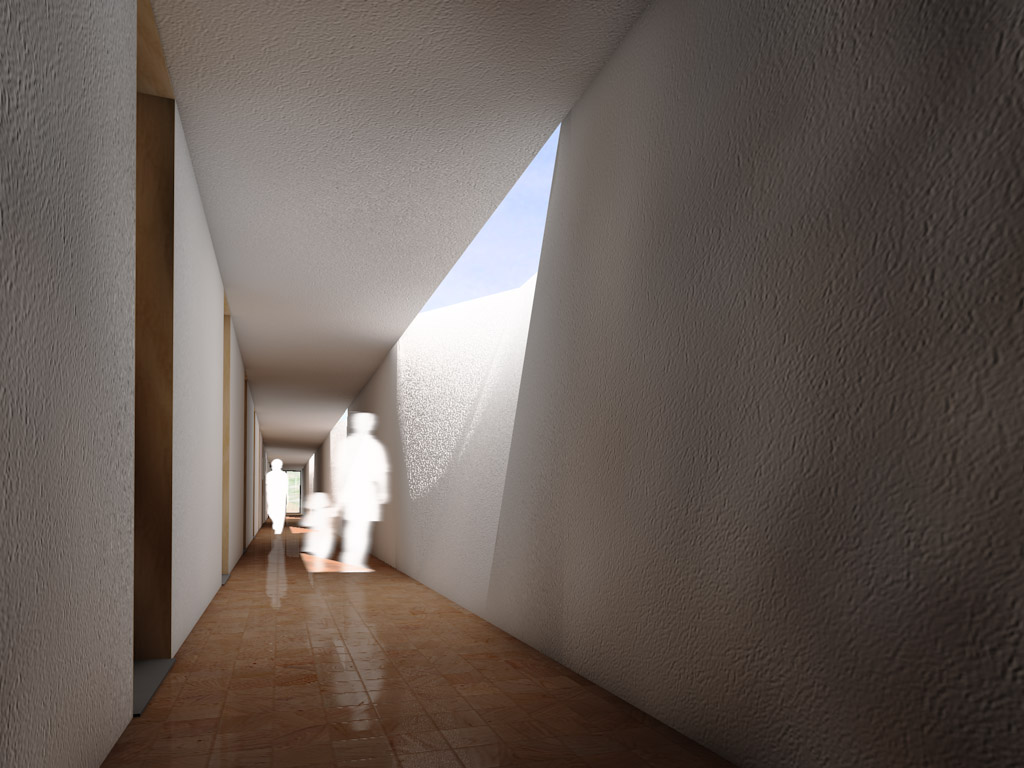
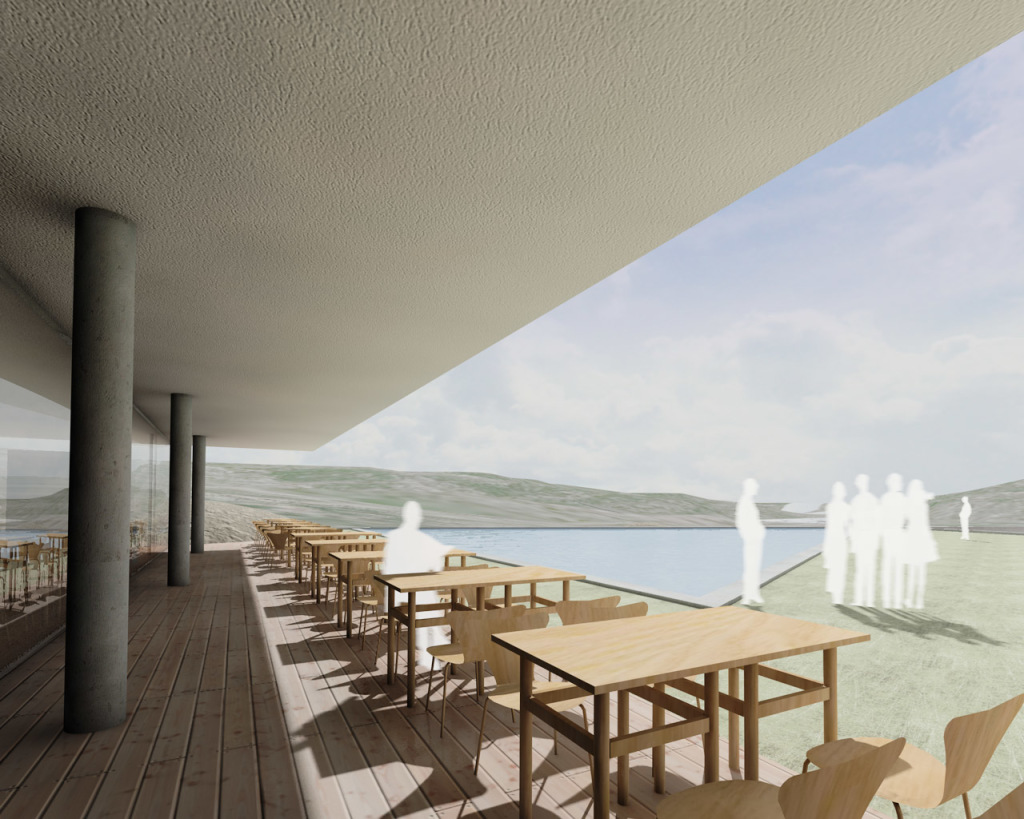
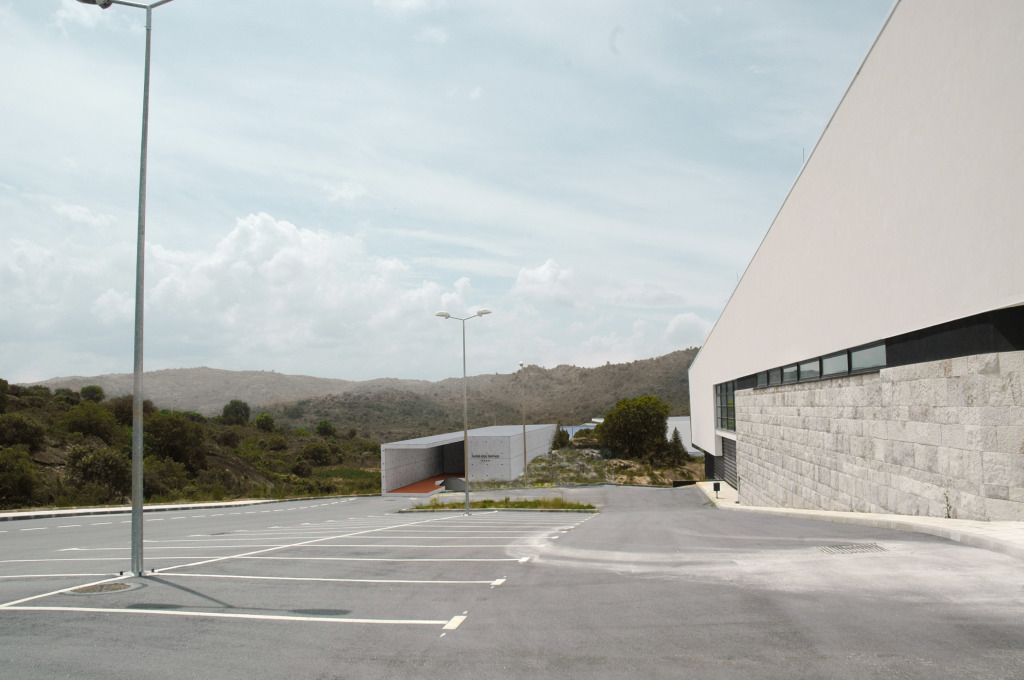
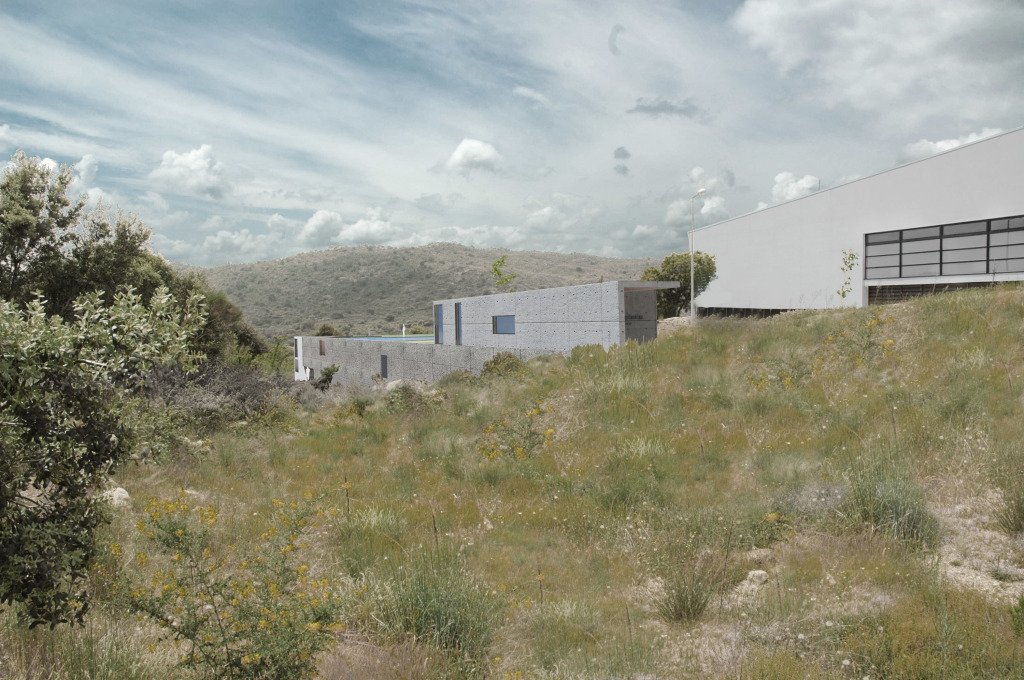
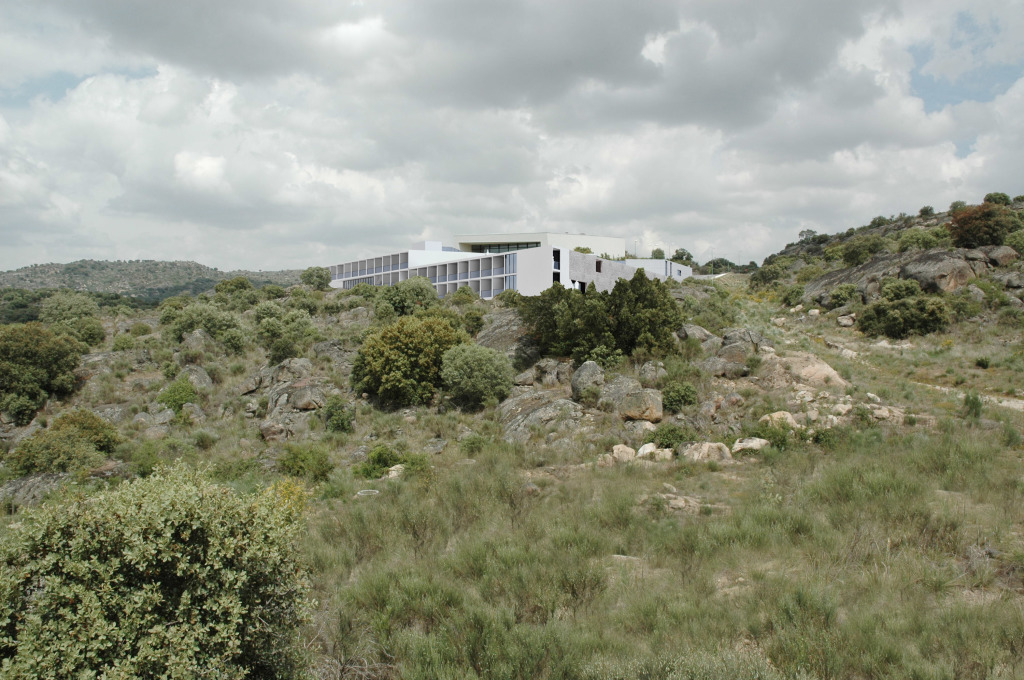
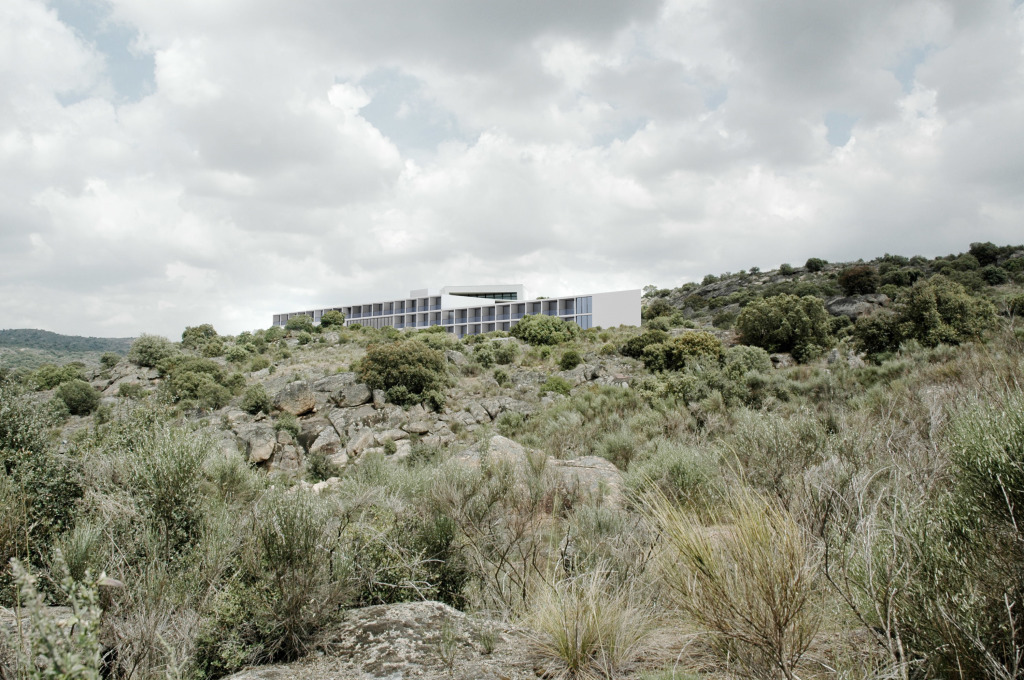
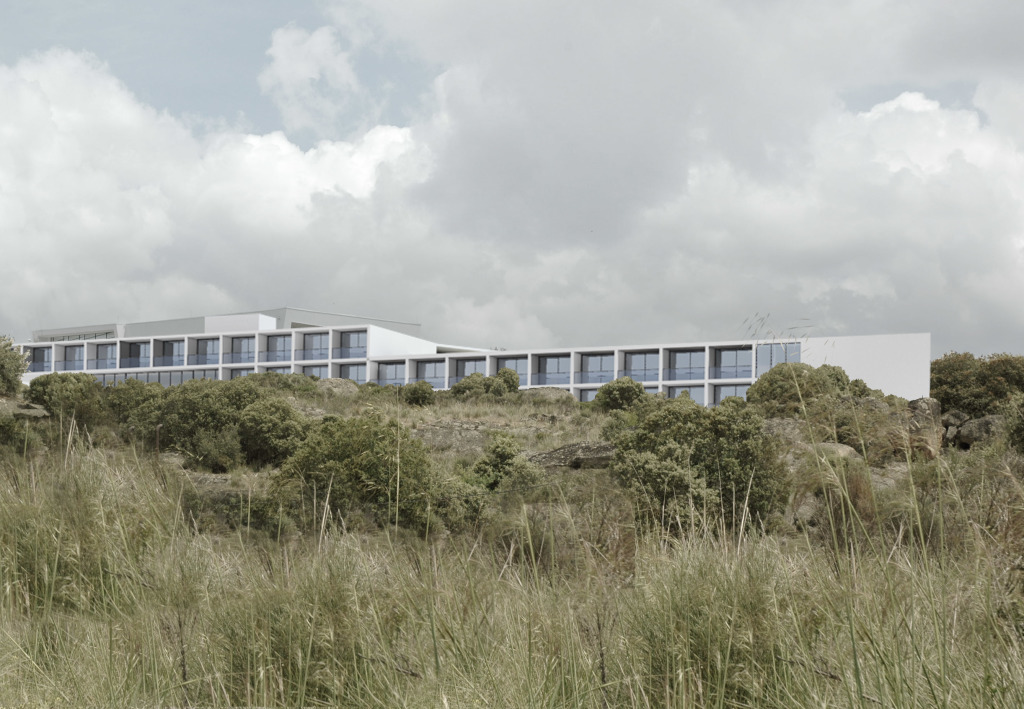
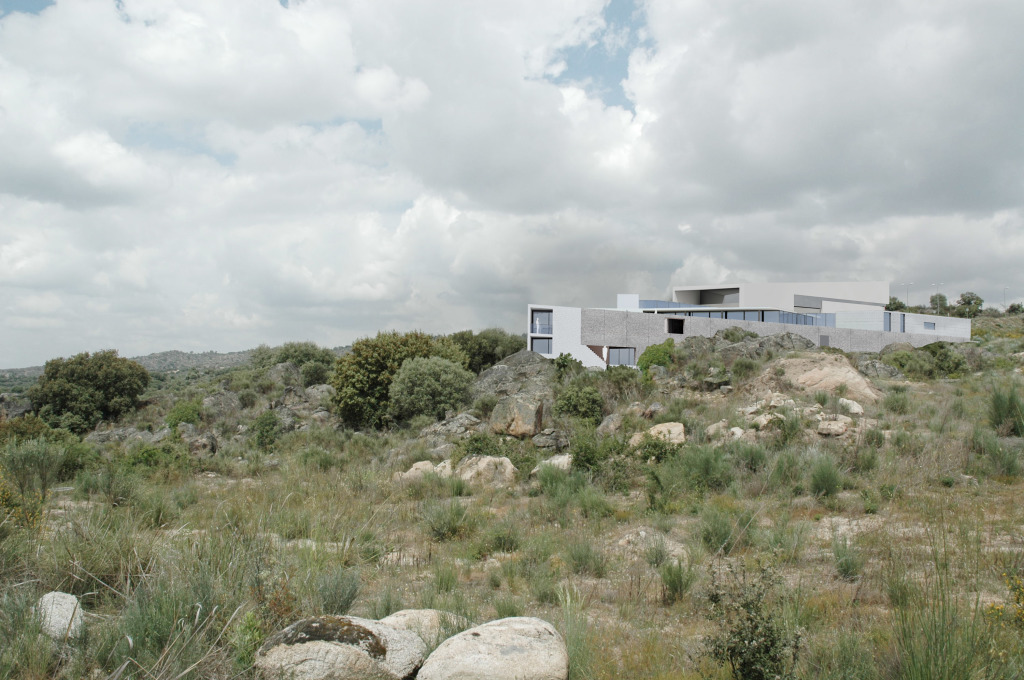
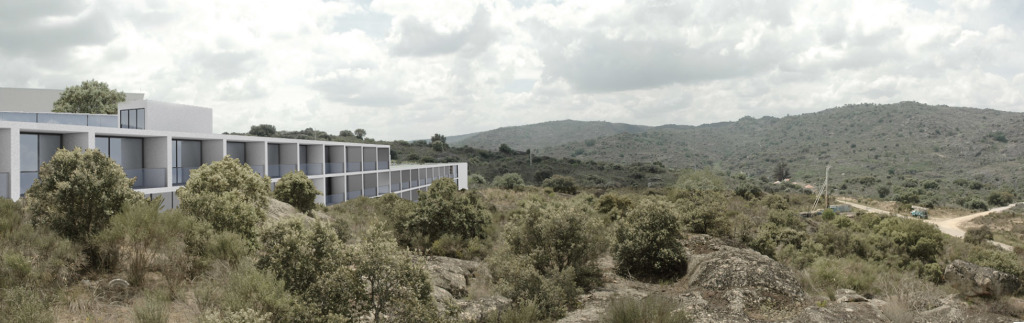
Hotel in Almeida
Competition for the project of a hotel which would complement an existing Spa in Almeida.
Houses in Guimarães
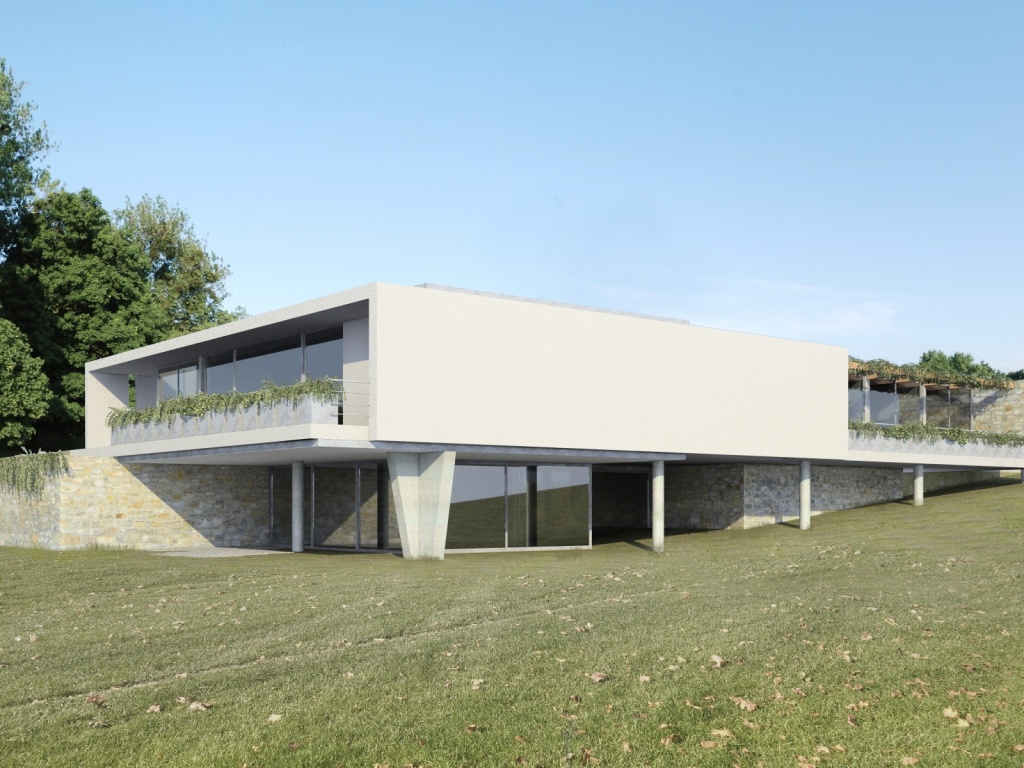
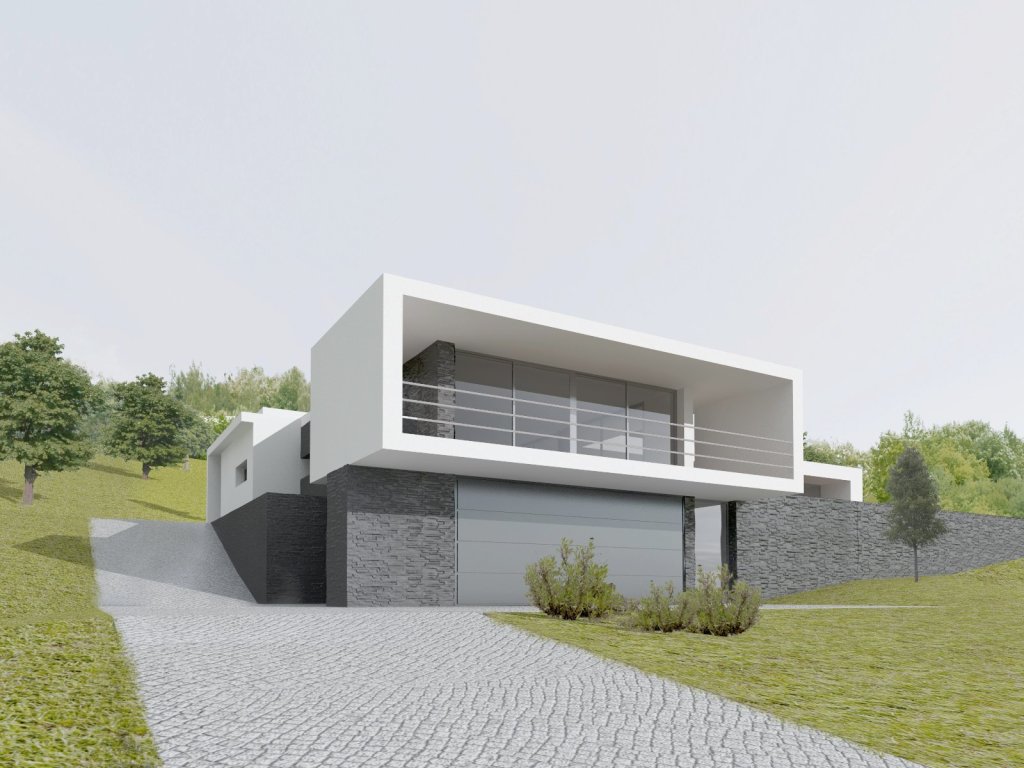
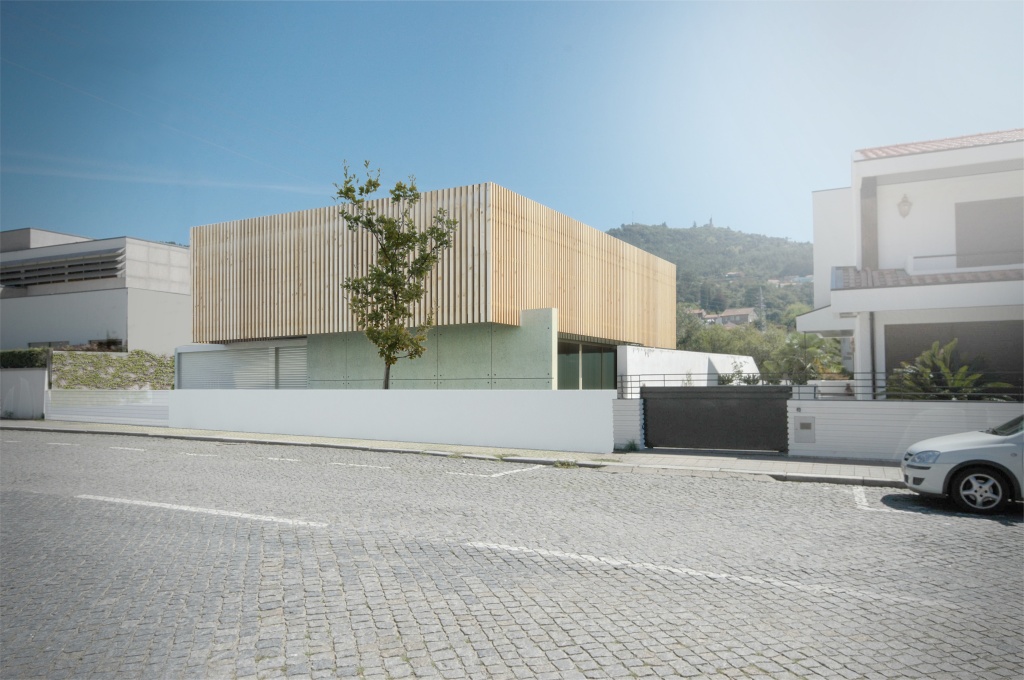
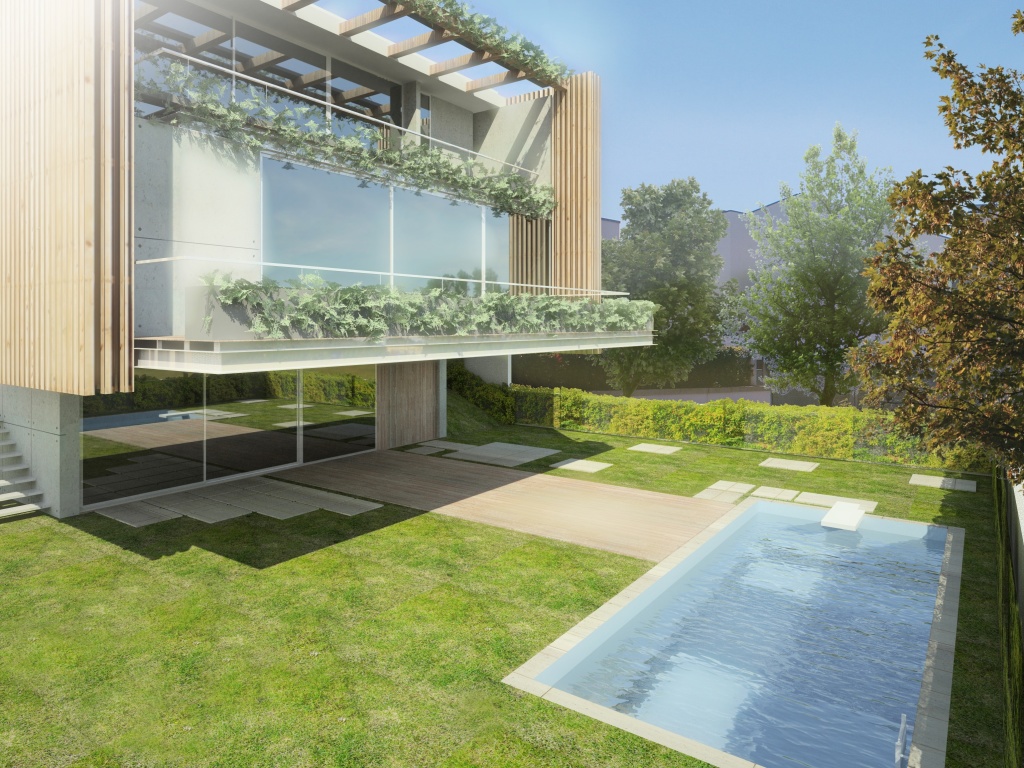
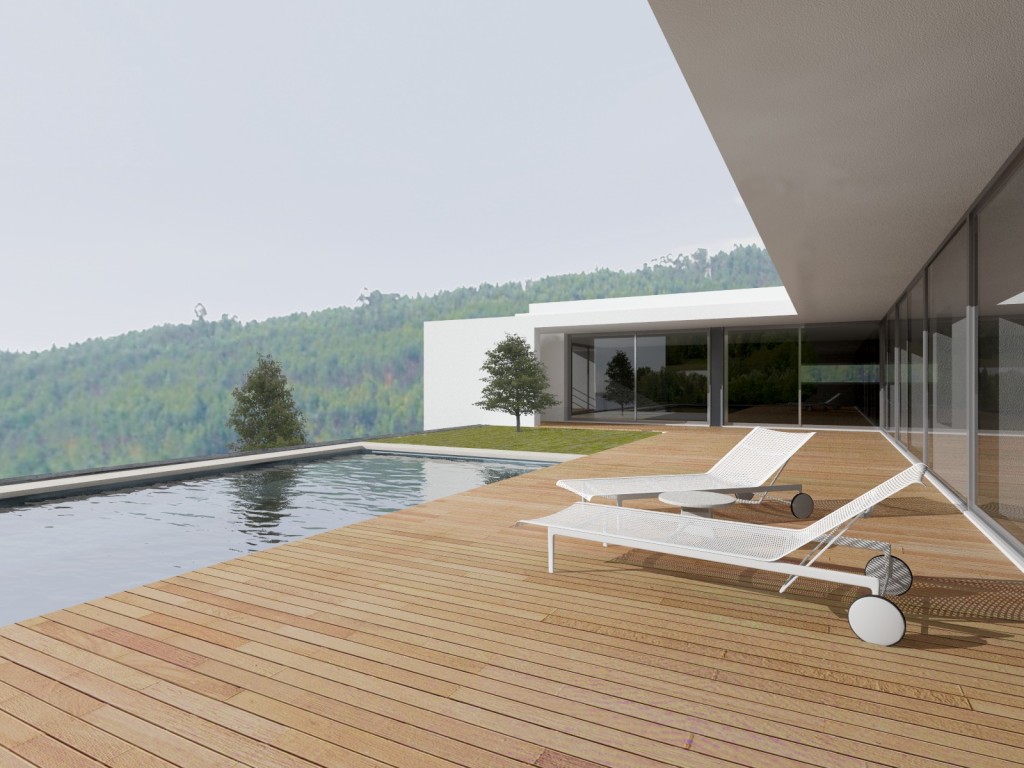
These are various renderings comissioned in the area of Guimarães.
Housing C Ideas
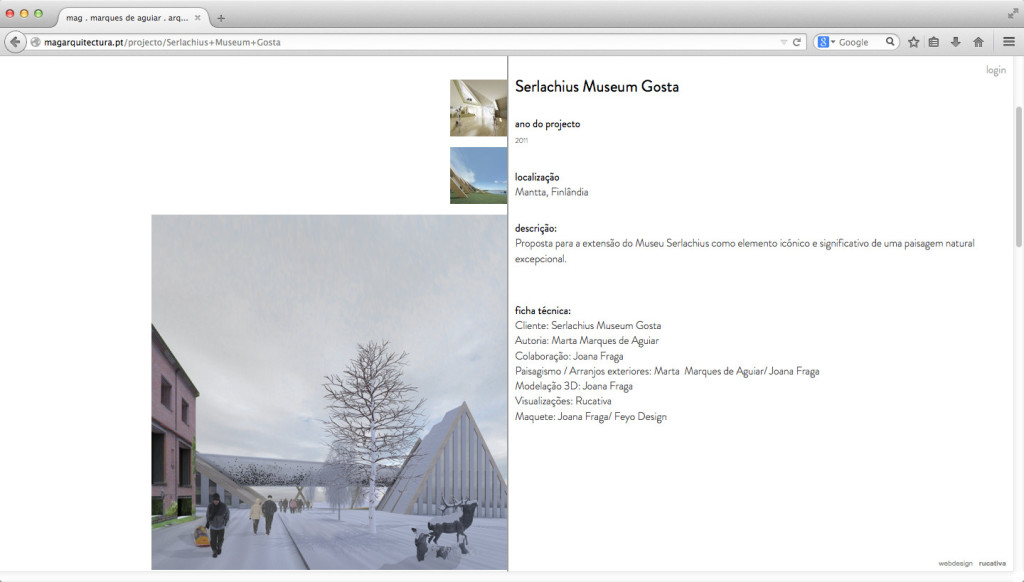
Competition for Serlacchius Museum
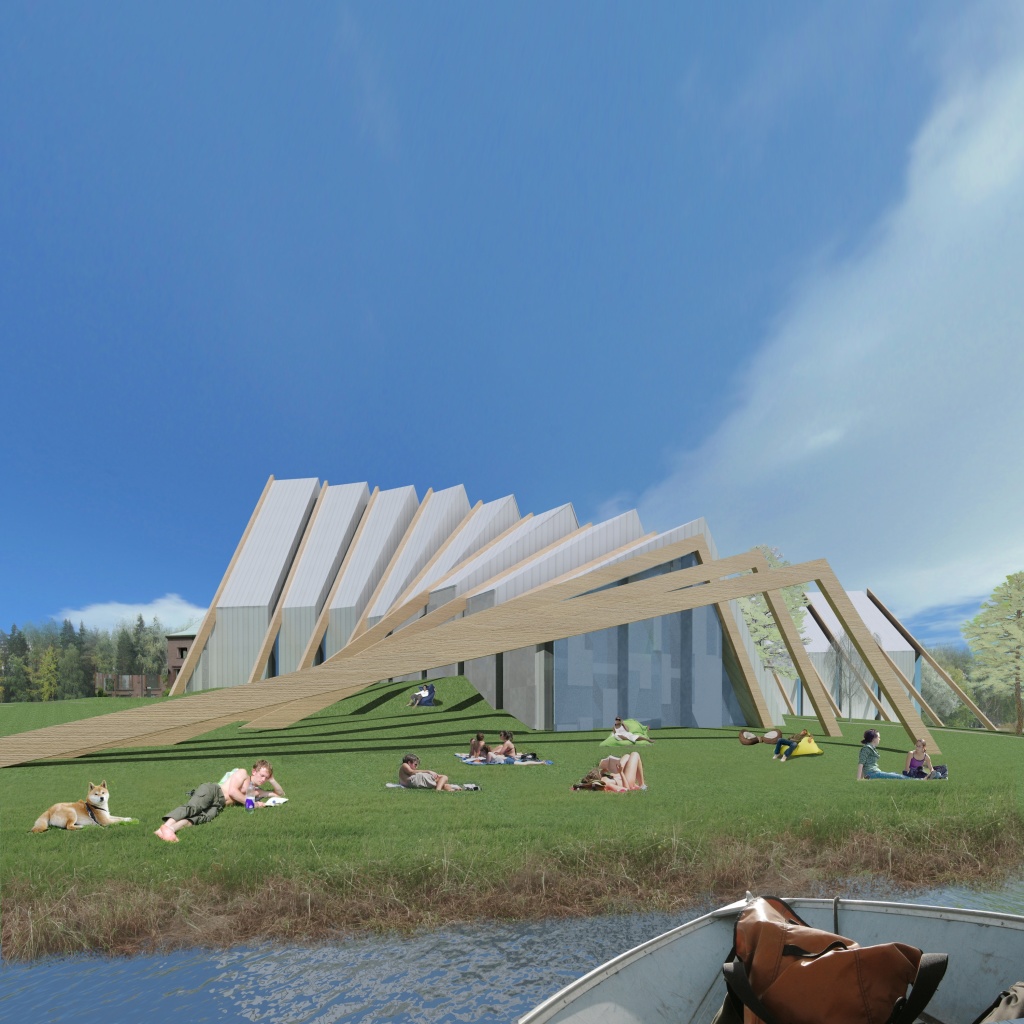
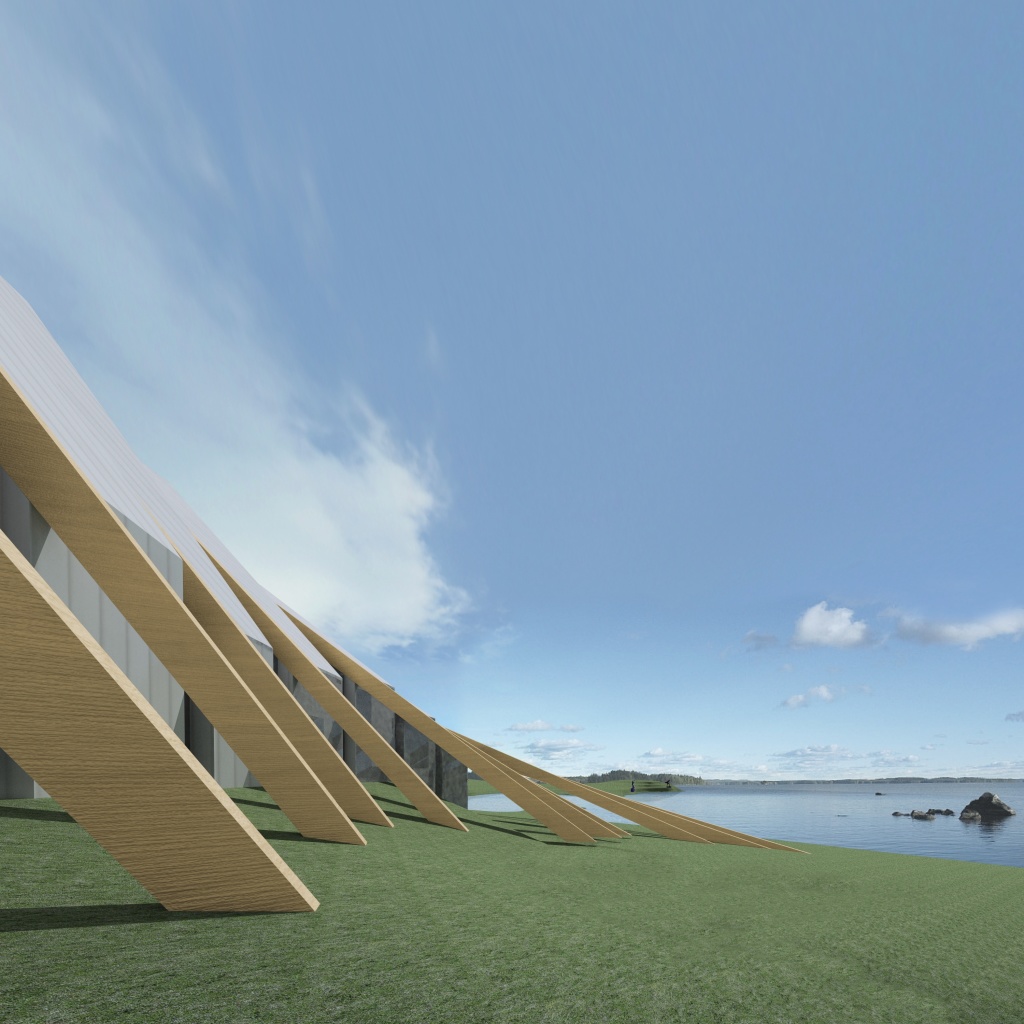
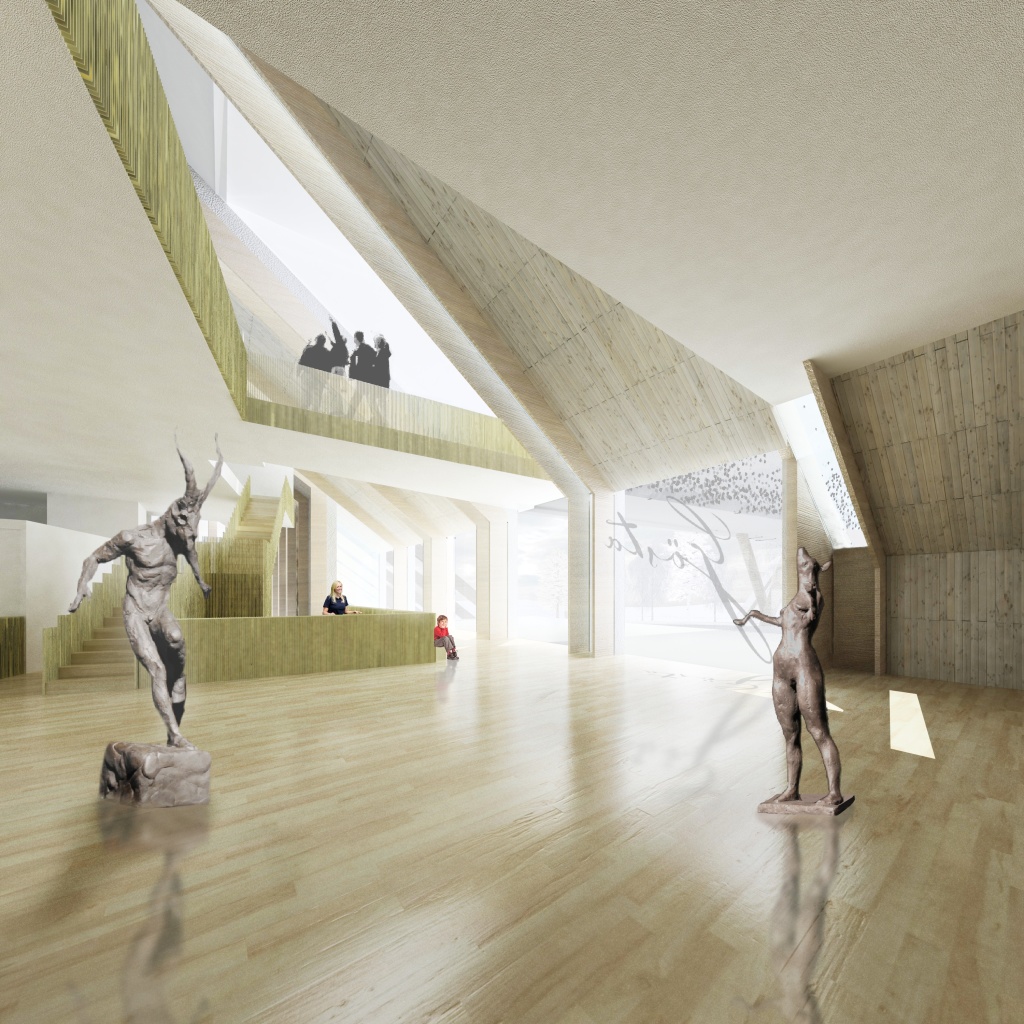
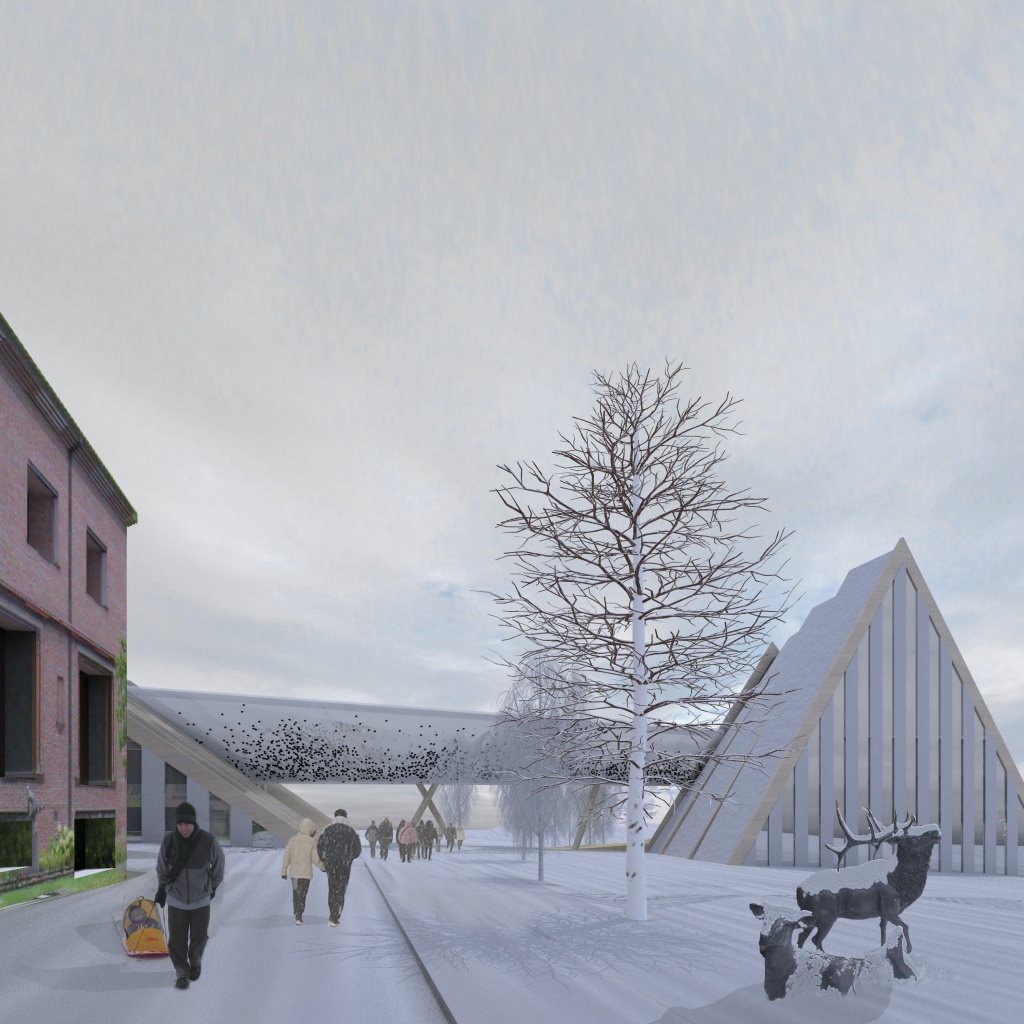
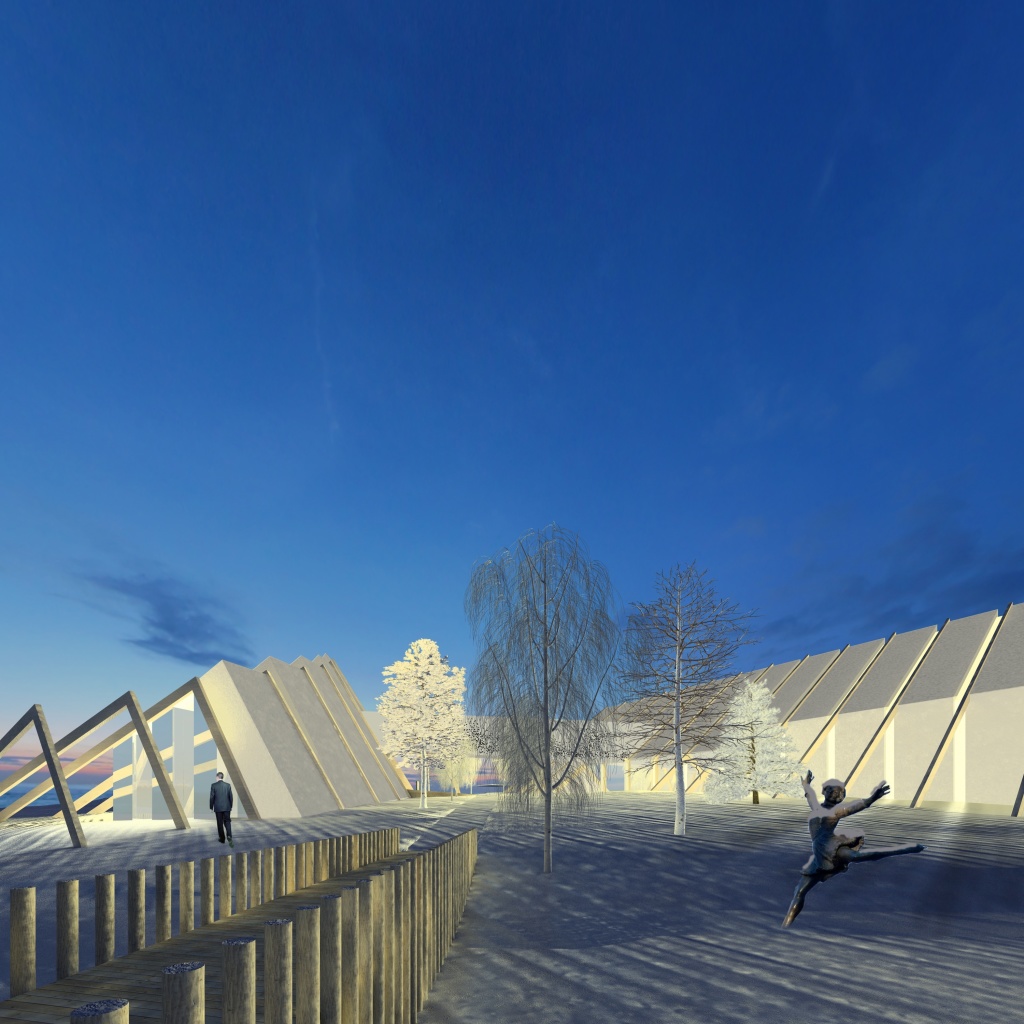
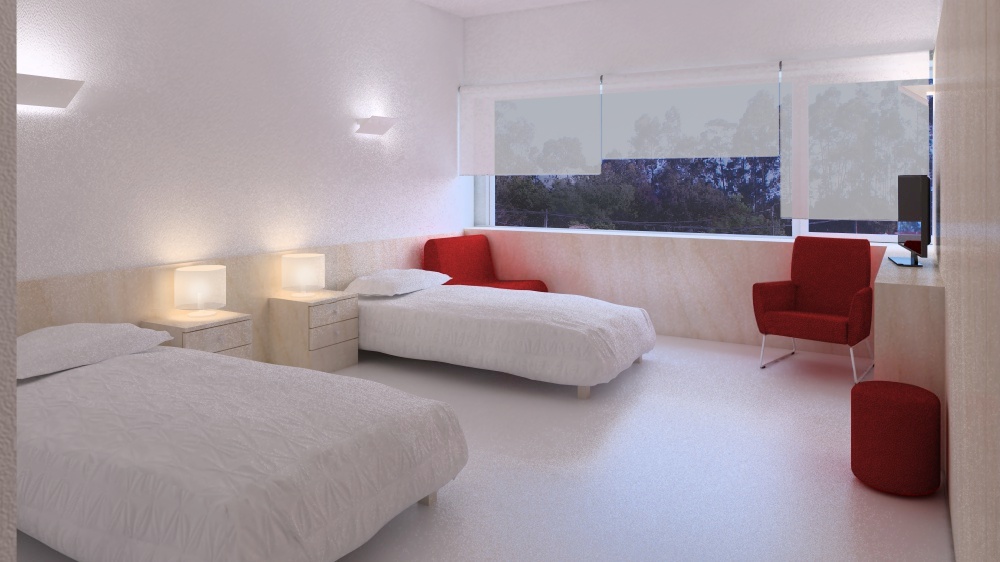
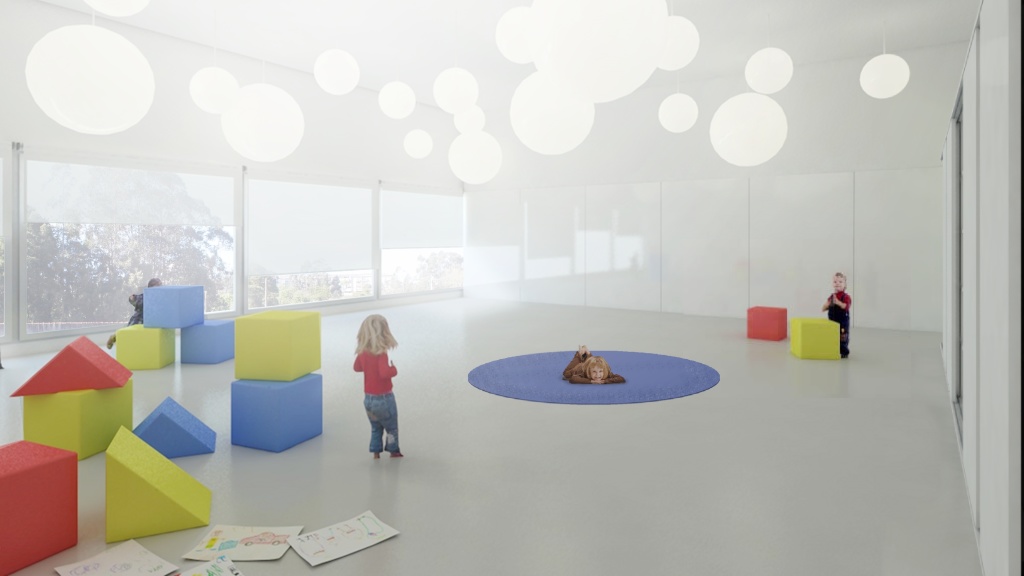
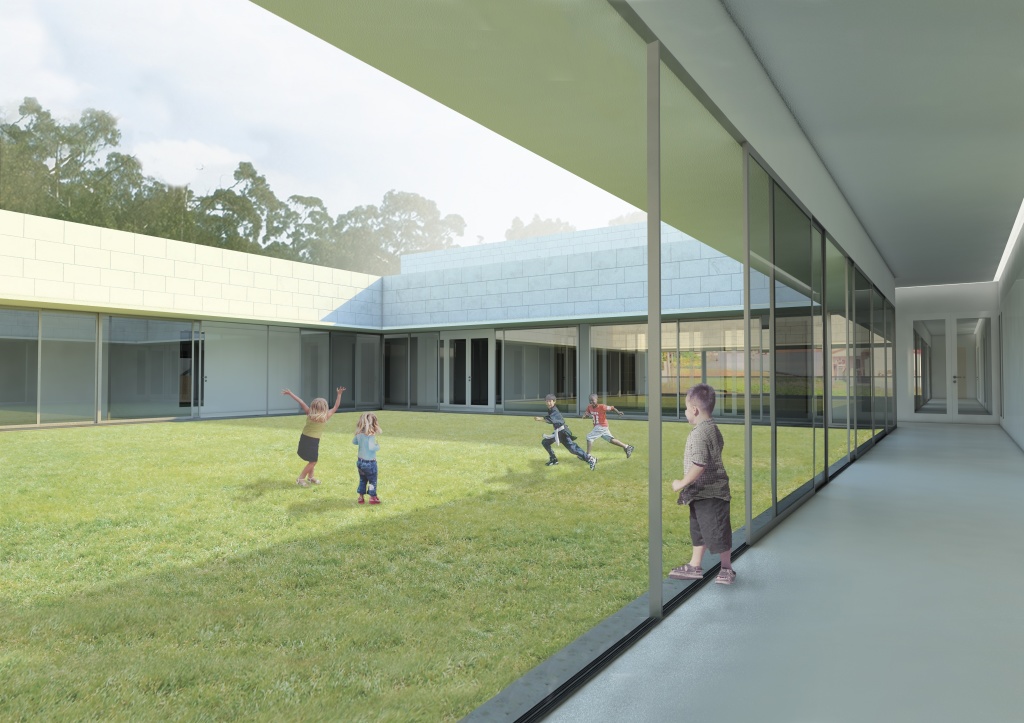
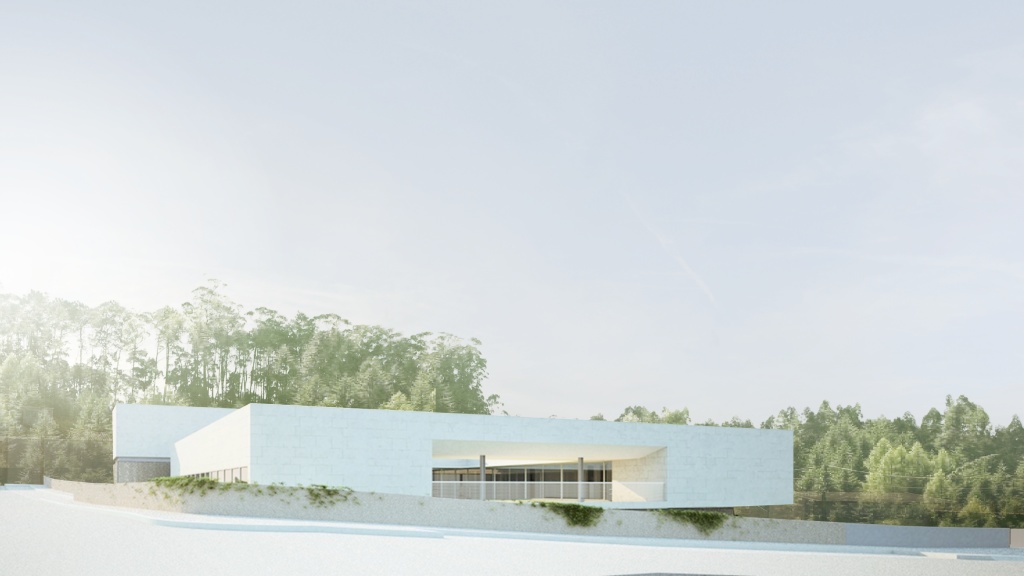
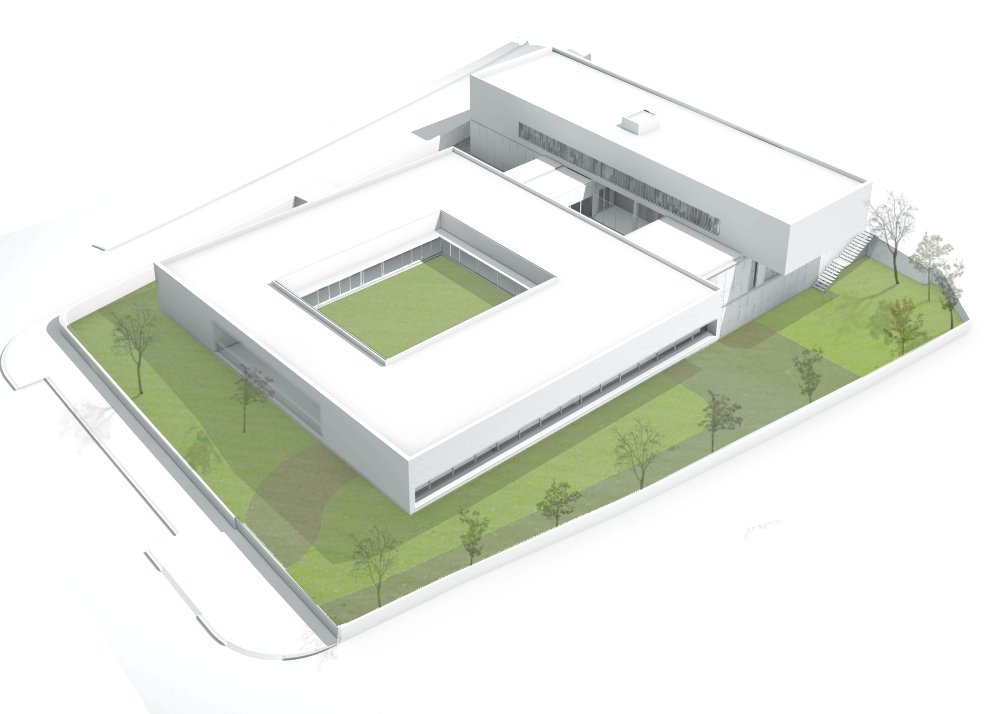
Social Services Building – Costa Verde
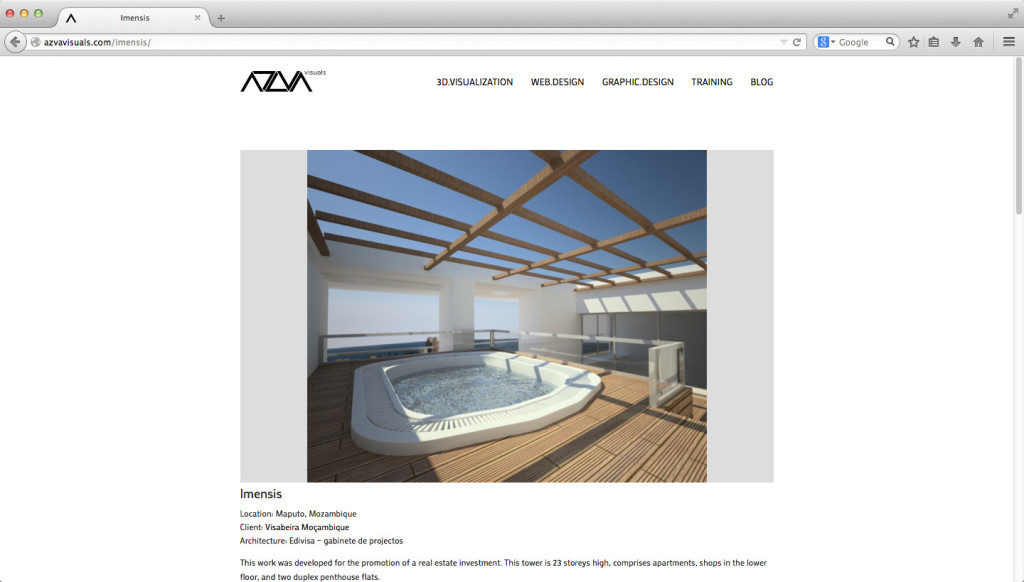
Imensis
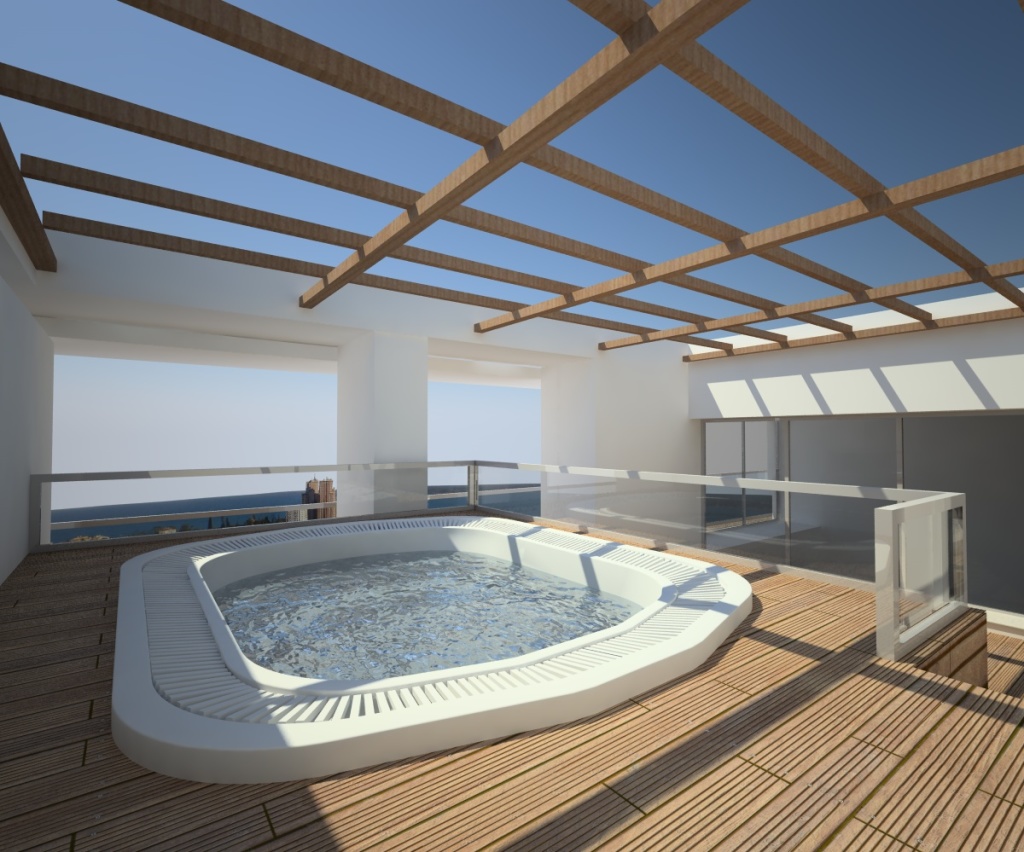
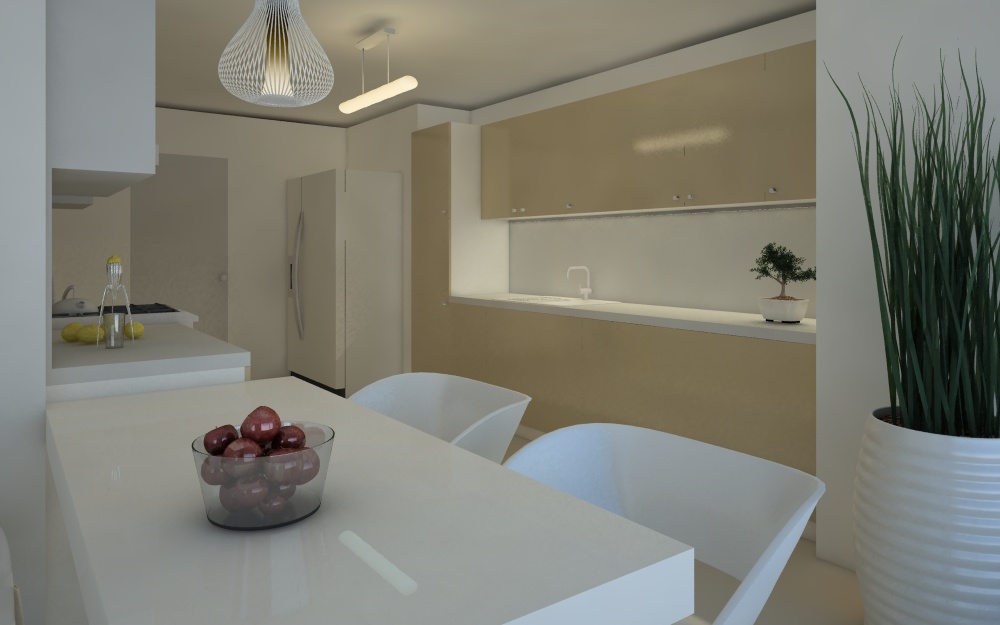
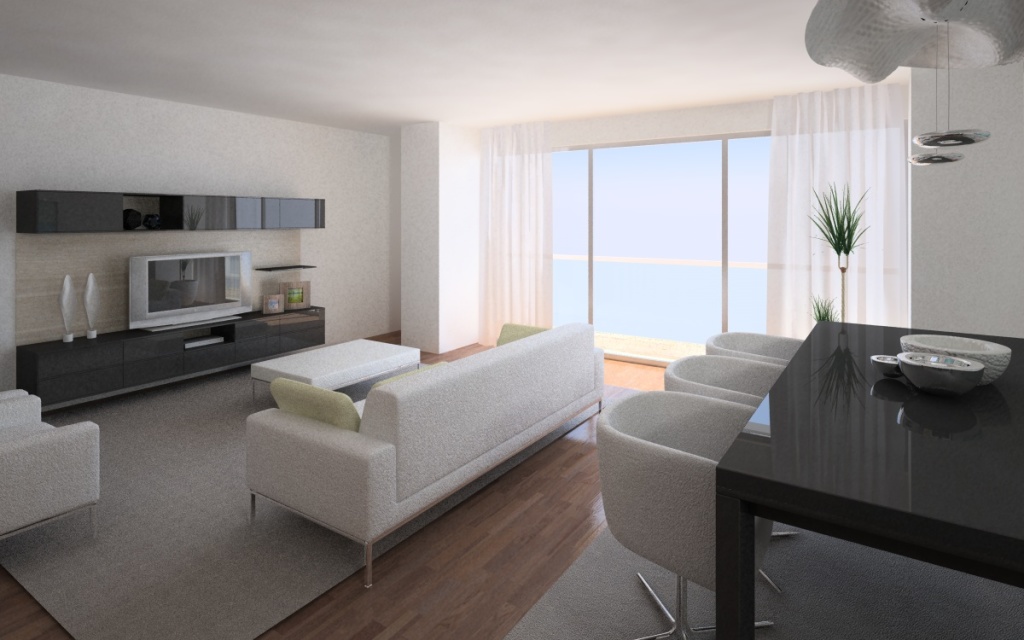
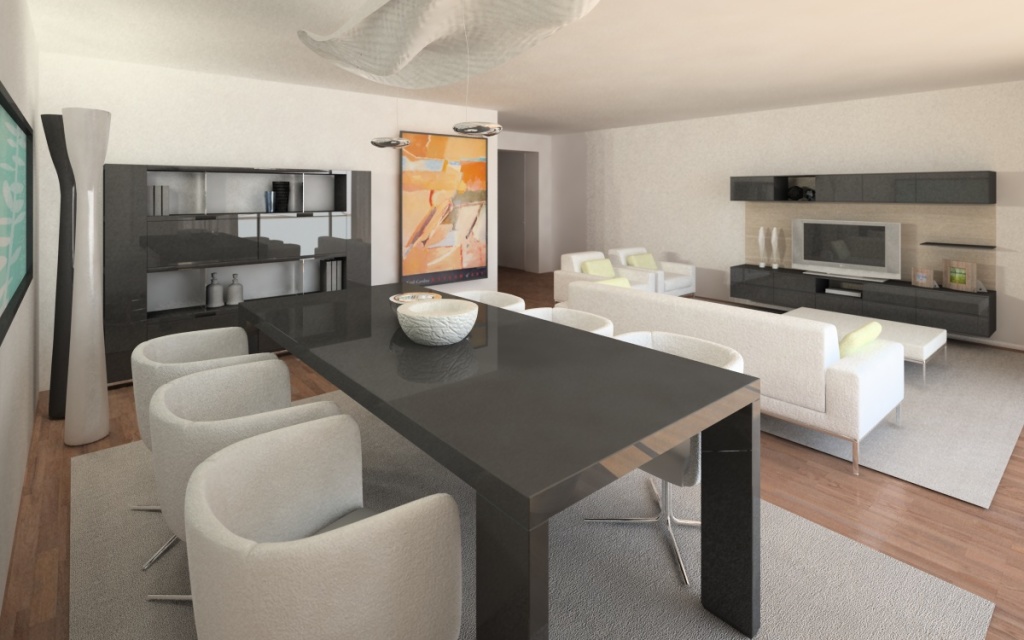
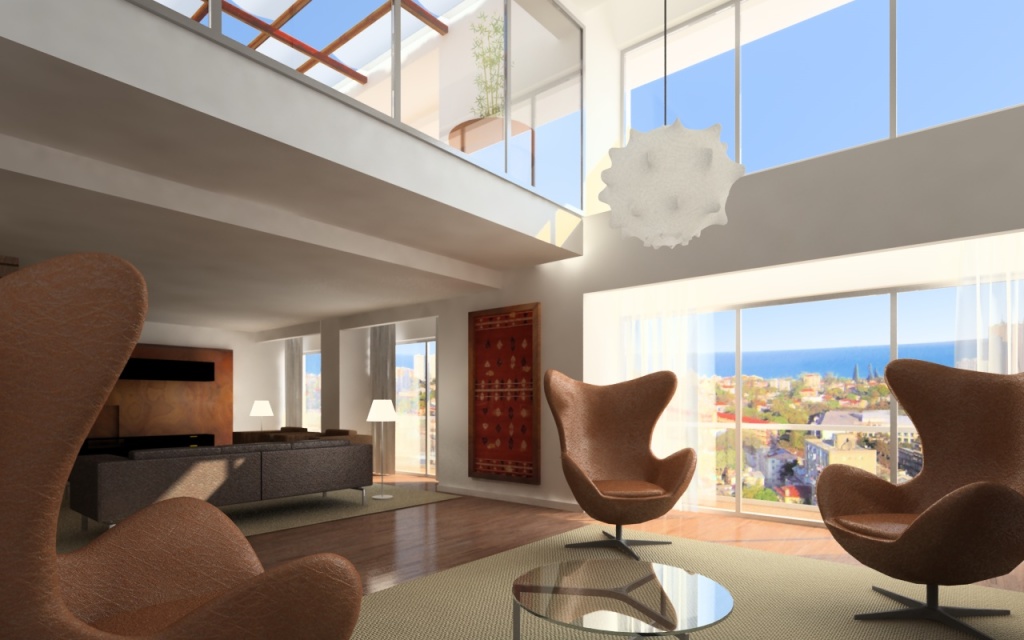
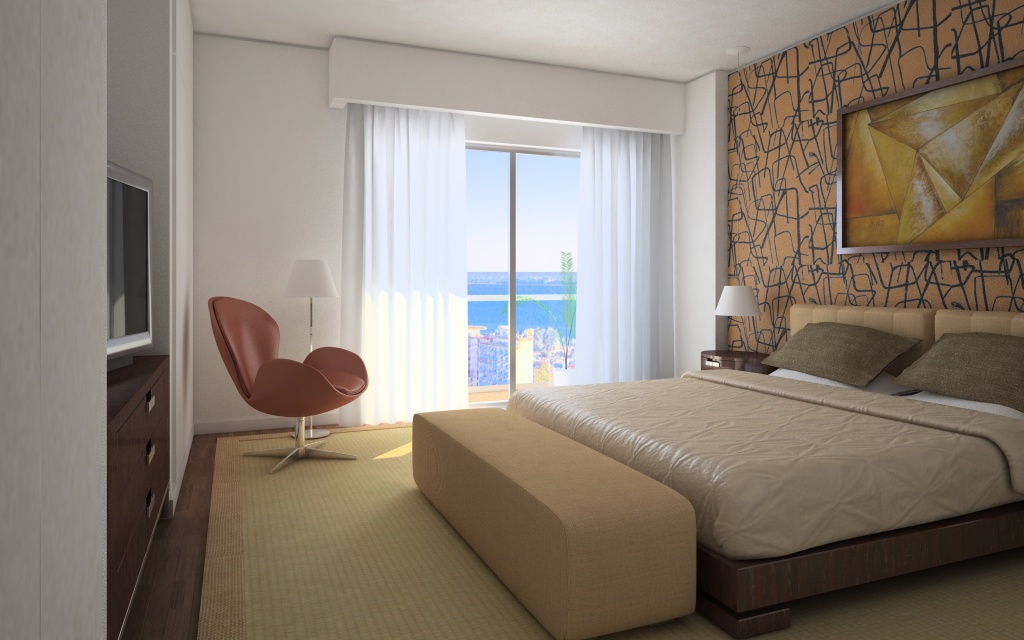
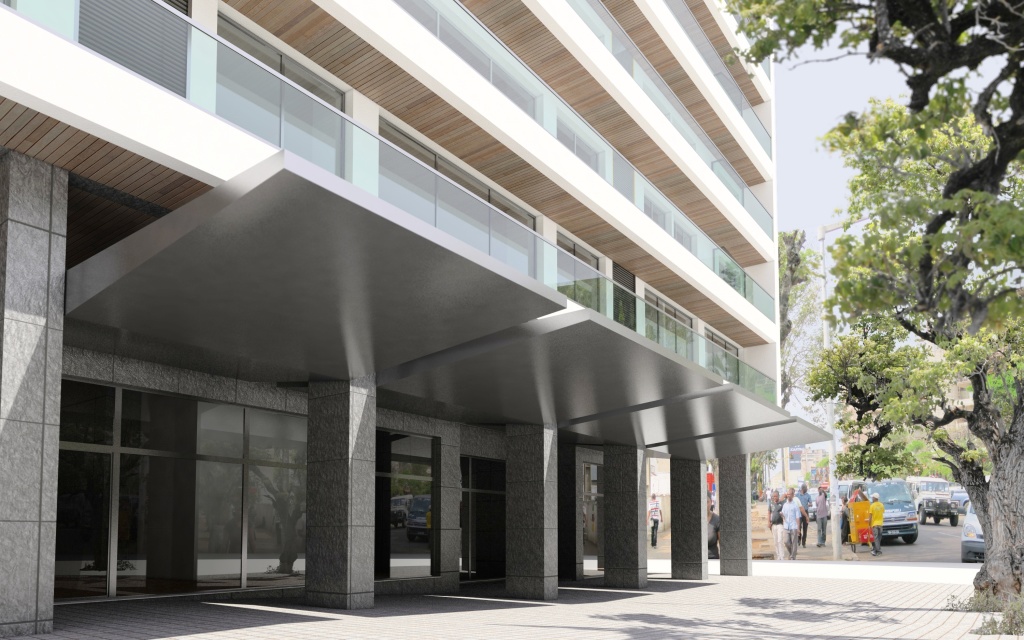
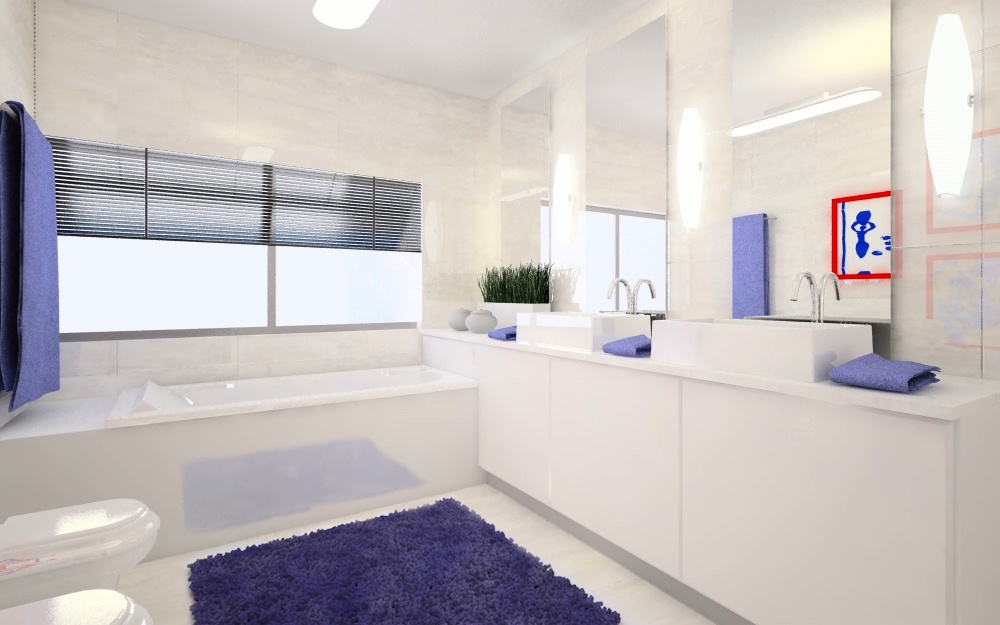
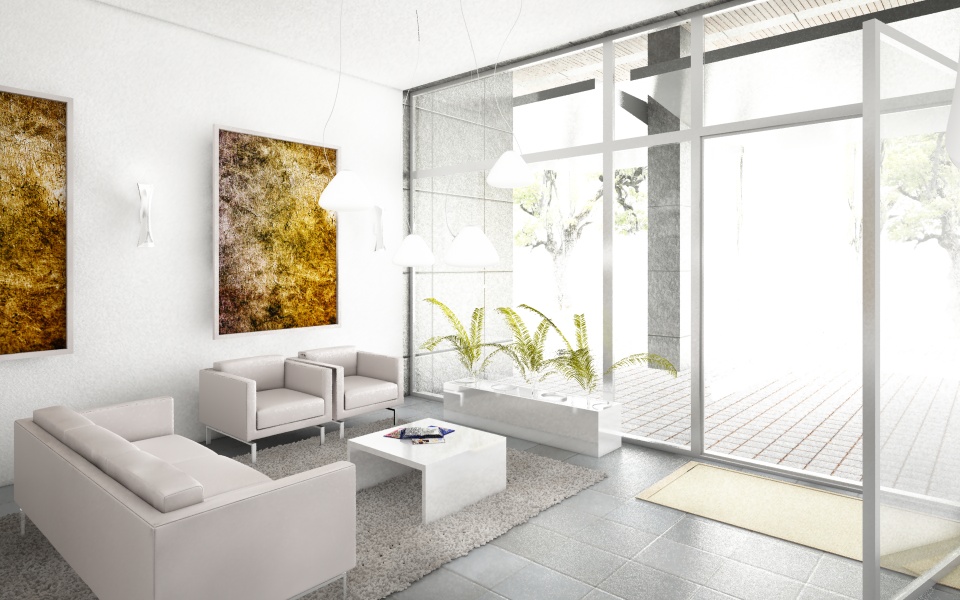
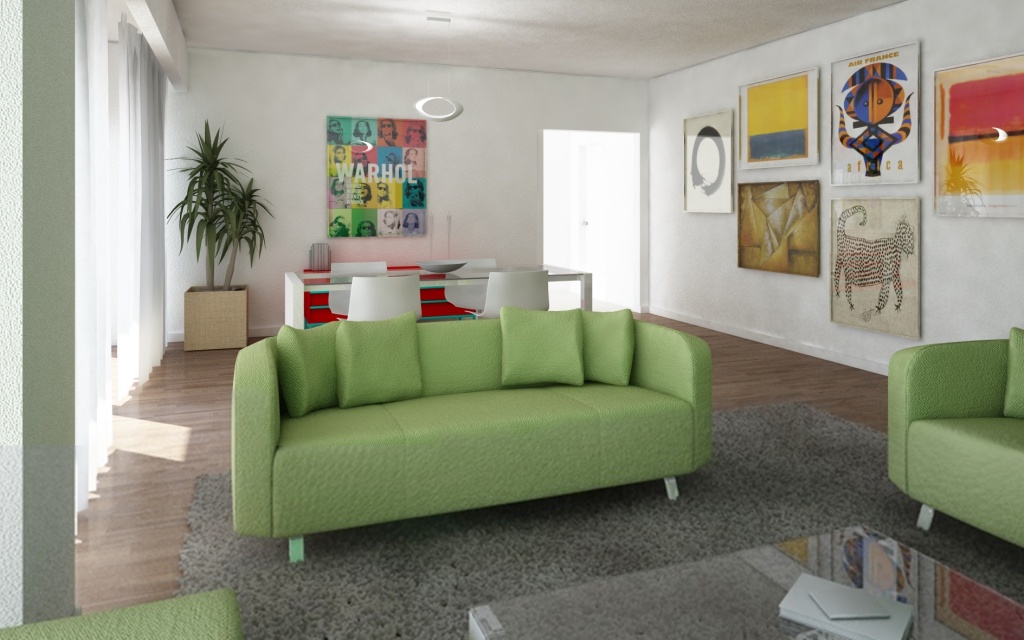
This work was developed for the promotion of a real estate investment. This tower is 23 storeys high, comprises apartments, shops in the lower floor, and two duplex penthouse flats.
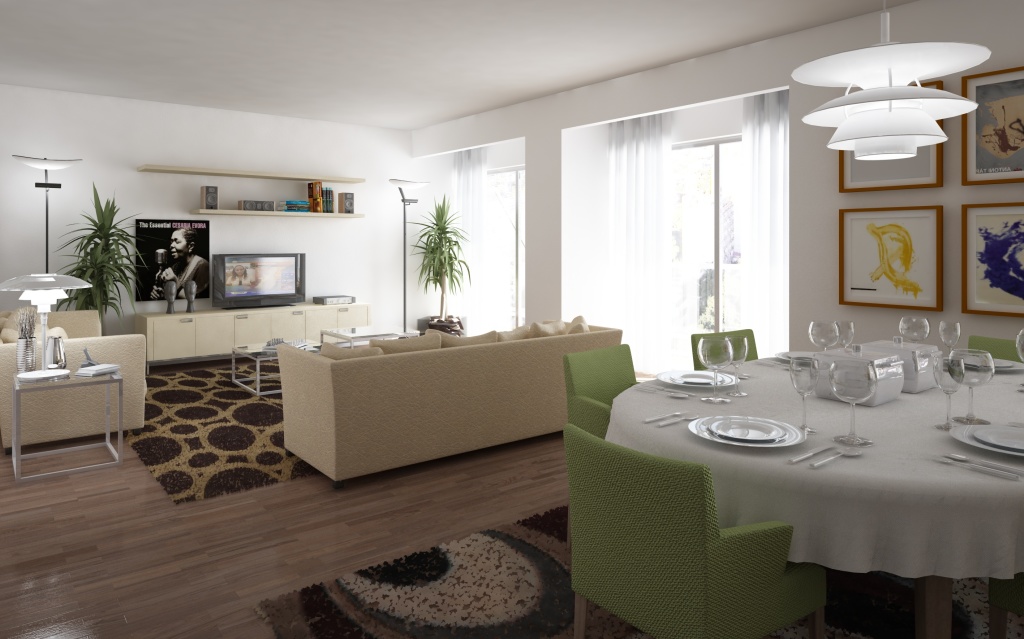
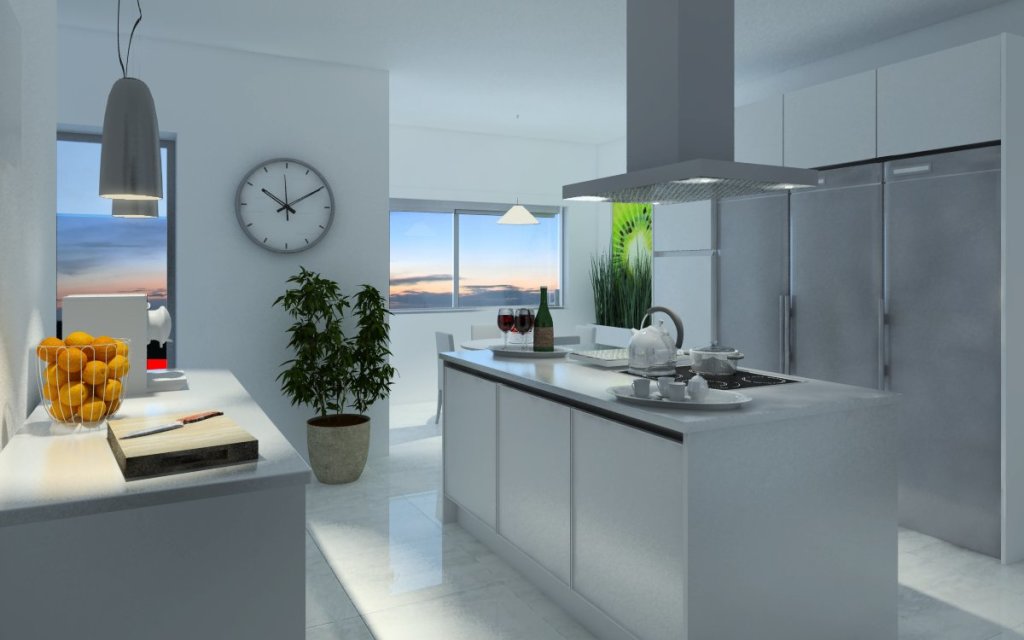
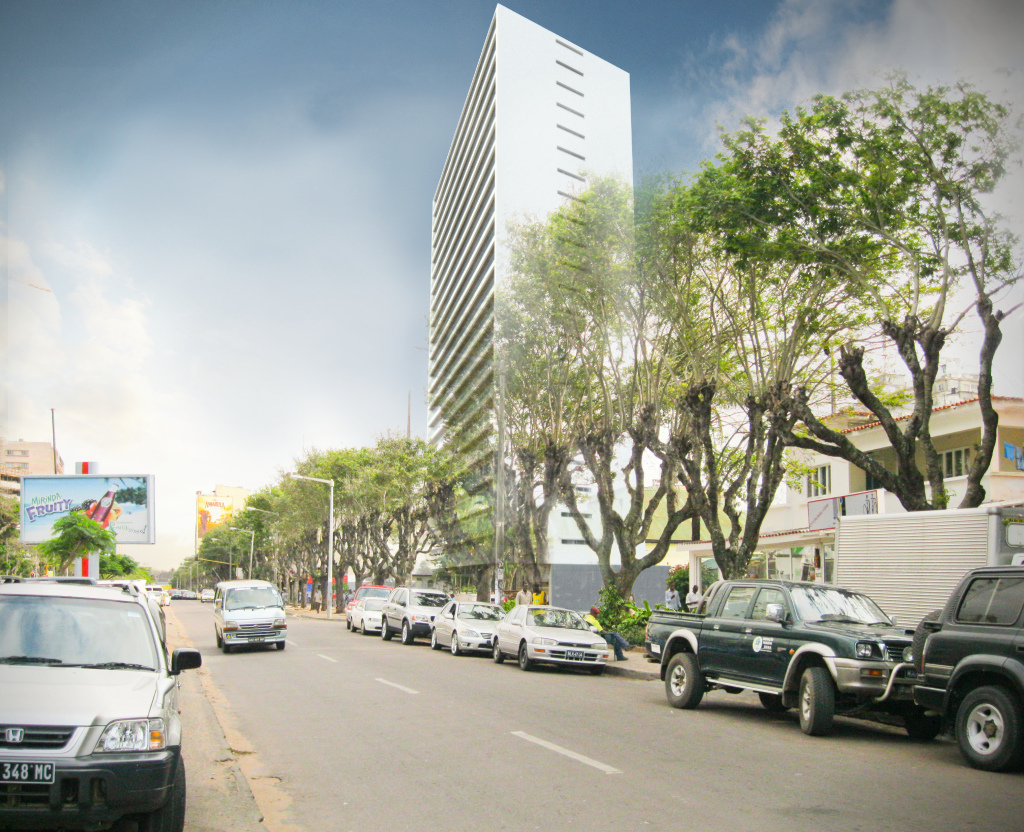
Competition for Preston’s Guild
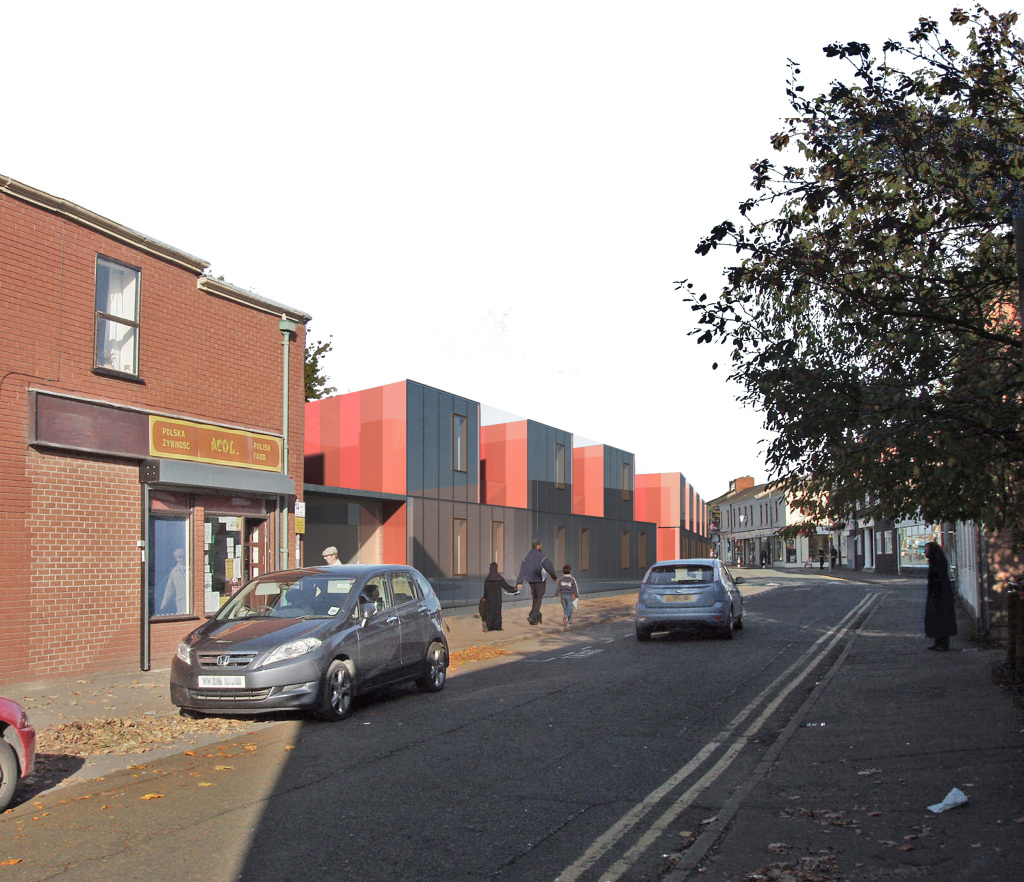
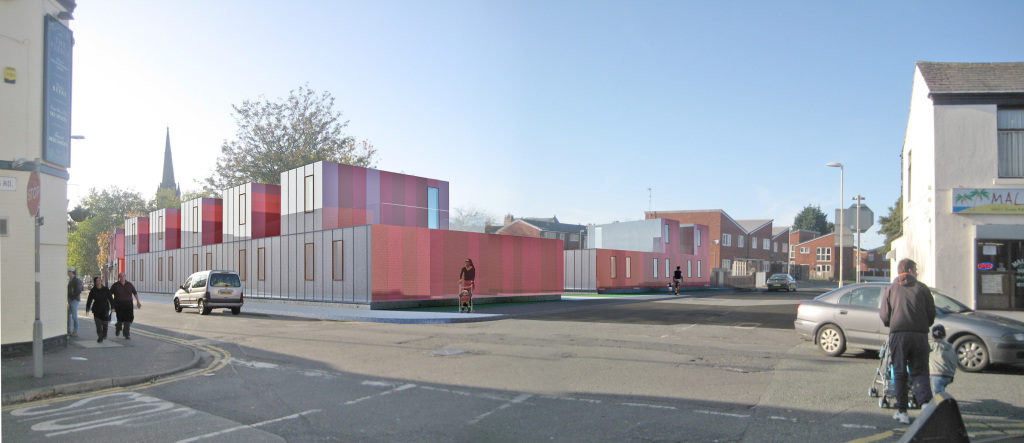
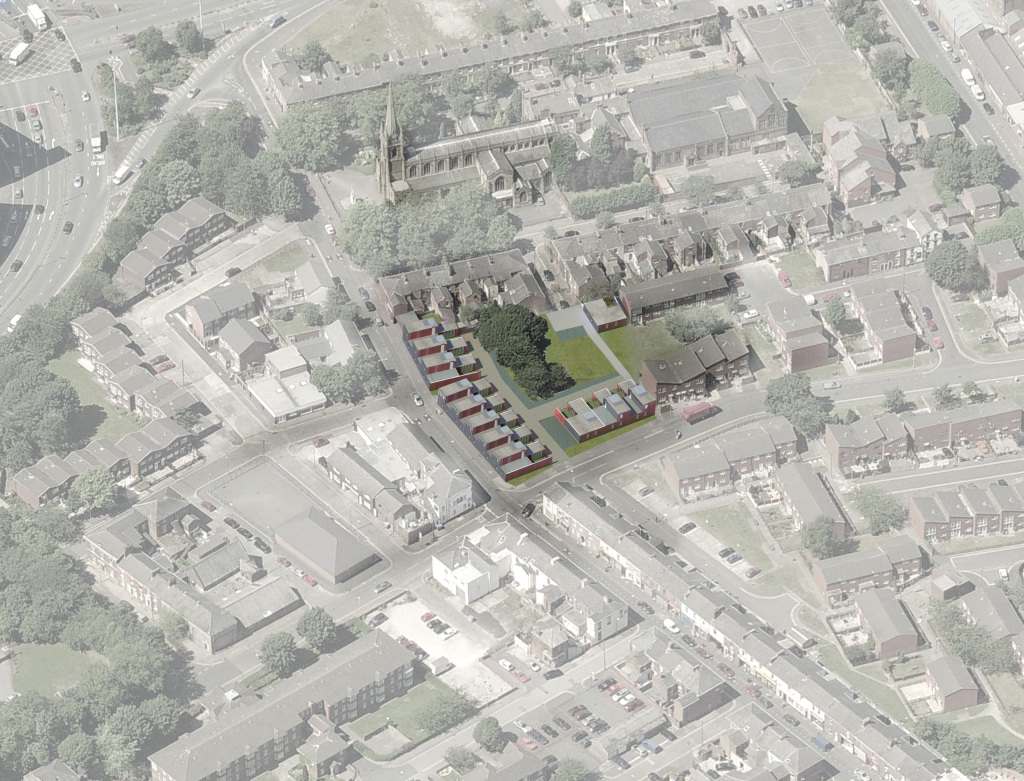
Bürohaus Hoch Zwei Wien – Partition wall study
Visualization studies as project developing tool.
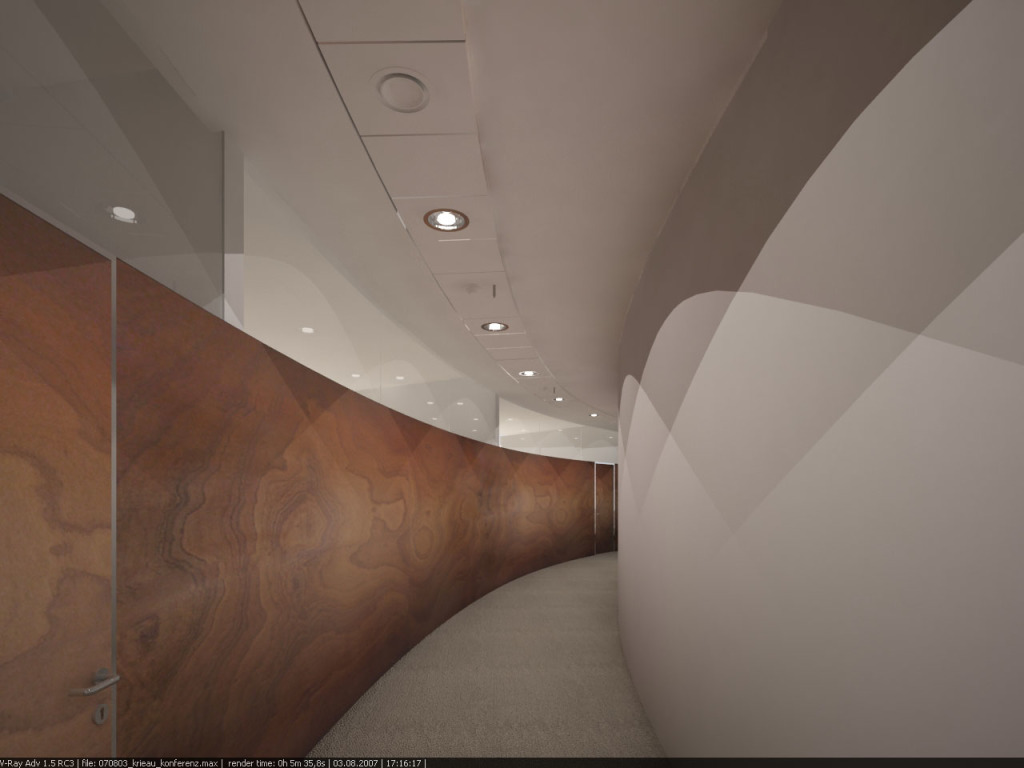
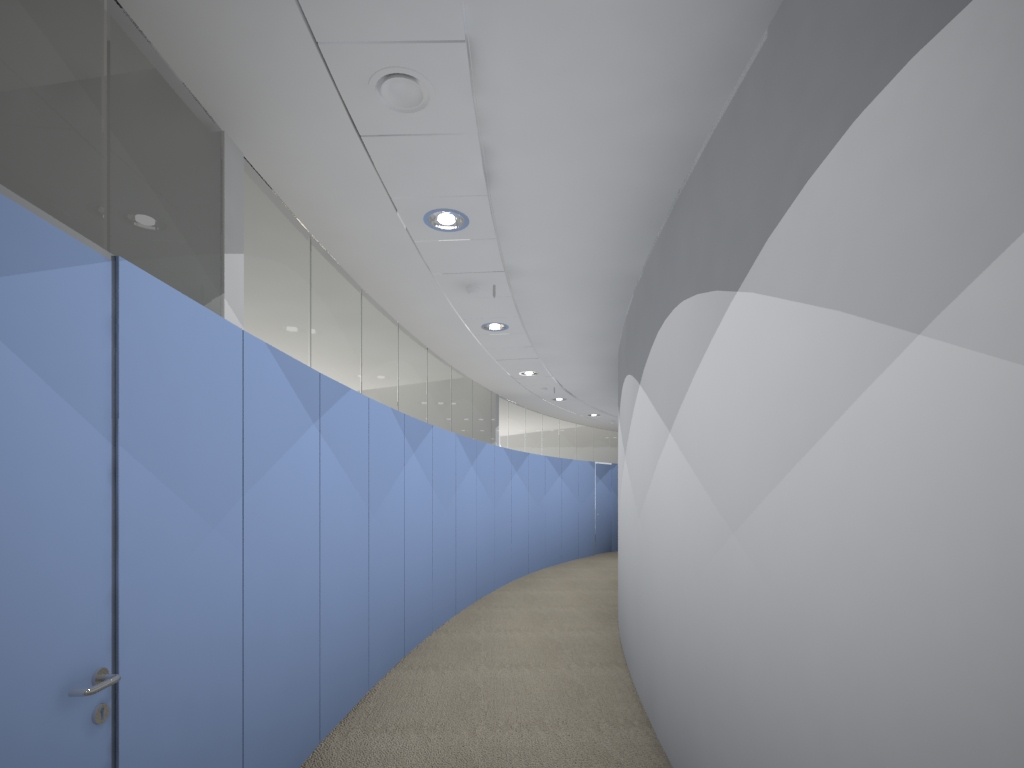
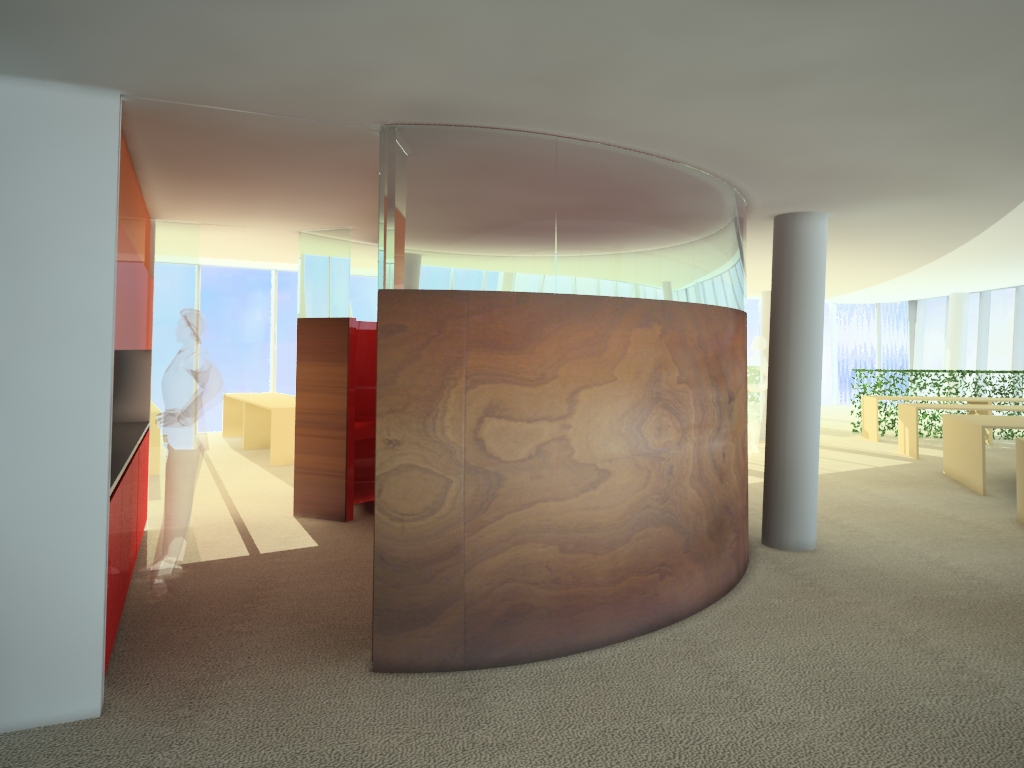
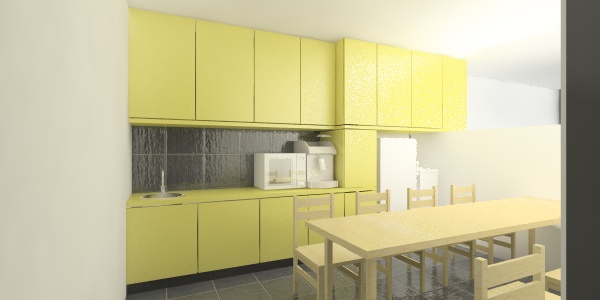
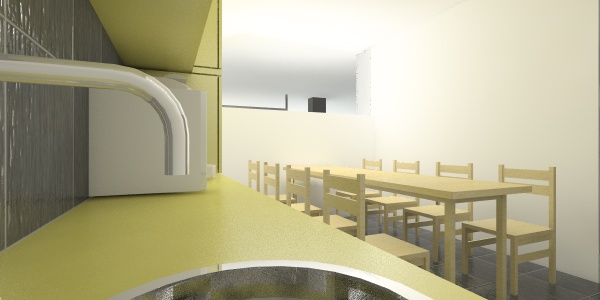
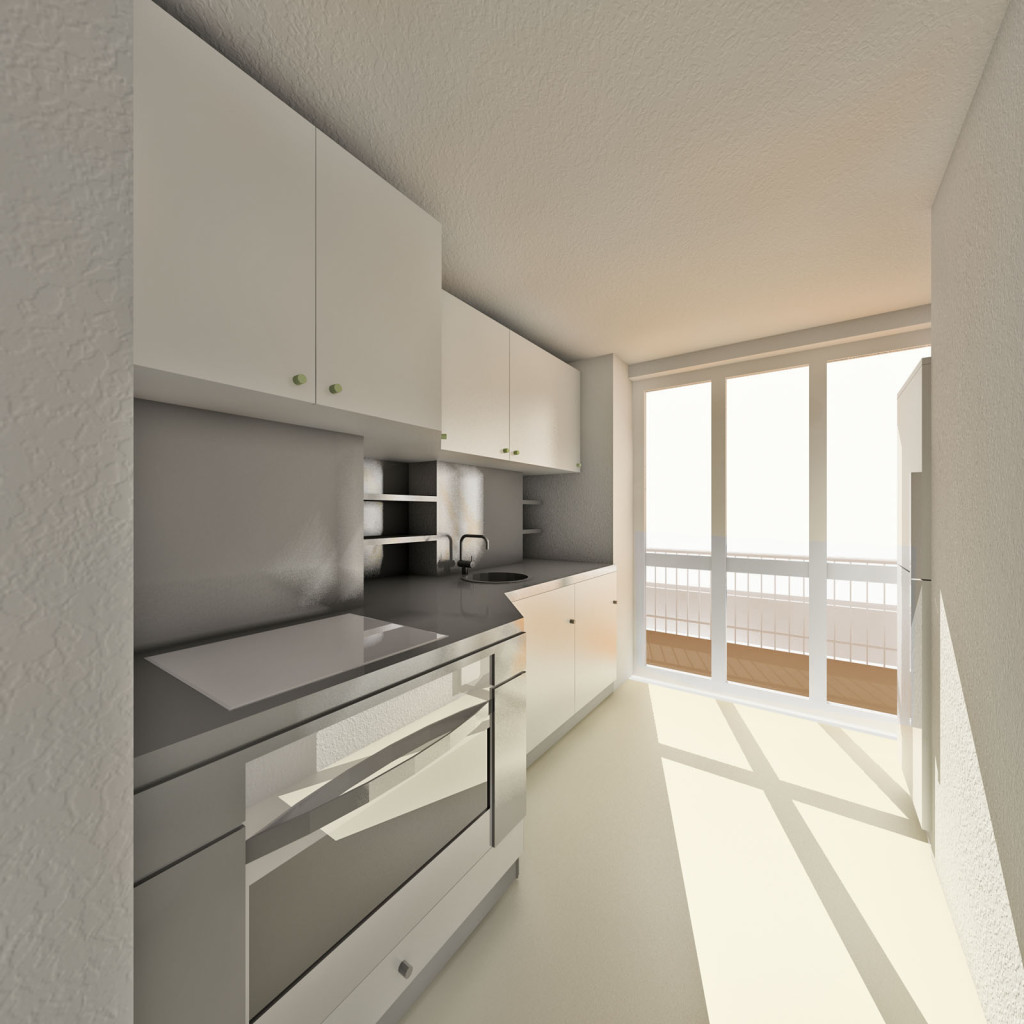
Bürohaus Hoch Zwei Wien – Tea Kitchen Studies
Competition for Ilha do Maio – Cape Verde
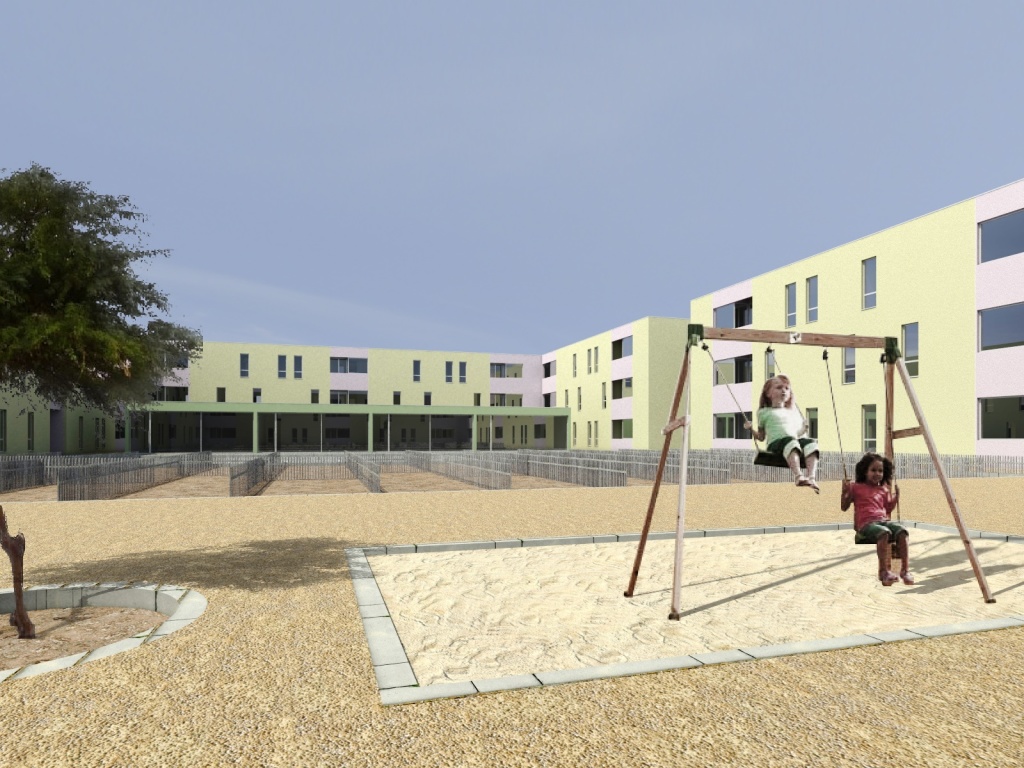
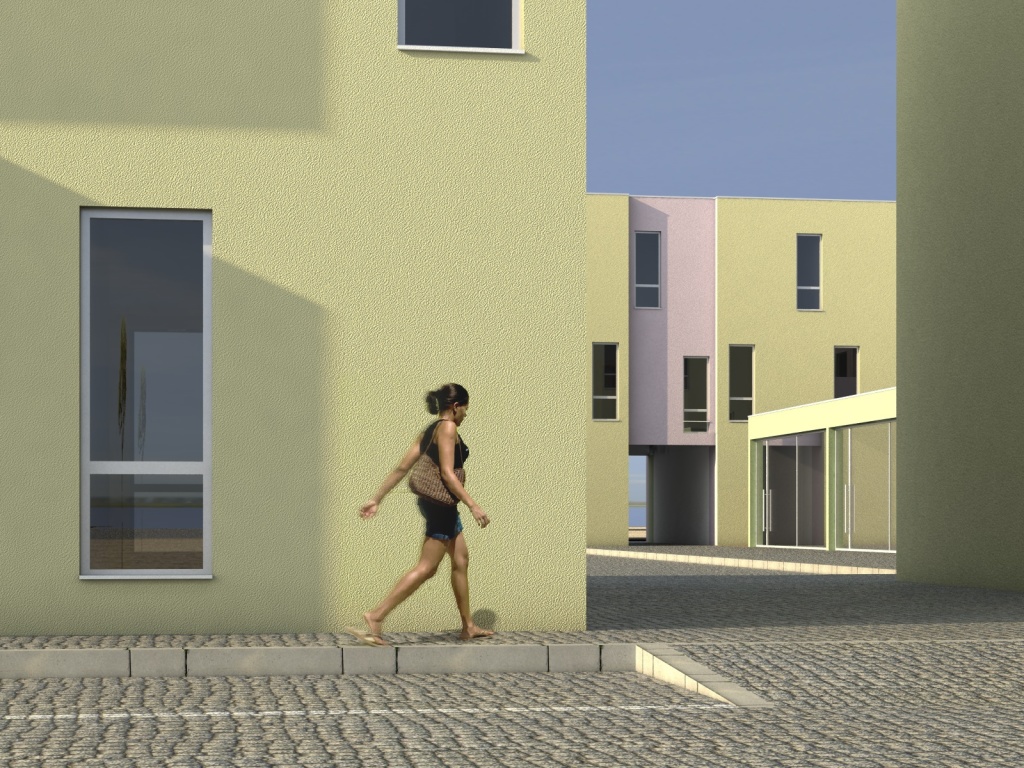
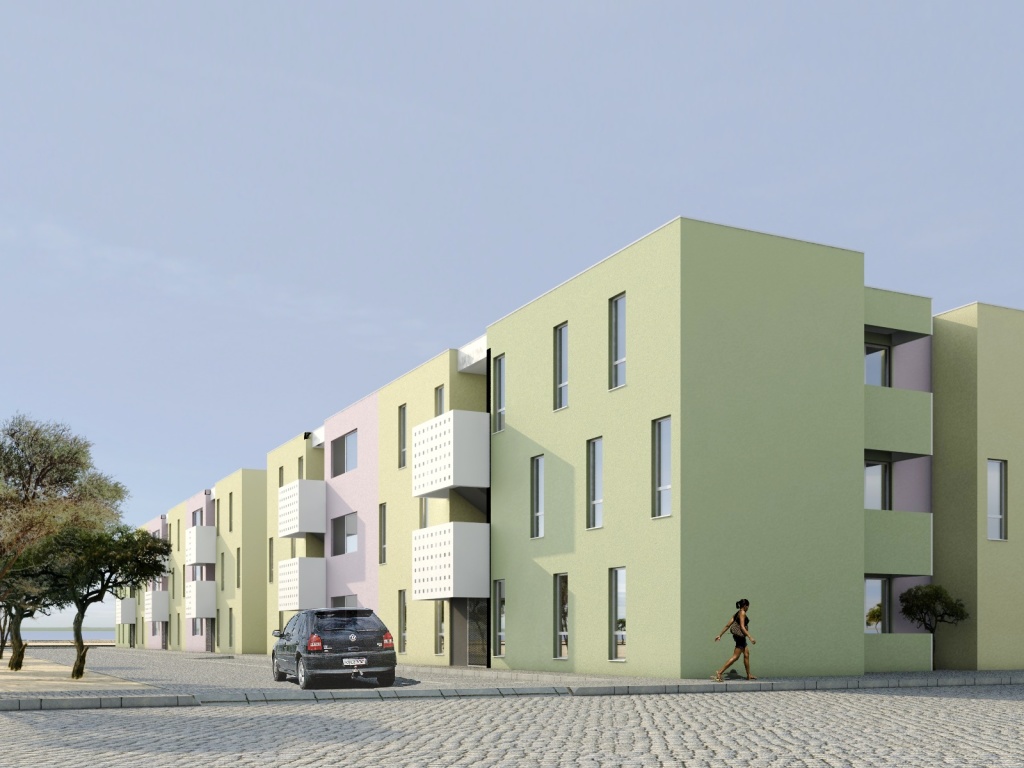
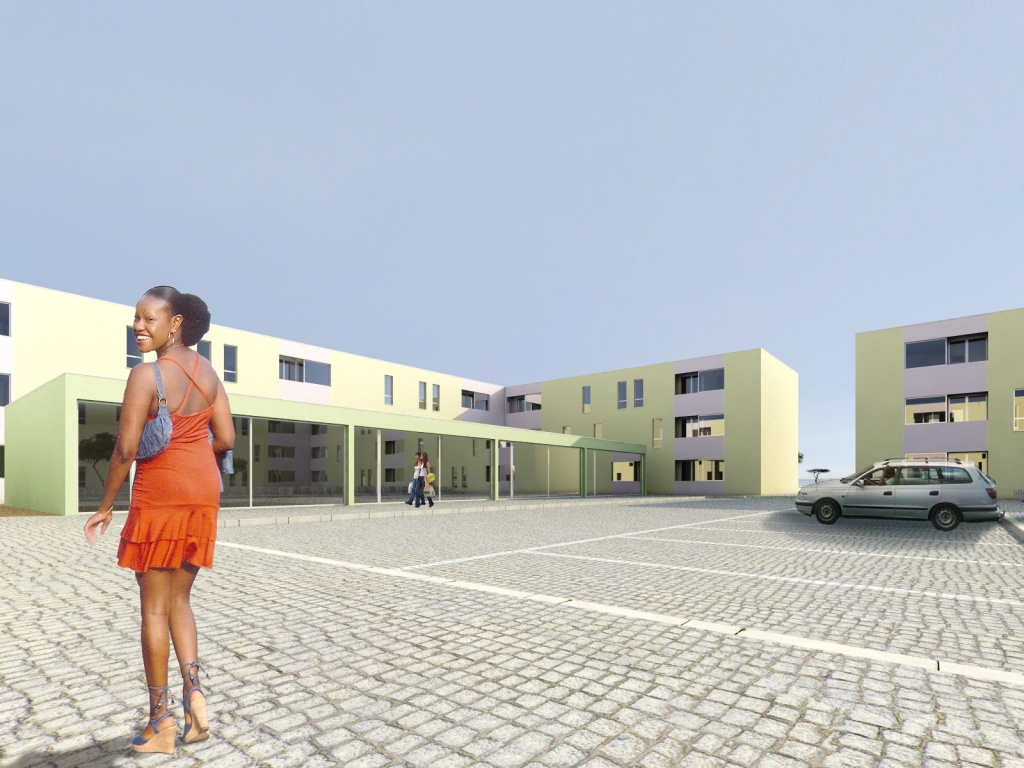
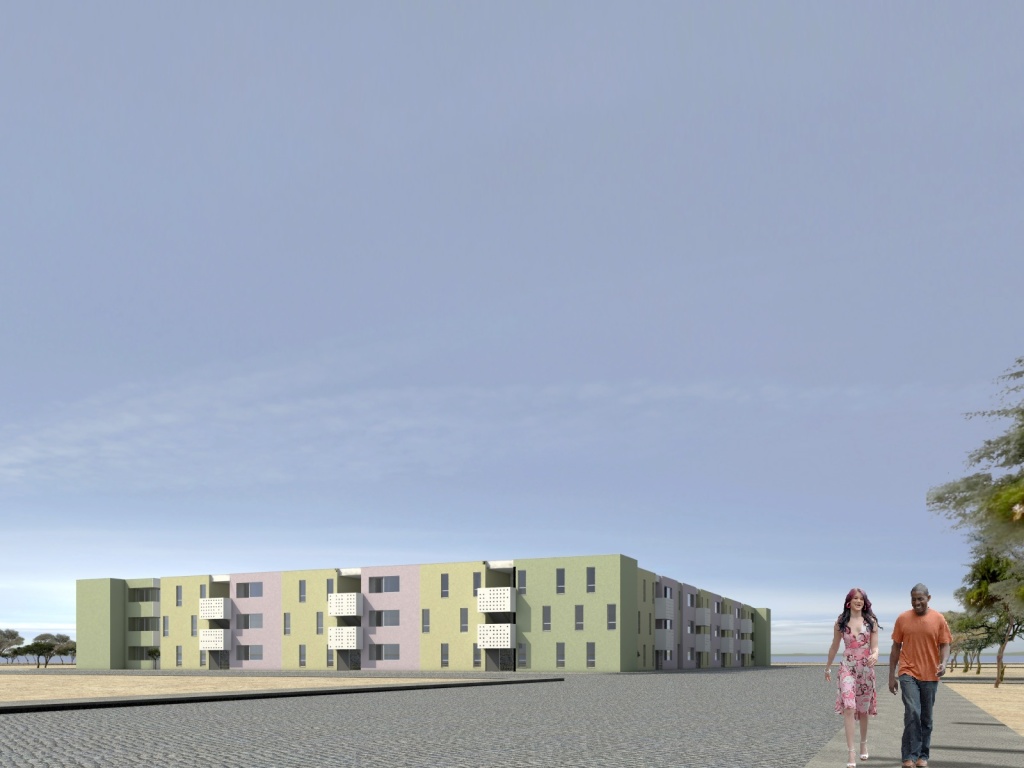
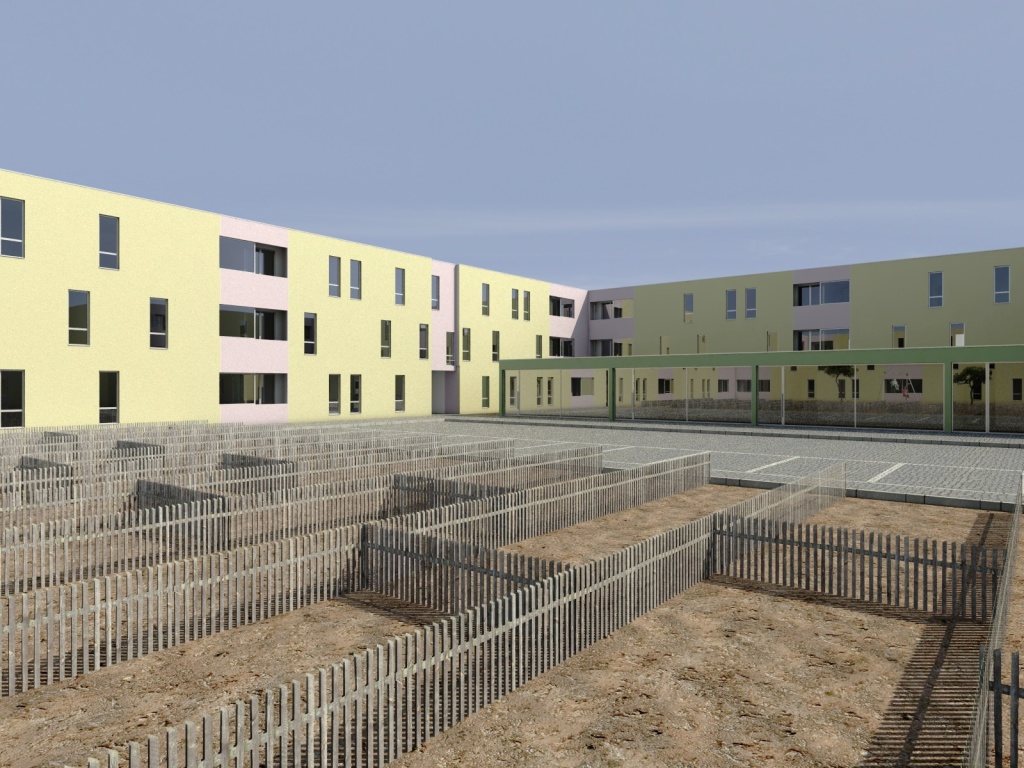
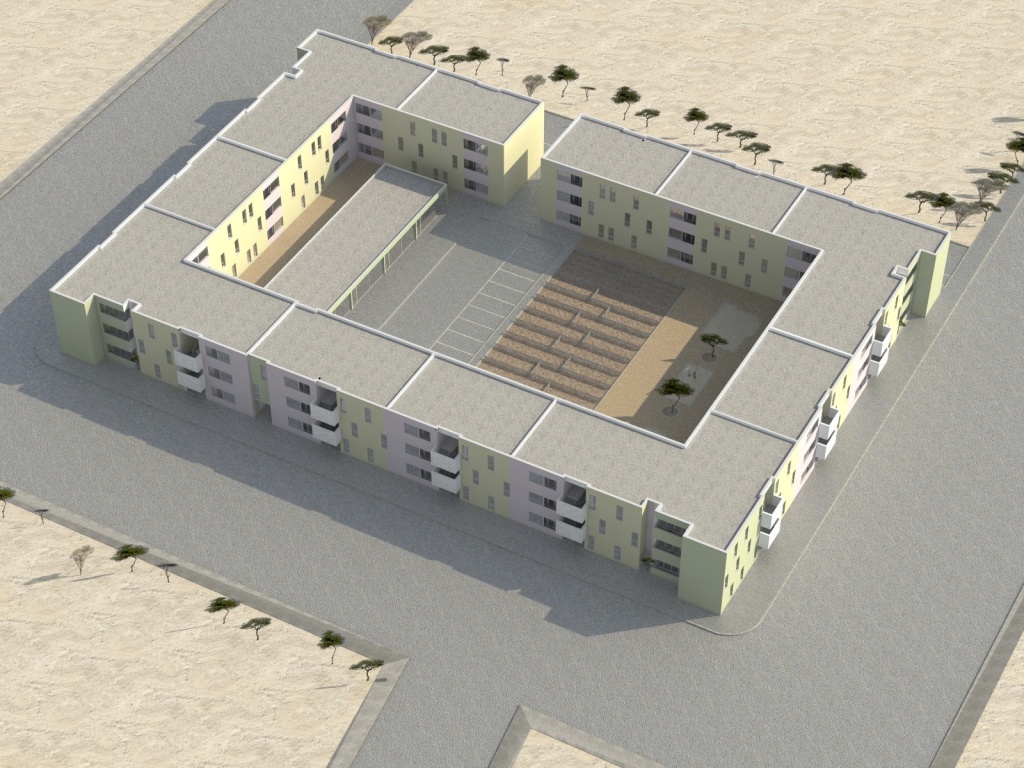
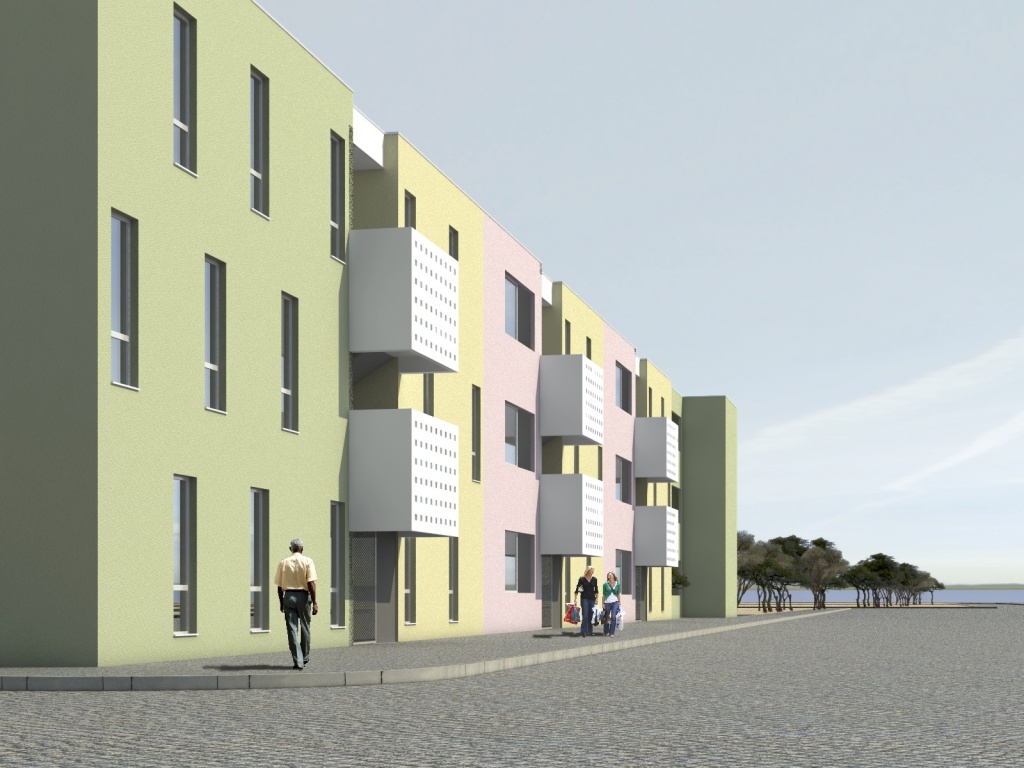
Competition for Ilha da Praia 2 – Cape Verde
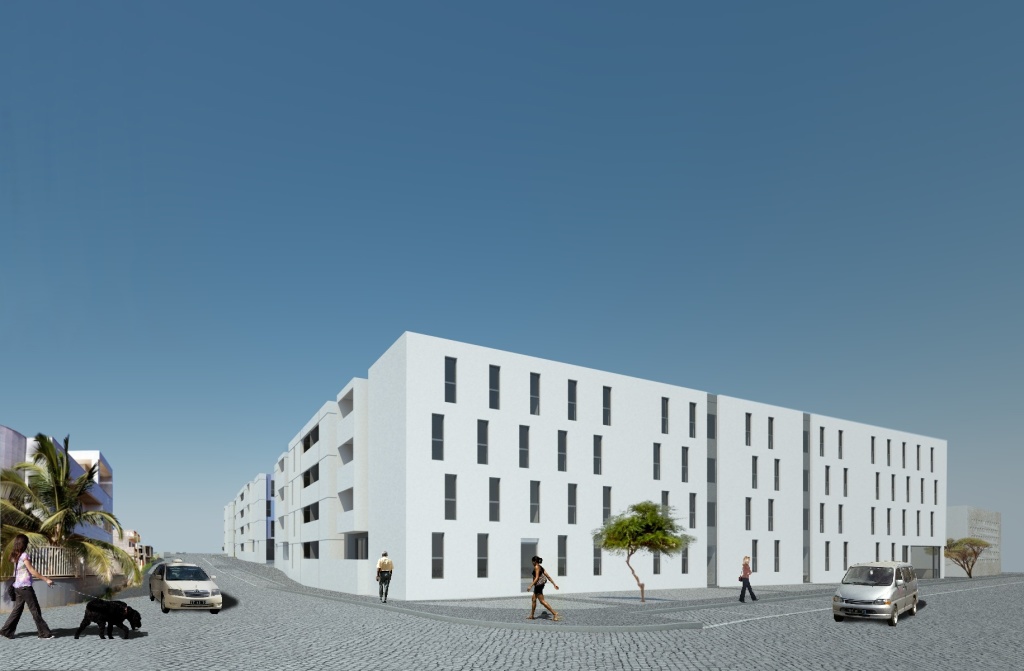
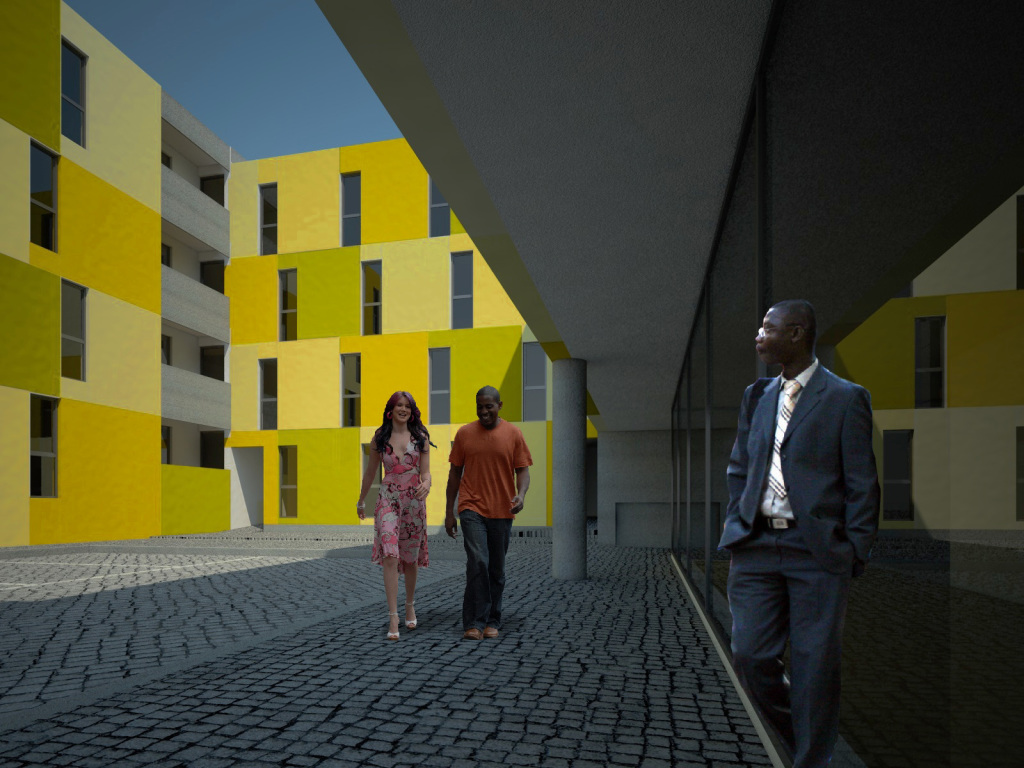
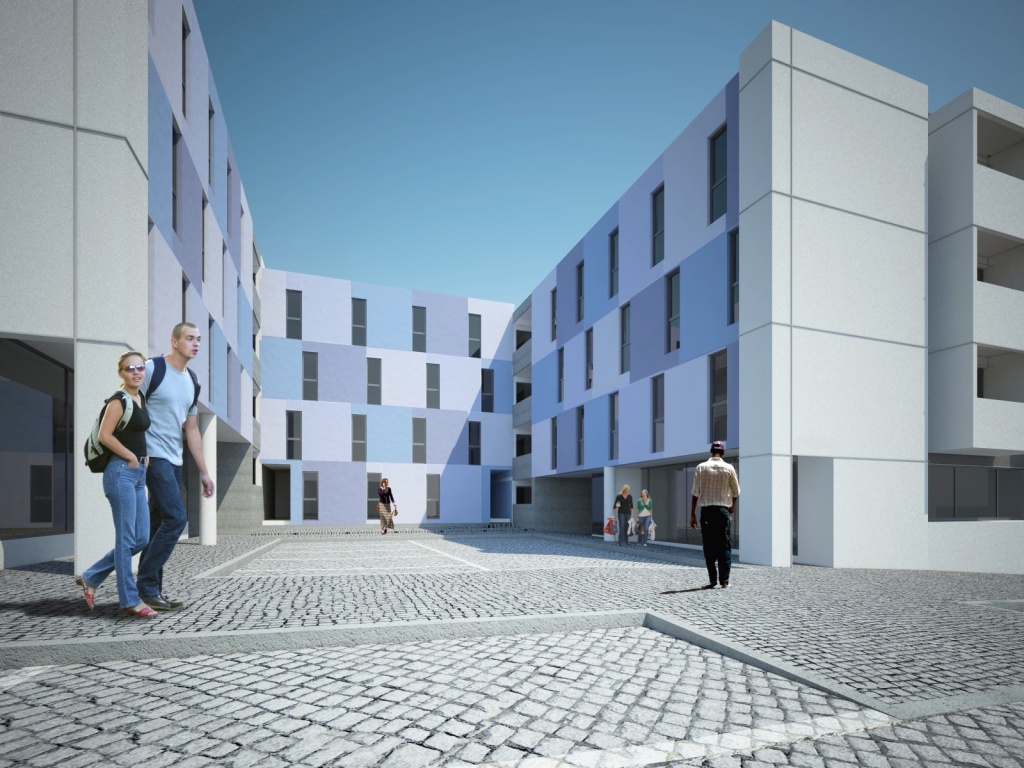
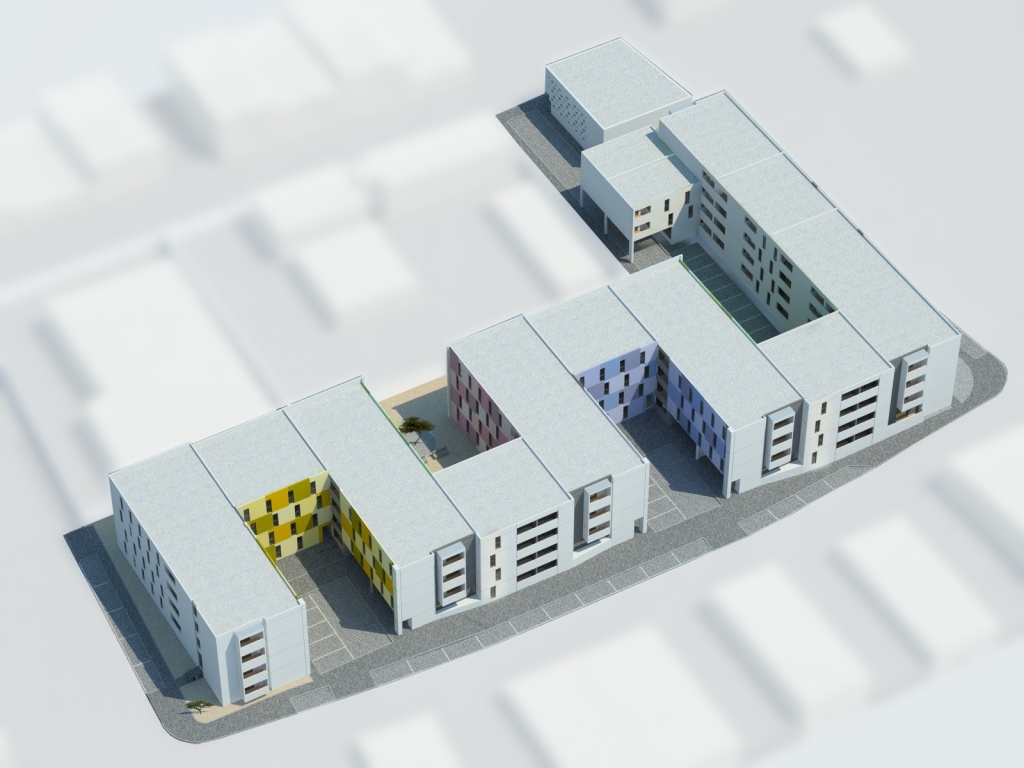
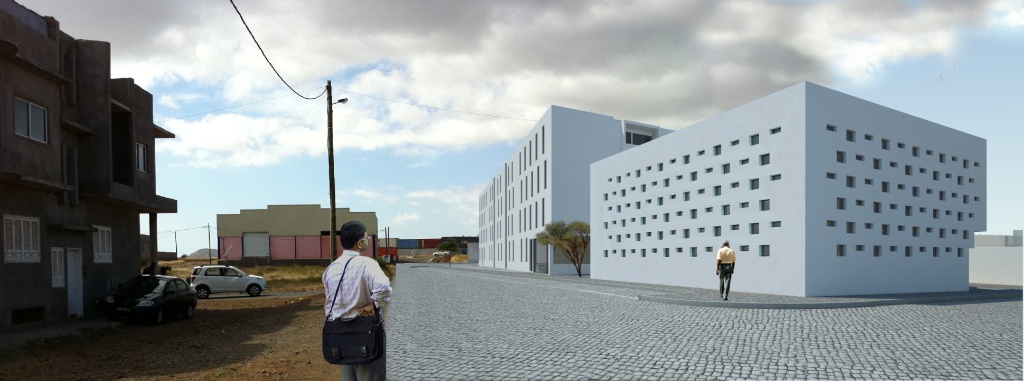
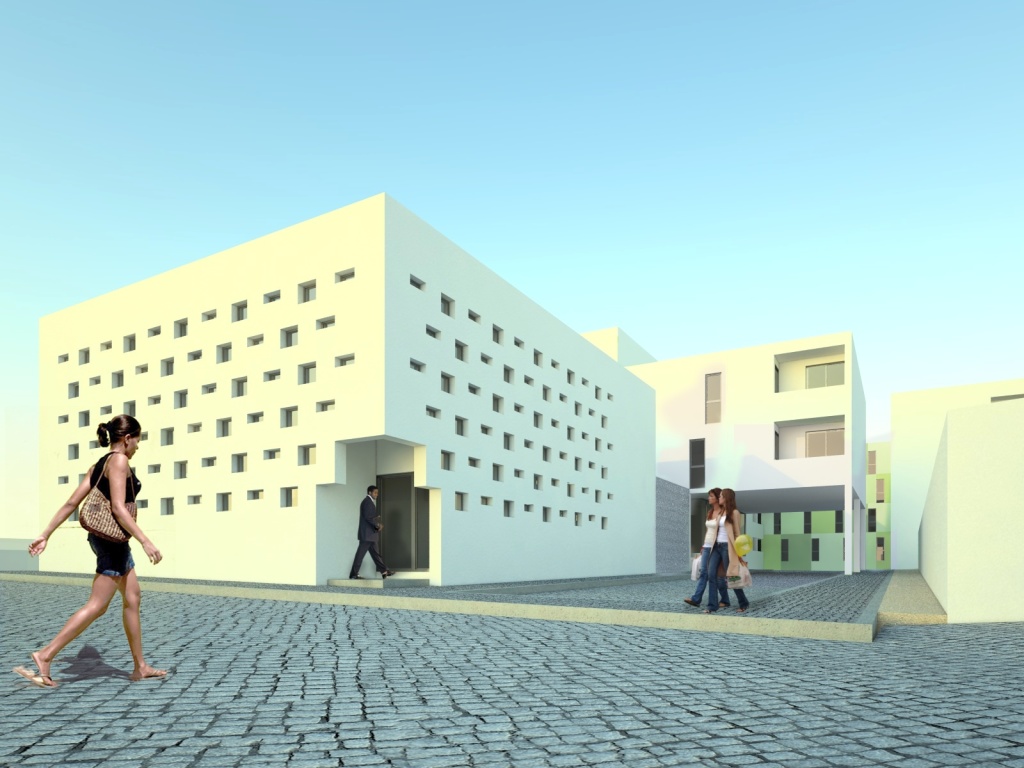
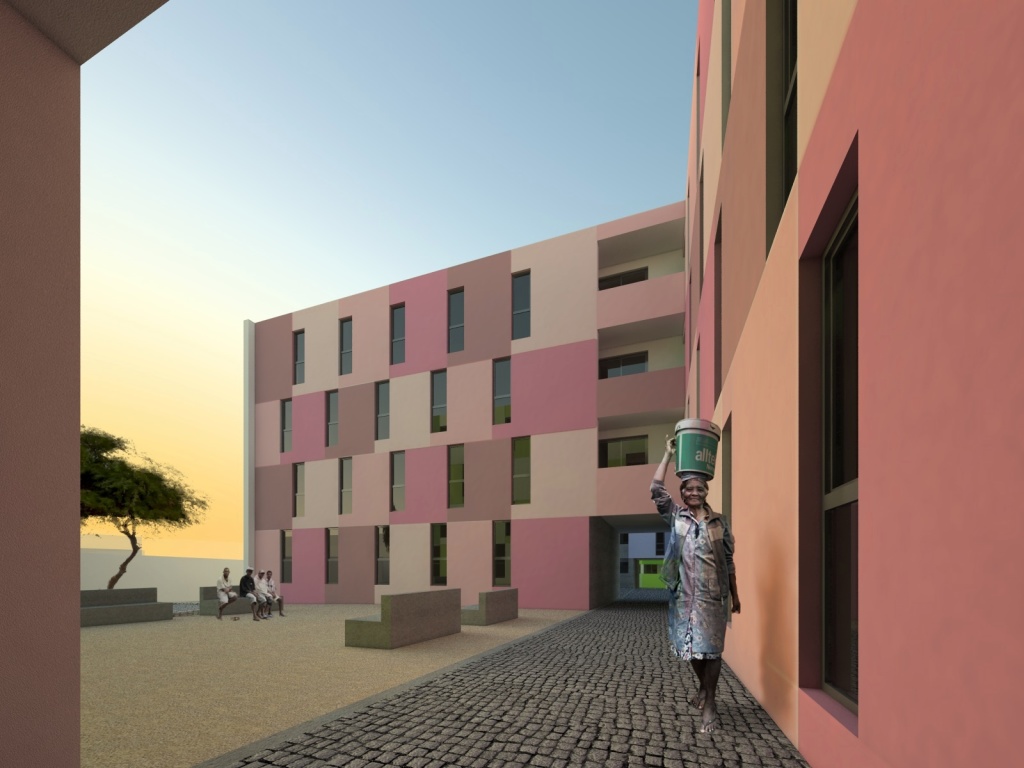
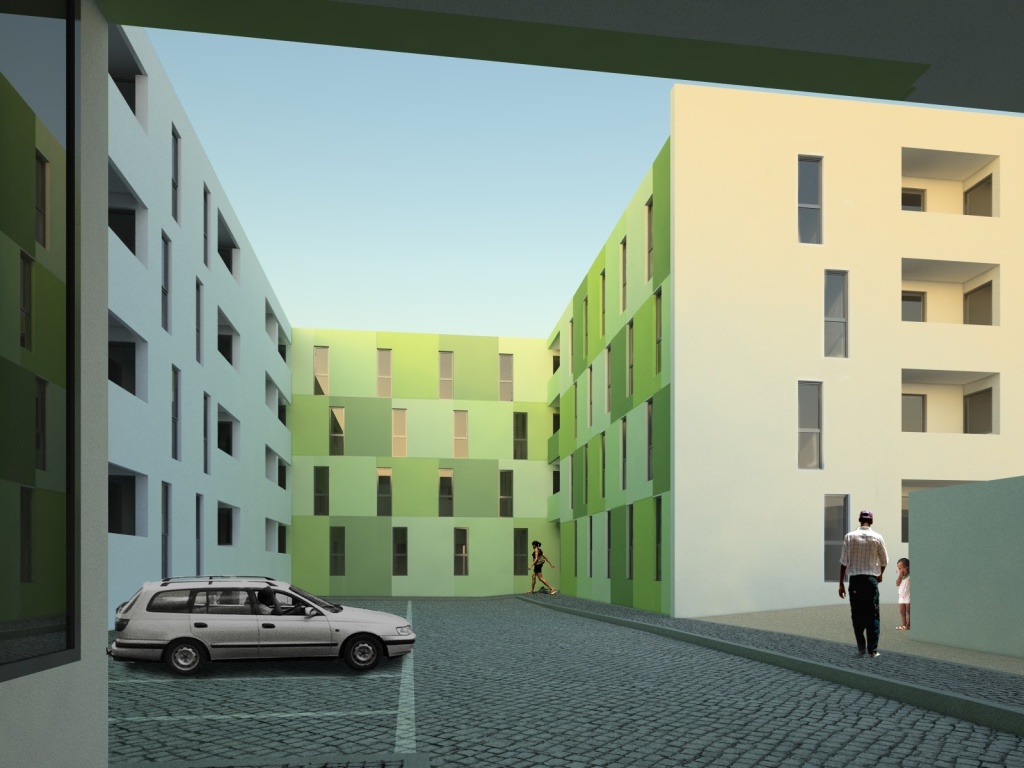
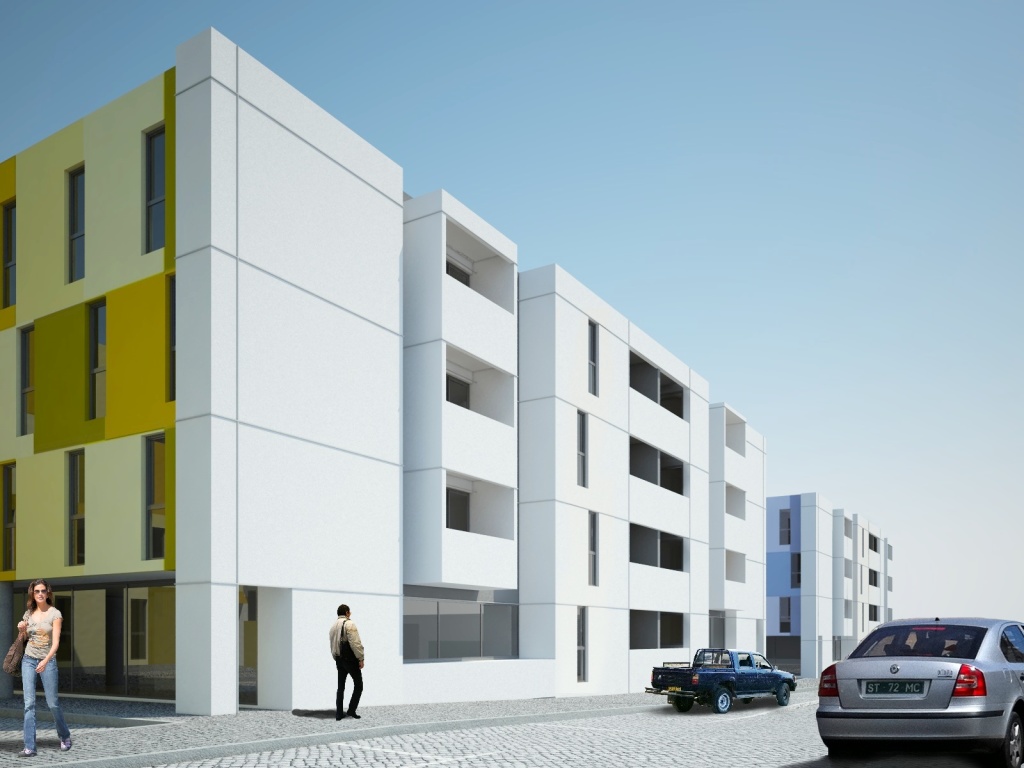
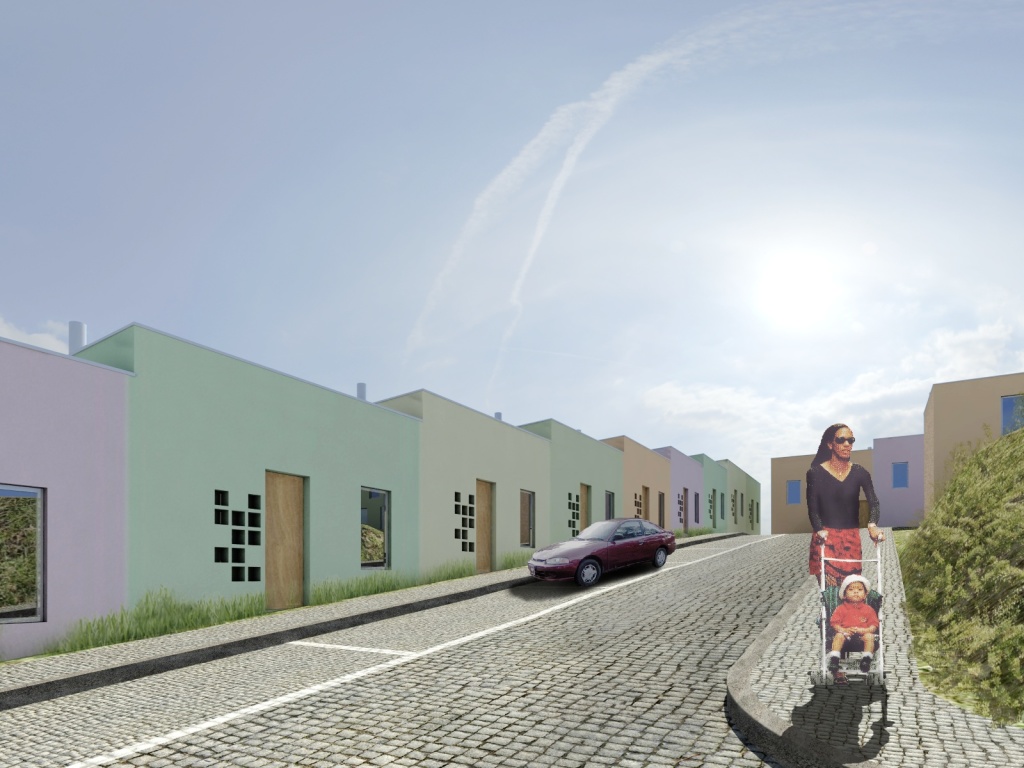
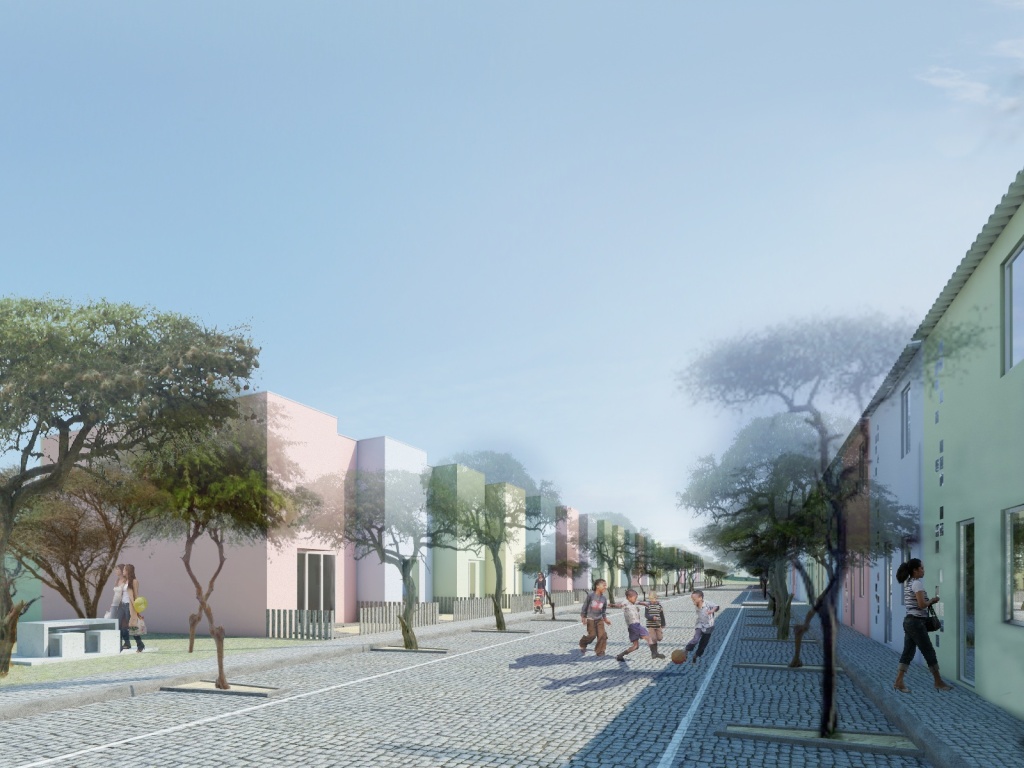
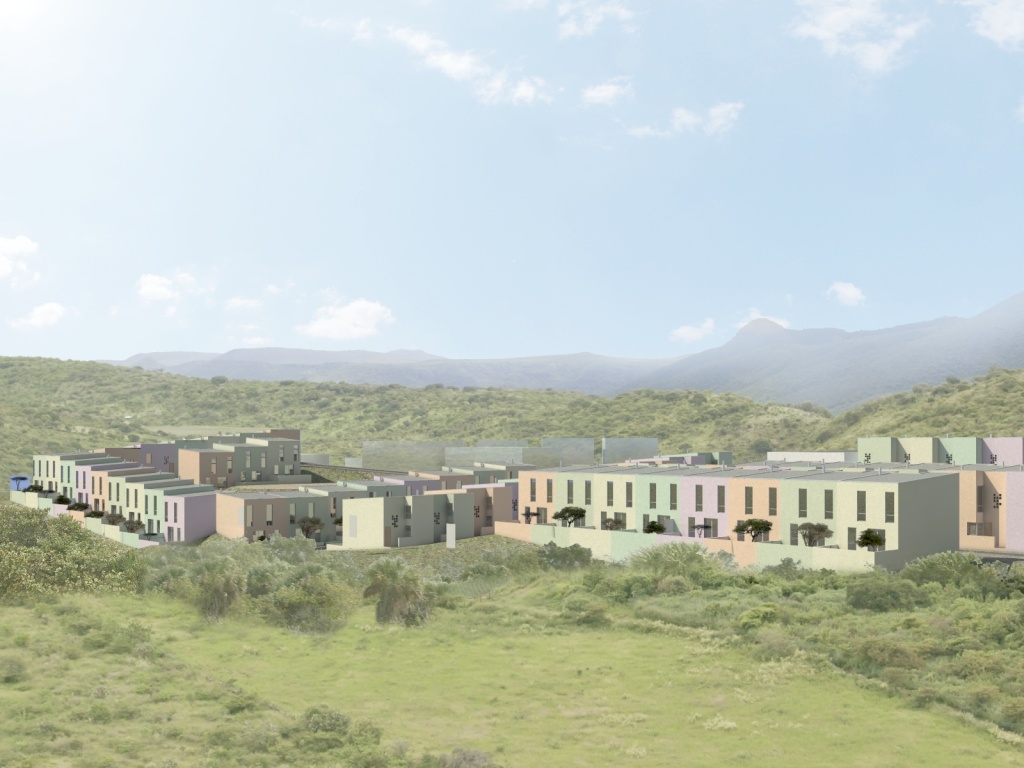
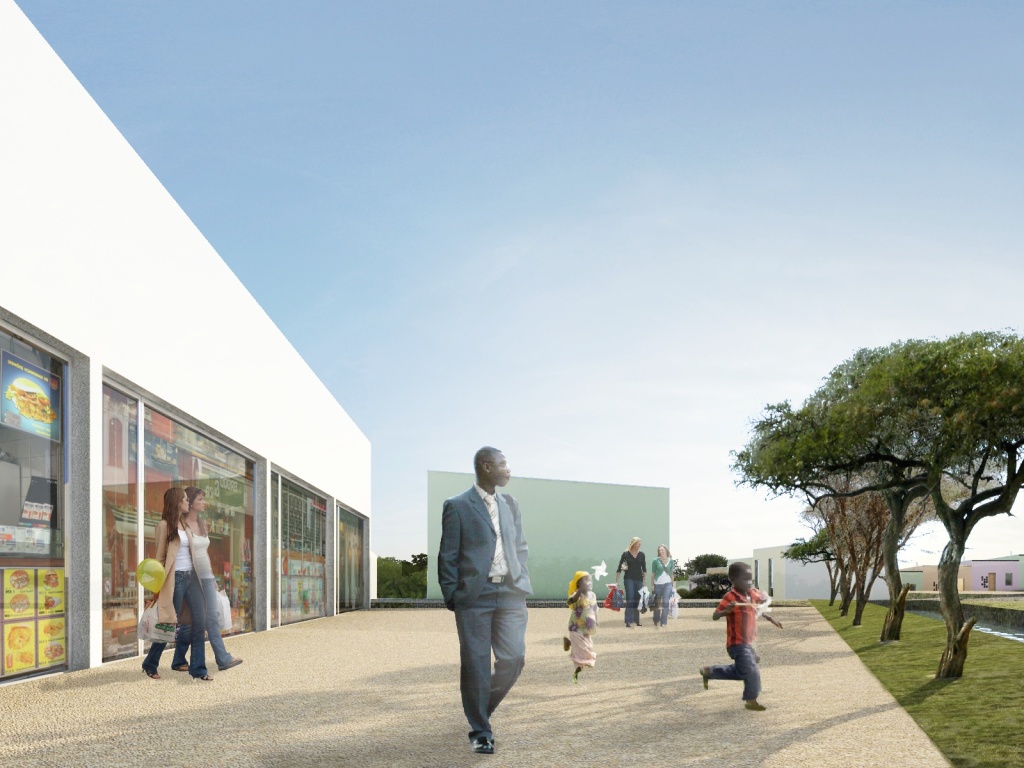
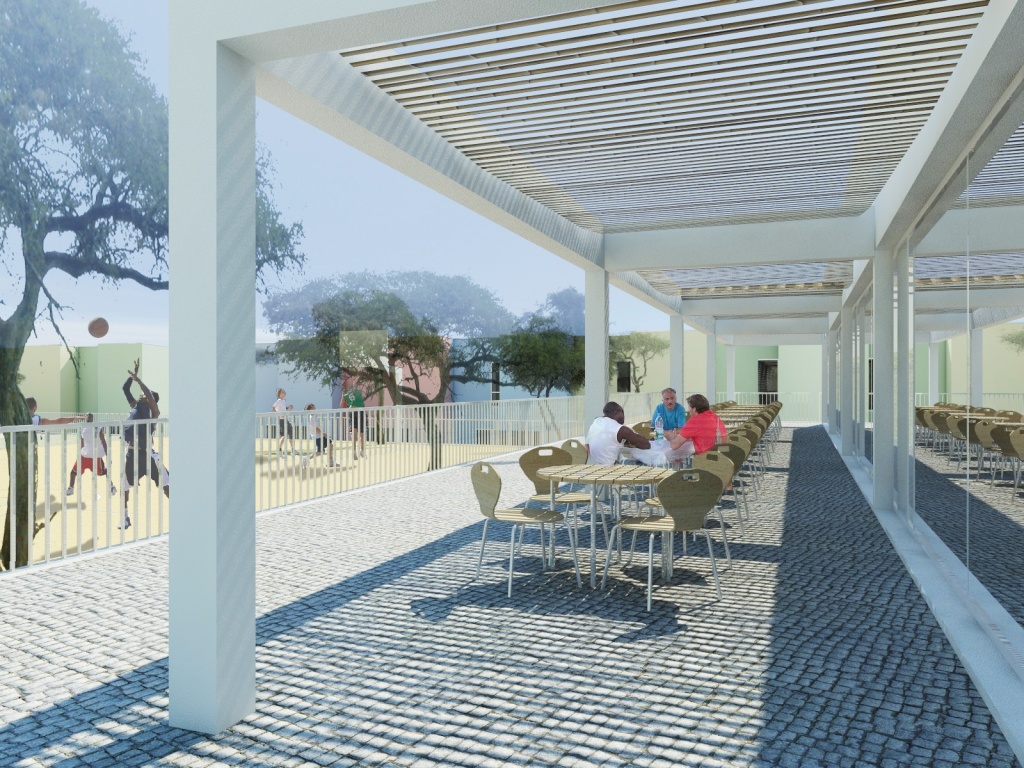
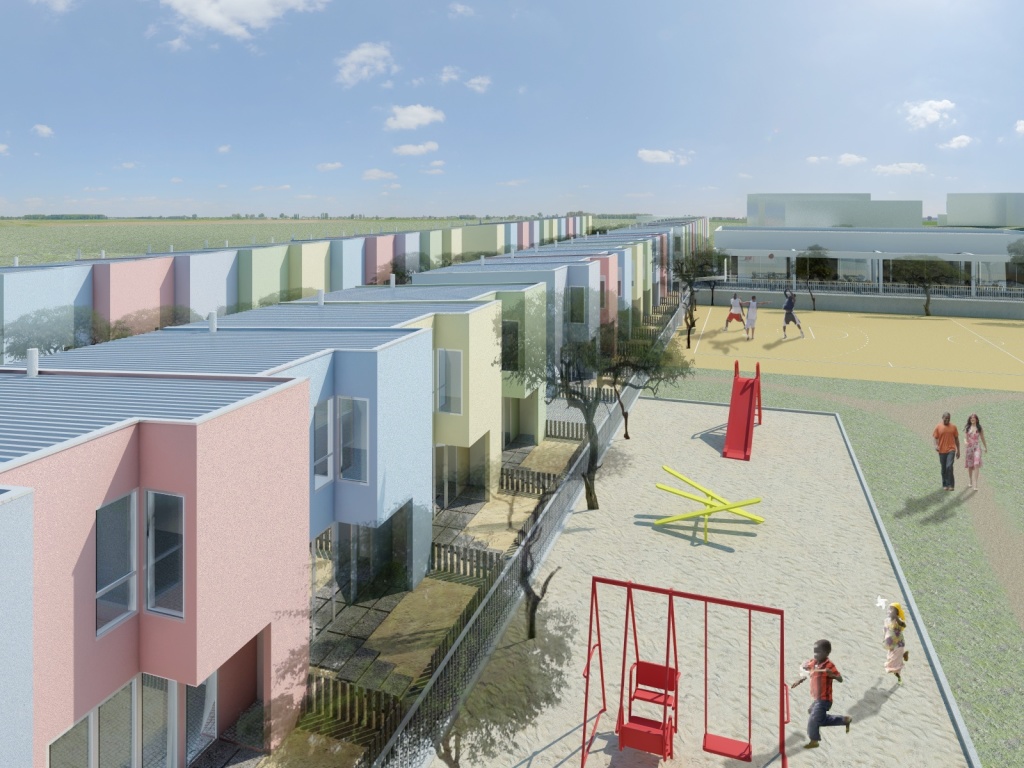
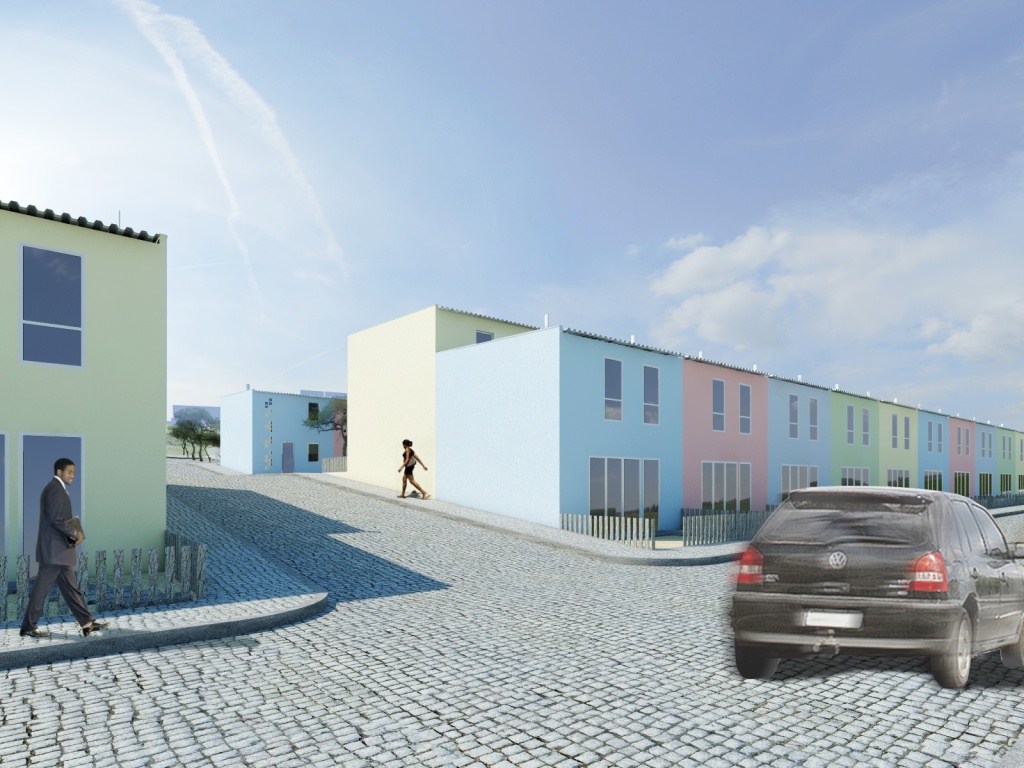
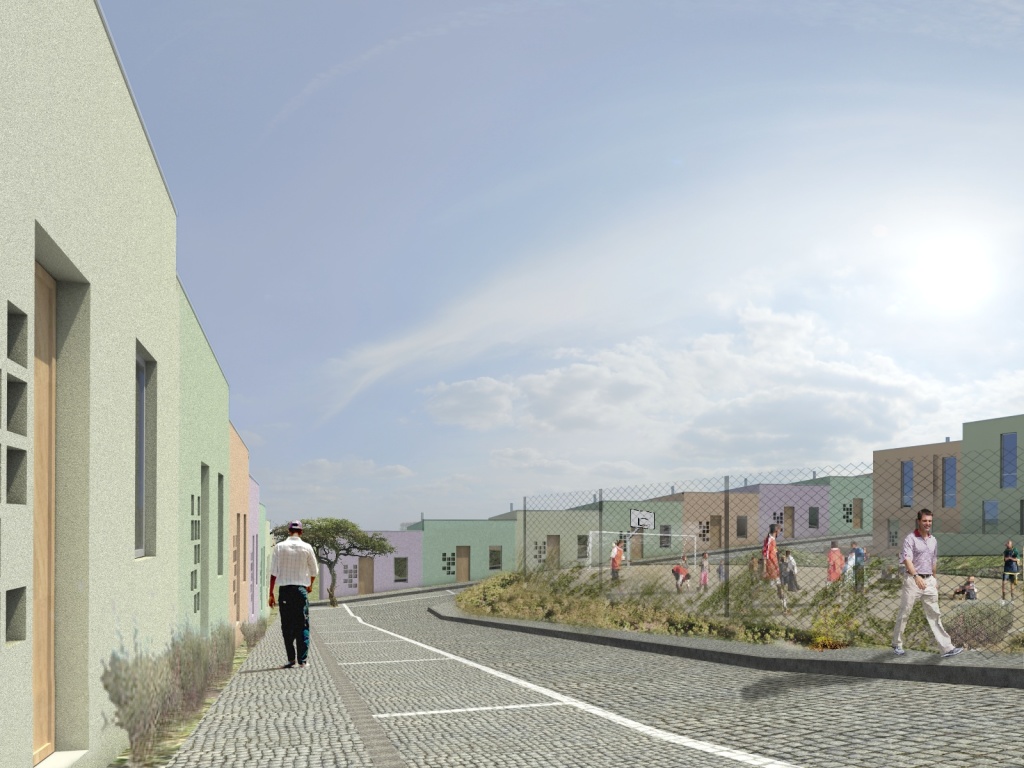
Competition for housing in Cape Verde – São Salvador
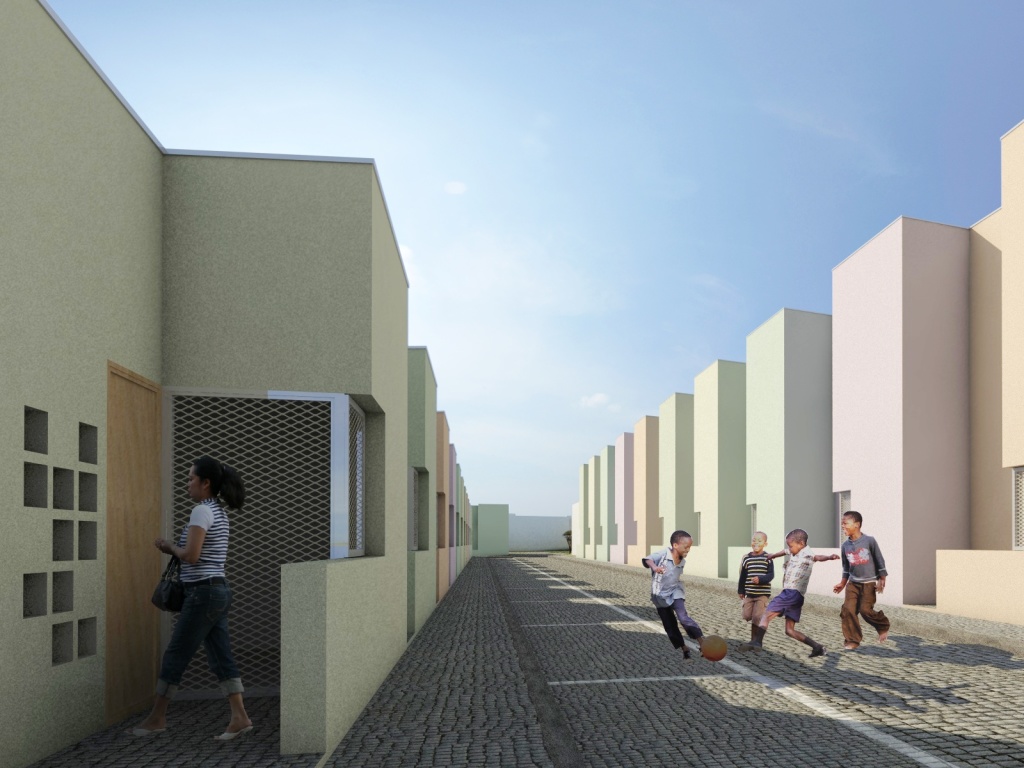
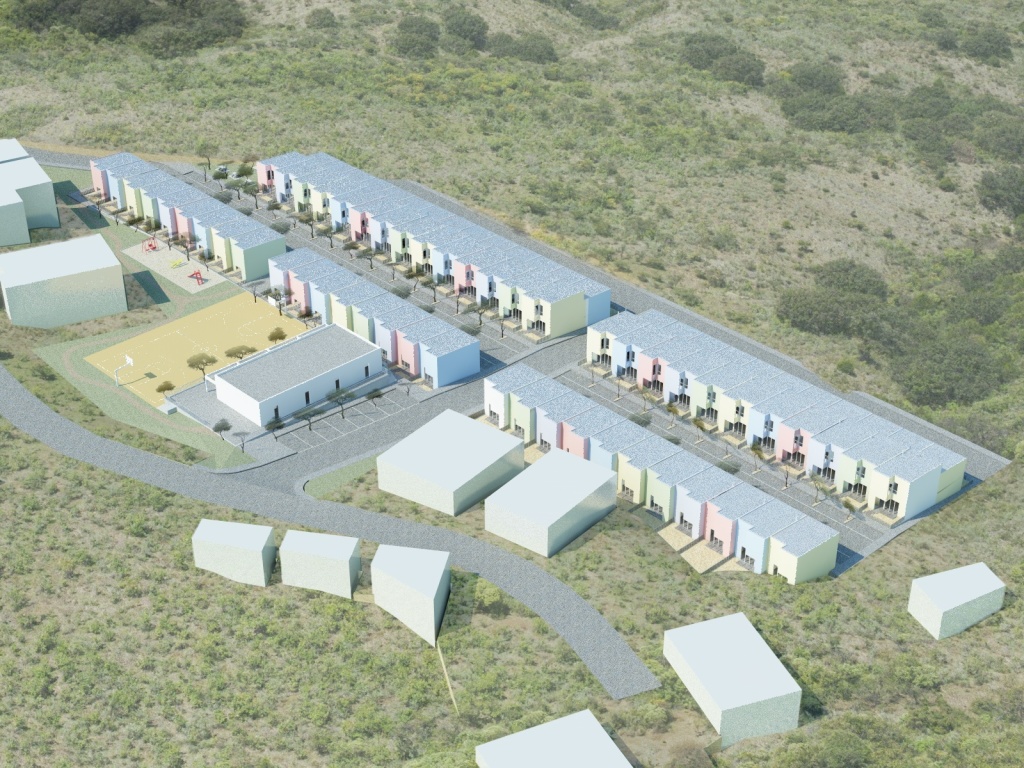
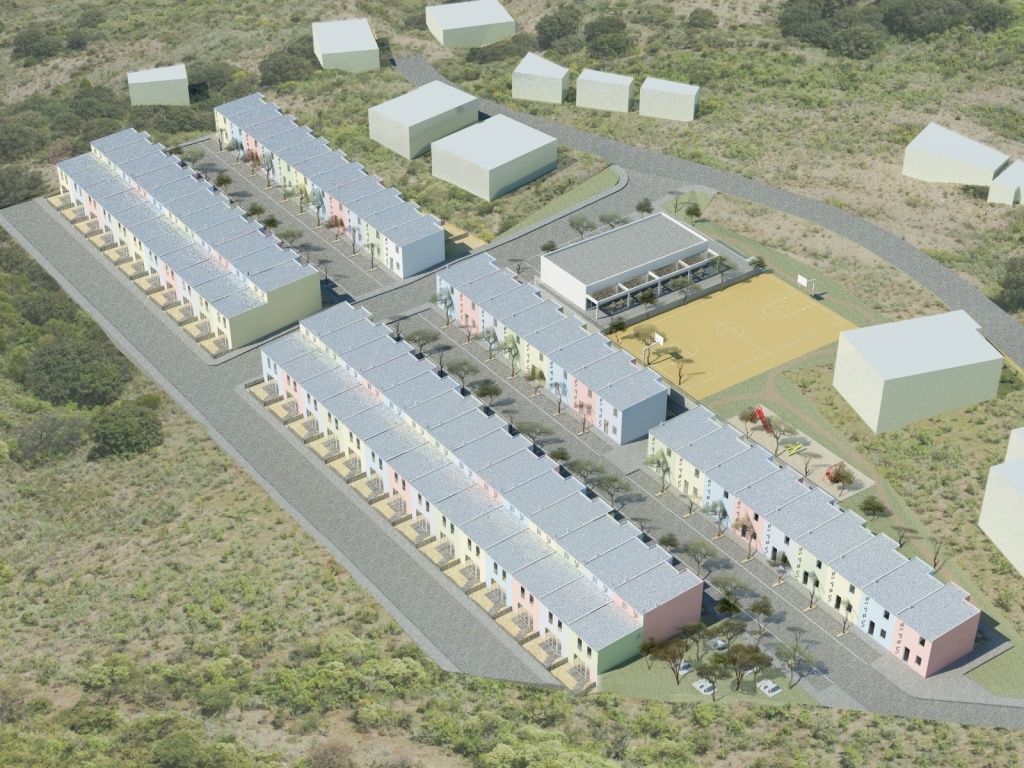
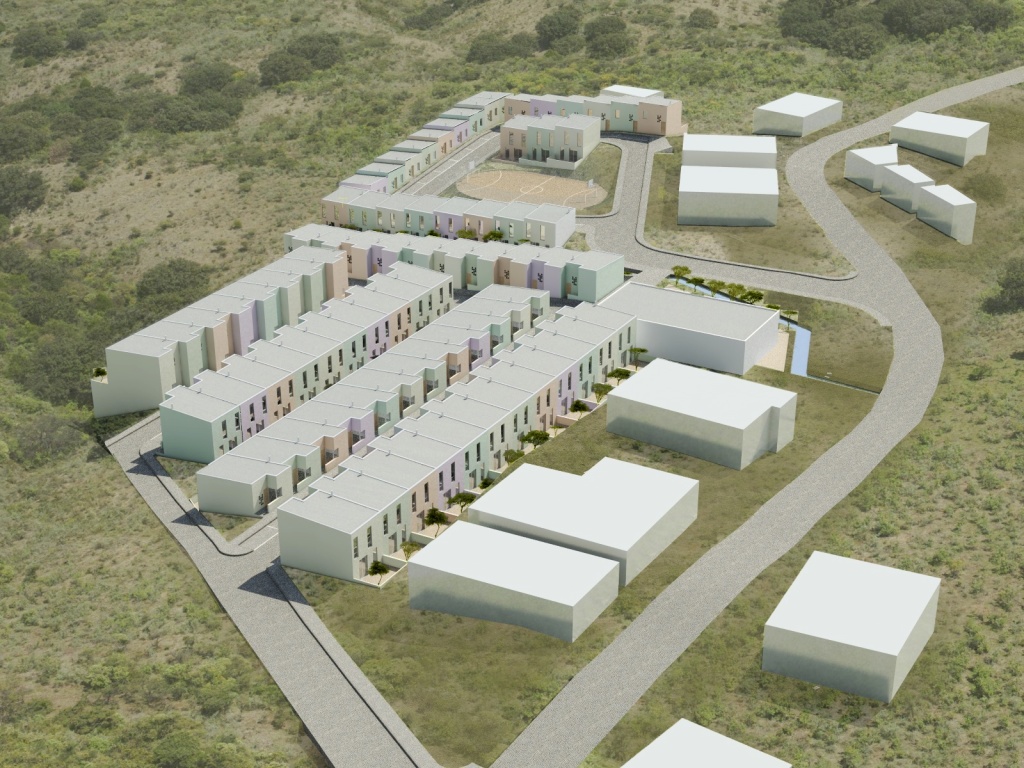
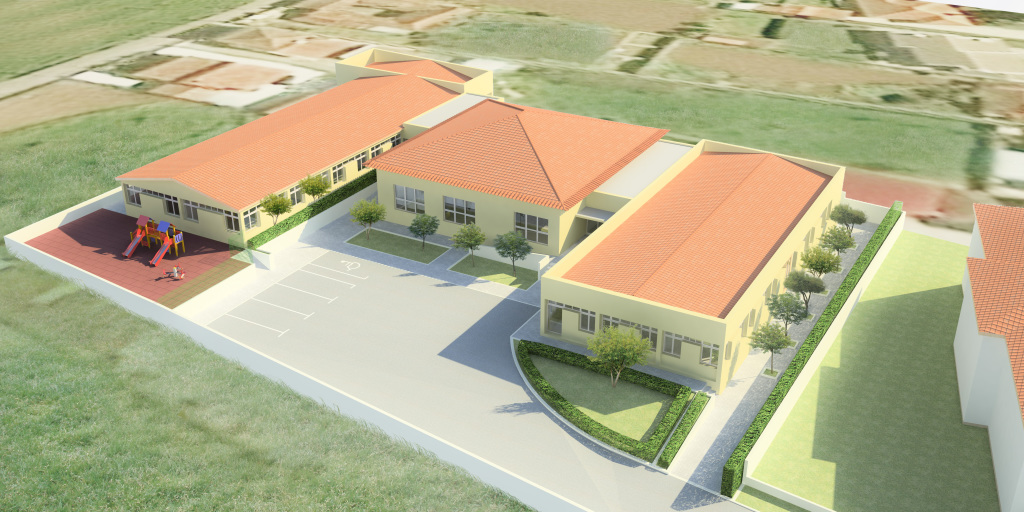
Social Services Building – São João de Vêr
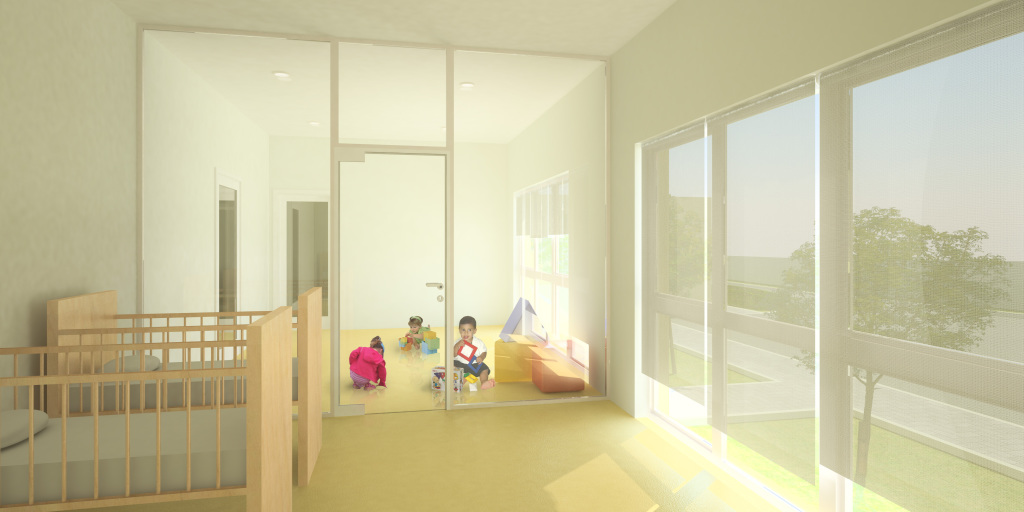
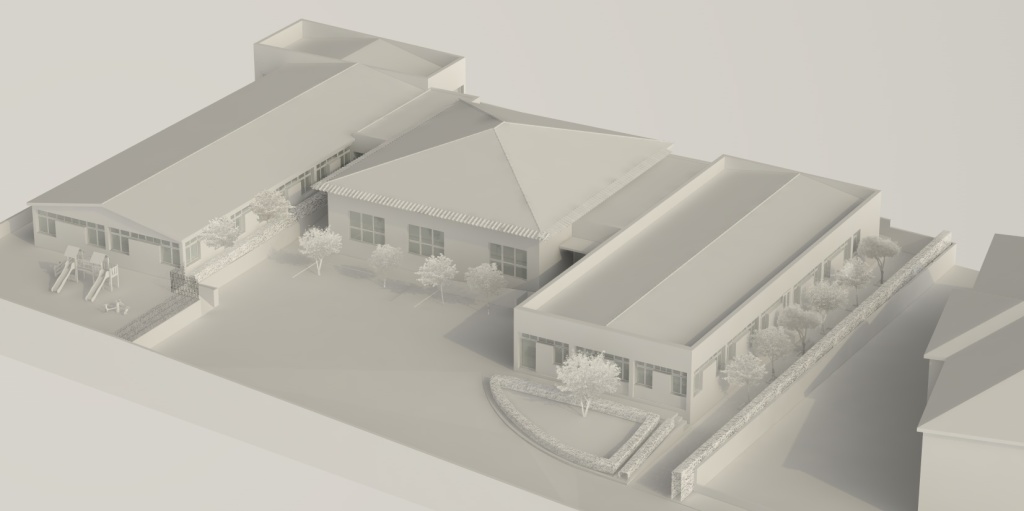
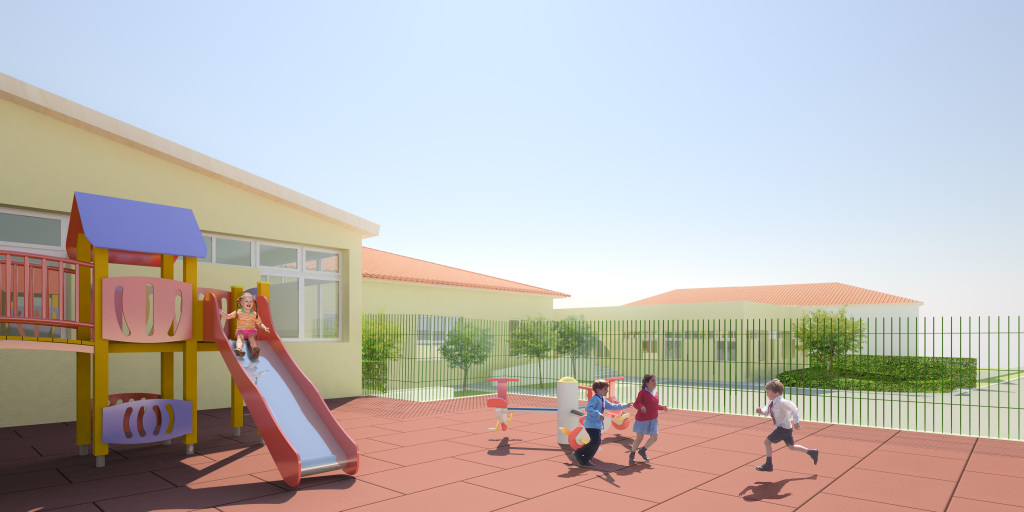
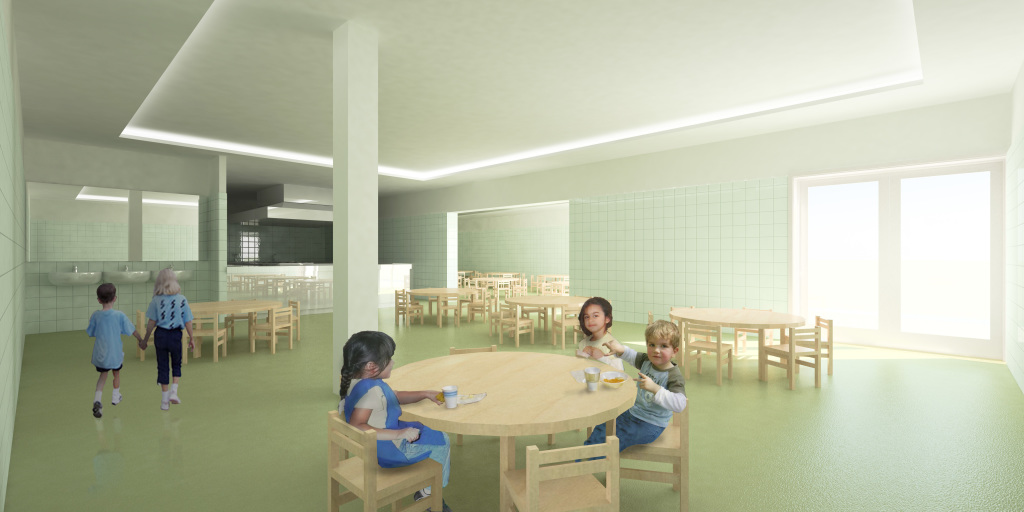
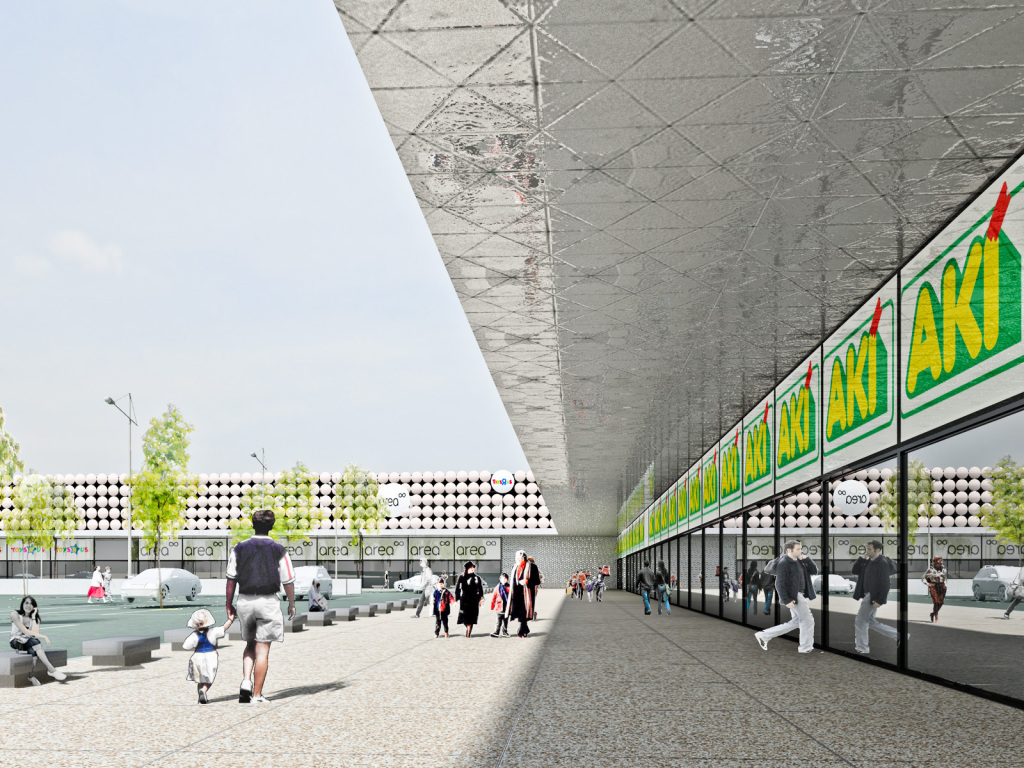
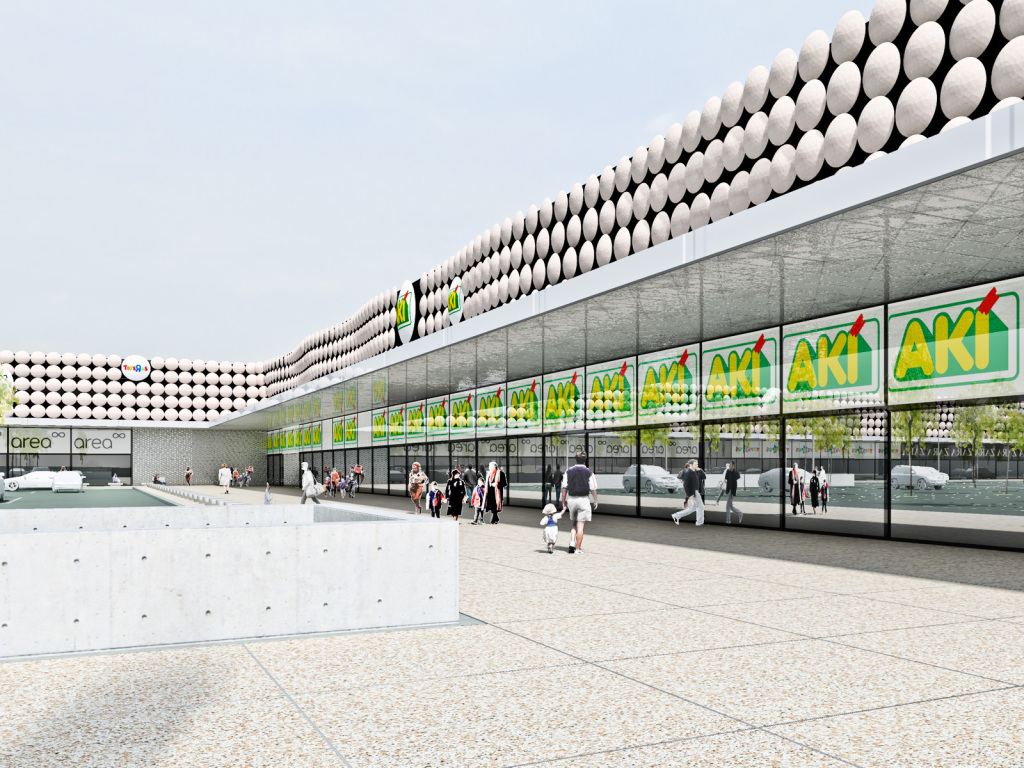
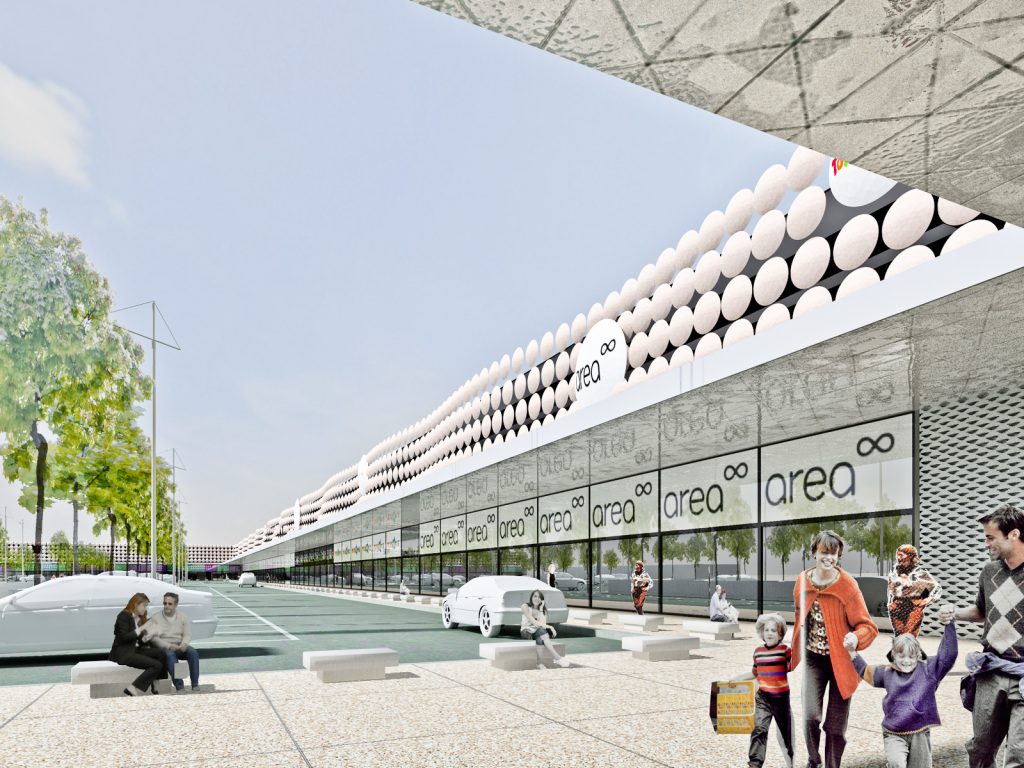
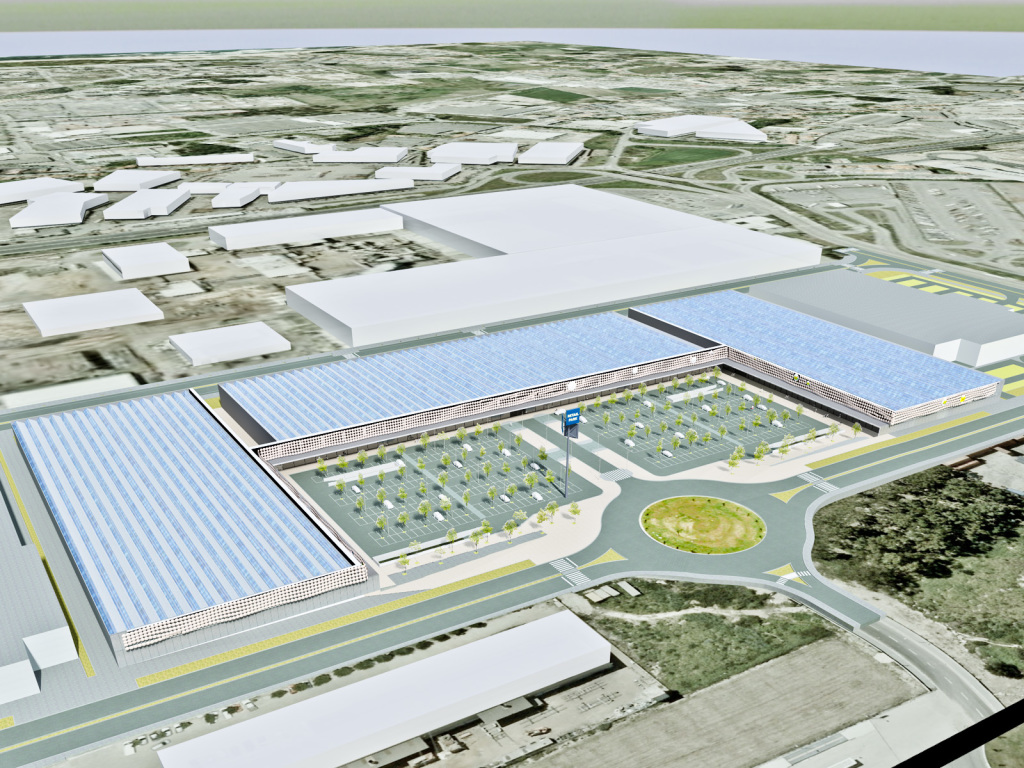
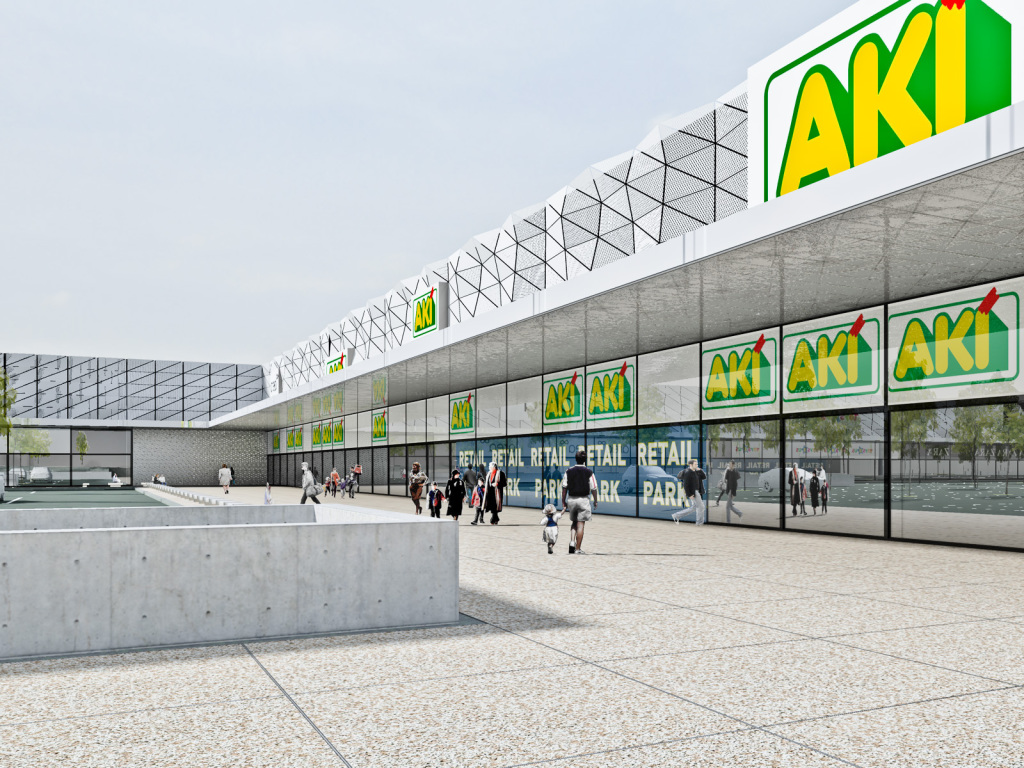
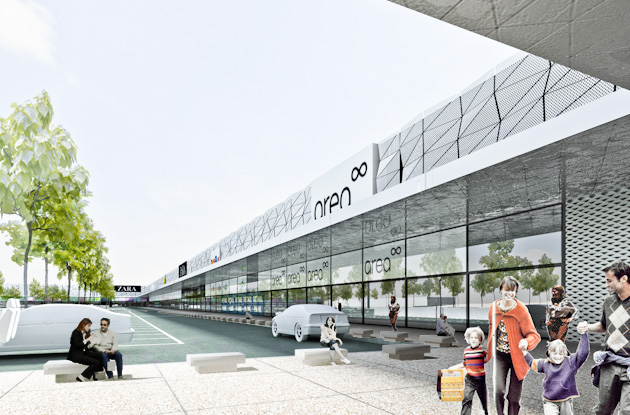
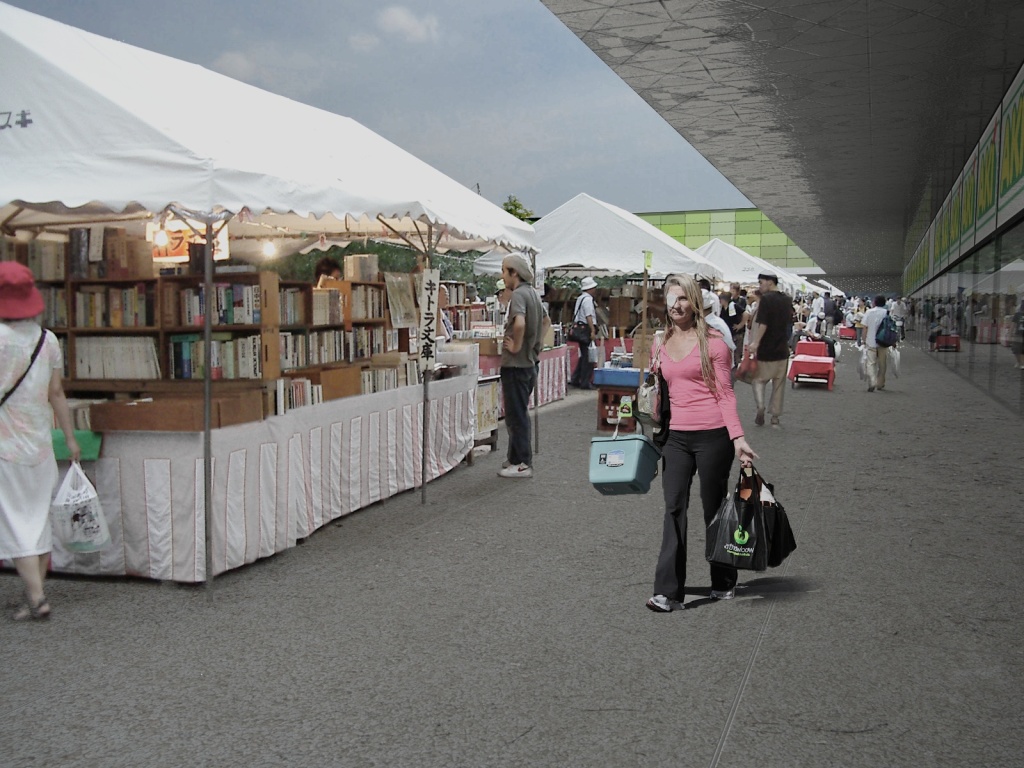
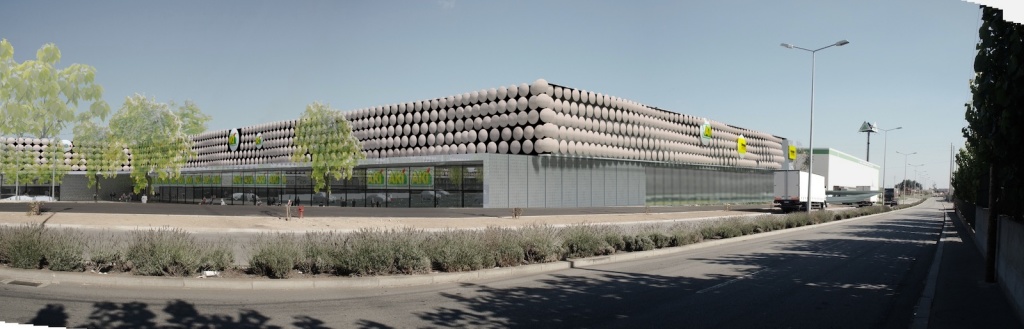
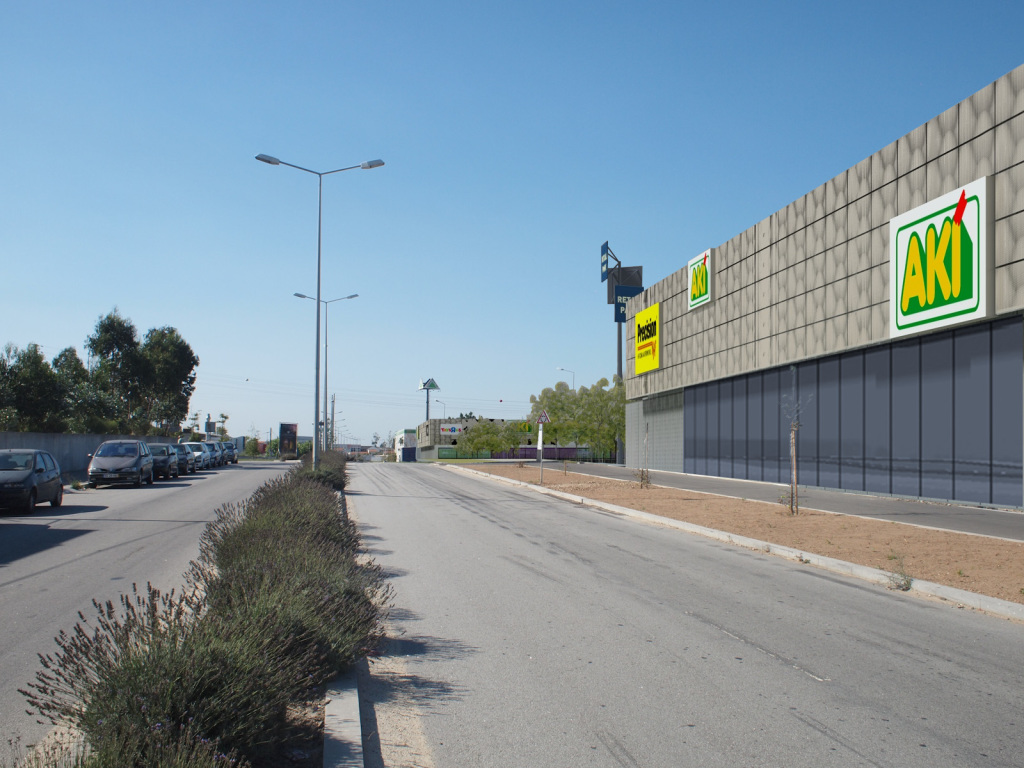
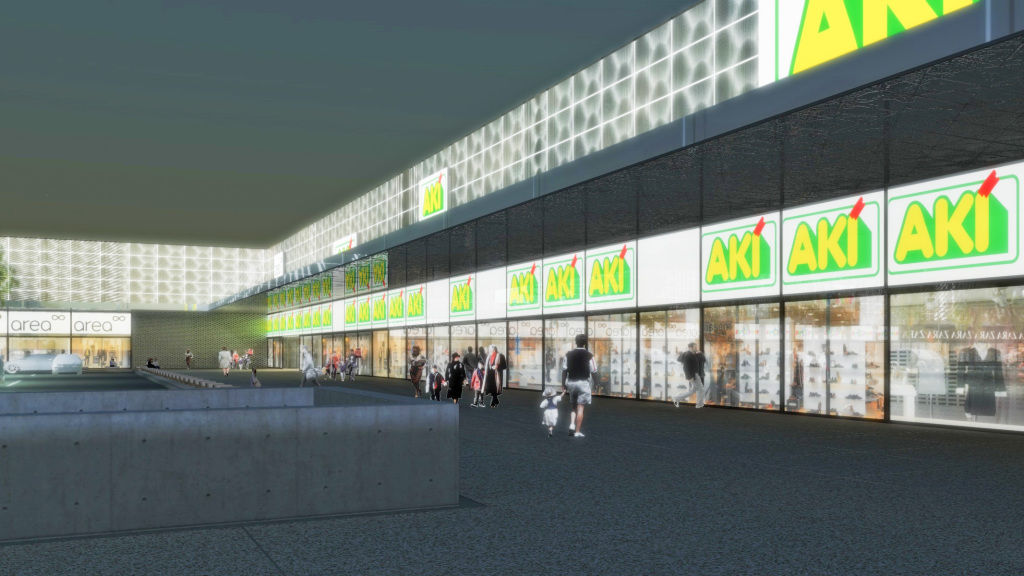
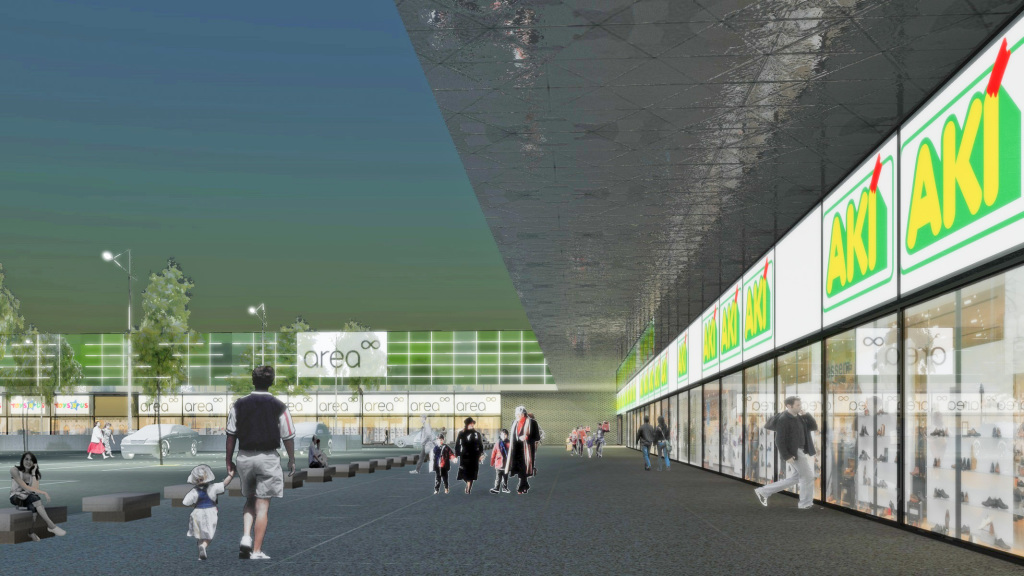
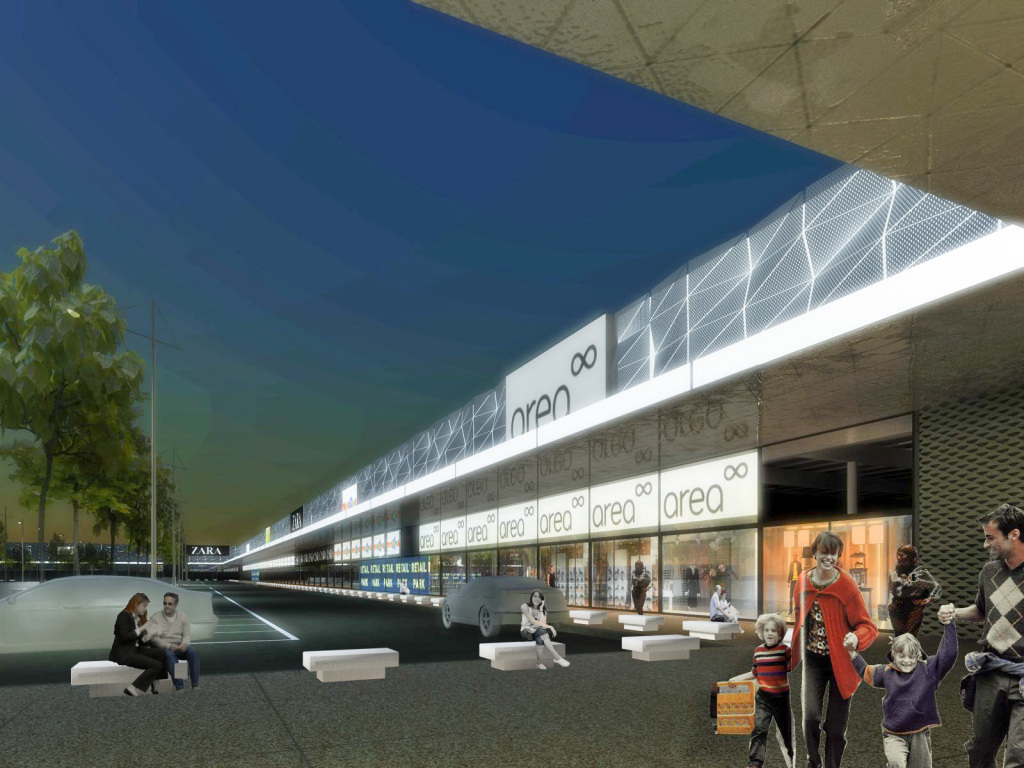
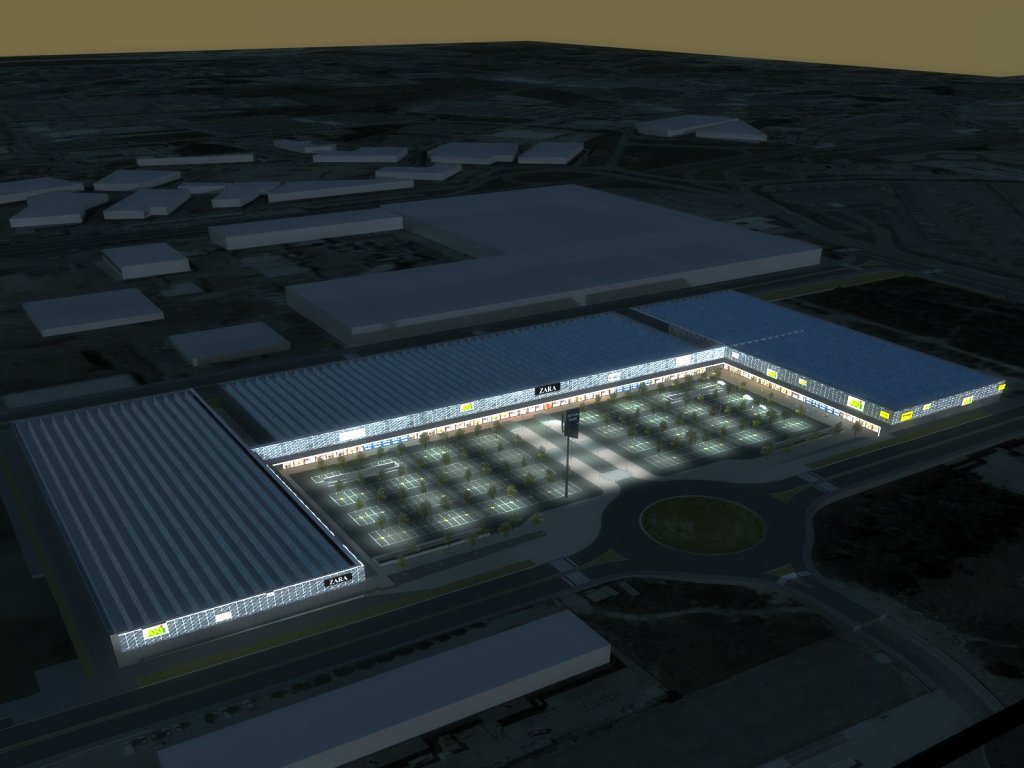
Competition for Retail Park in Matosinhos
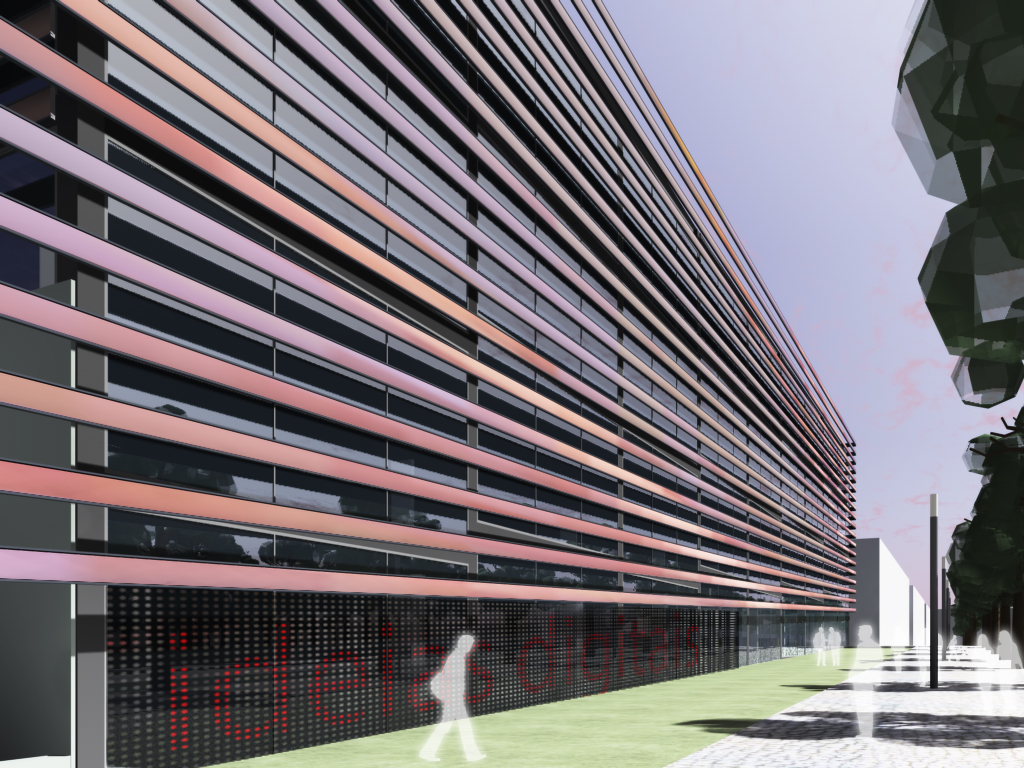
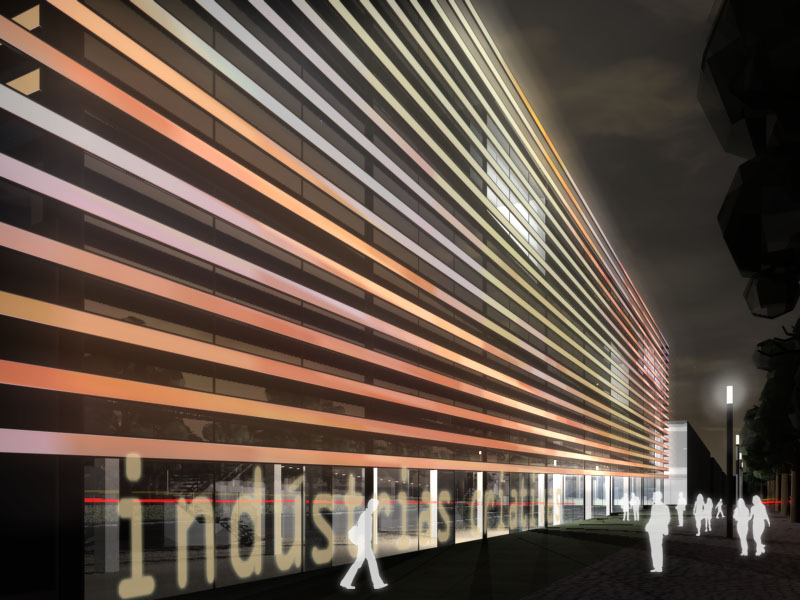
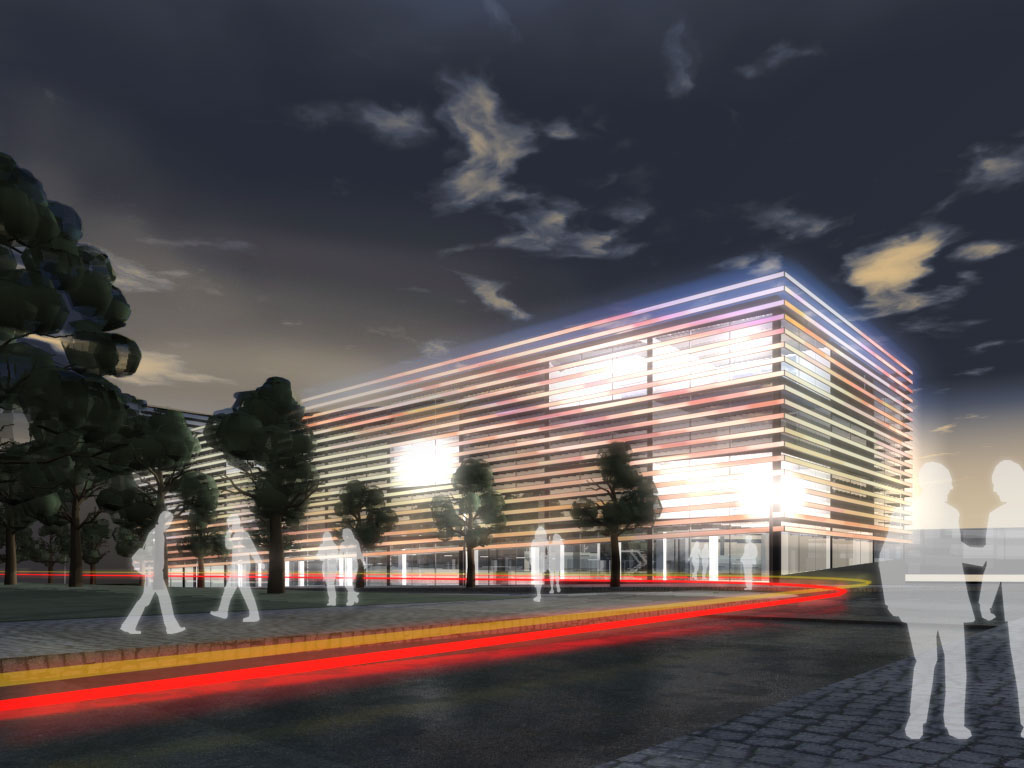
The project included a facade that could be easily changed, so the renderings should show all the possibilities, day and night.
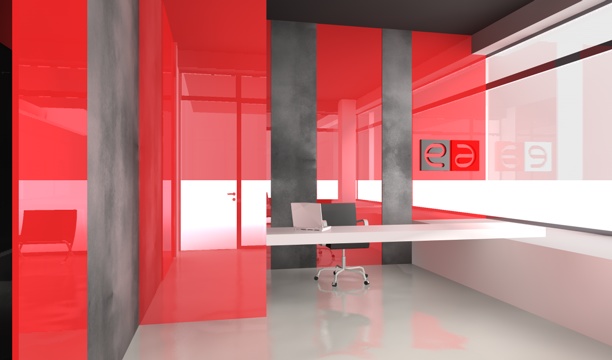
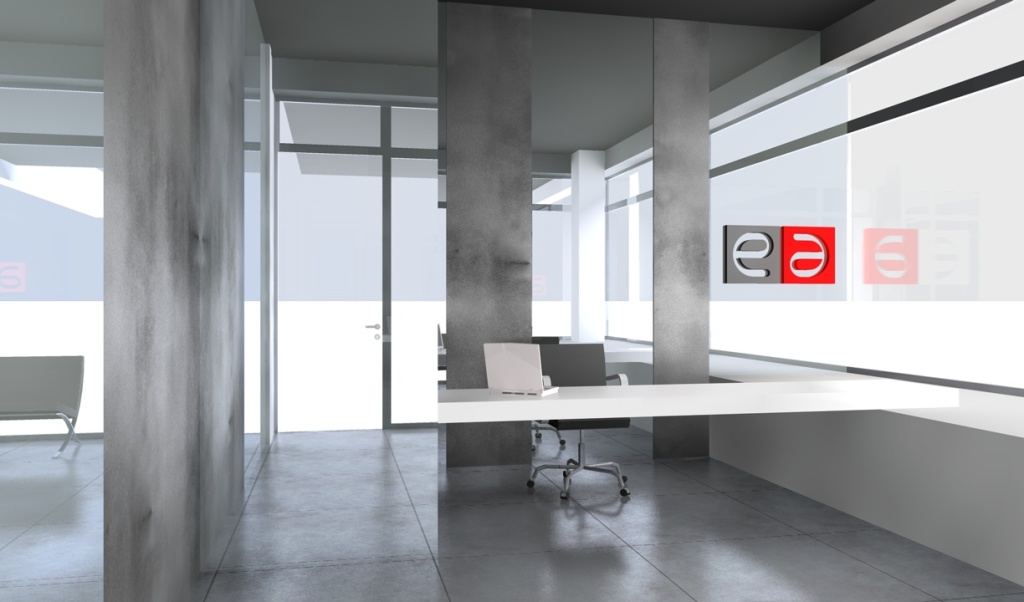
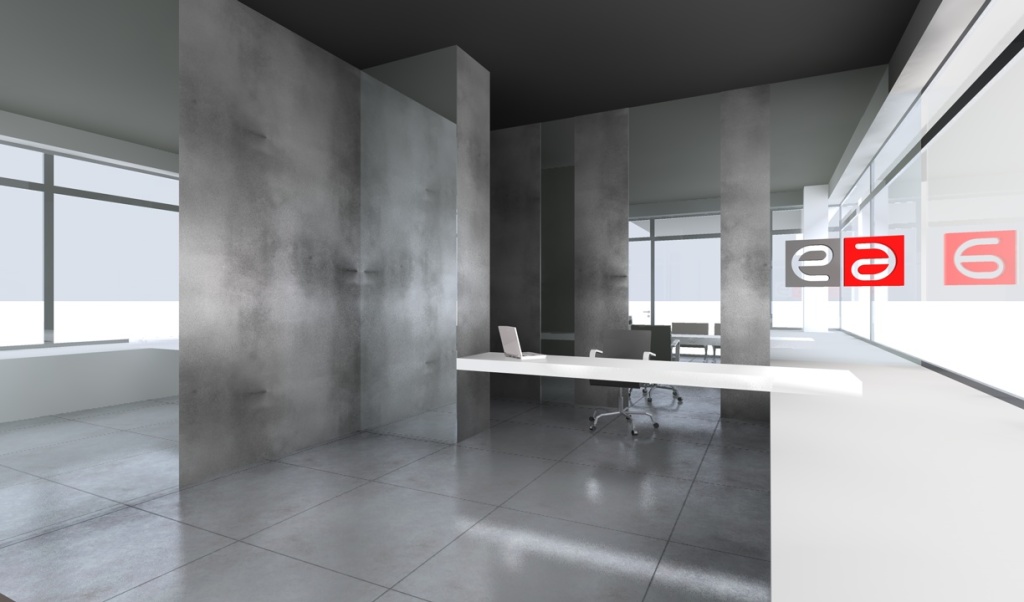
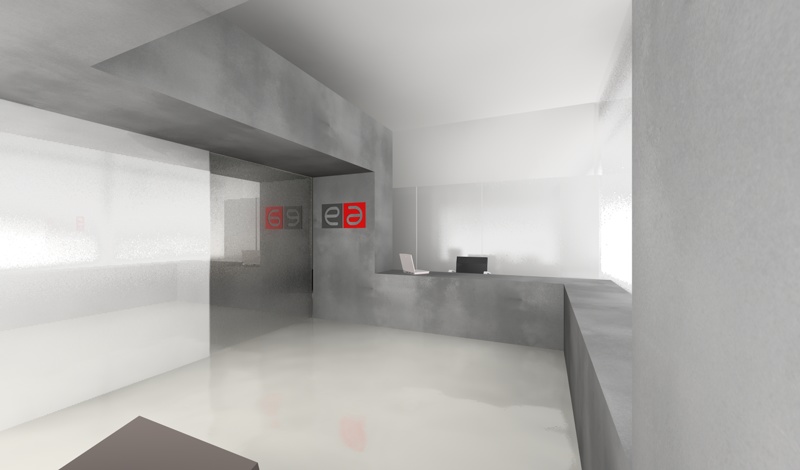
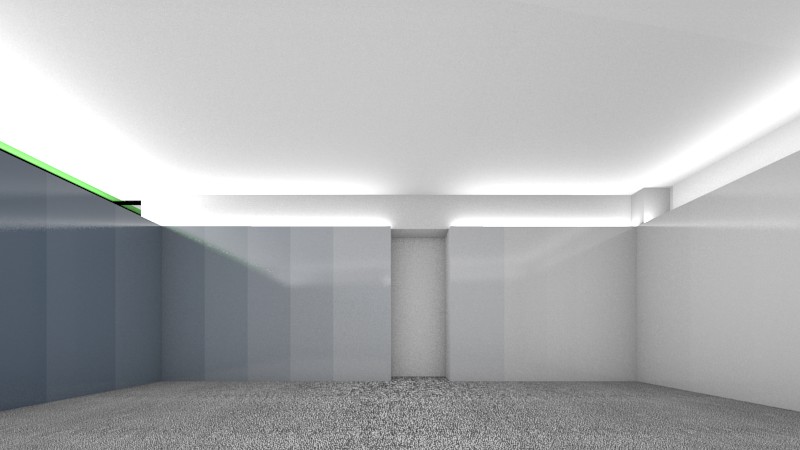
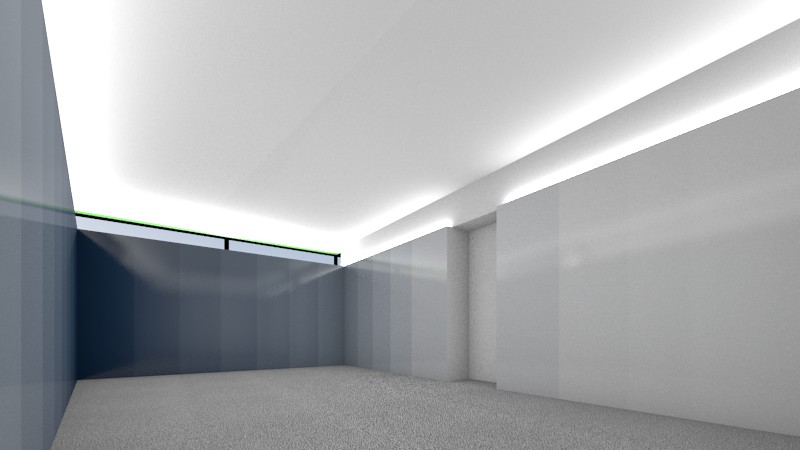
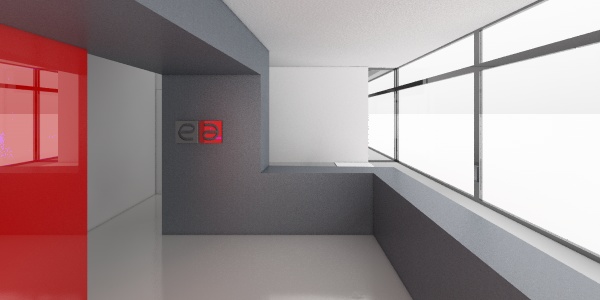
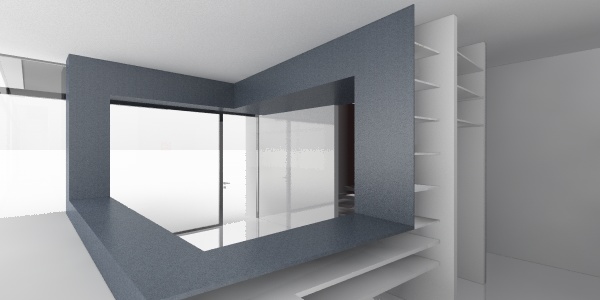
EA Main Offices
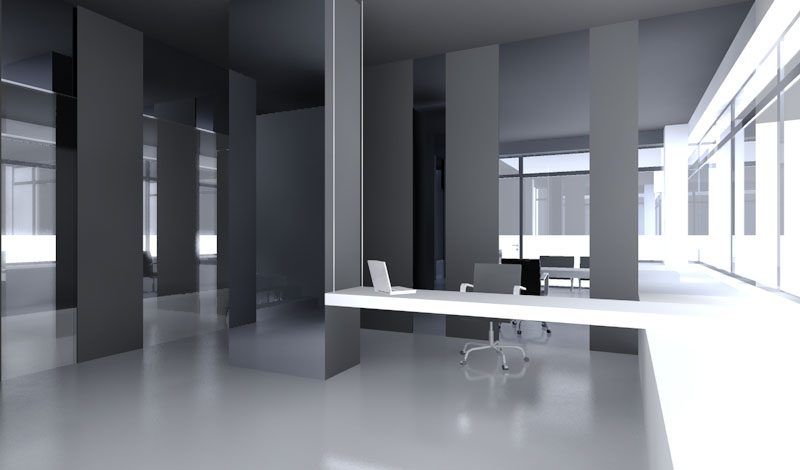
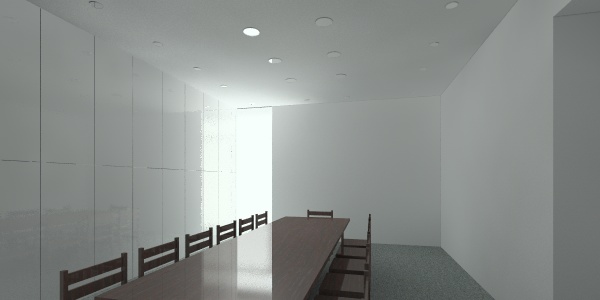
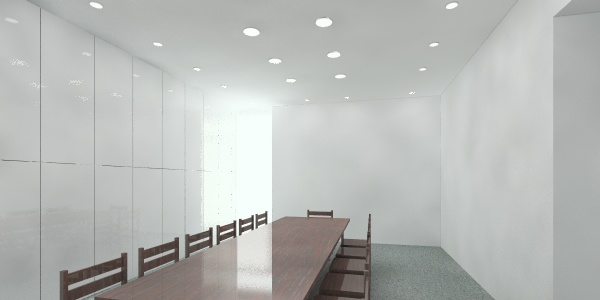
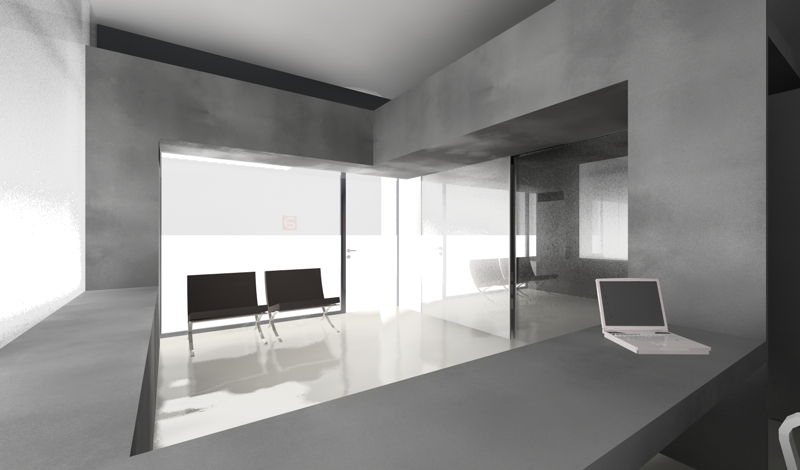
Ordem dos Farmacêuticos
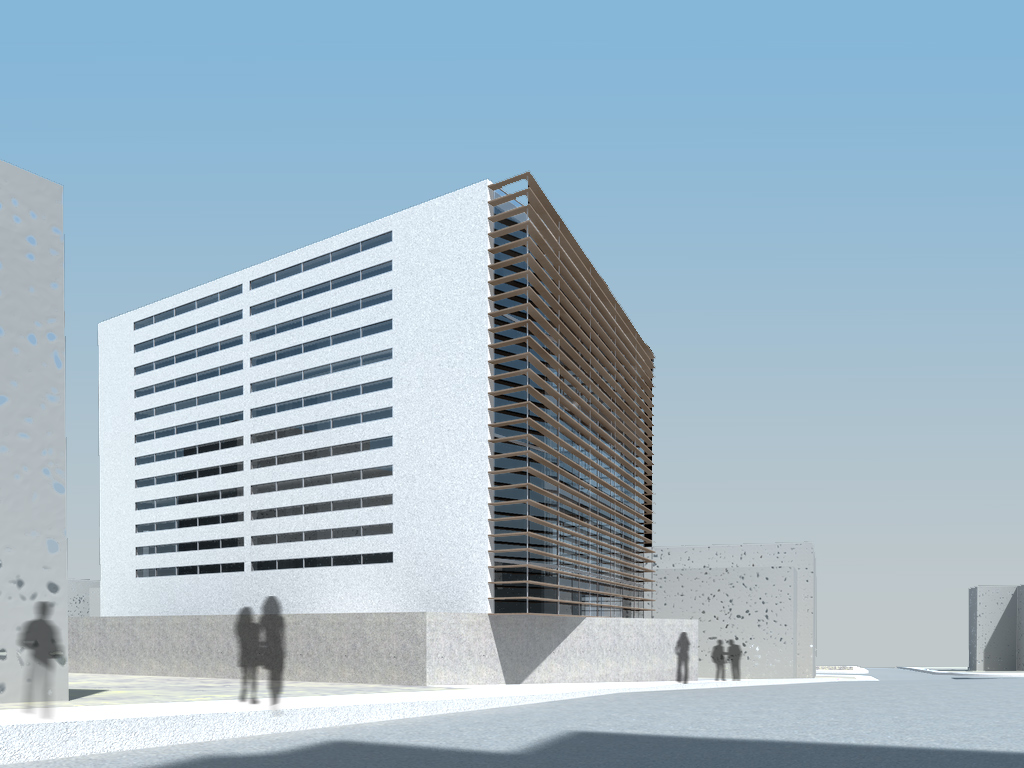
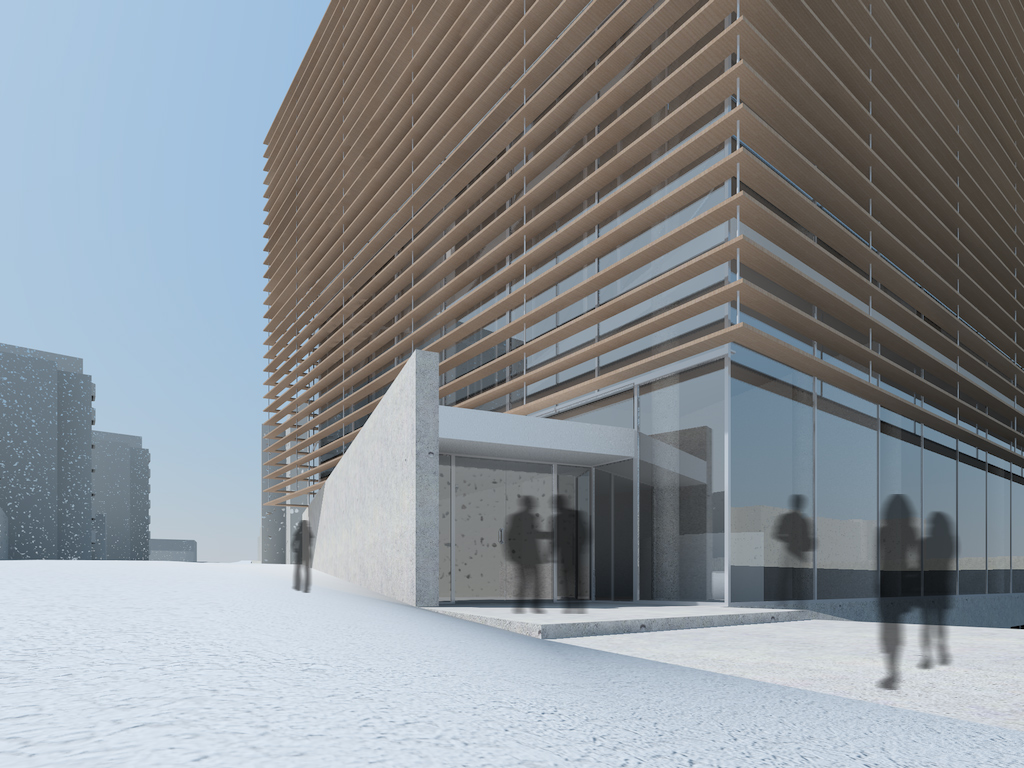
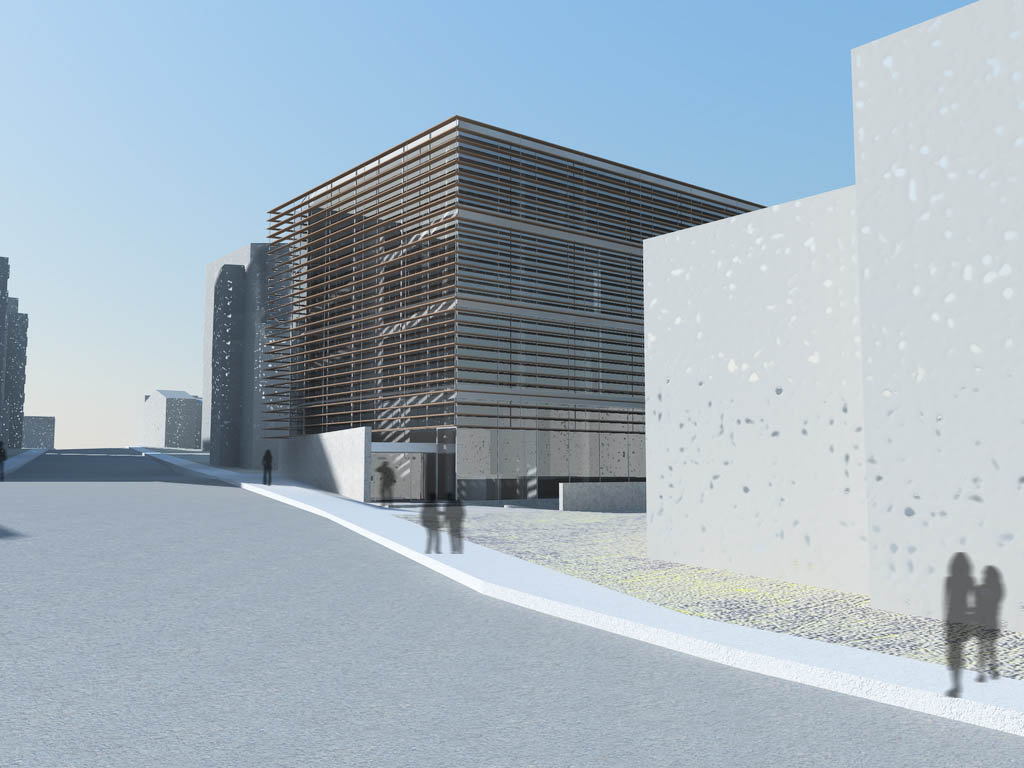
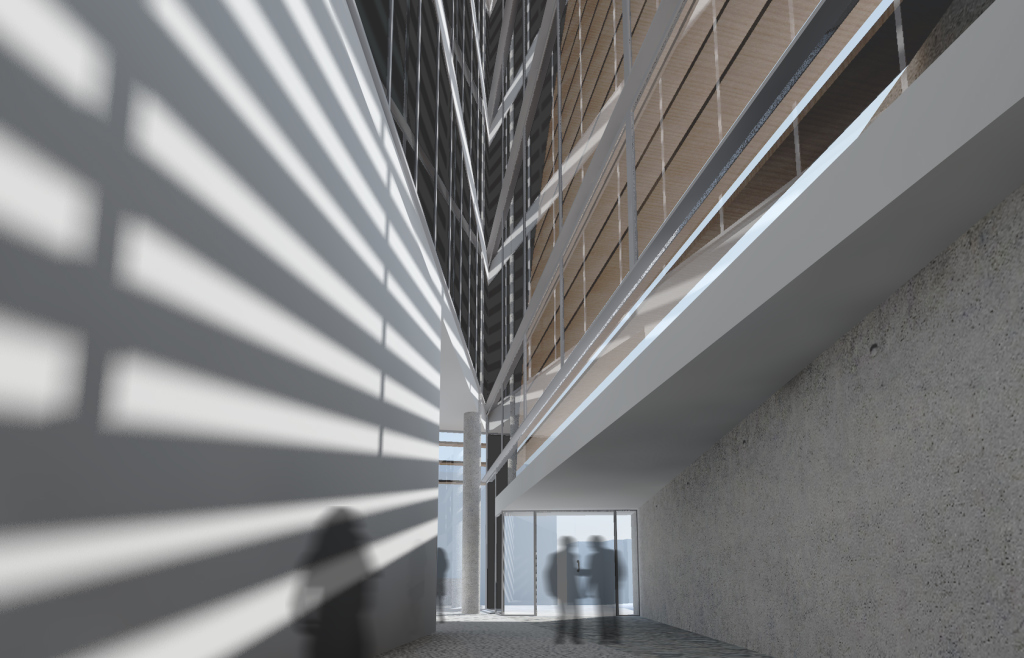
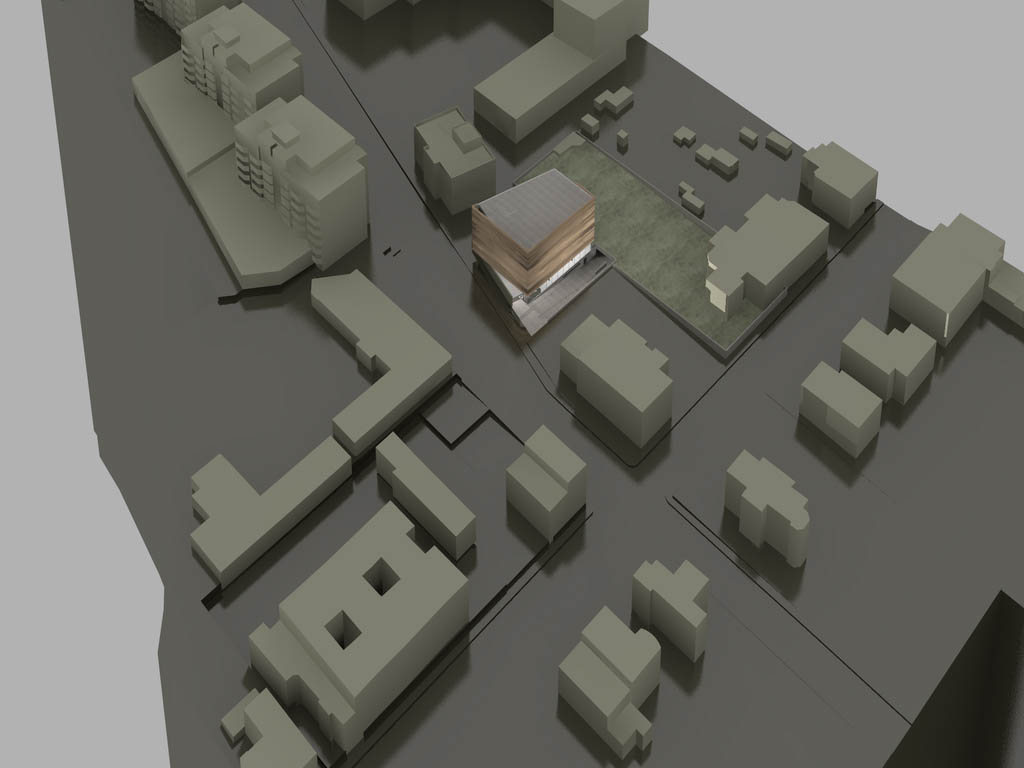
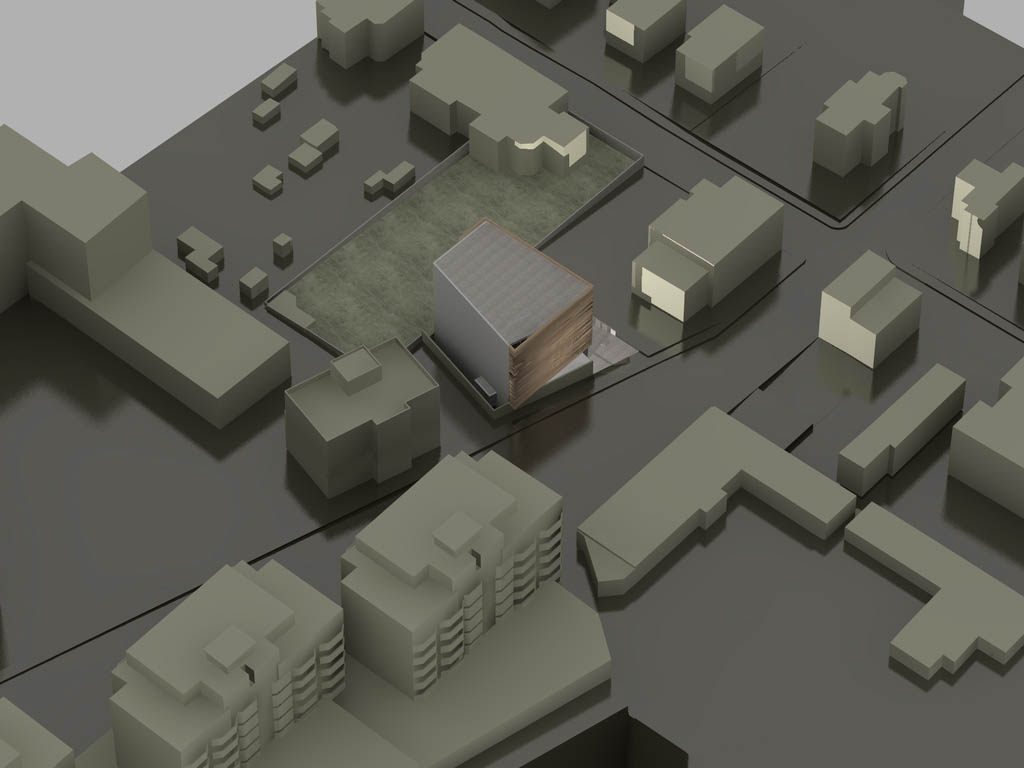
Passeio do Infante
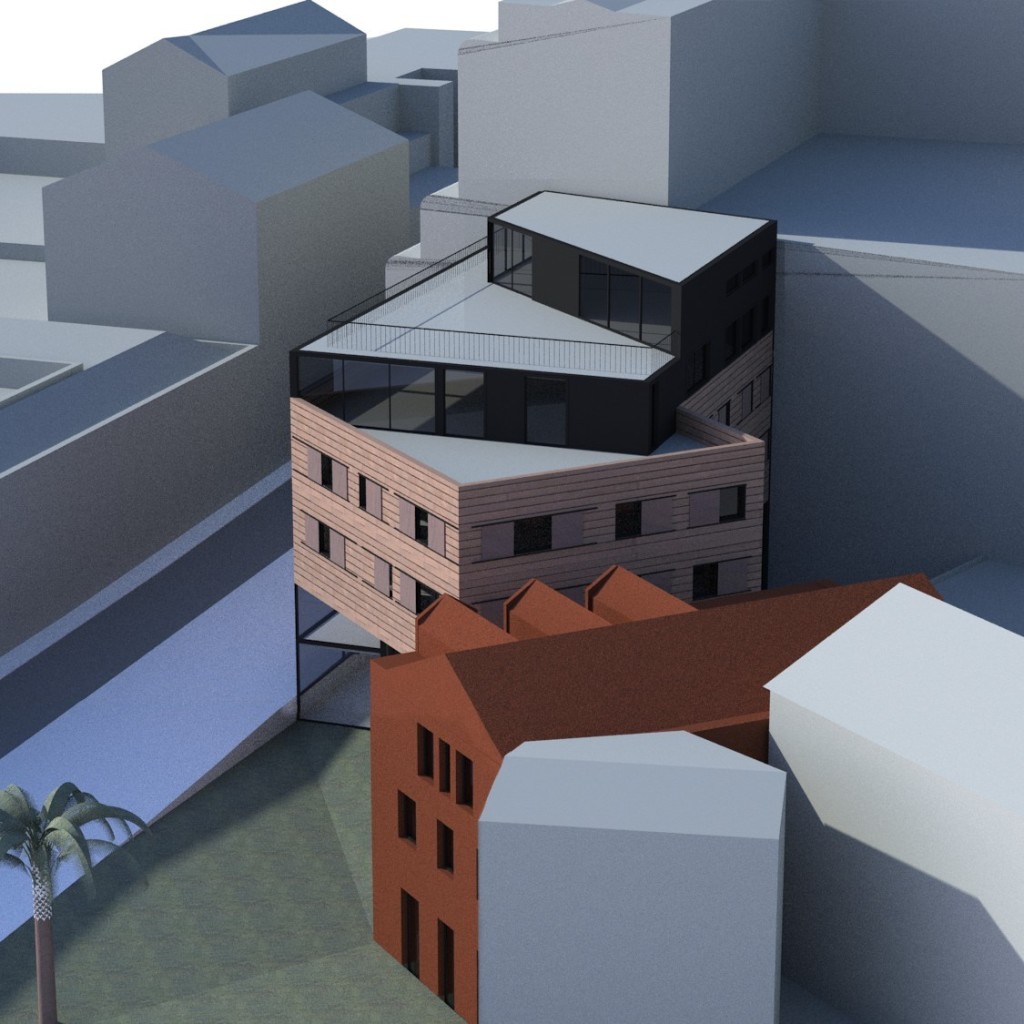
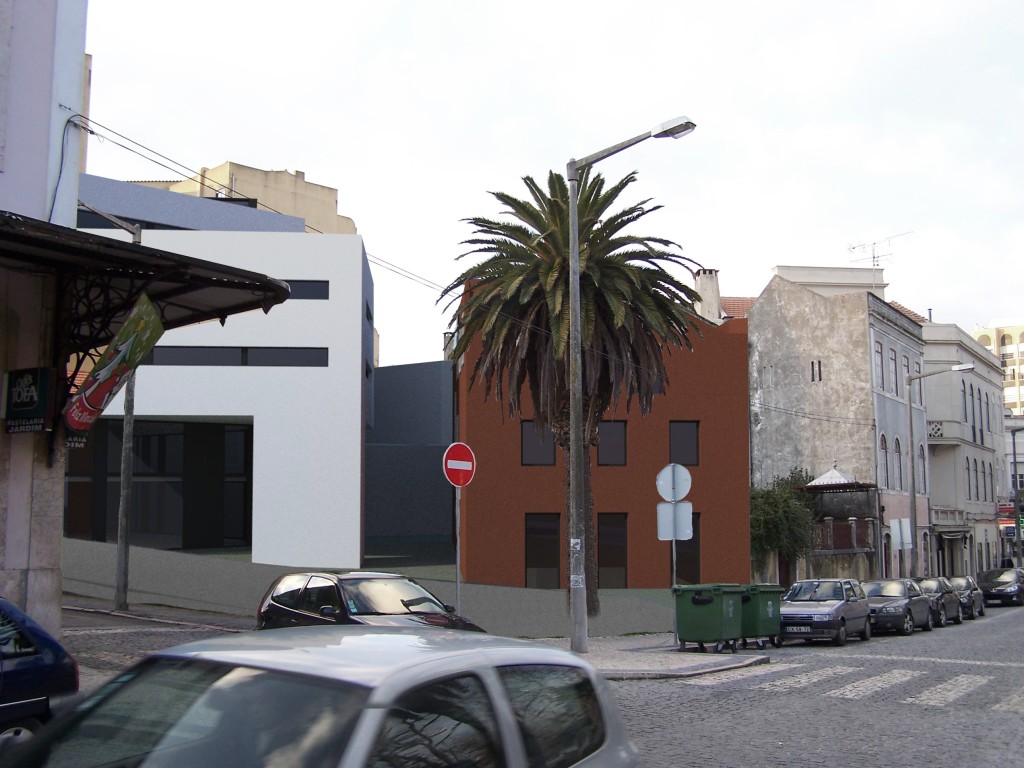
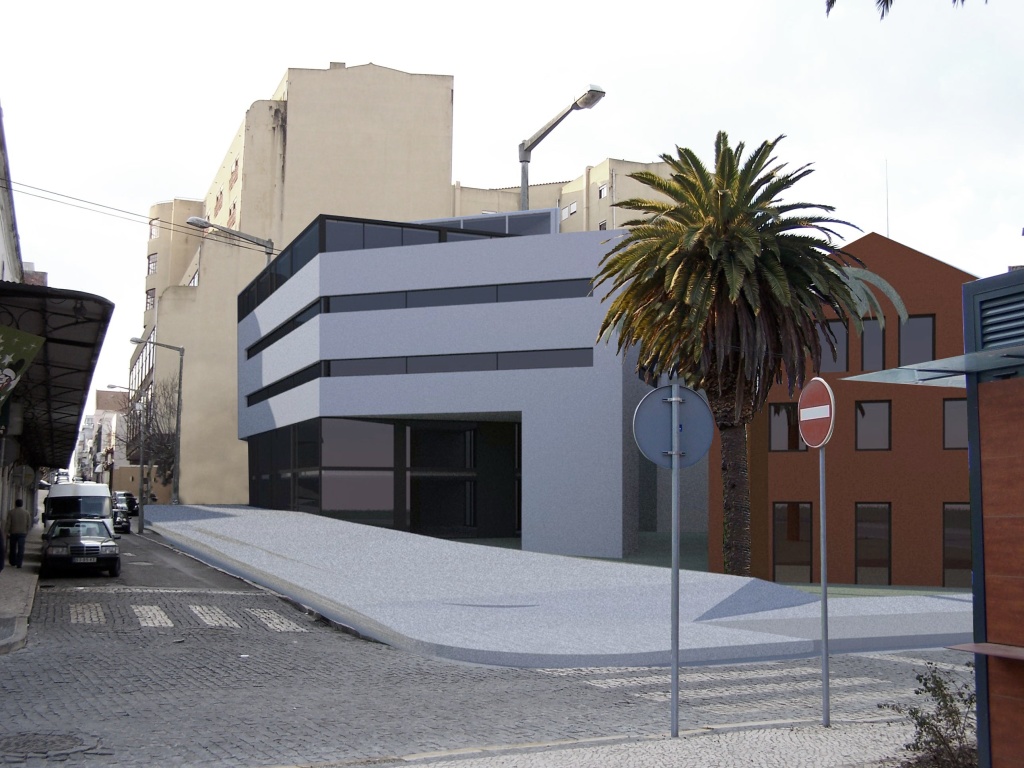
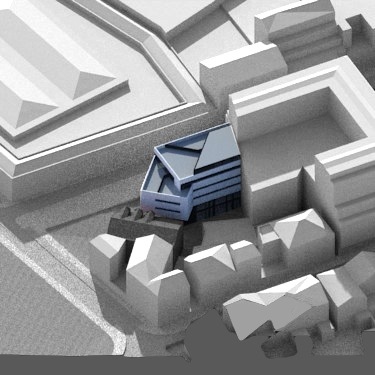
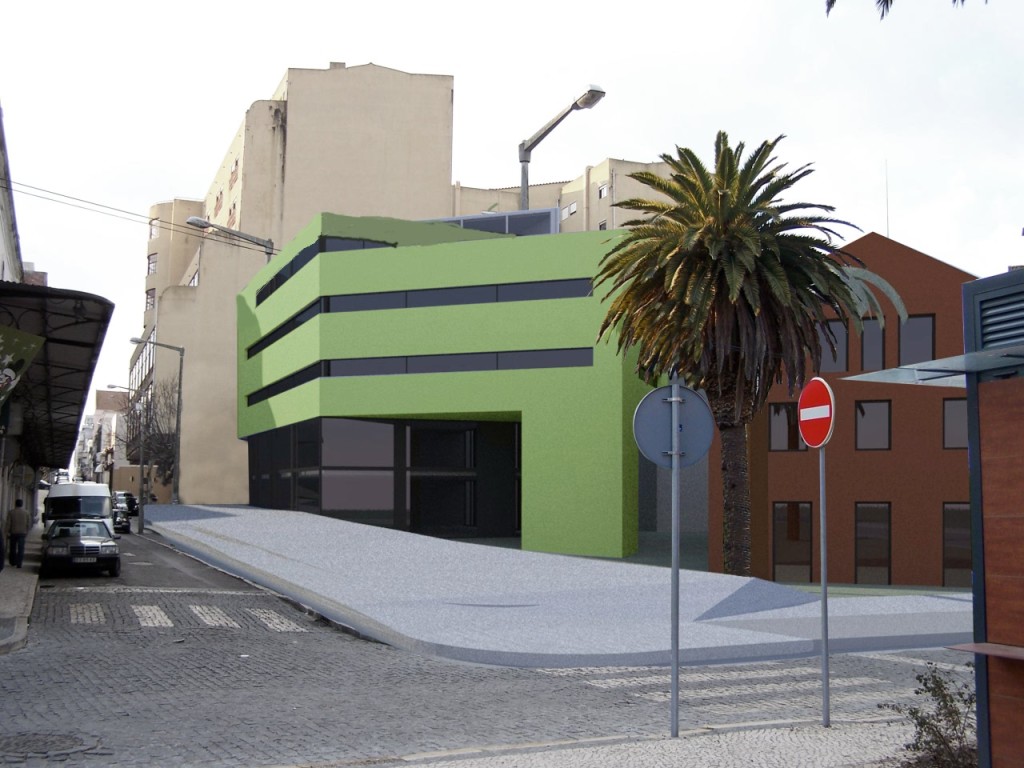
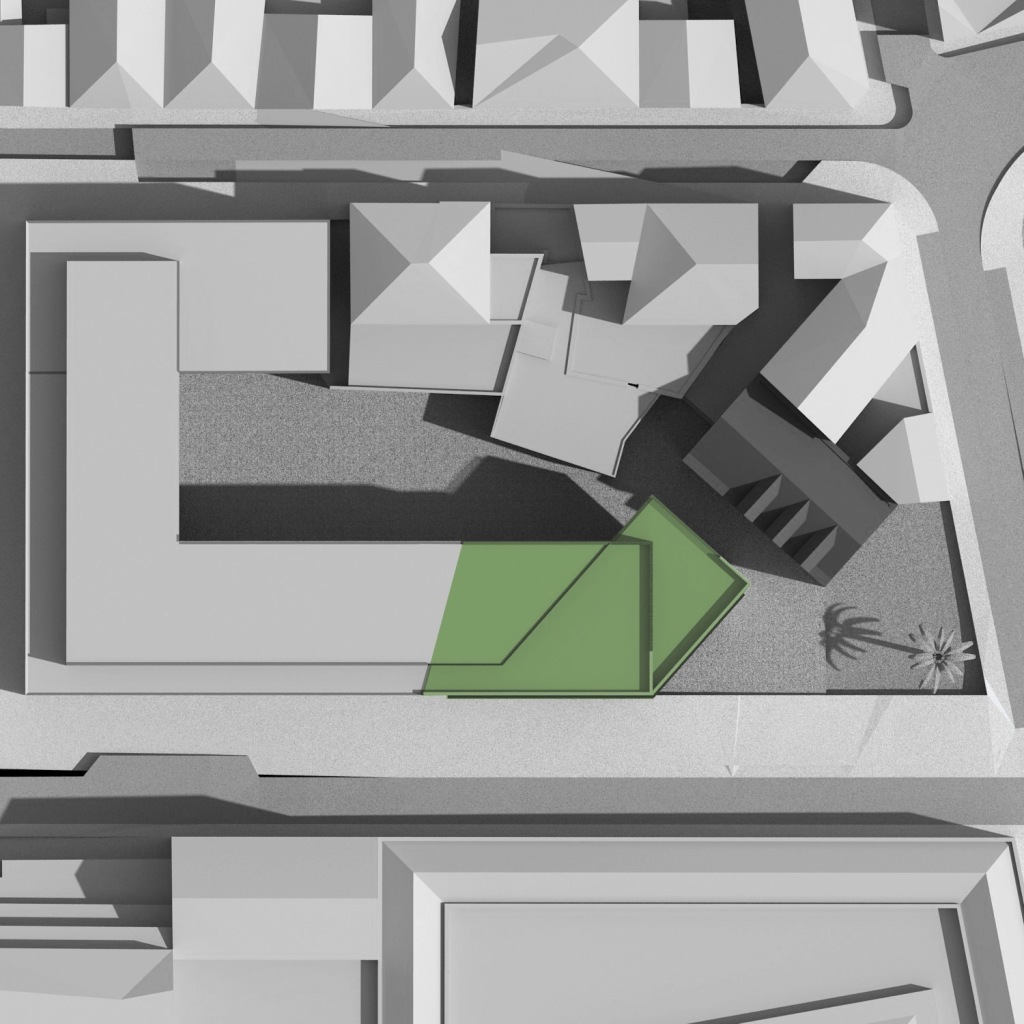
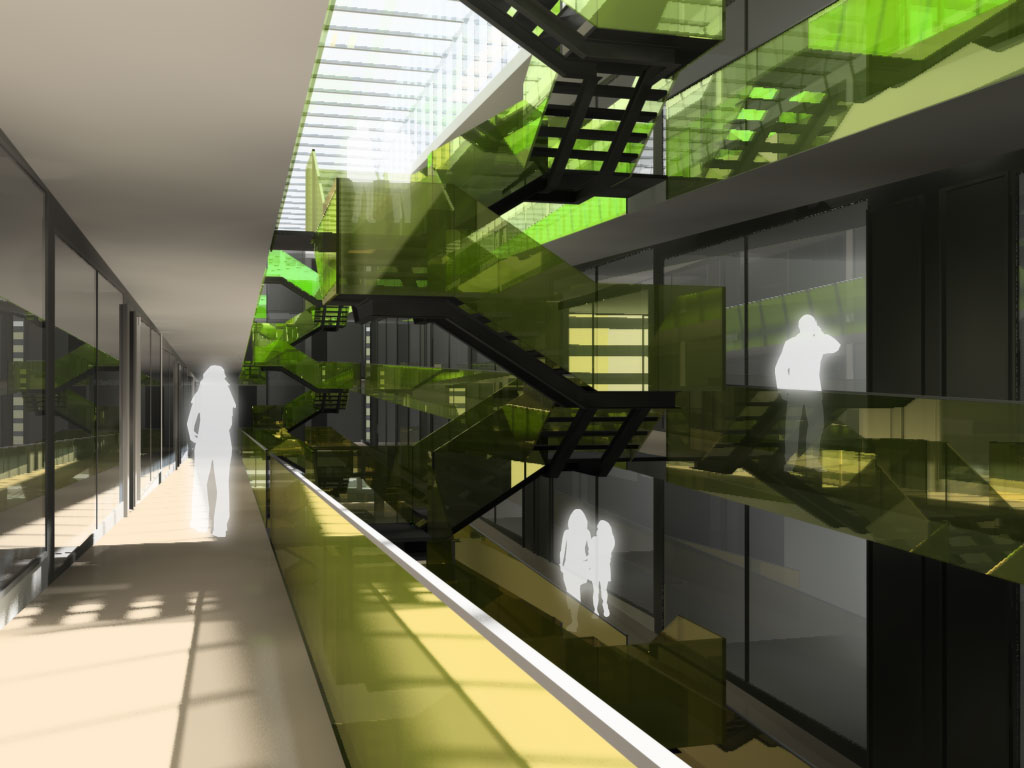
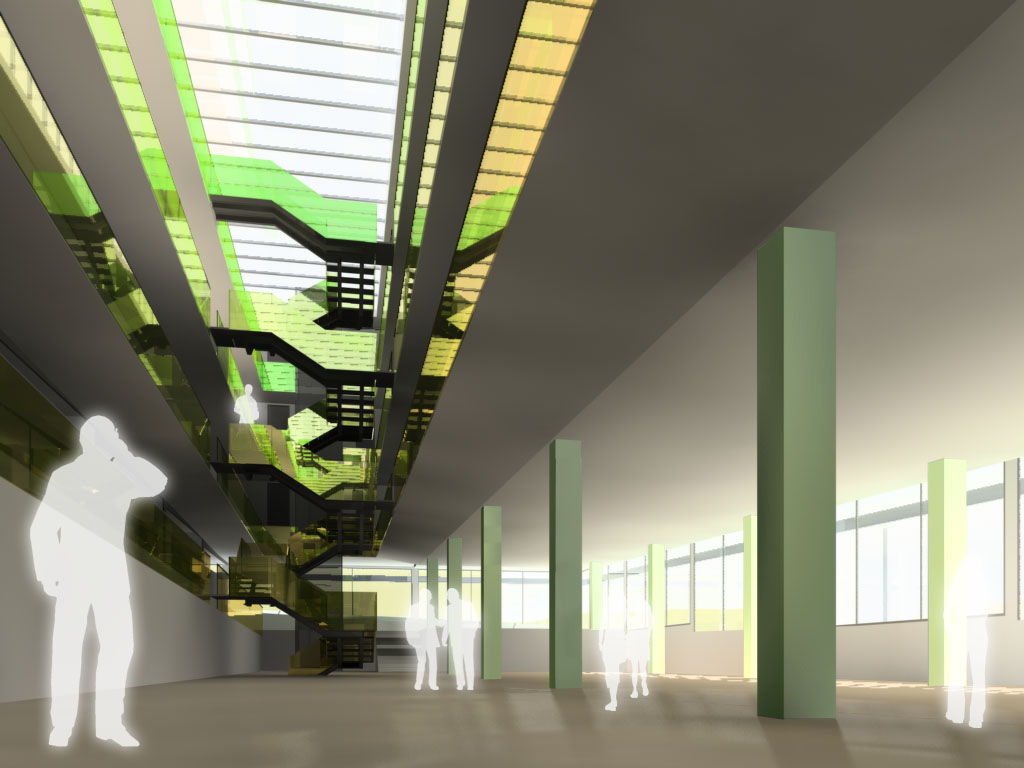
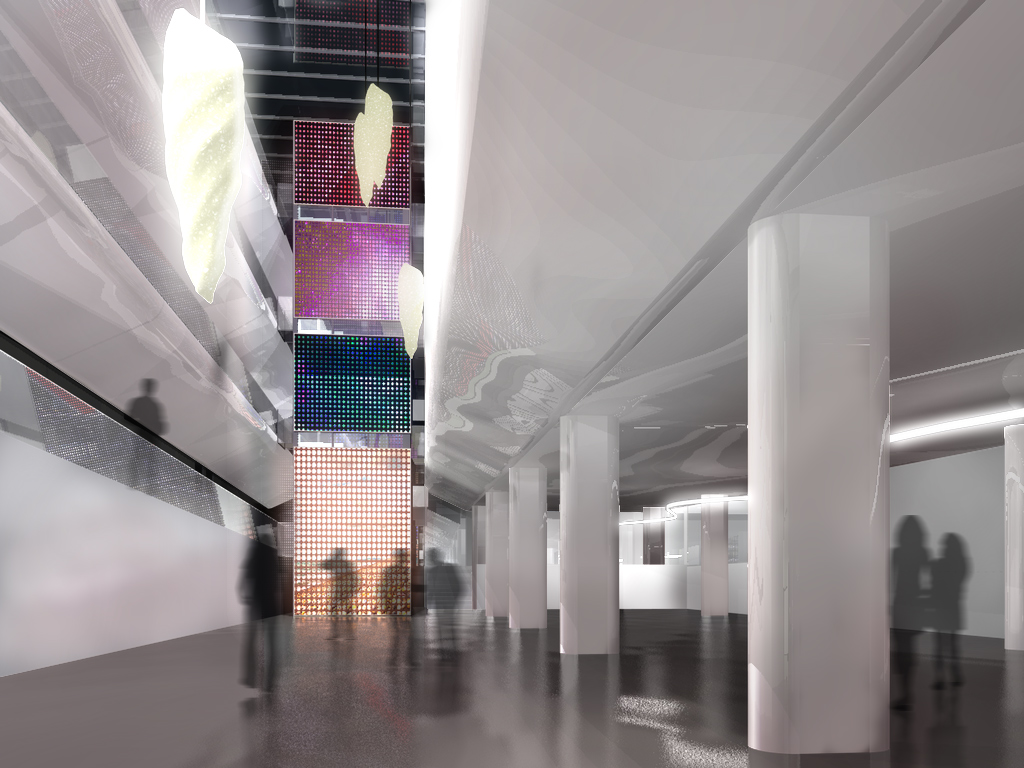
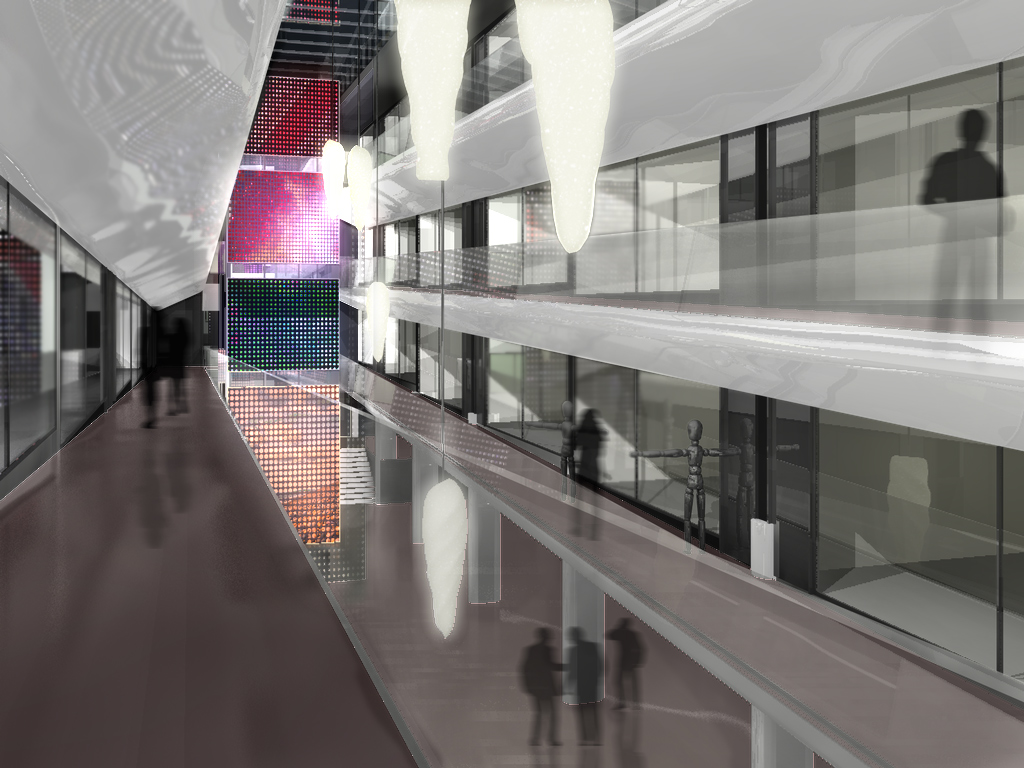
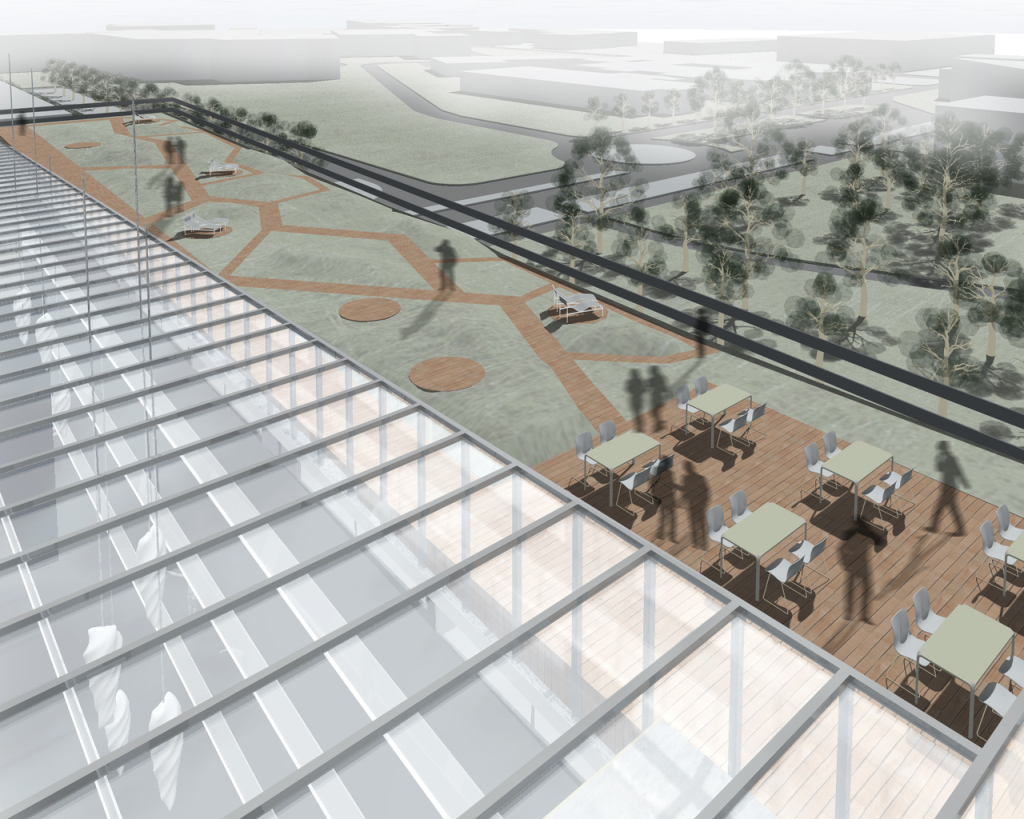
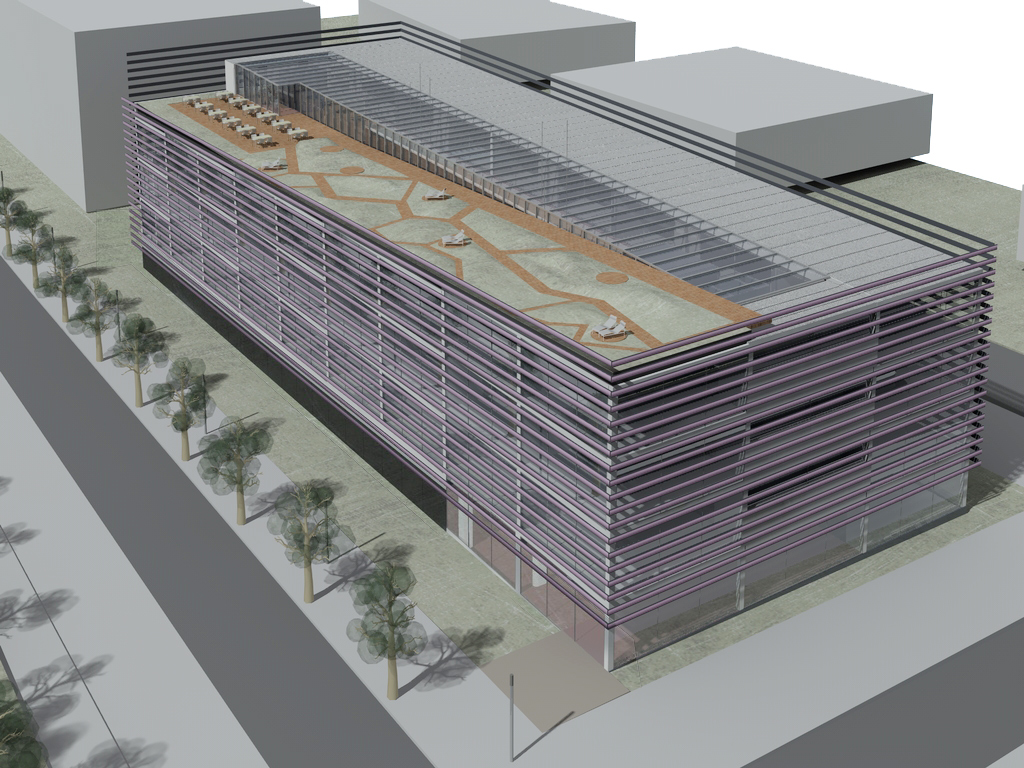
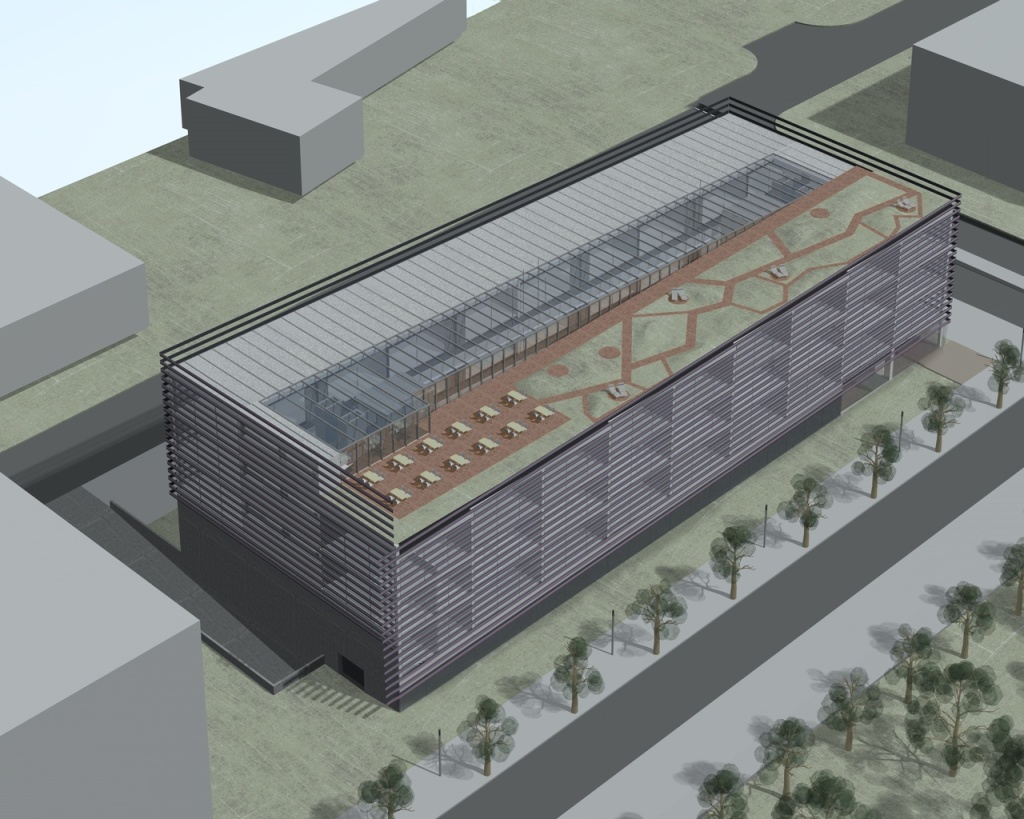
Technological Creative Industries Incubator
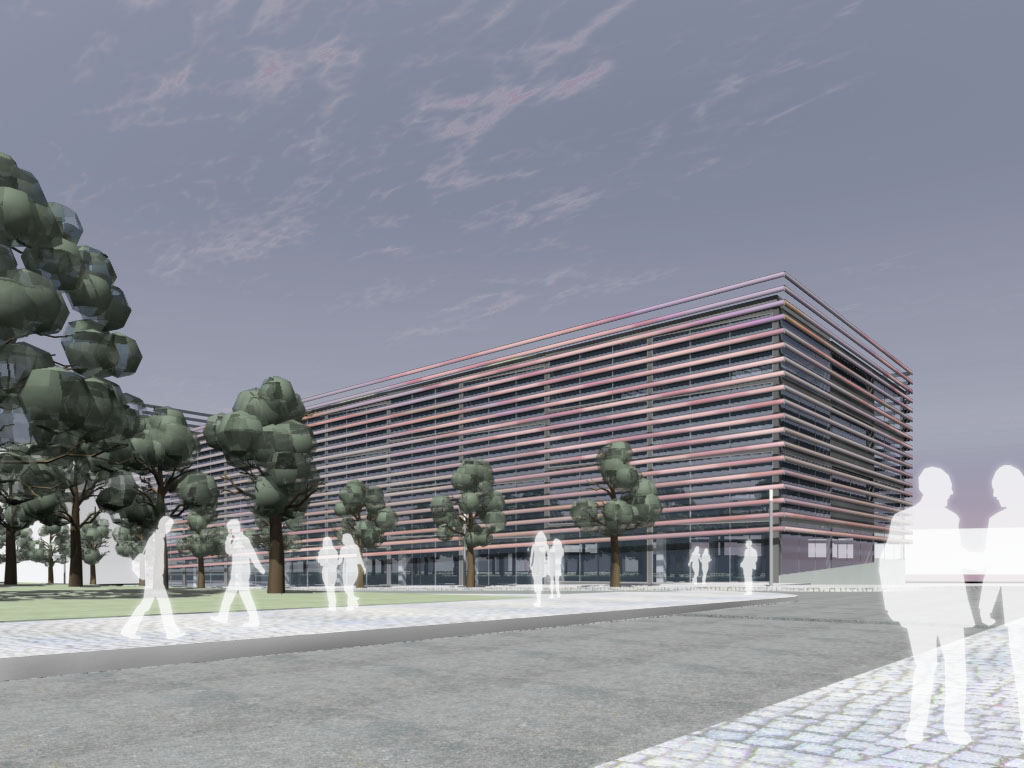
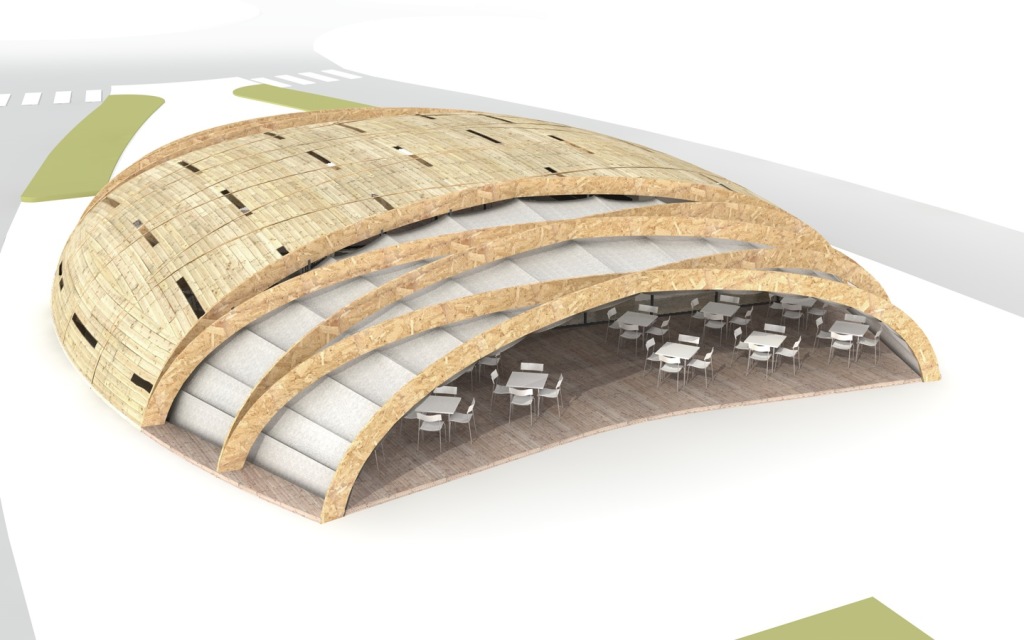
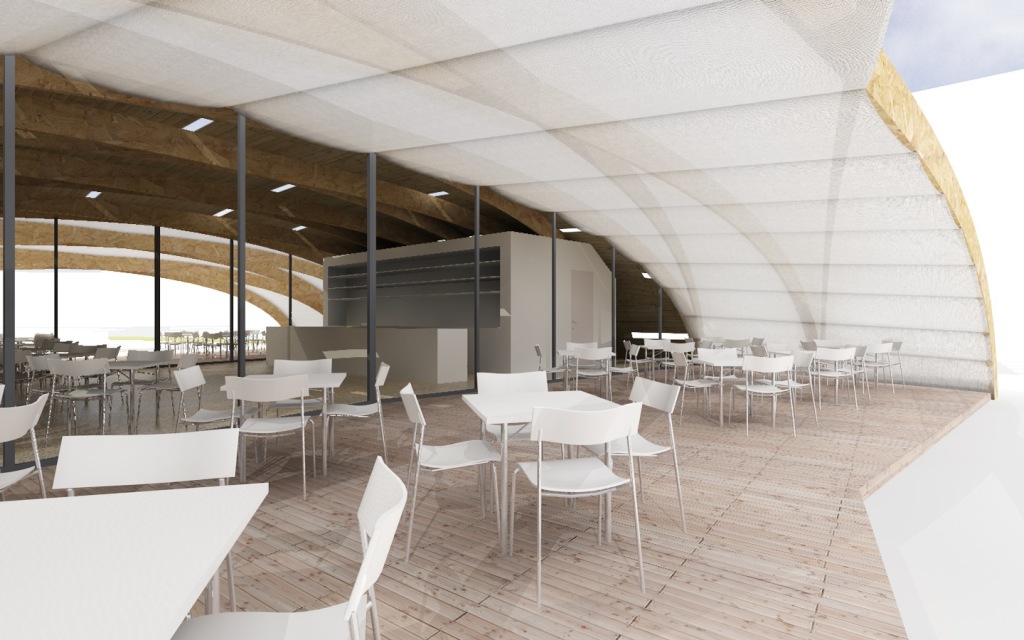
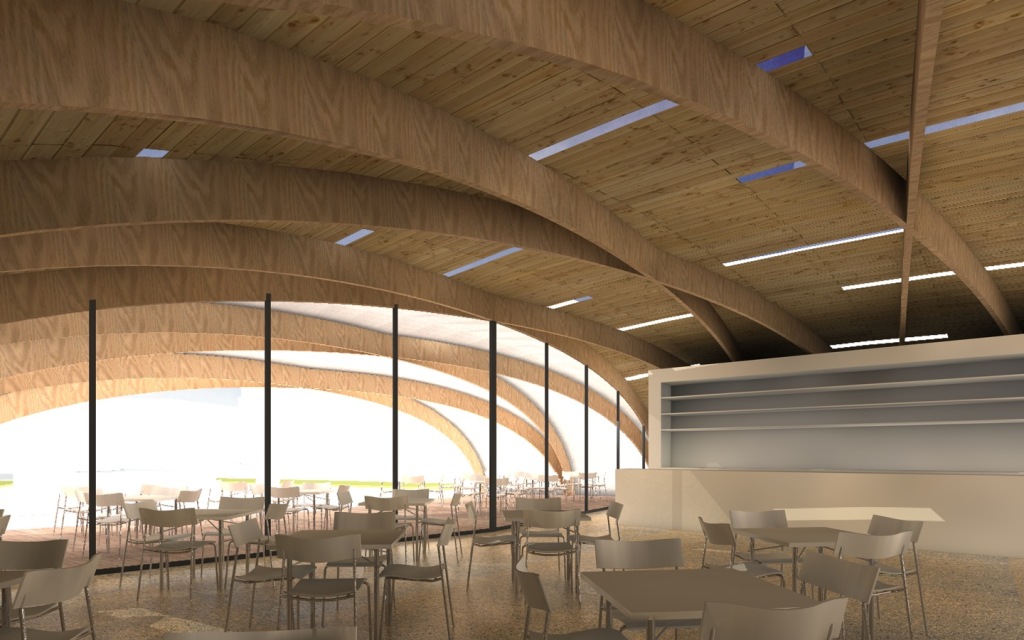
Bar pavillion
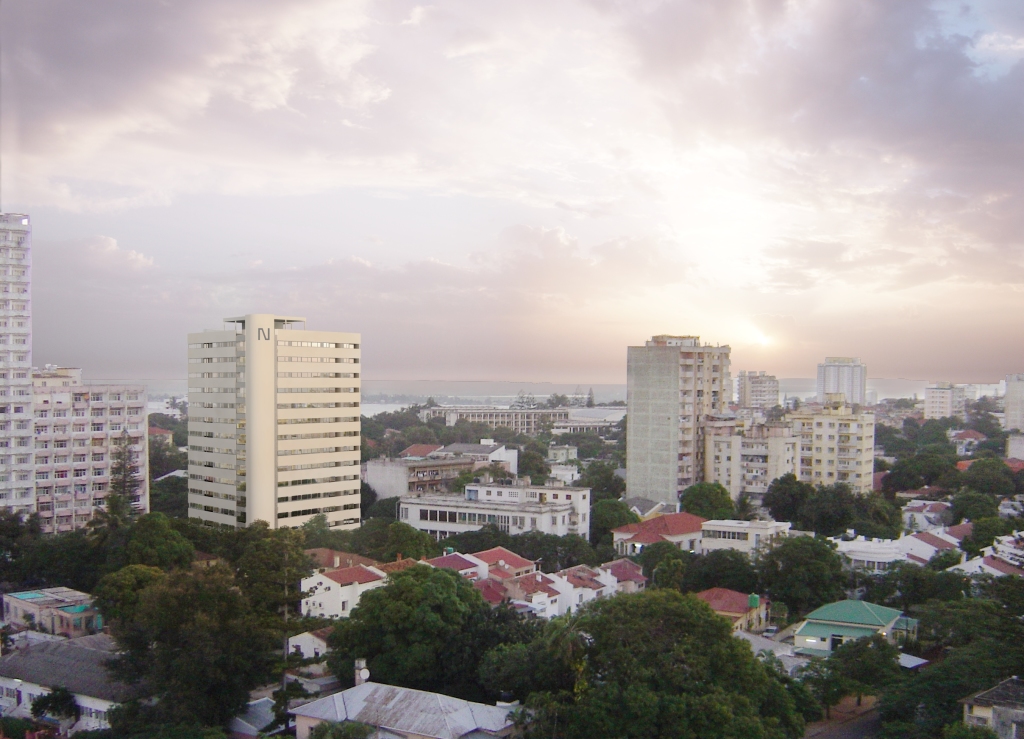
NIASSA
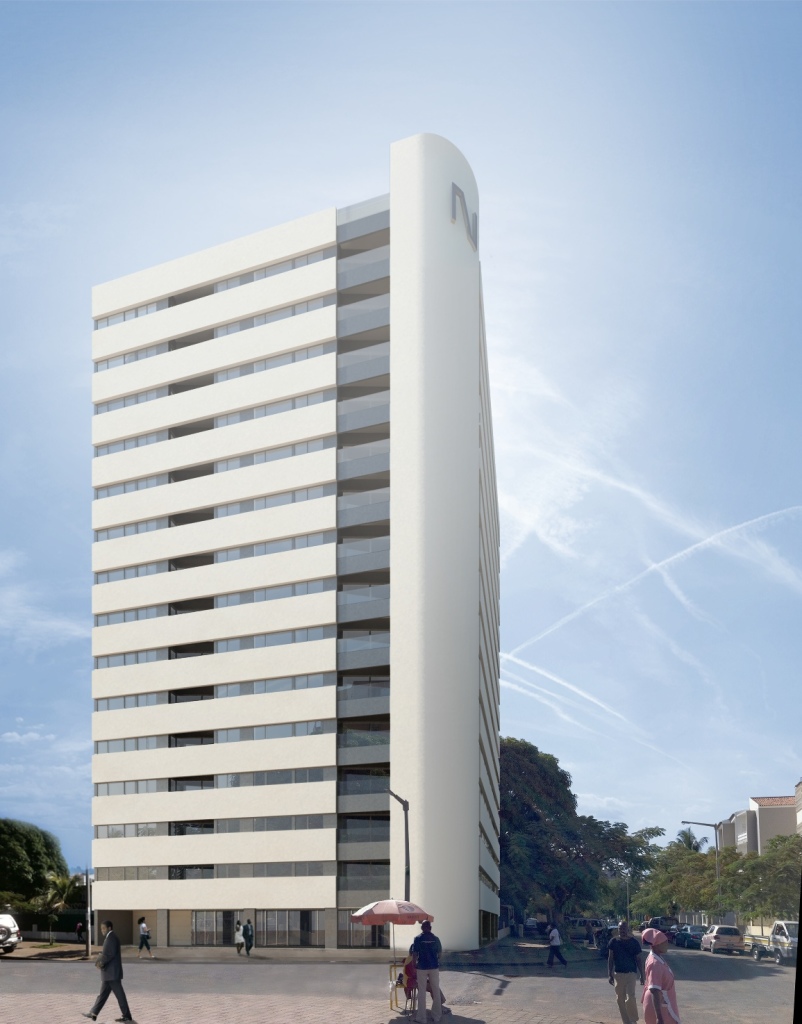
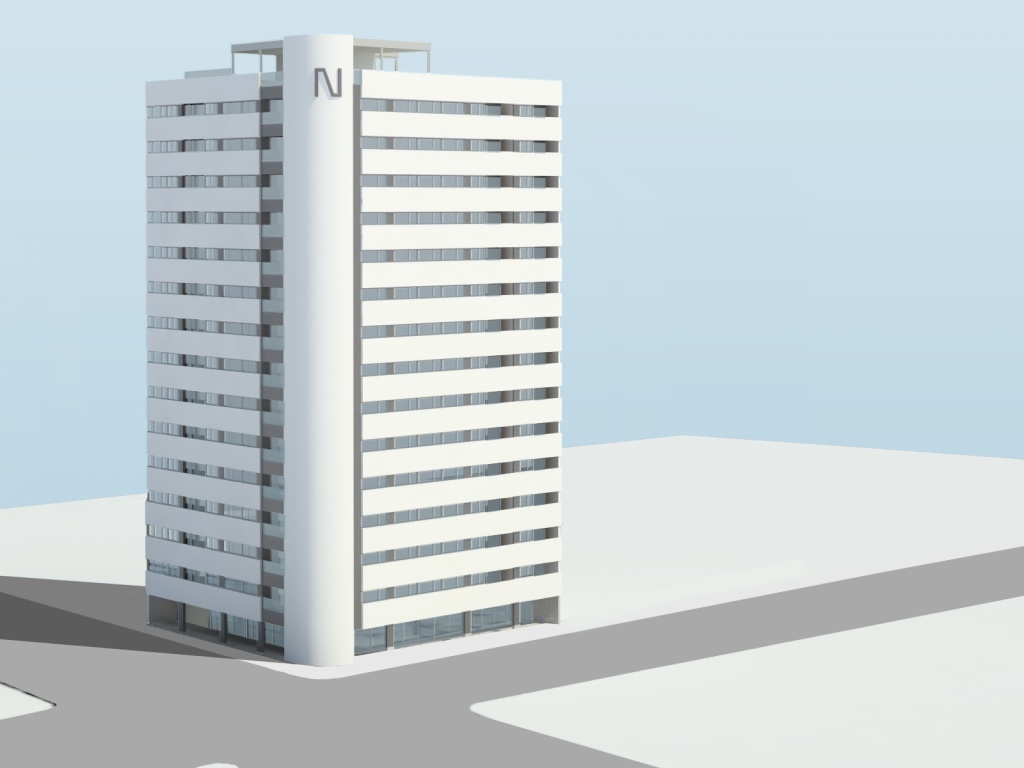
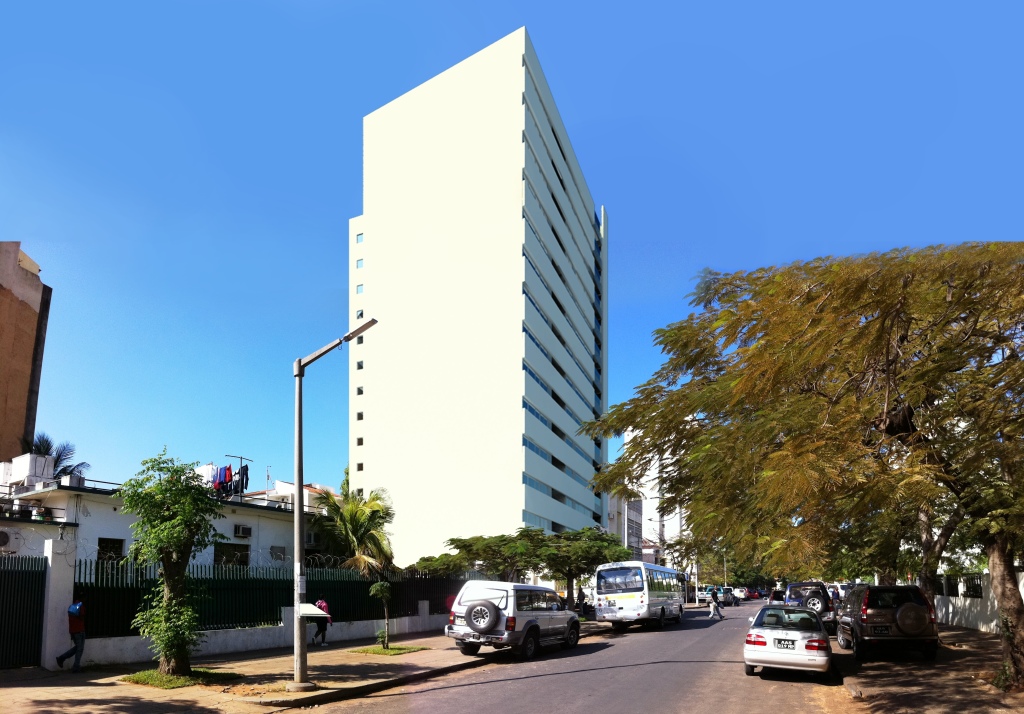
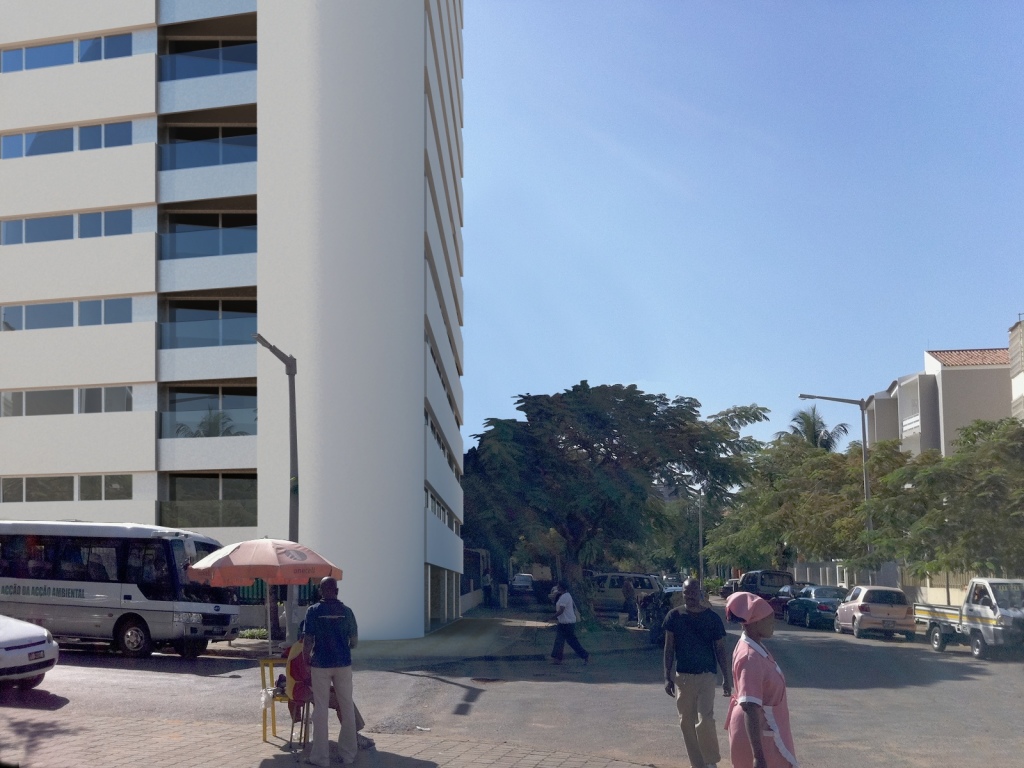
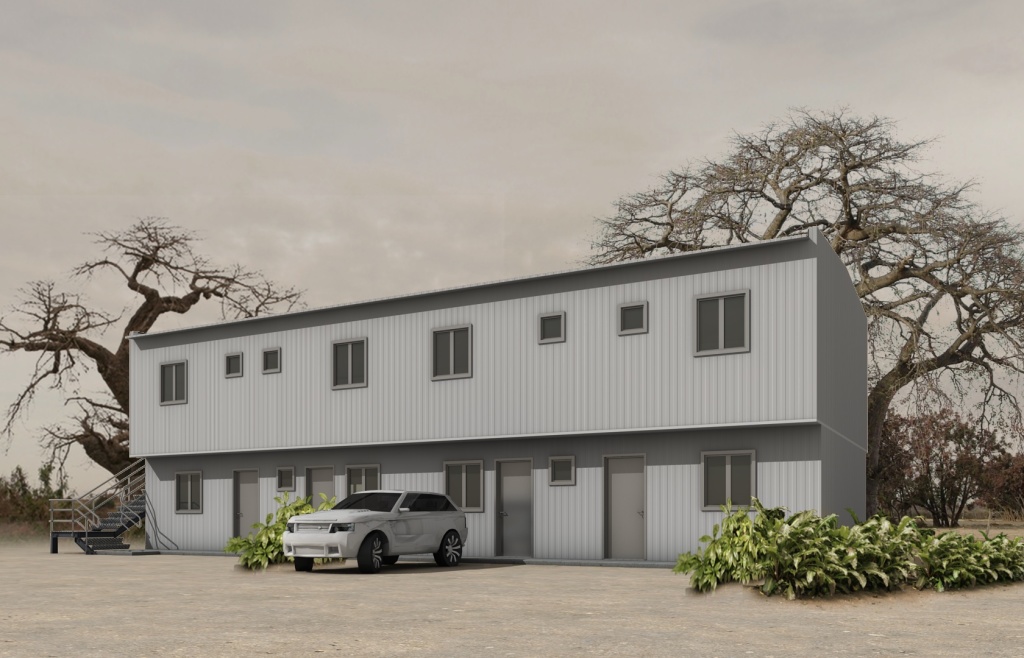
Various developments in Angola
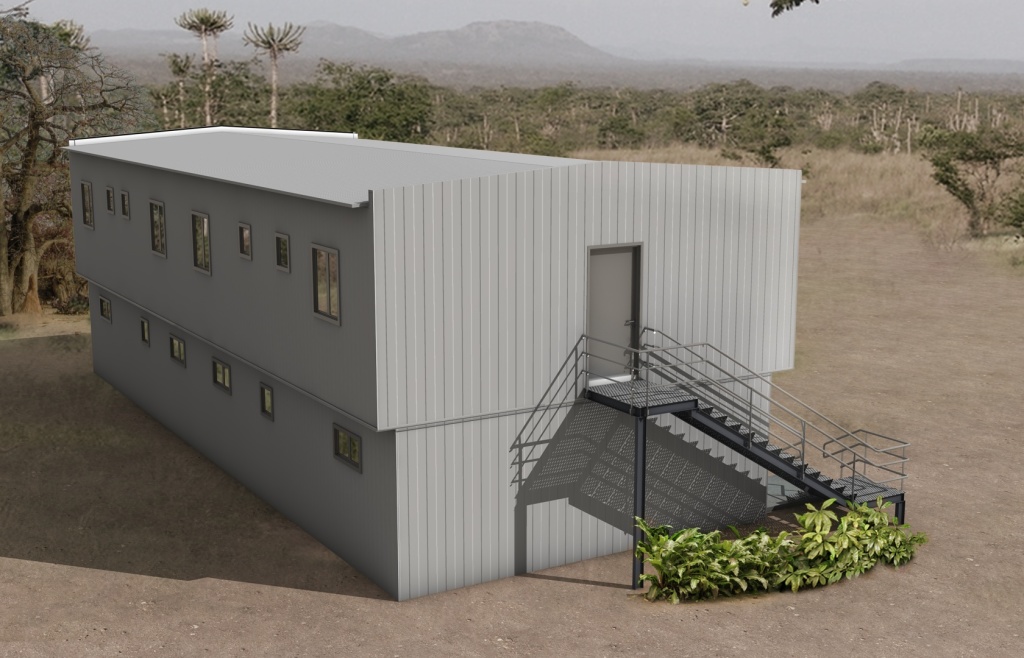
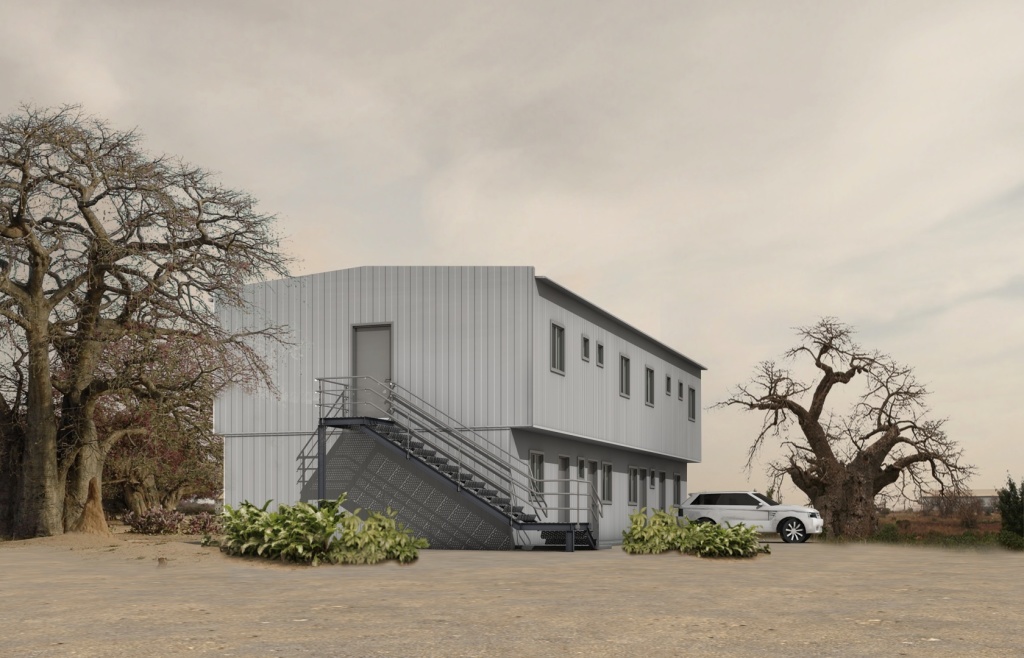
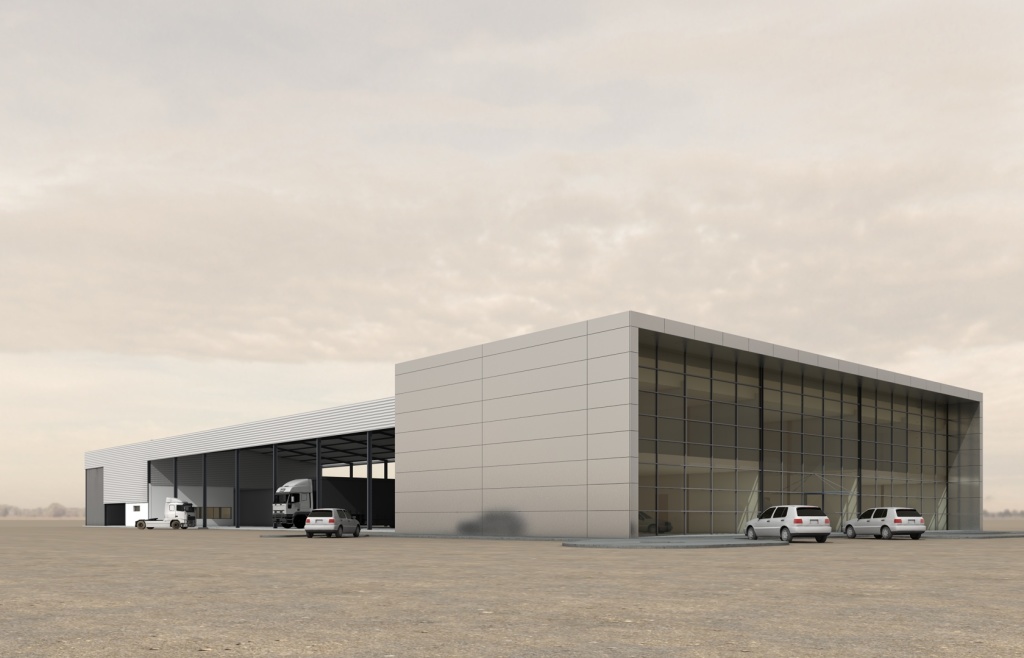
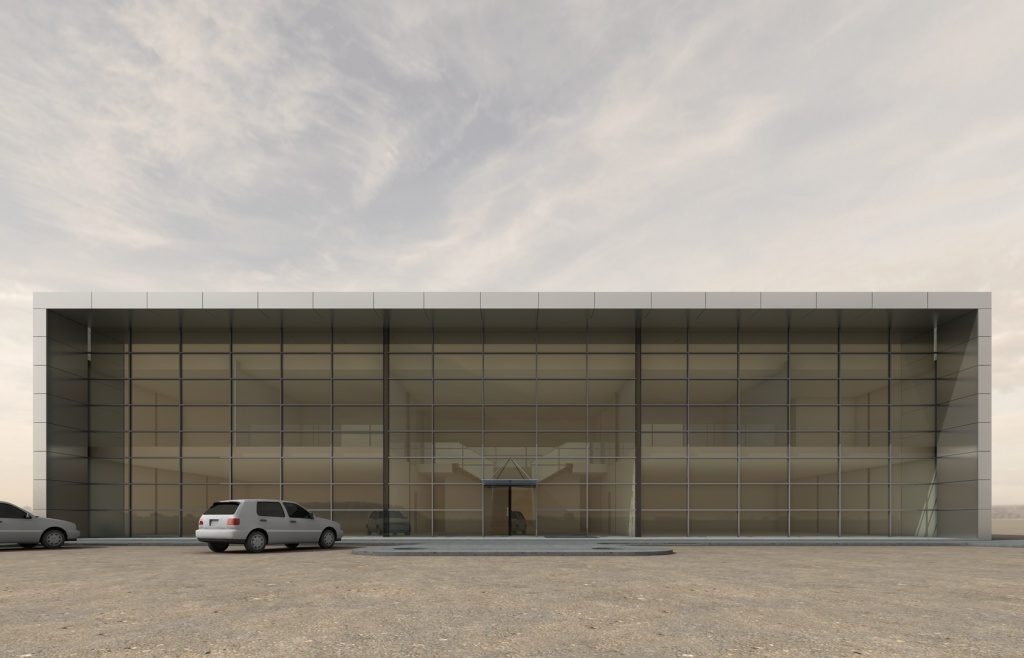
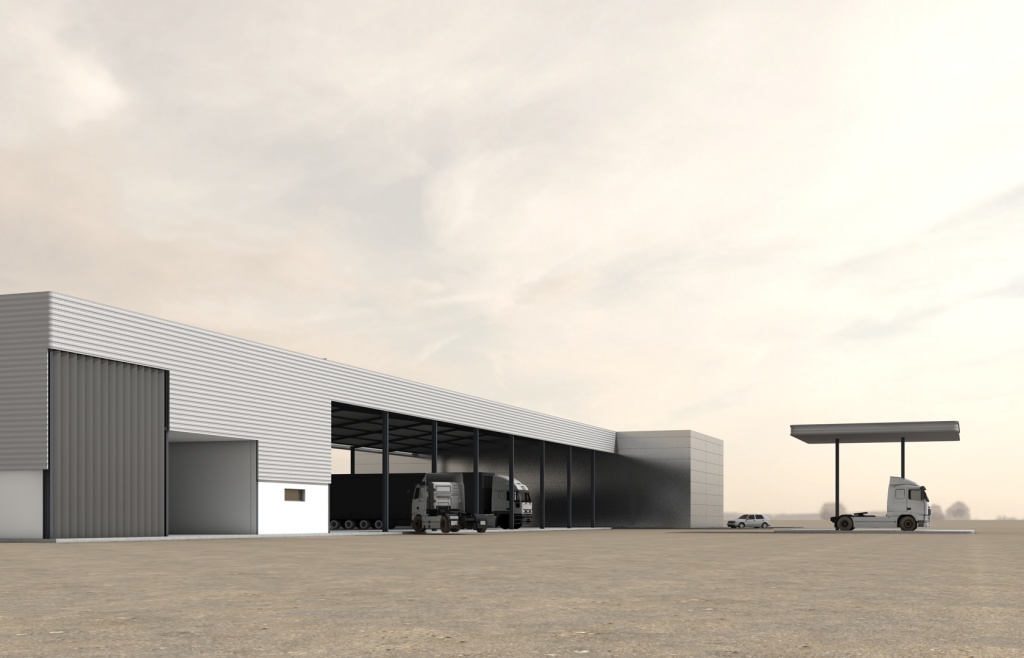
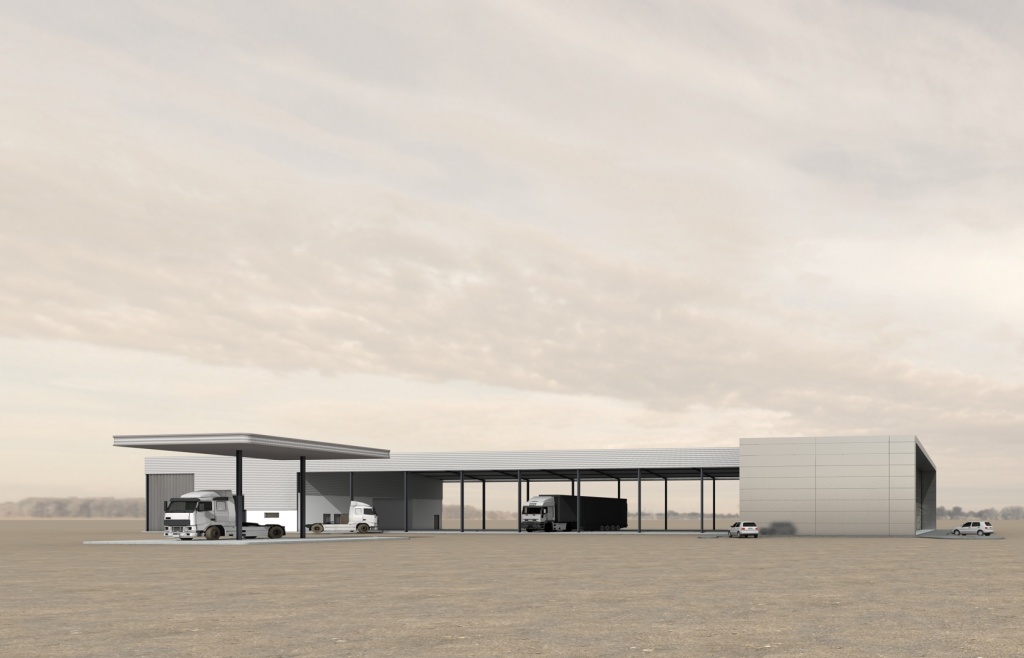
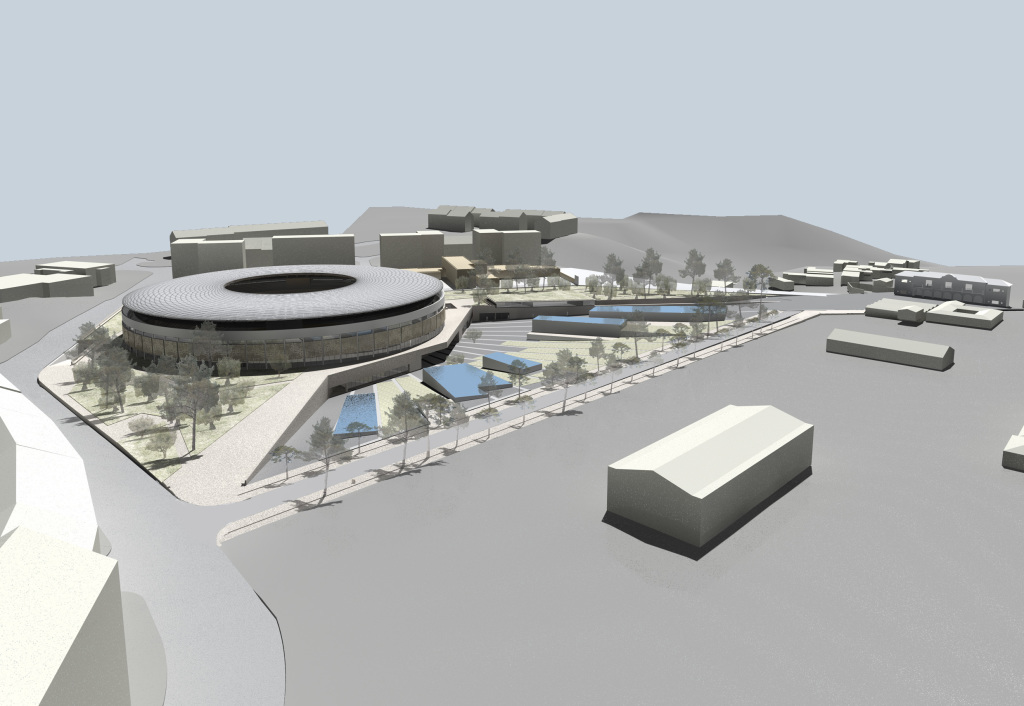
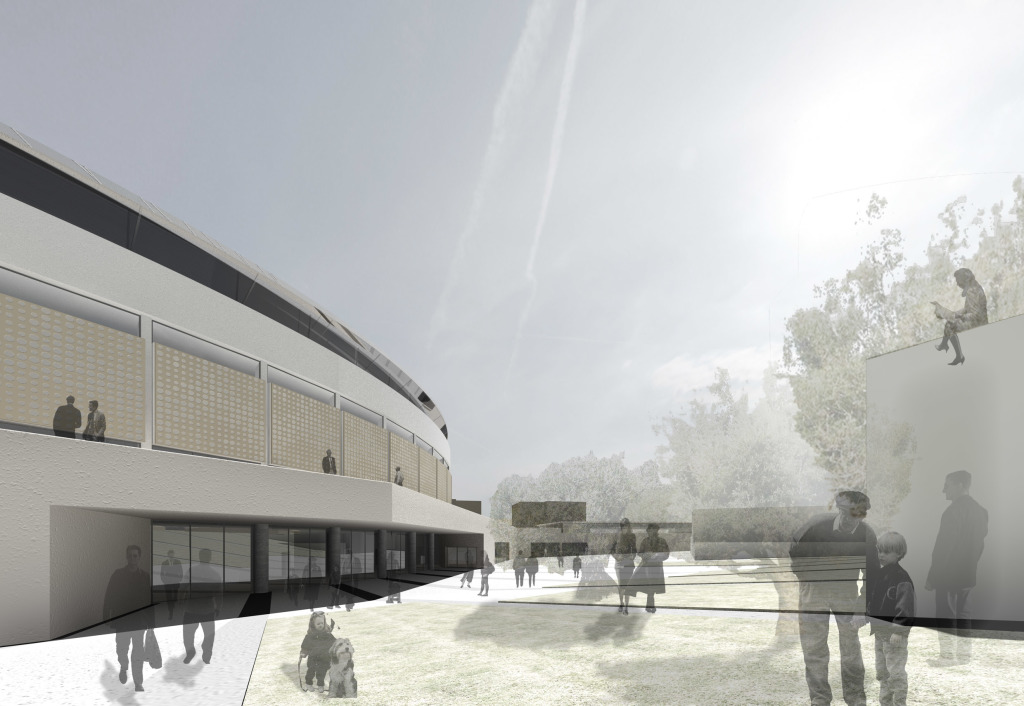
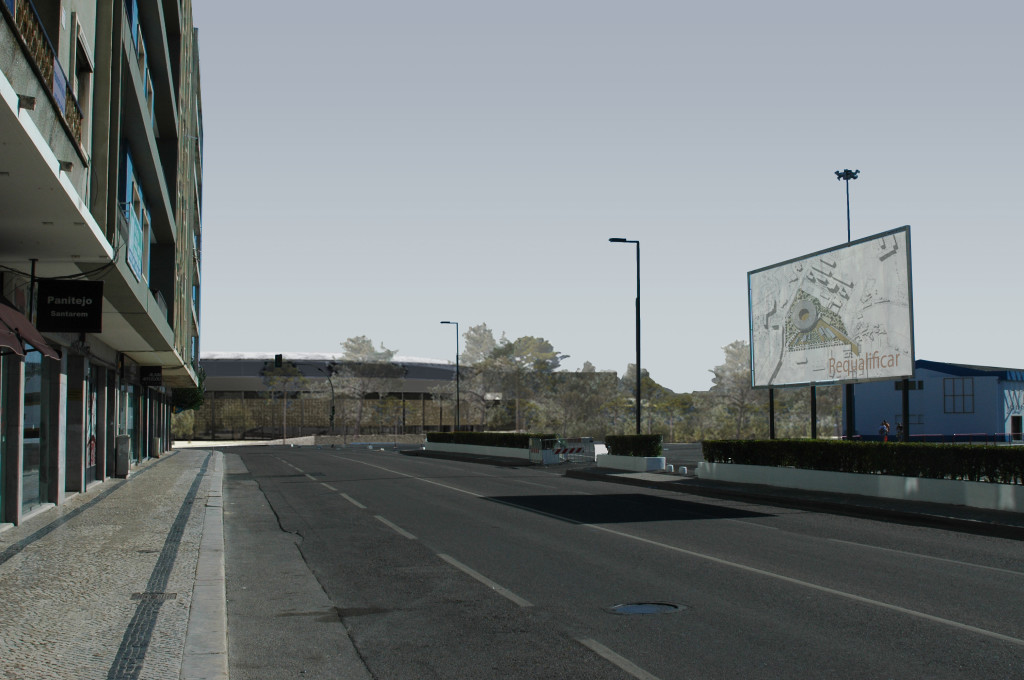
Competition for Santarém
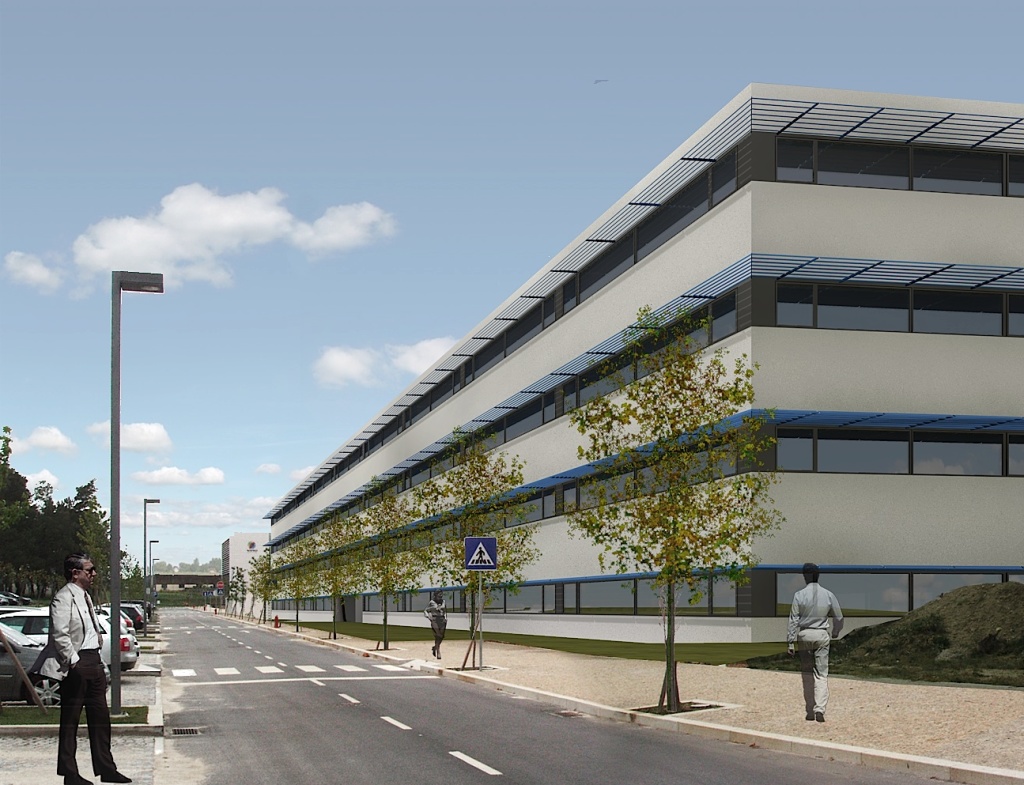
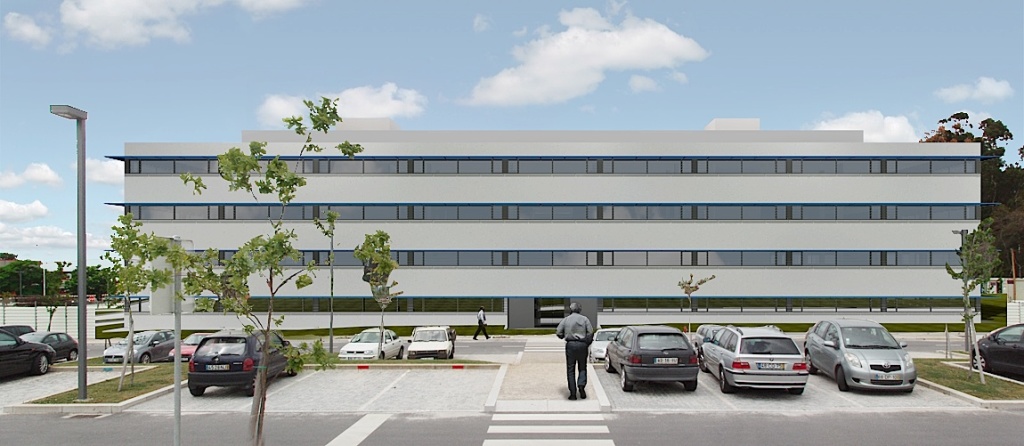
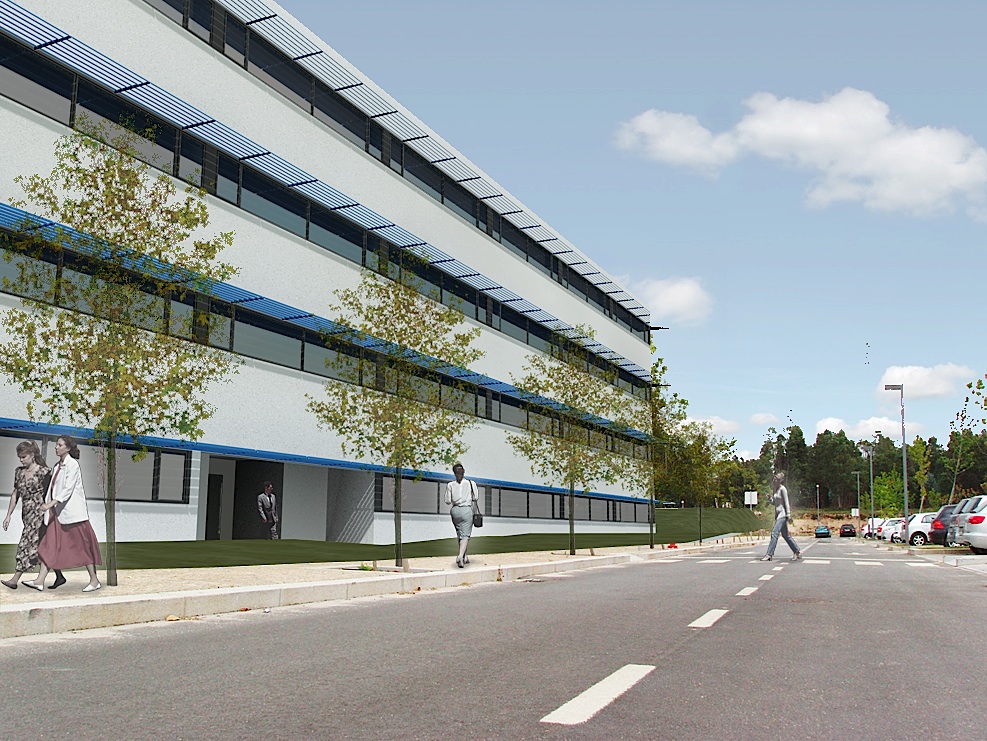
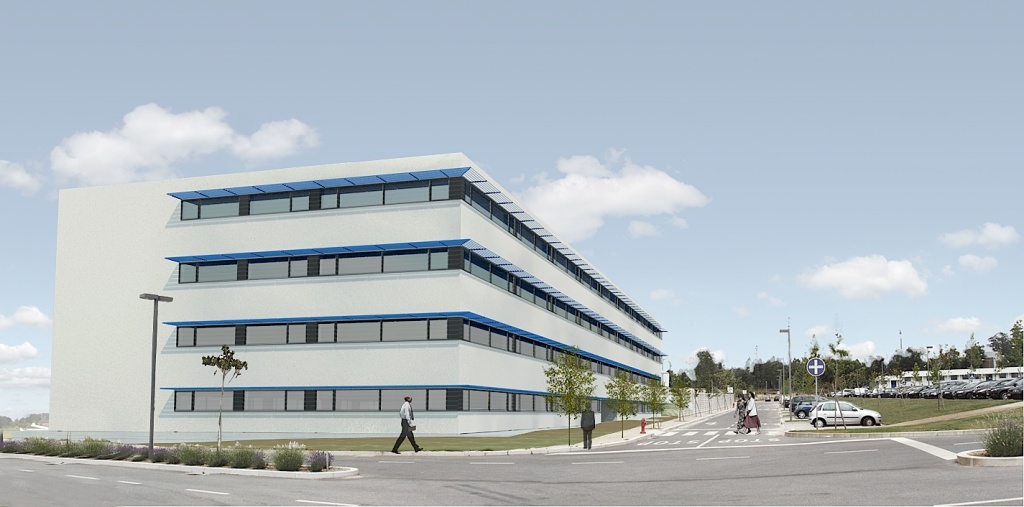
TECMAIA – 3
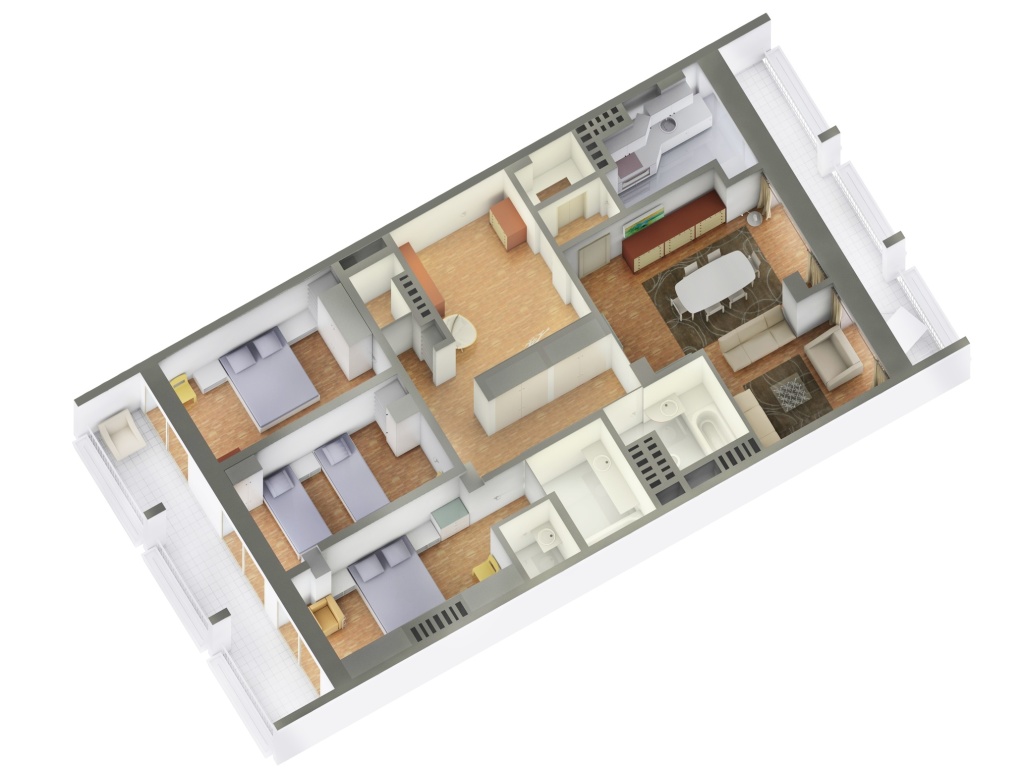
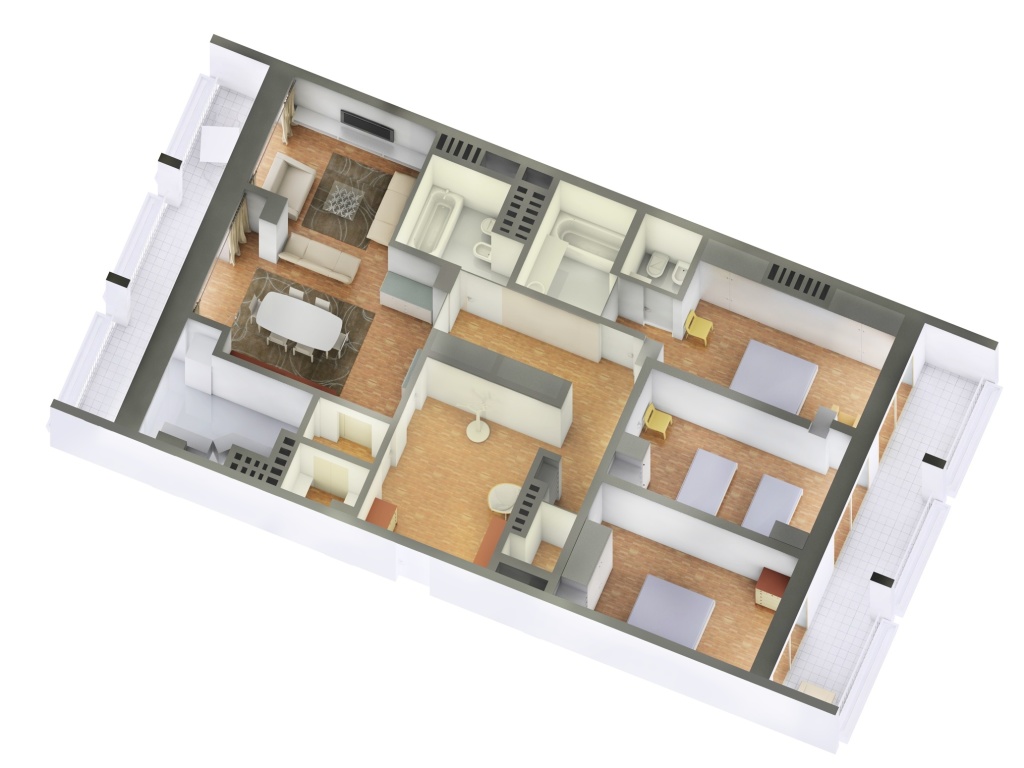
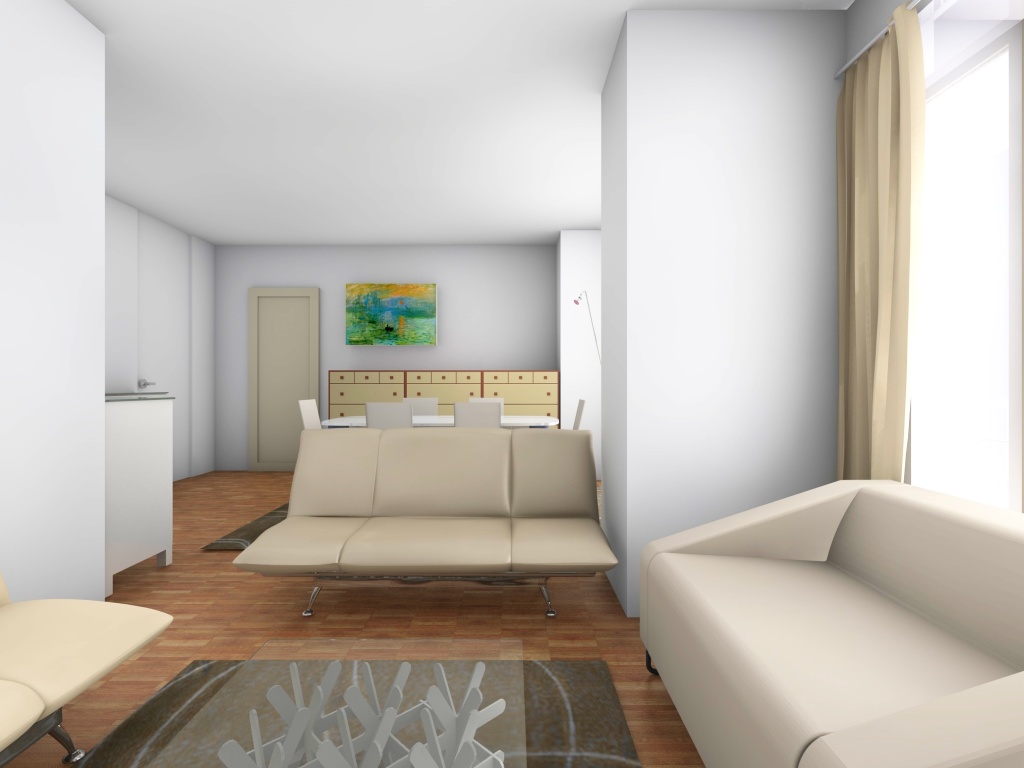
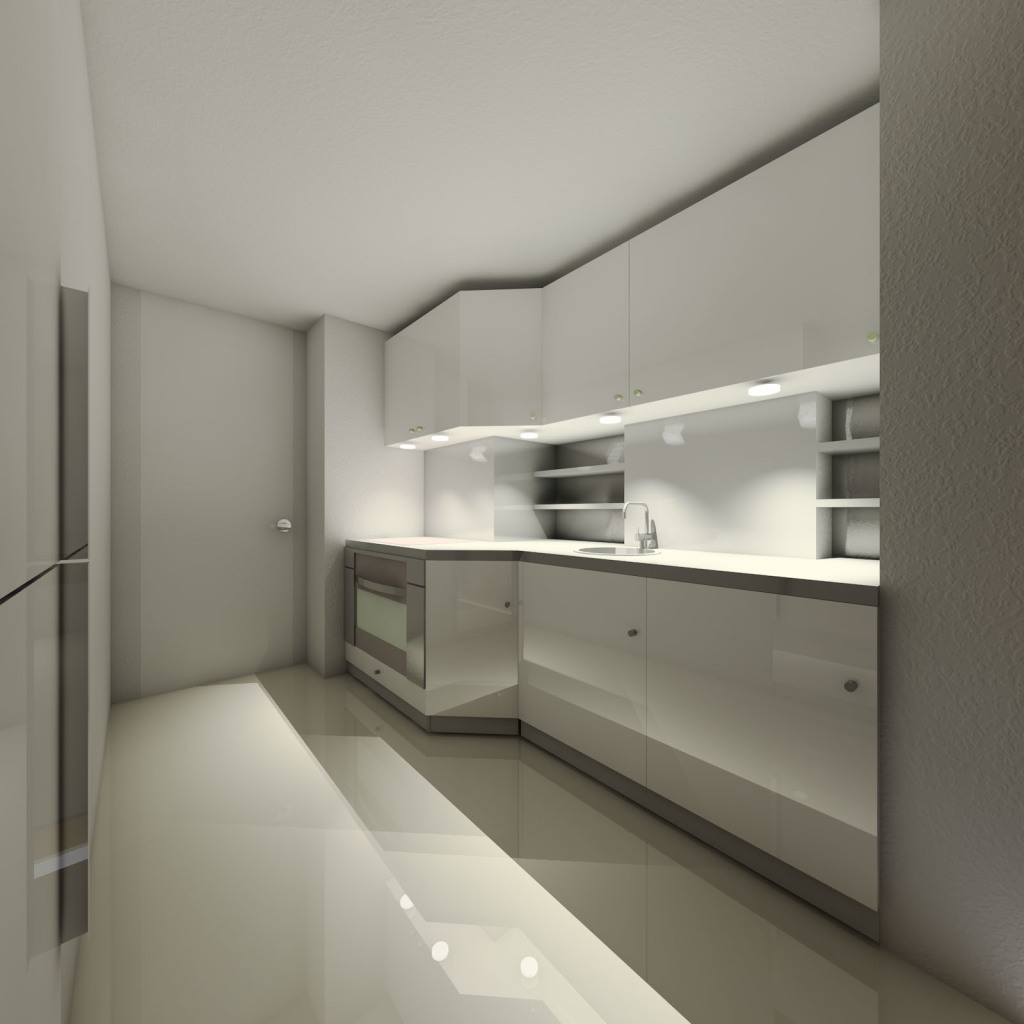
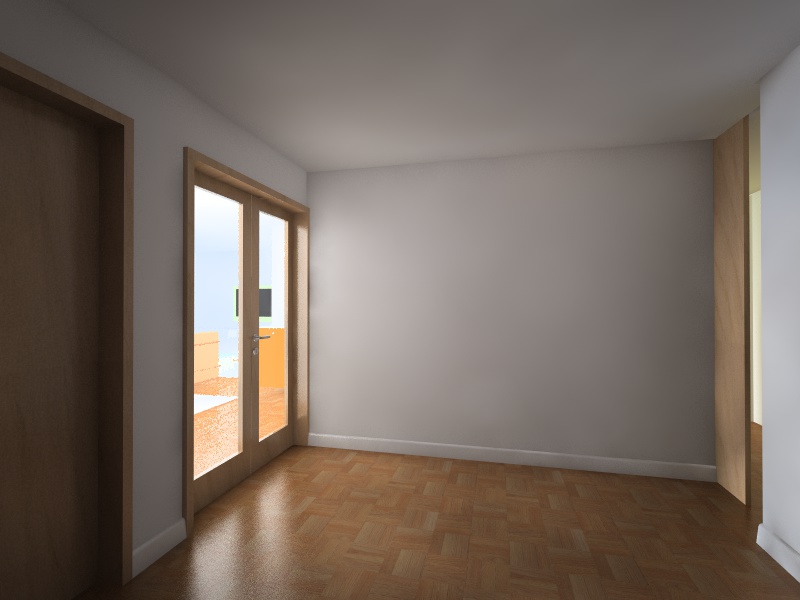
Apartement refurbishment in Lisbon
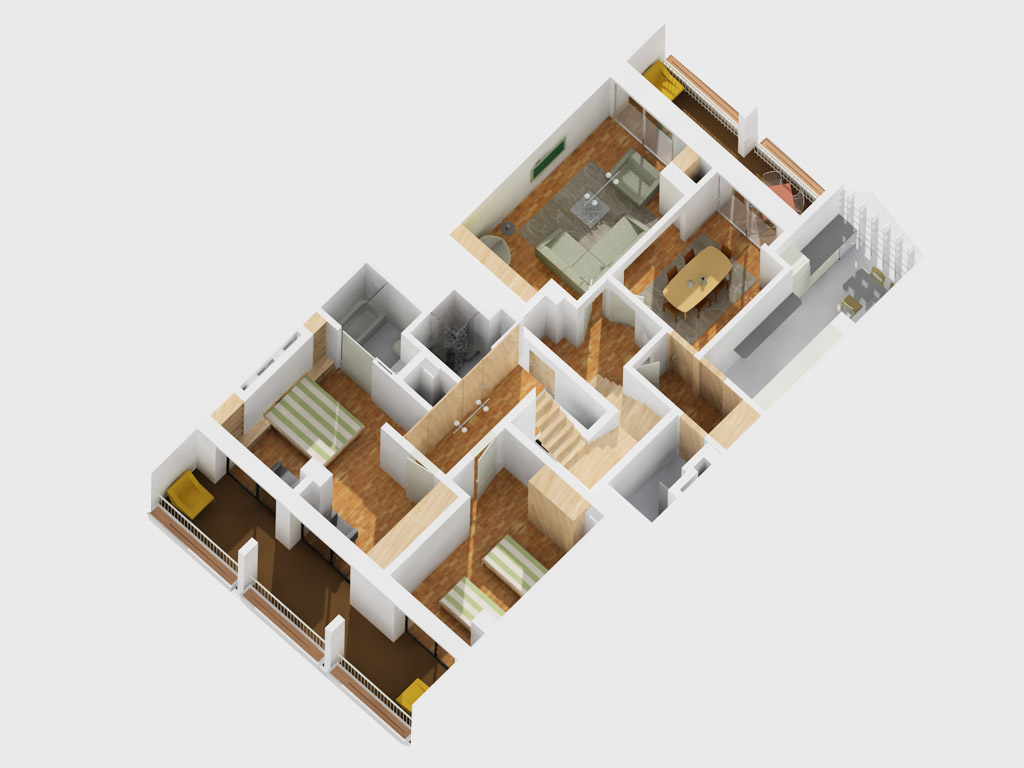
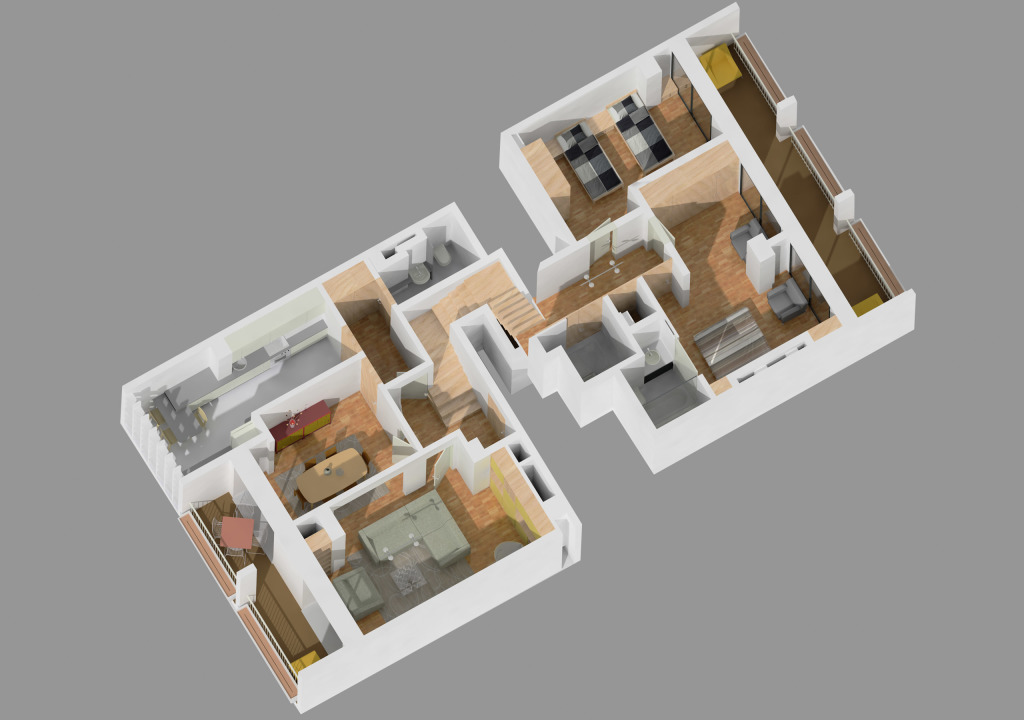
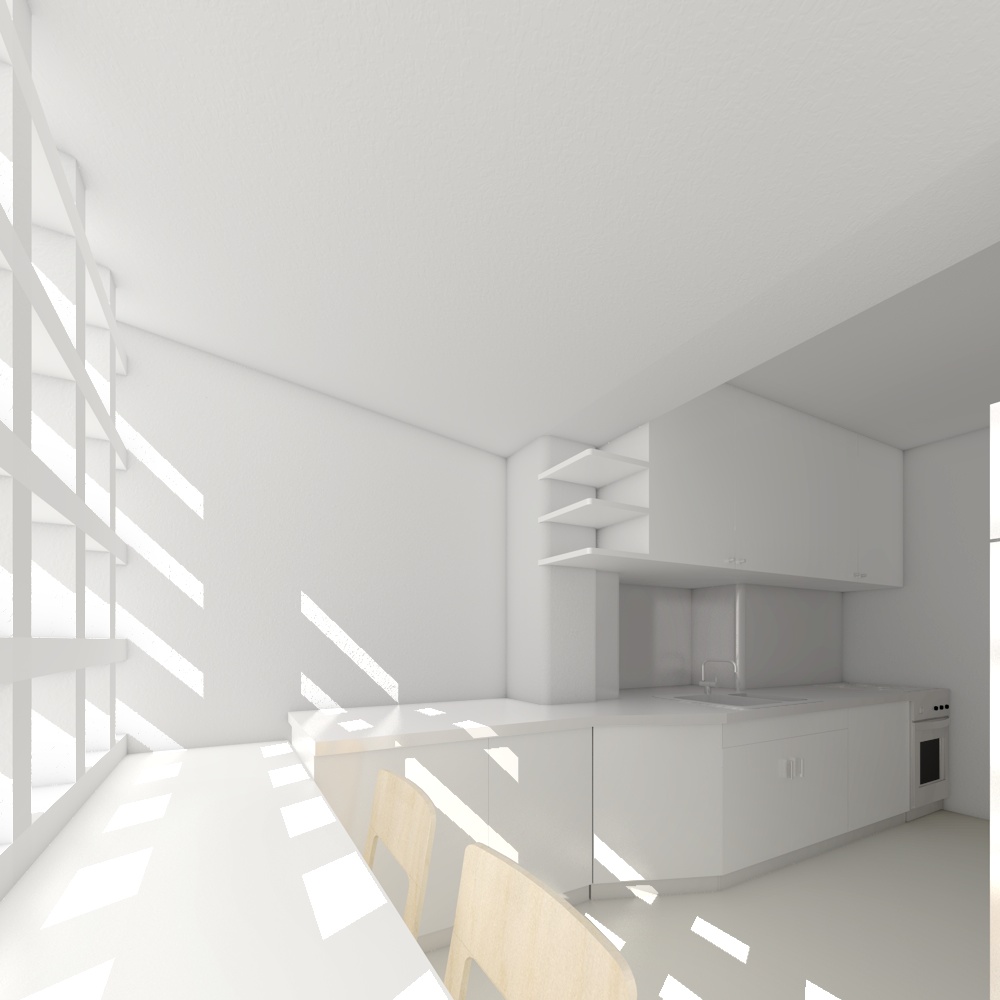
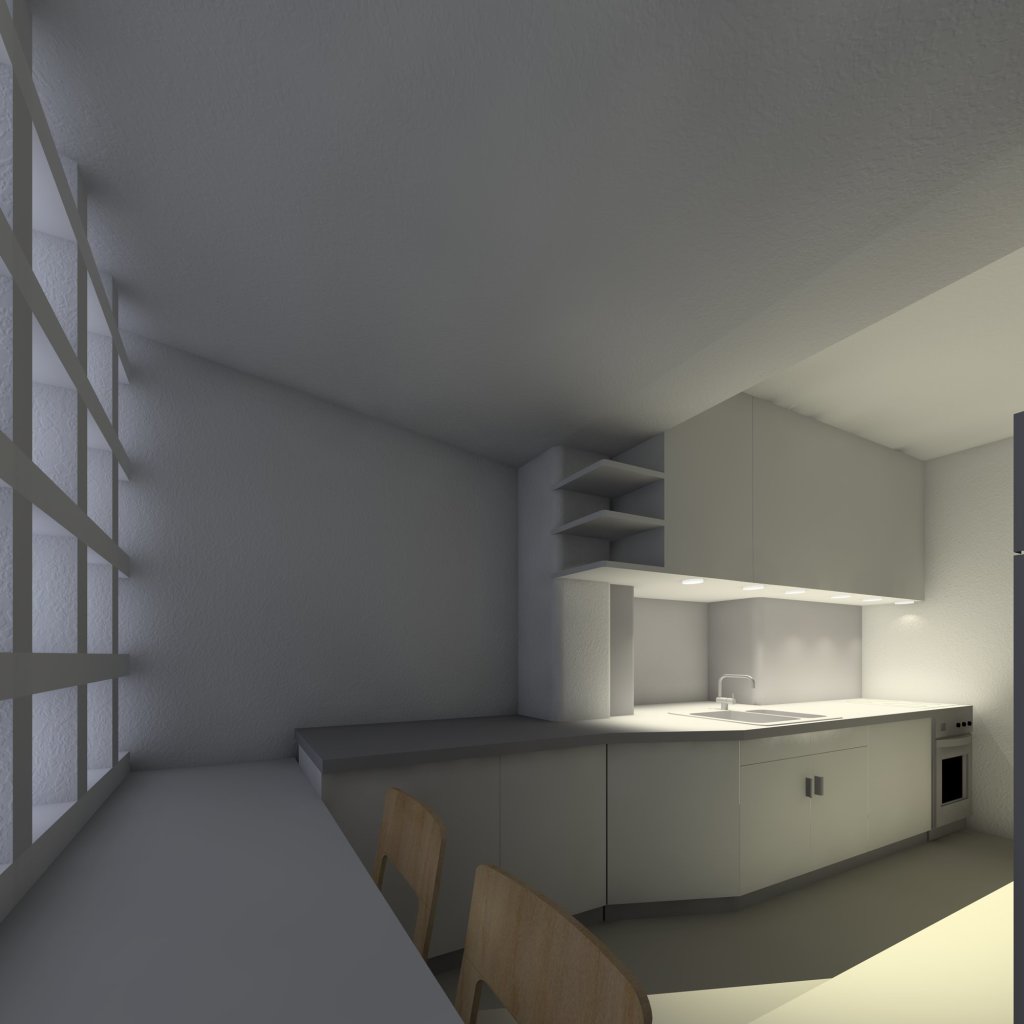
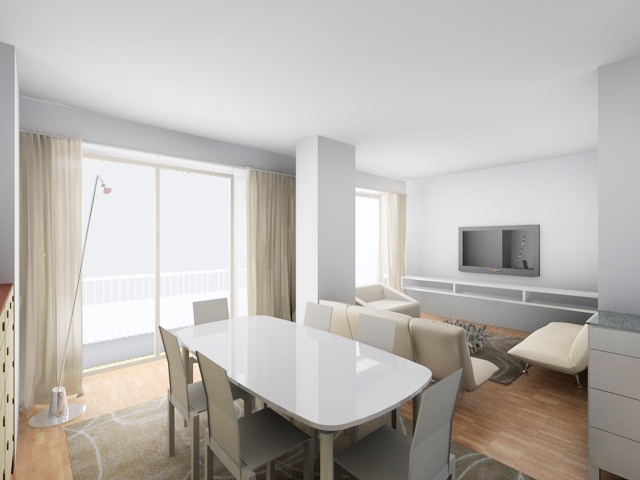
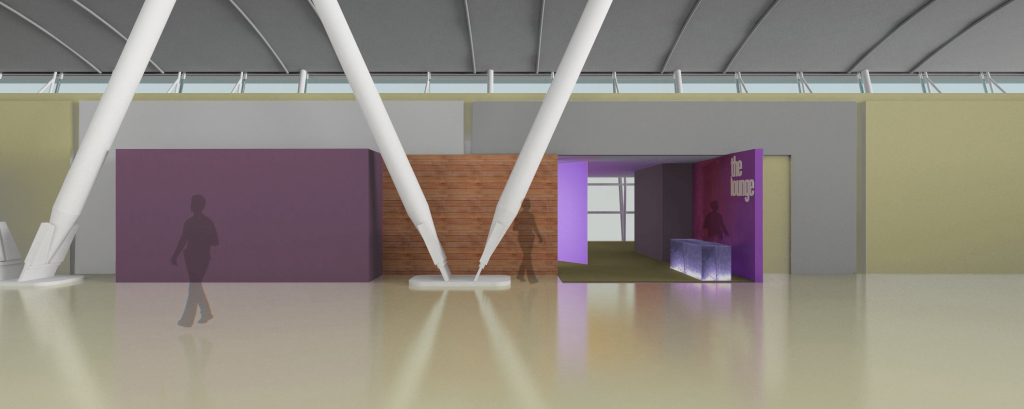
The Lounge
Visualization studies as project developing tool.
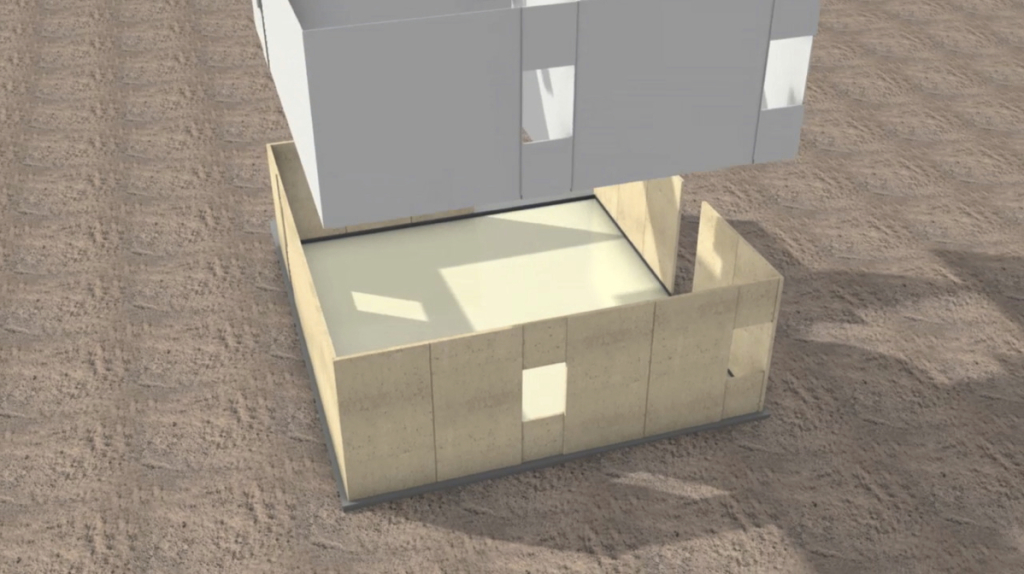
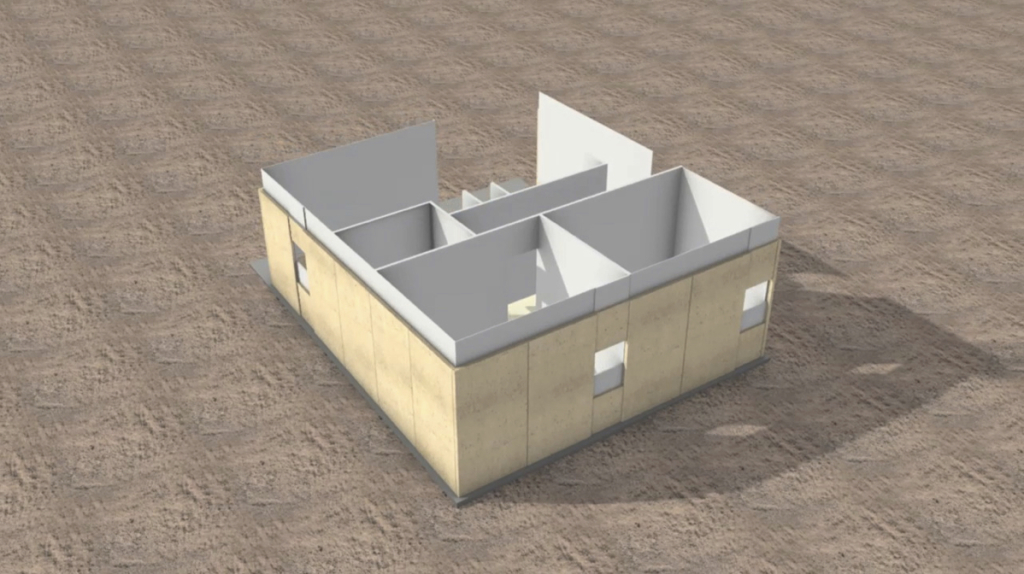
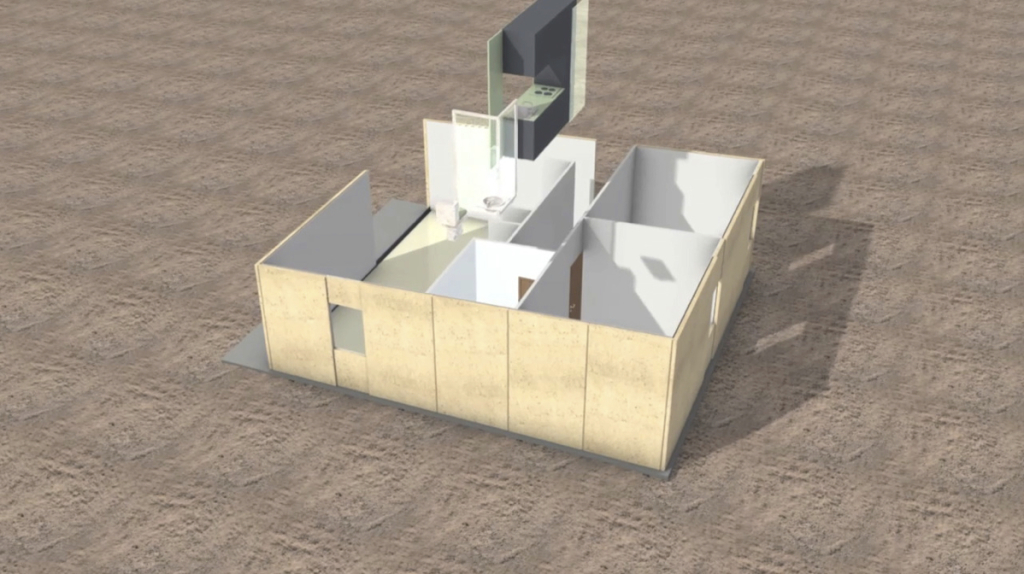
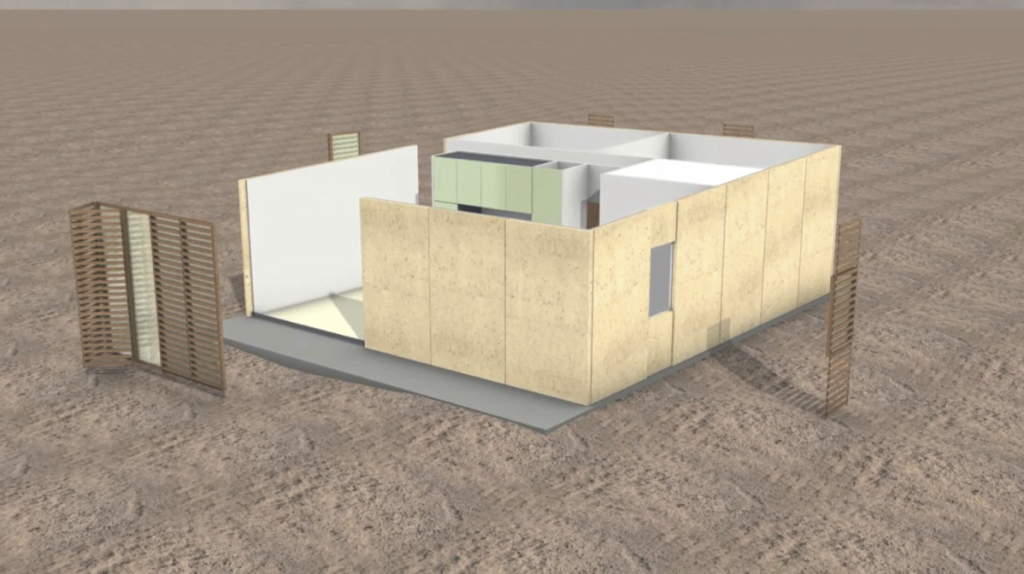
Pre-Fabricated House
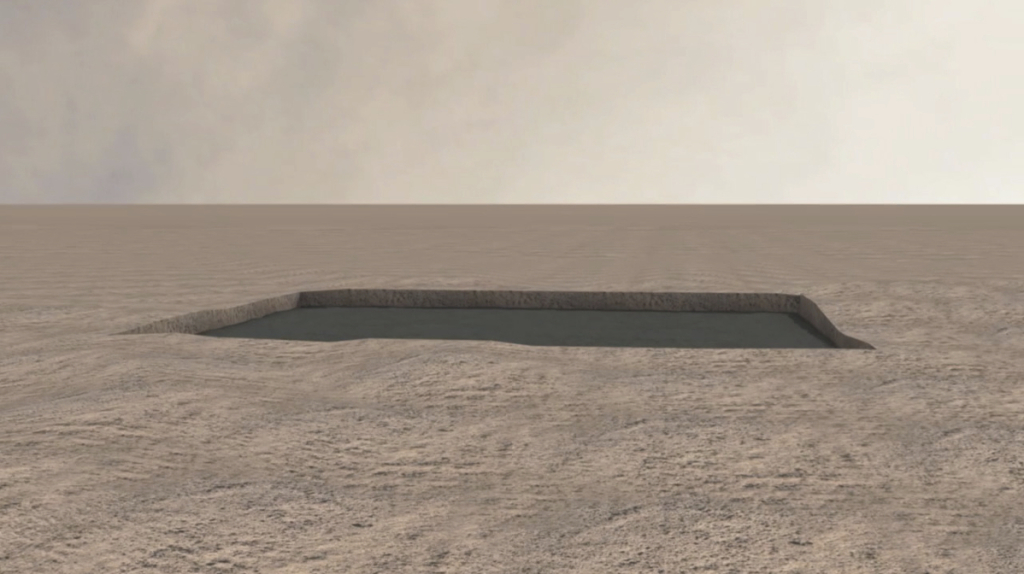
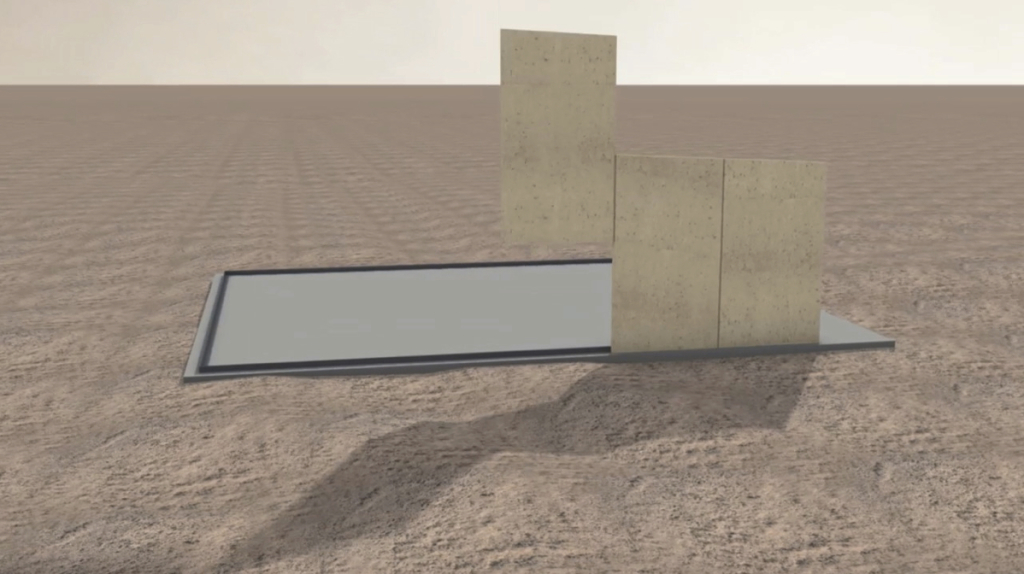
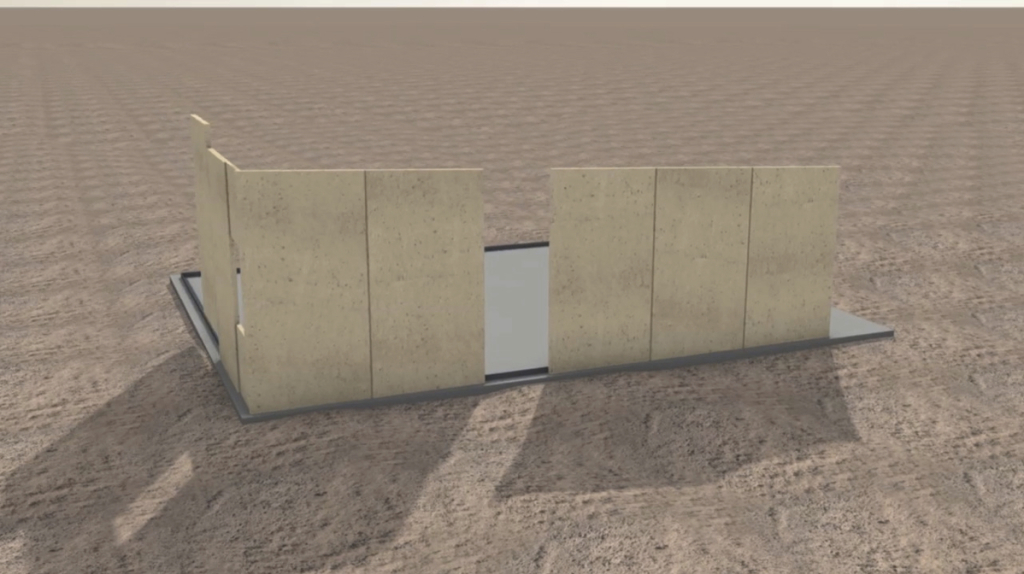
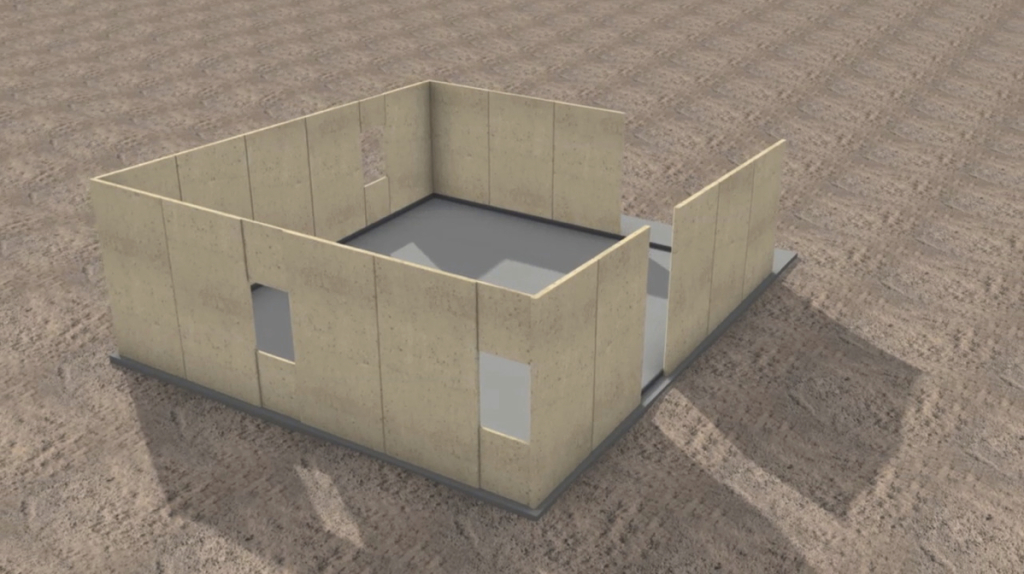
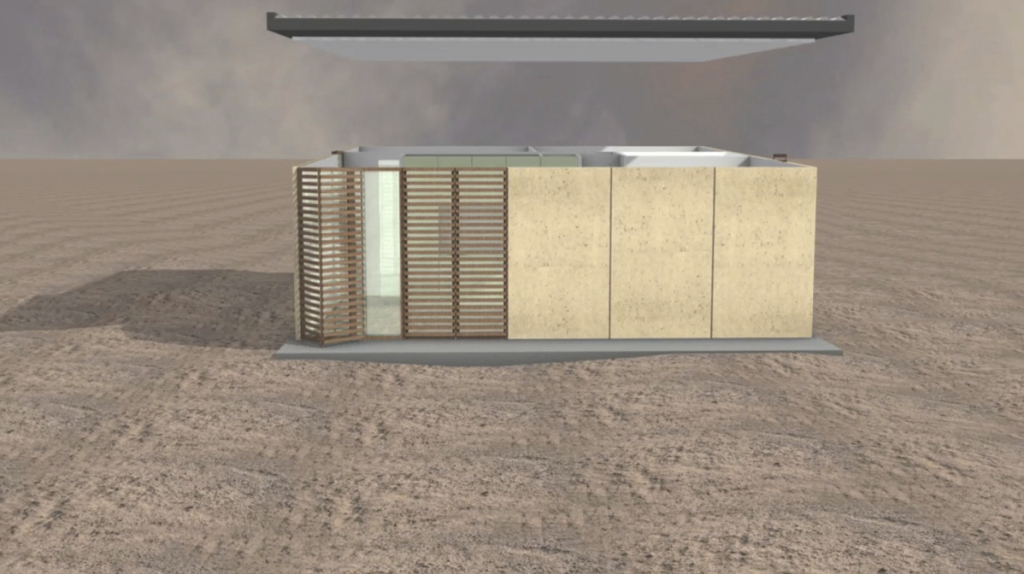
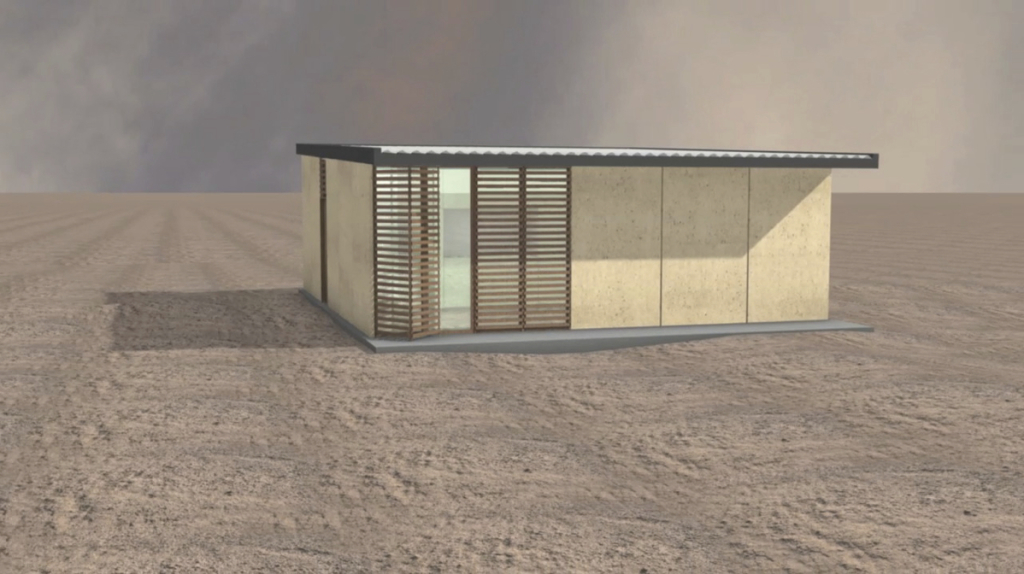
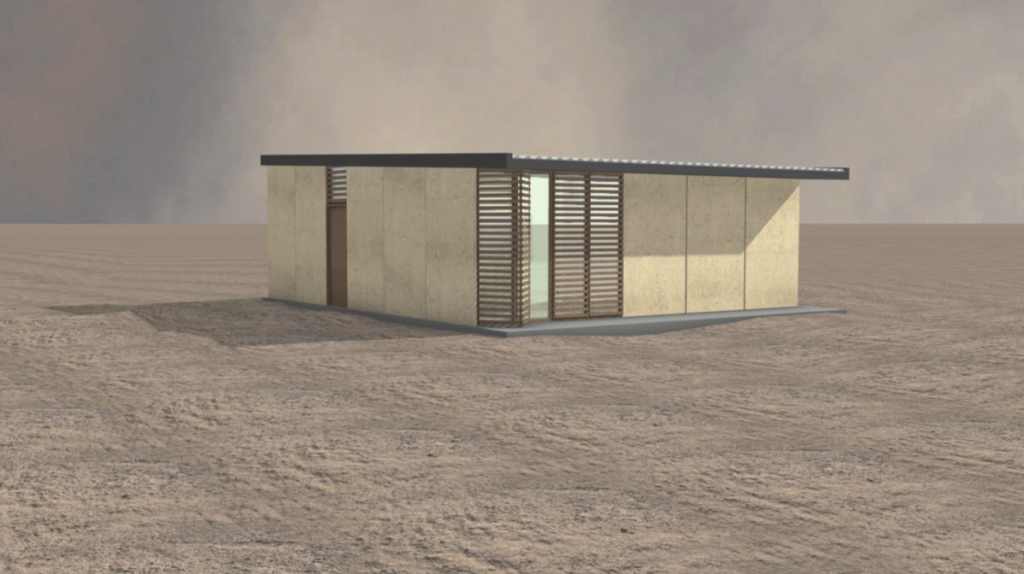
Animation showing the construction process
Graphic Line José Campos Photography
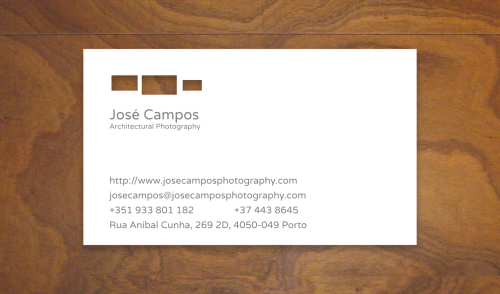
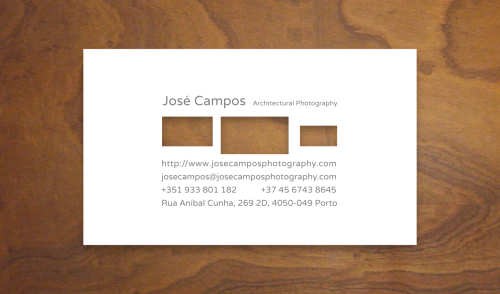
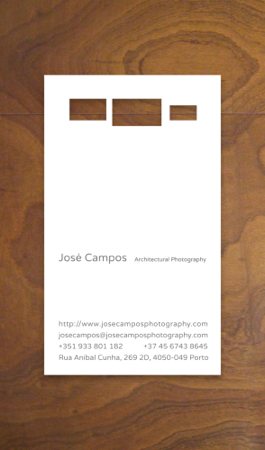
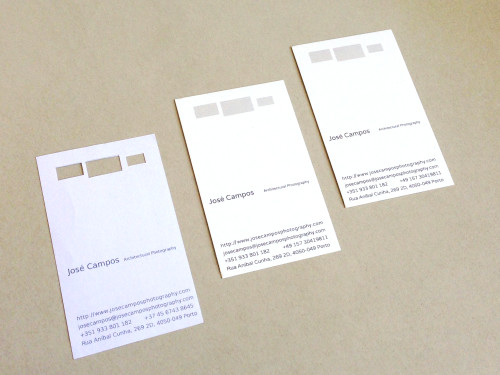
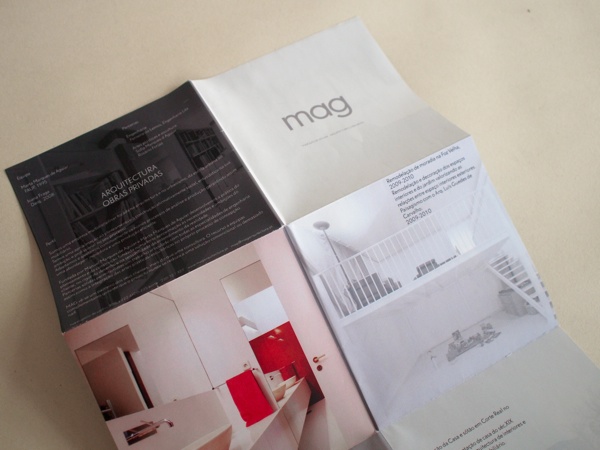
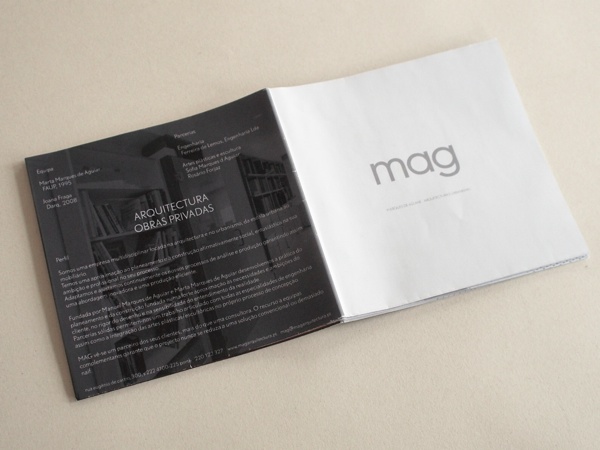
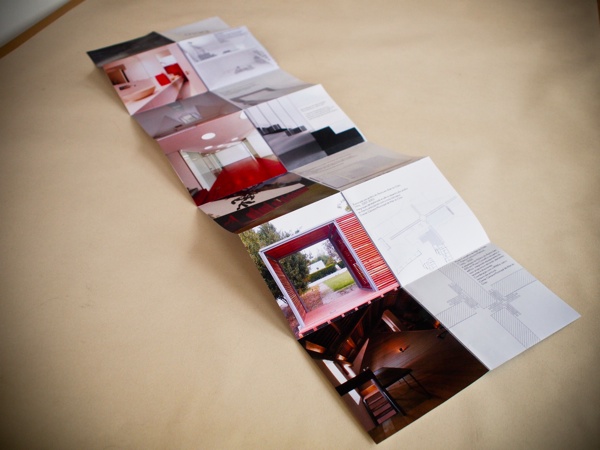
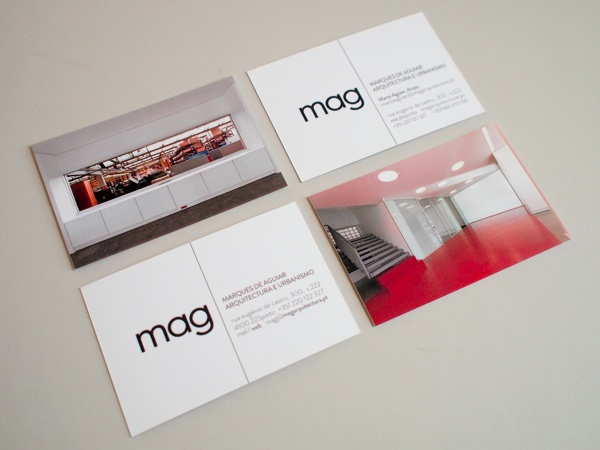
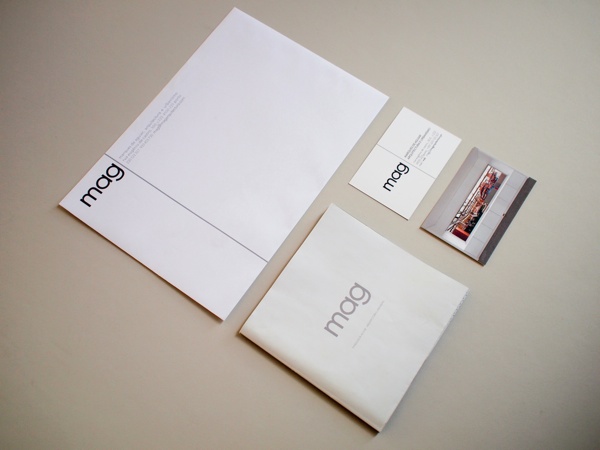
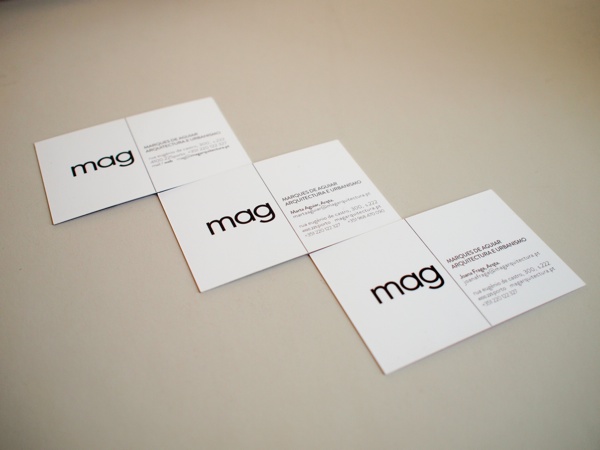
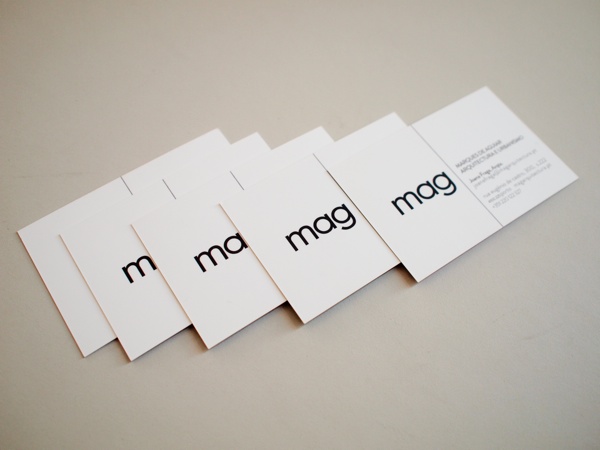
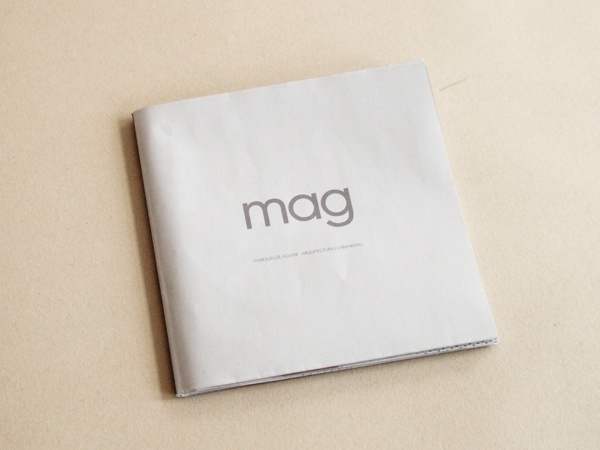
Graphic Line for mag – Arquitectura & Urbanismo
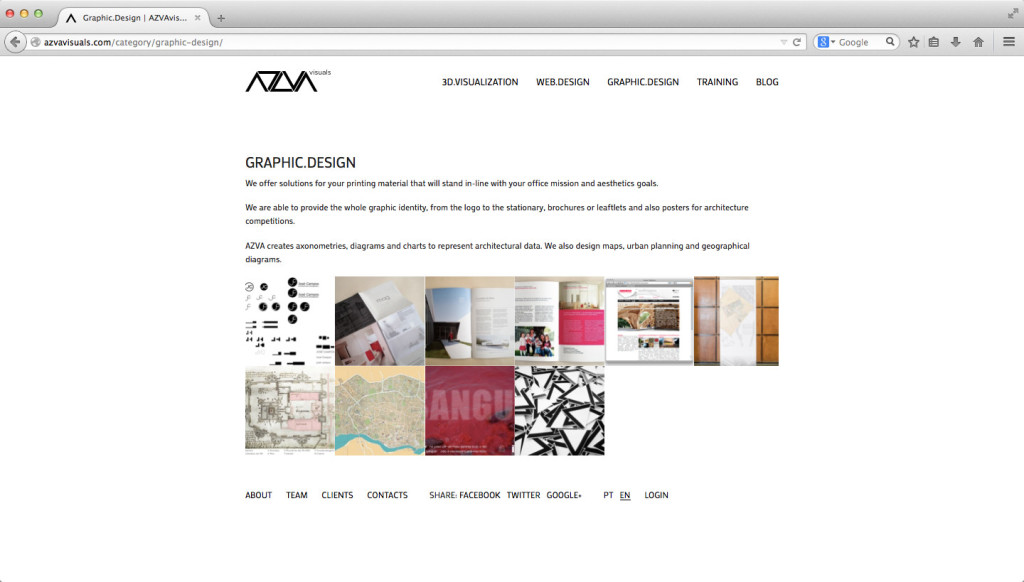
This work consisted of a creation of the whole corporate identity. The logo was the first thing to be developed, and quickly all the other elements followed. The presentational foldable leaflet was thought as a mix of a brochure and a business card. It evolved to a harmonium scheme in a vertical direction which is closely related to their website, which was also produced by AZVA.
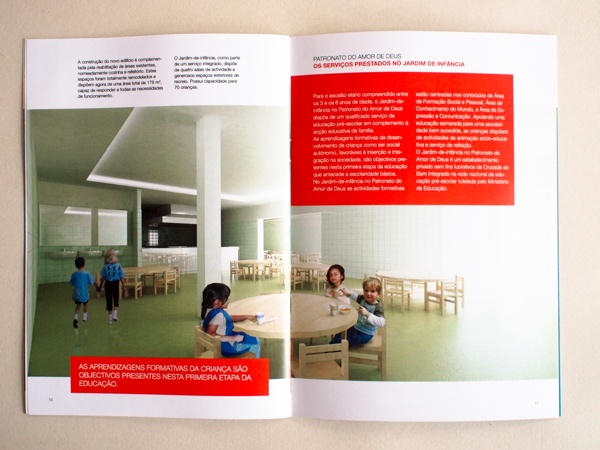
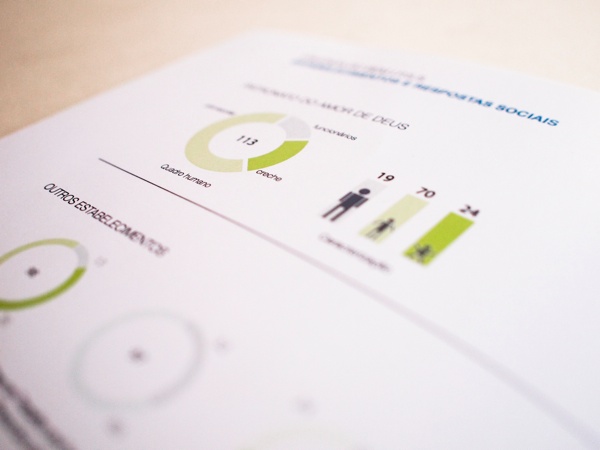
Costa Verde Social Equipment
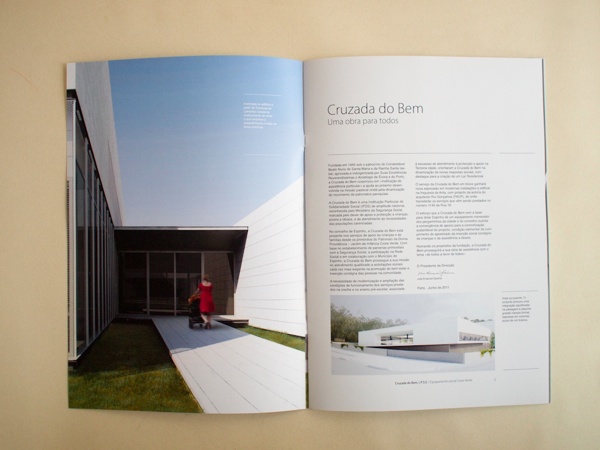
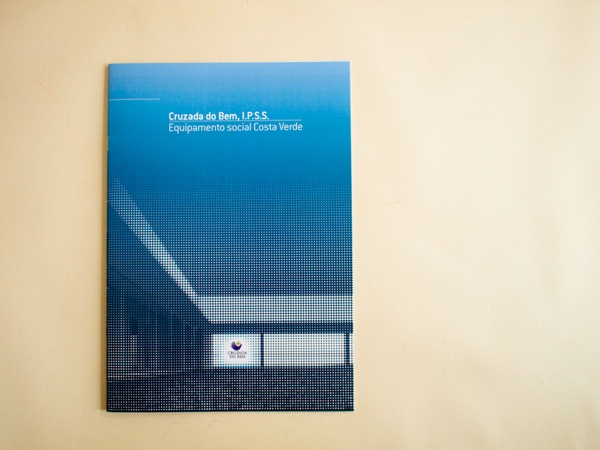
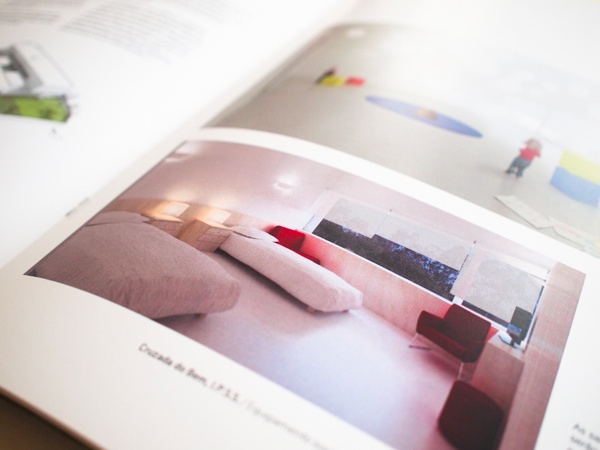
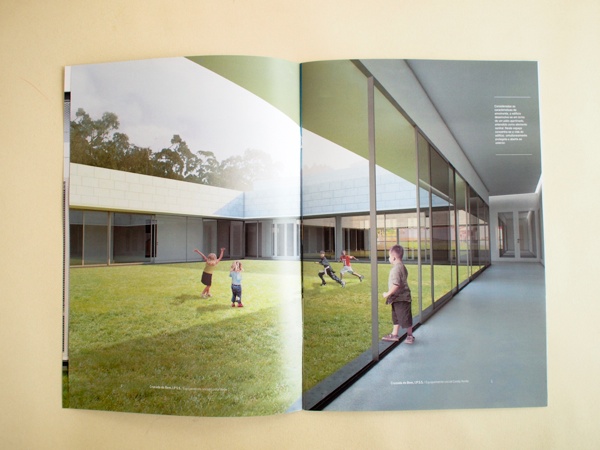
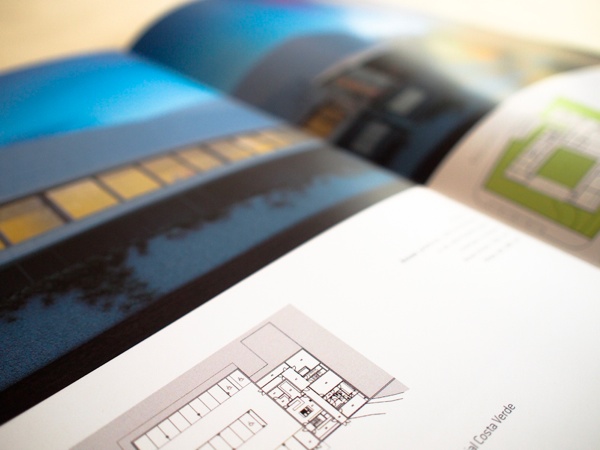
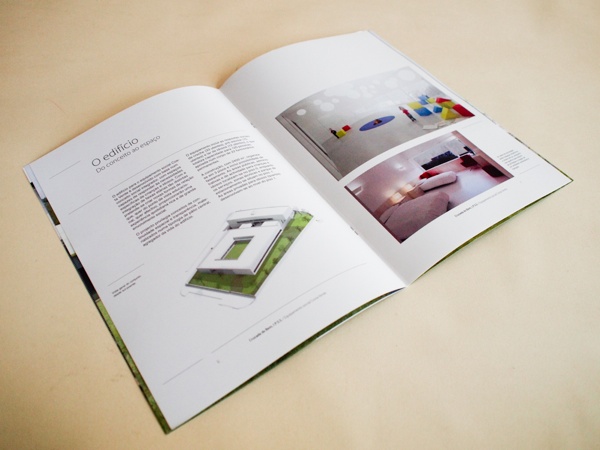
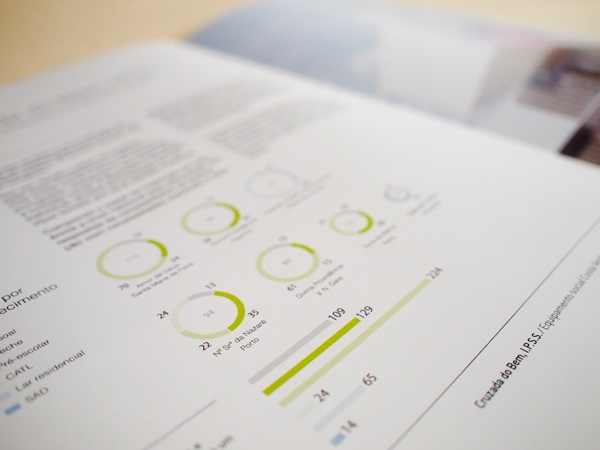
Leaflet for Social Services Building – São João de Vêr
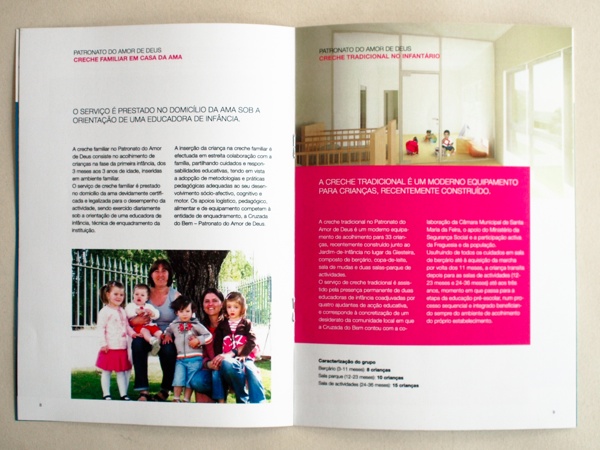
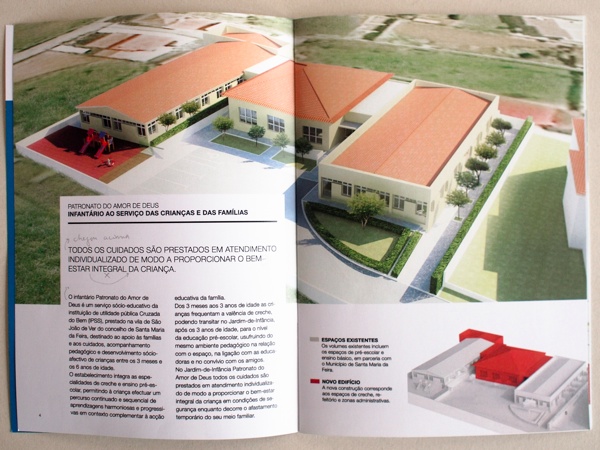
Future Traditions Website and Graphic Line

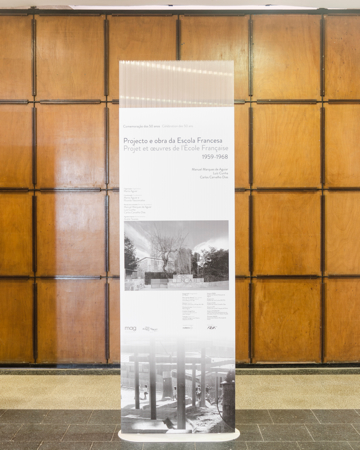
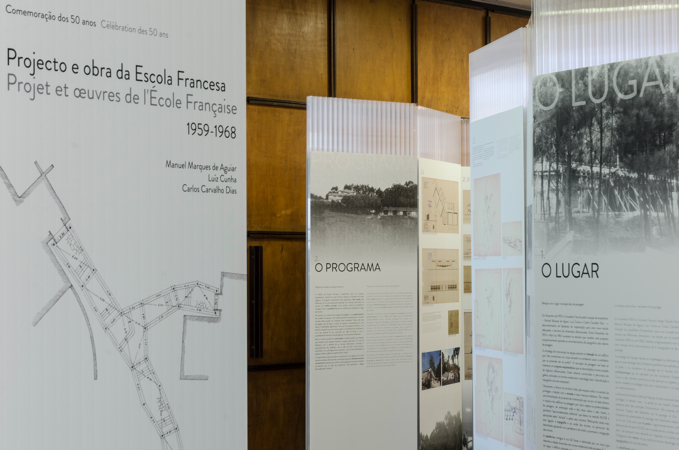
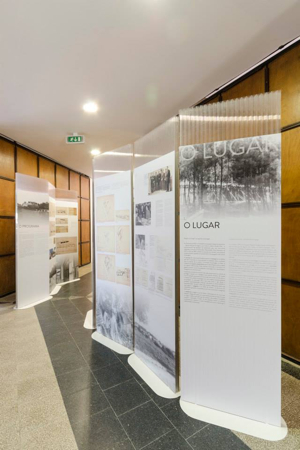
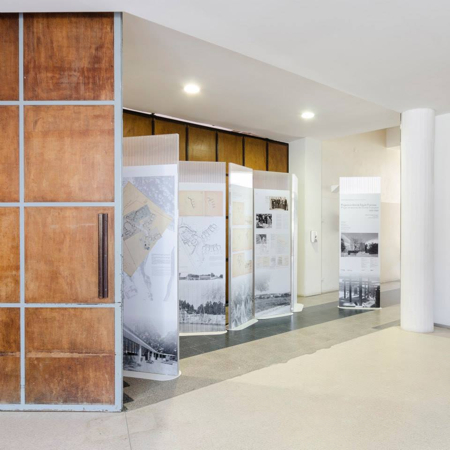
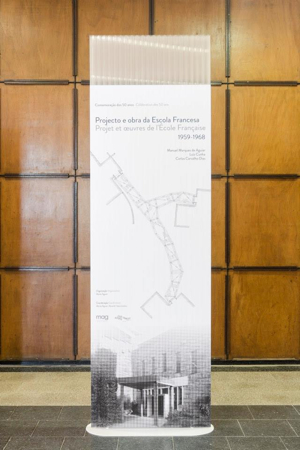
Graphic Line for the École Française Exhibition
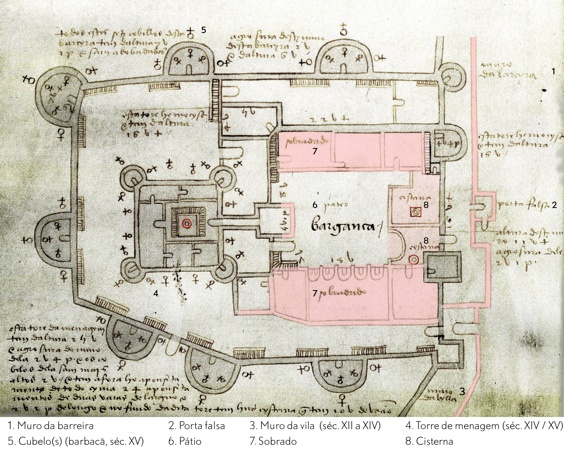
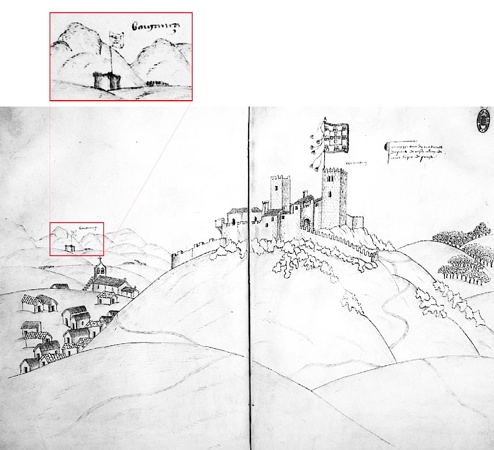
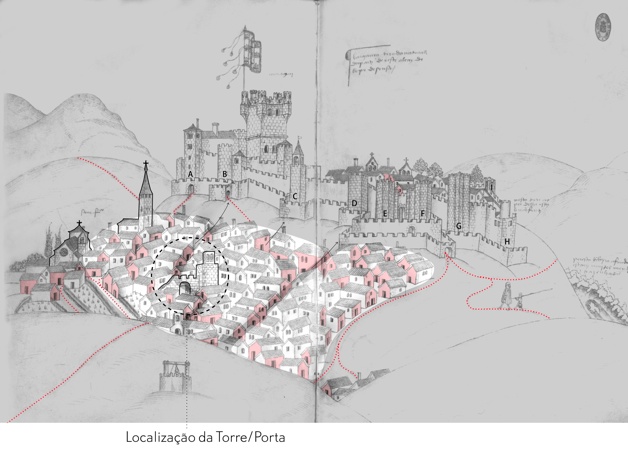
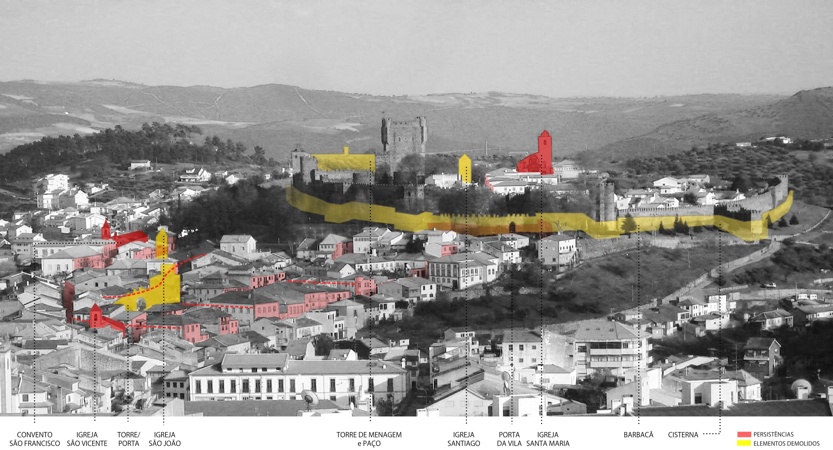
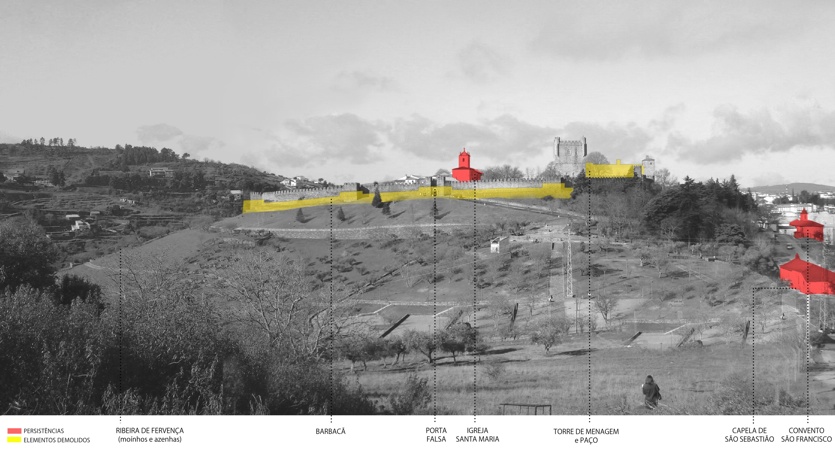
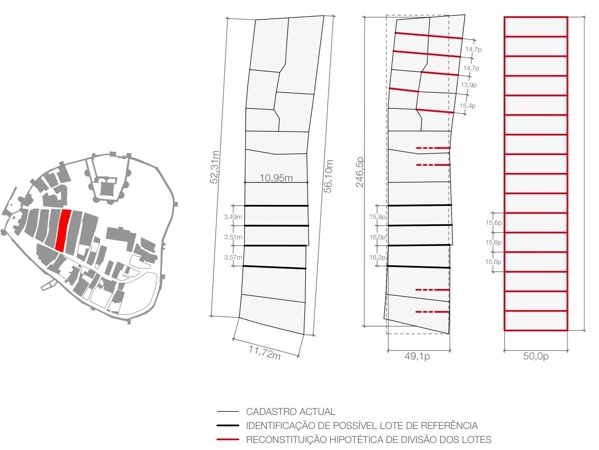
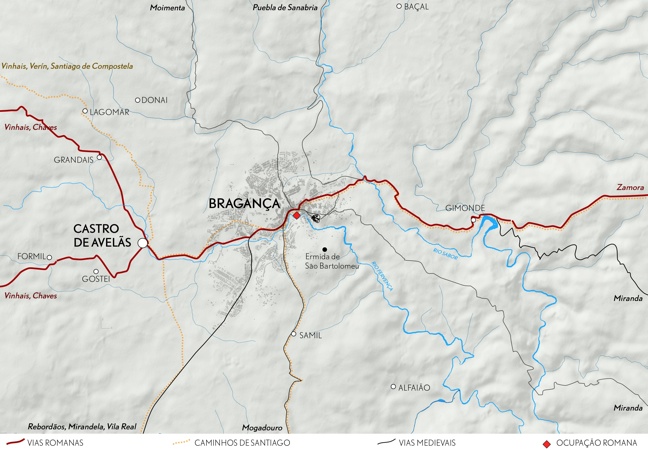
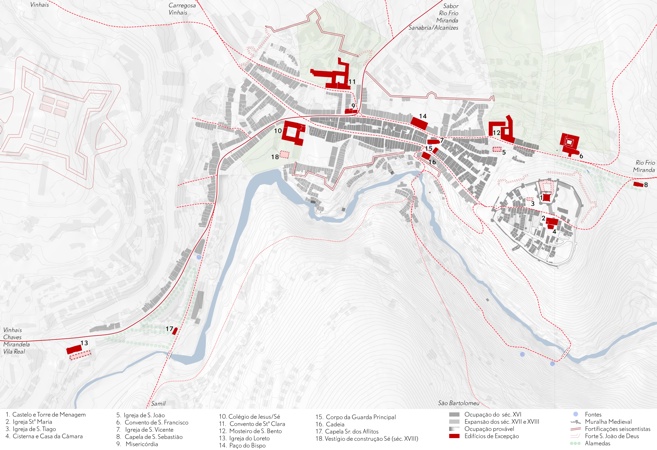
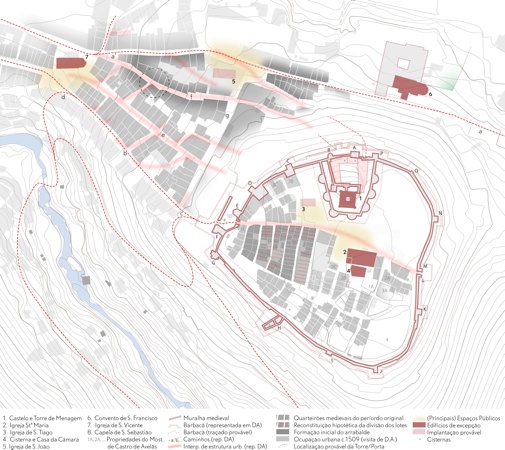
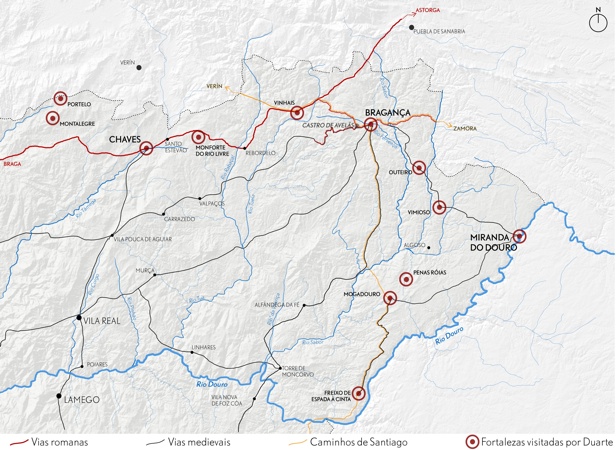
Bragança Territorial and Urban Analysis
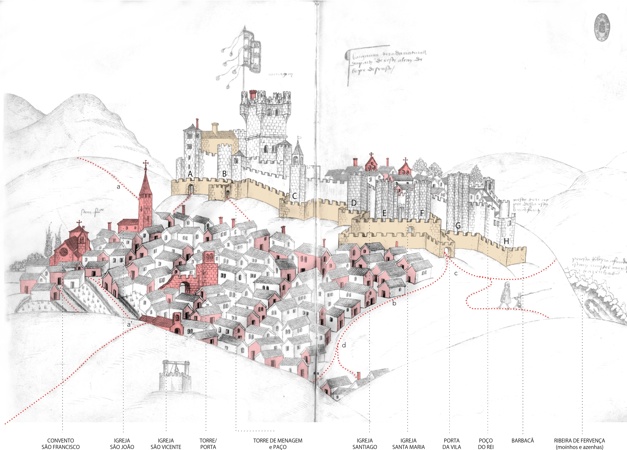
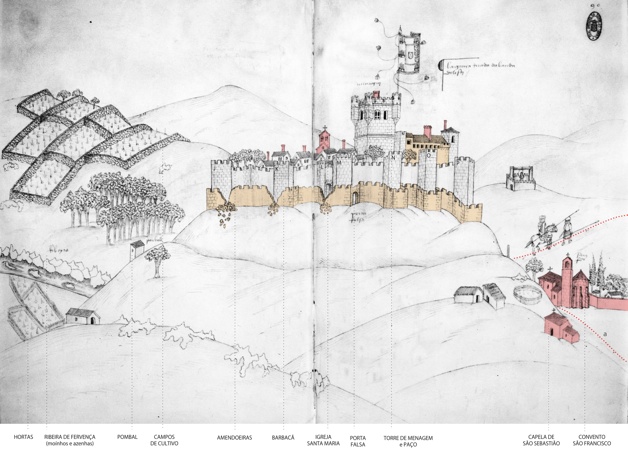
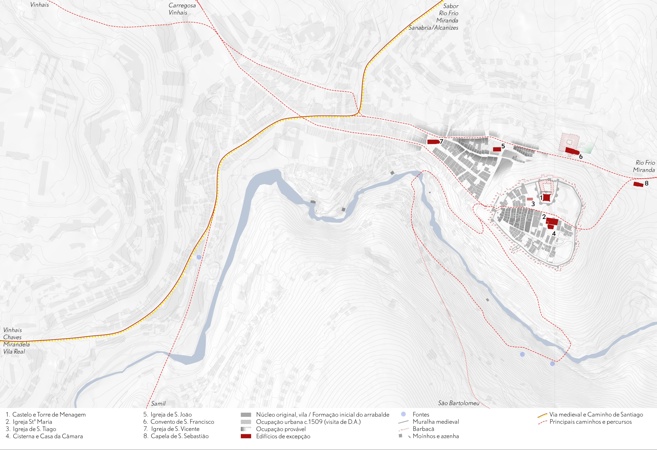
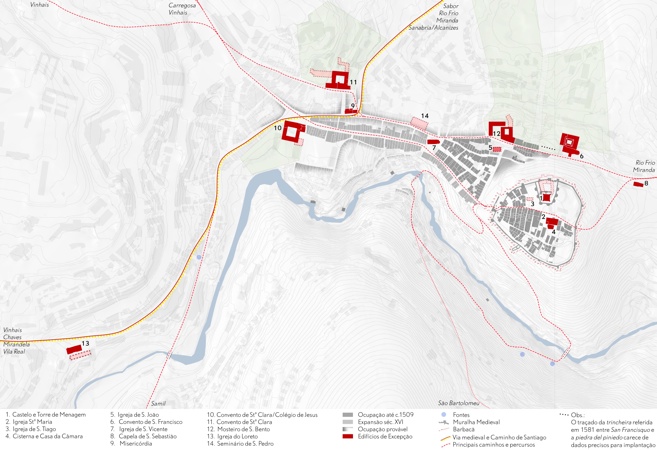
Illustrations produced for the article “Bragança, cidade-fortaleza “setuada no estremo de portugall e Castela” published in scientific magazine Monumentos nº 32
The terrain shading was produced inhouse with 3d rendering software through the use of altimetric data delivered by NASA. All the roads and shading are also graphic work, making some of these unique maps. We also layered various historic imagery using digital techniques in order to help the investigation.
Original investigation by Assistant Professor Maria José Casanova, University of Porto.
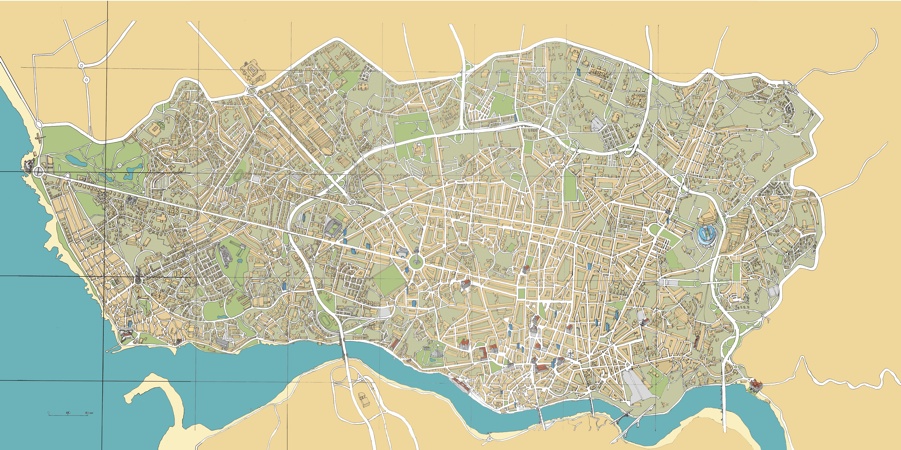
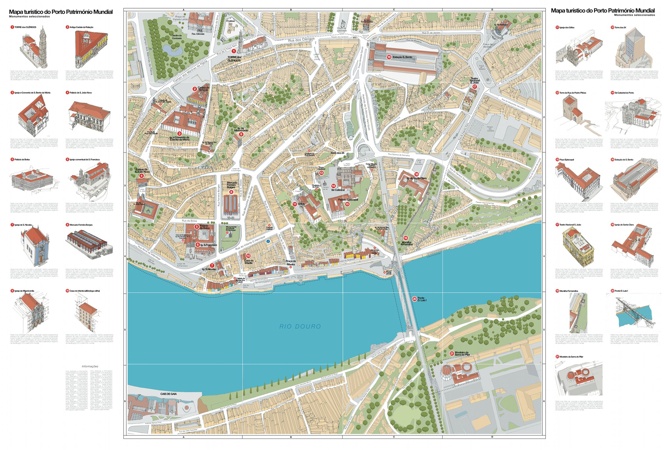
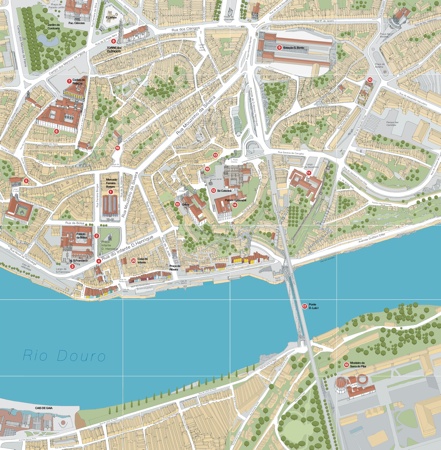
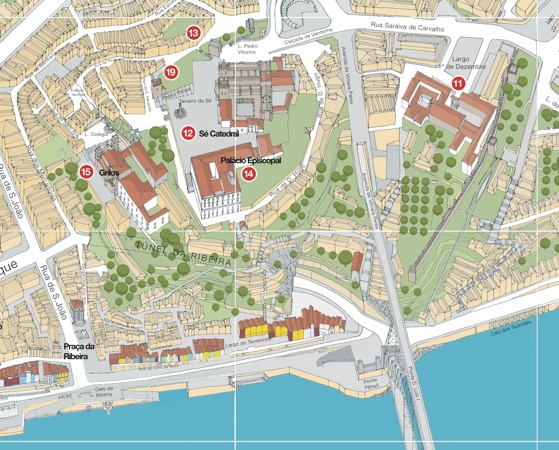
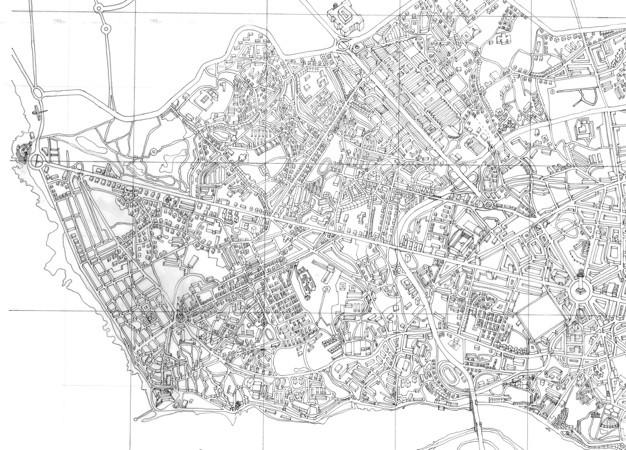
Touristic Map of Porto

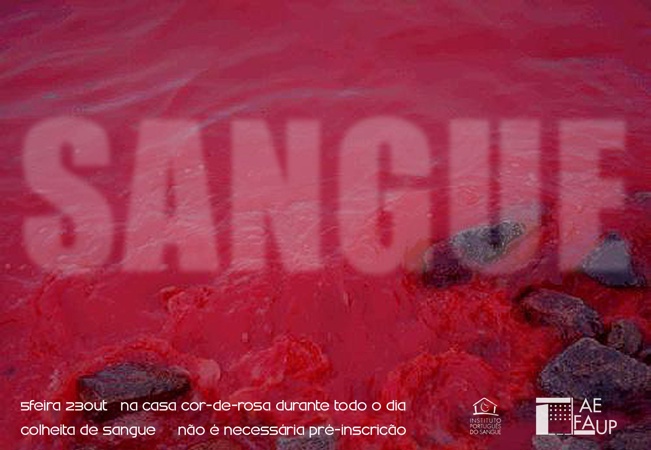
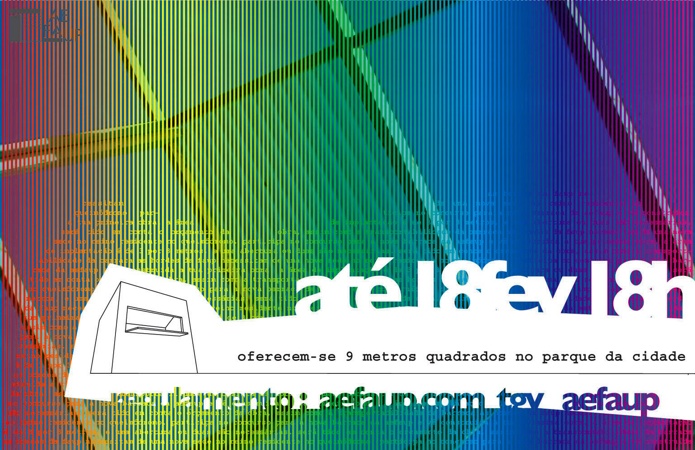
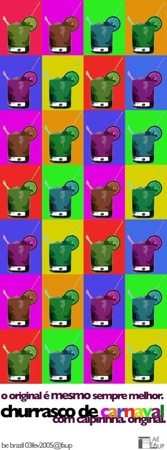
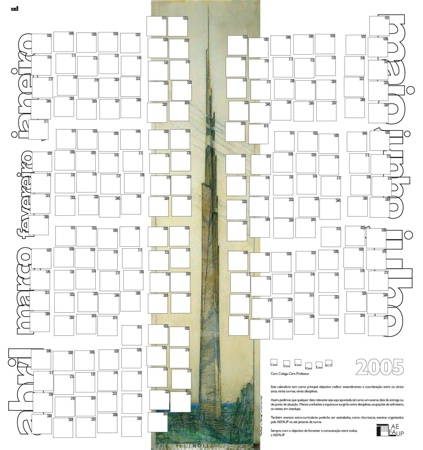
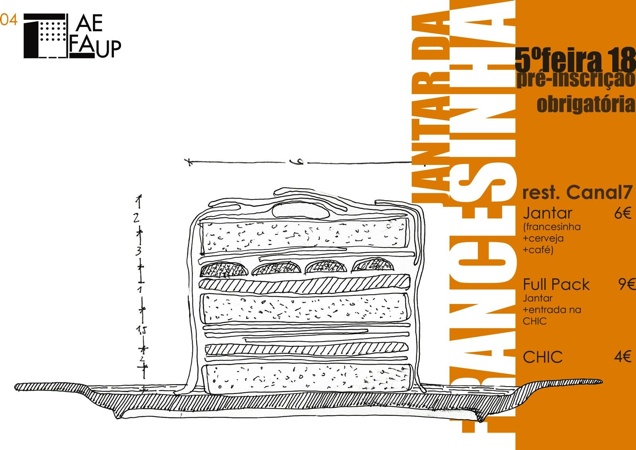
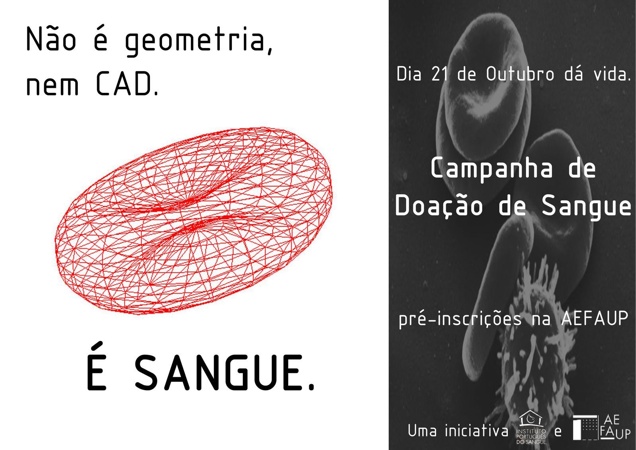
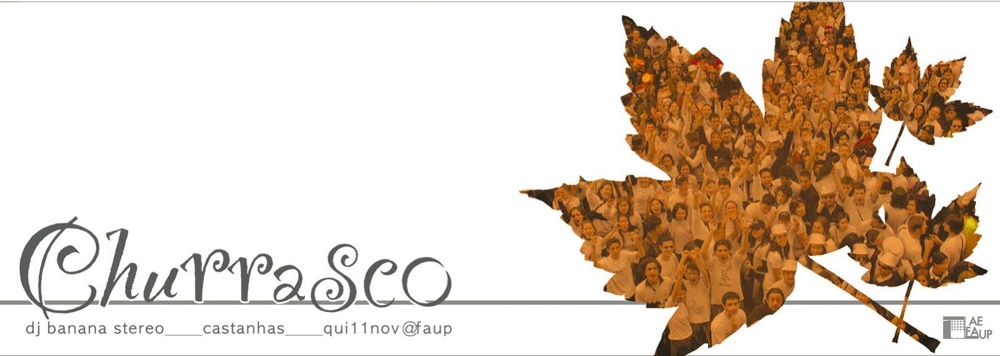
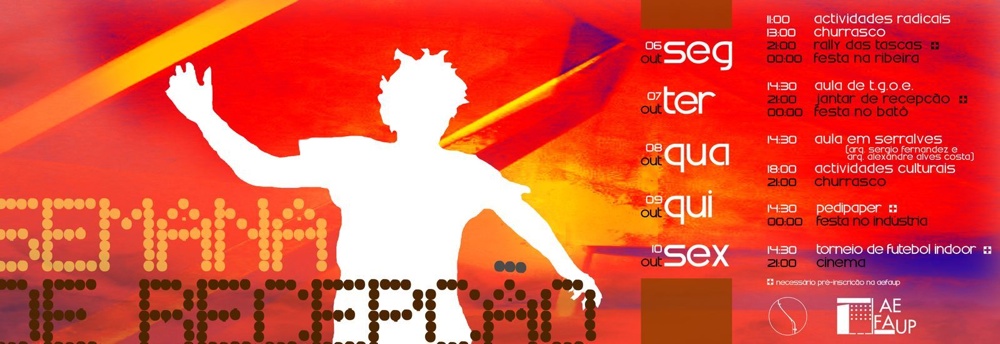
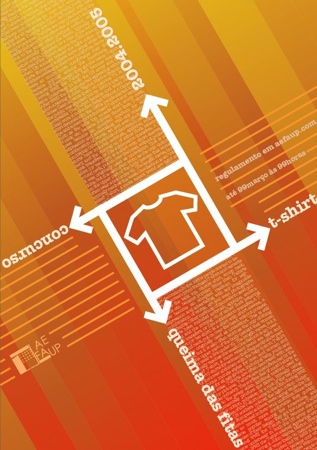
Various posters for Students Union
Graphic works developed for AEFAUP – Faculty of Architecture of the University of Porto Students’ Association in the years between 2002 and 2005. These were developed while studying in FAUP and do not represent the core activity of AZVA, but they occupy a special place in our history.




AZVAvisuals Logo


José Campos Architectural Photography
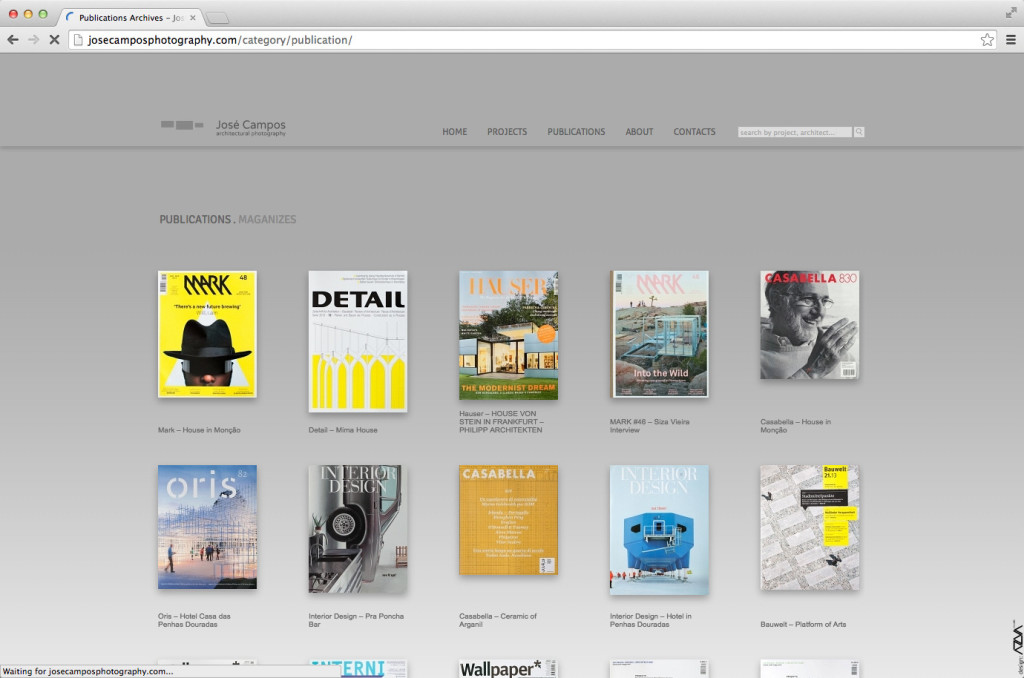
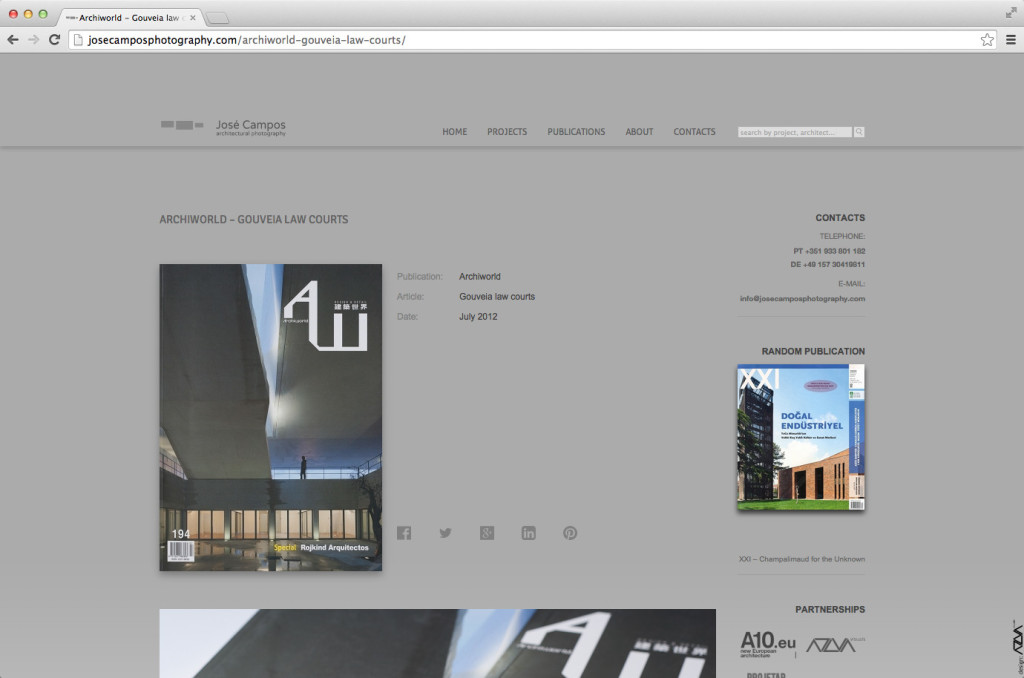
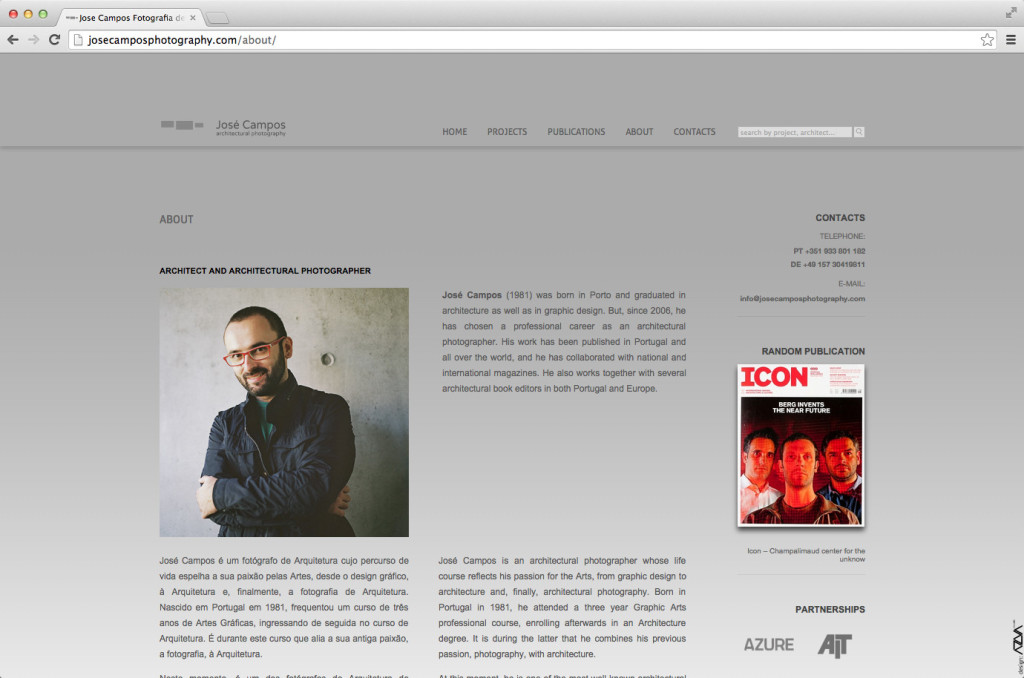
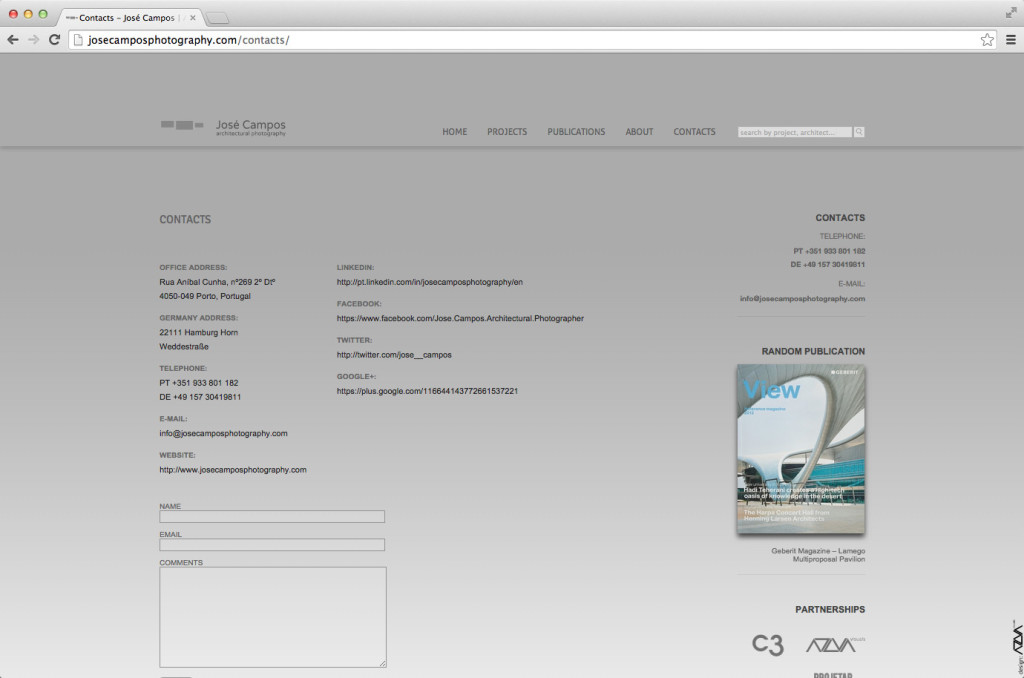
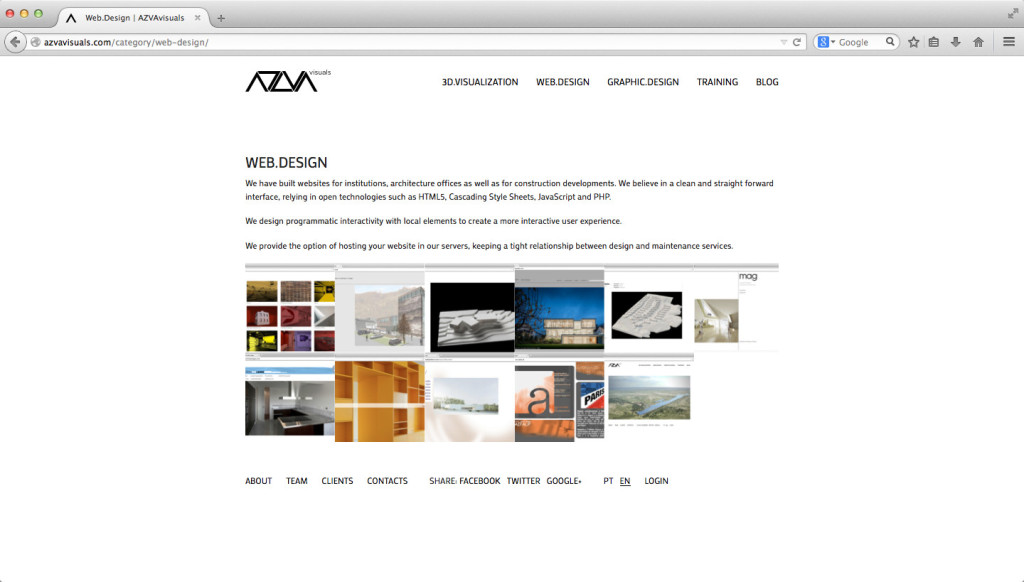
This was a very challenging work. A website with various functions, all data interweaved. Projects and Publications are related so that the user was a fluid navigation through related content. All the info published is input in a WordPress system, in a way that the backoffice user has full control over what and where to display information. The overall design is, per José Campos’ request, based on a previous design by himself for his website.
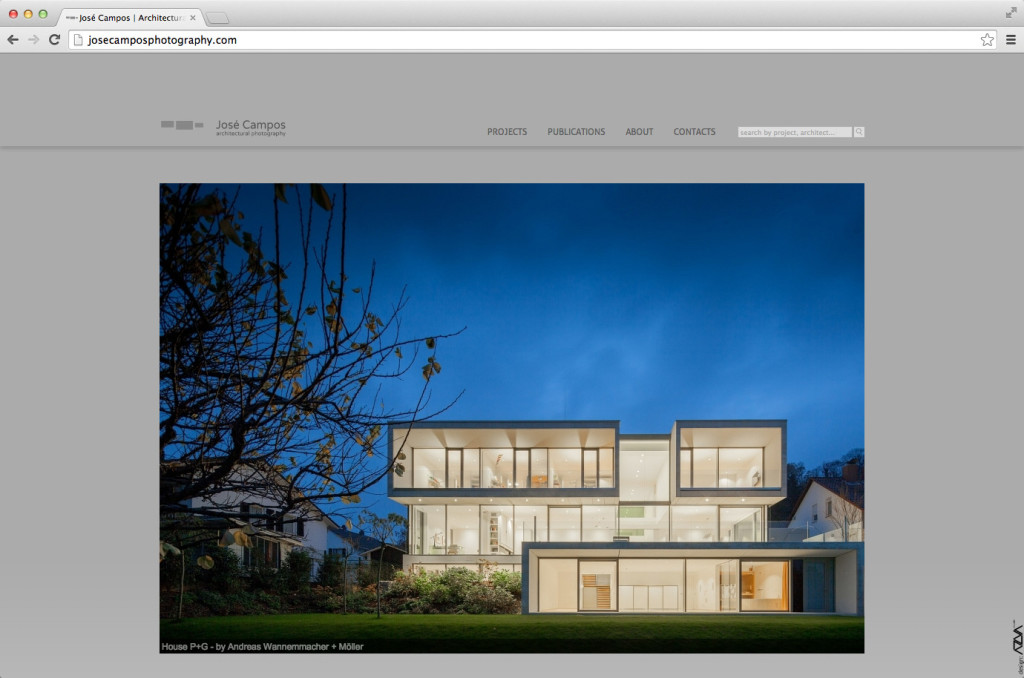
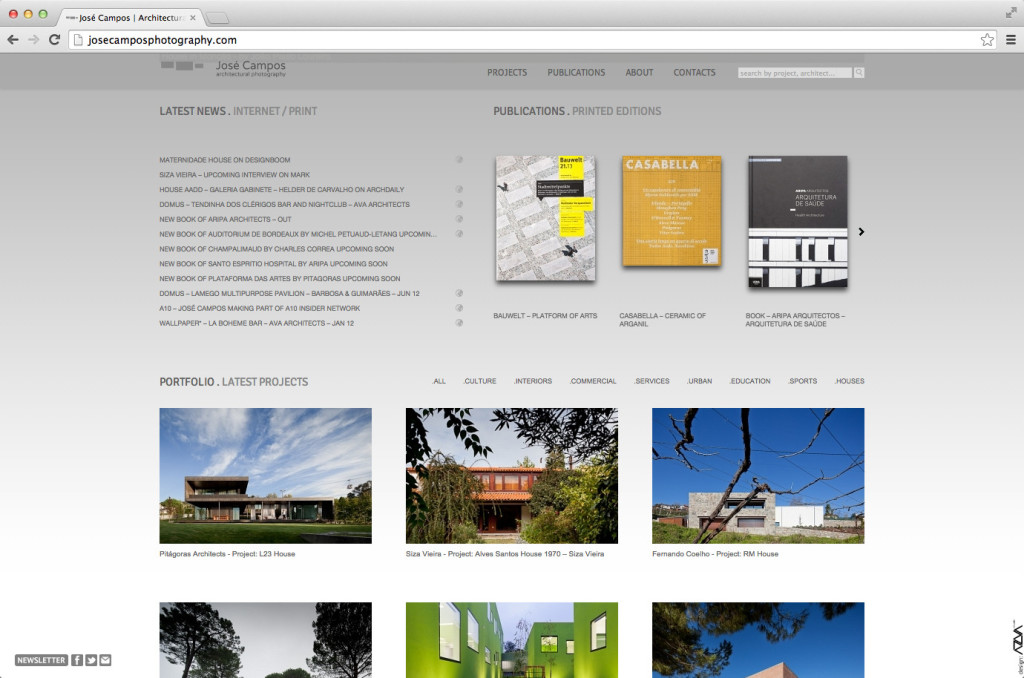
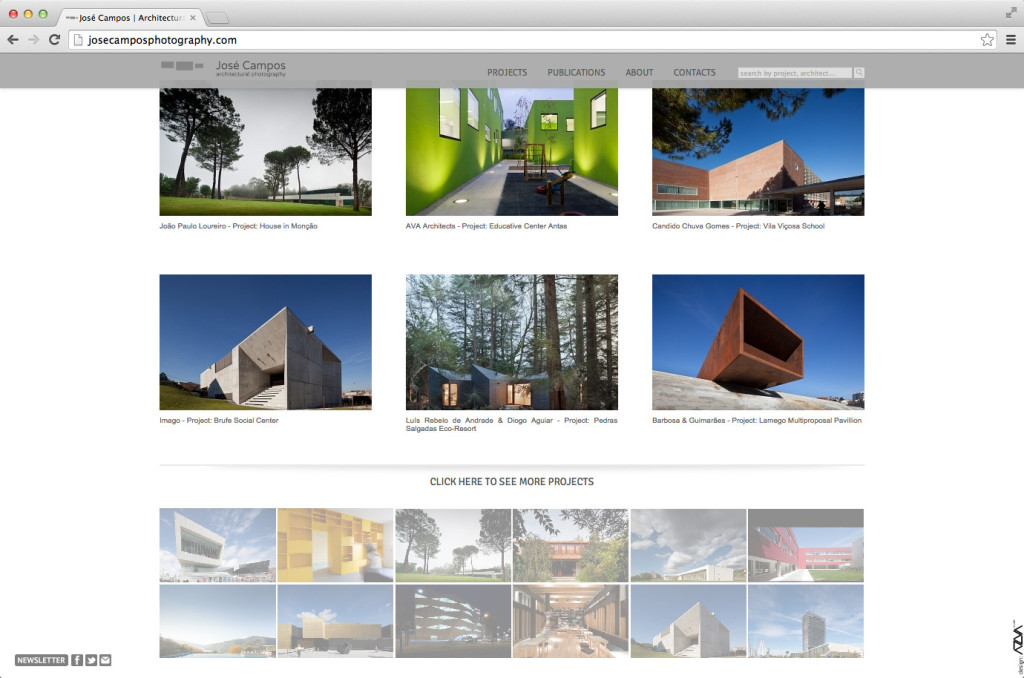
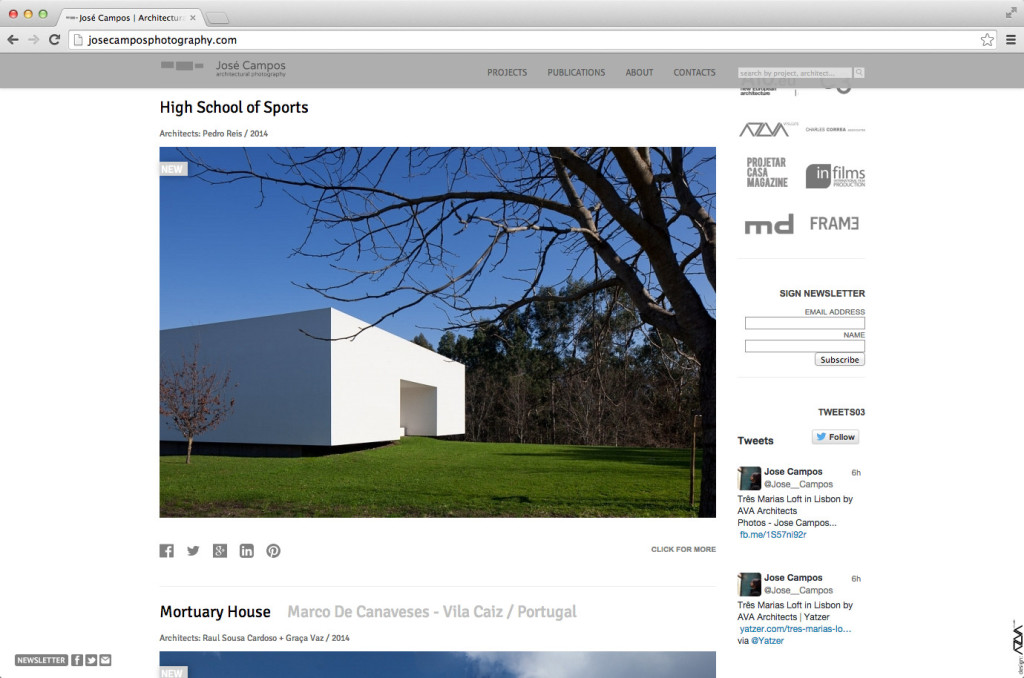
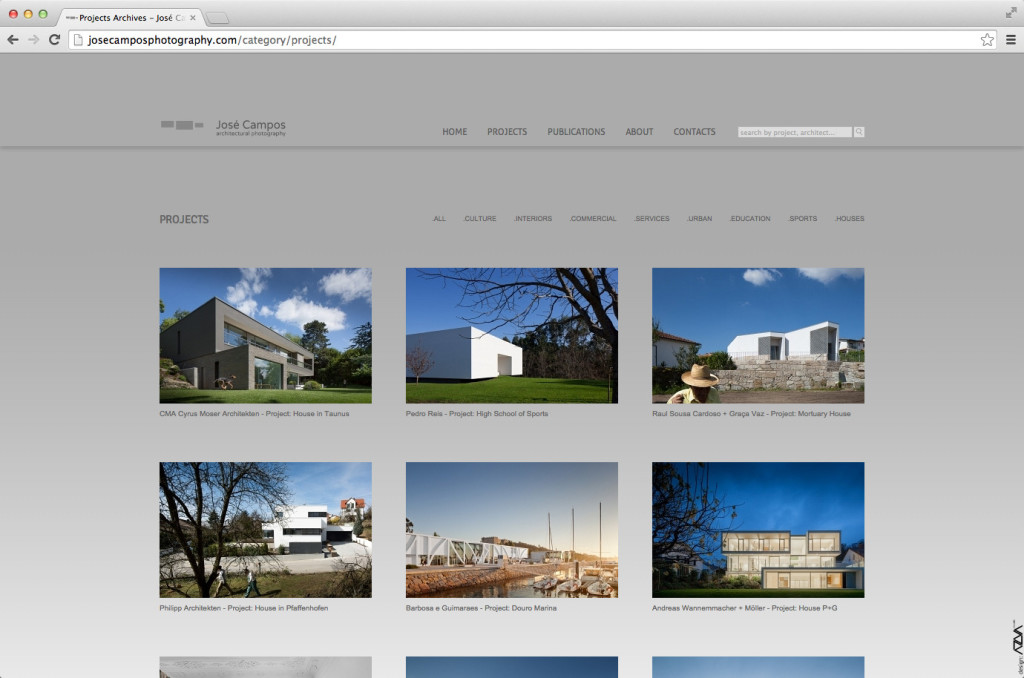
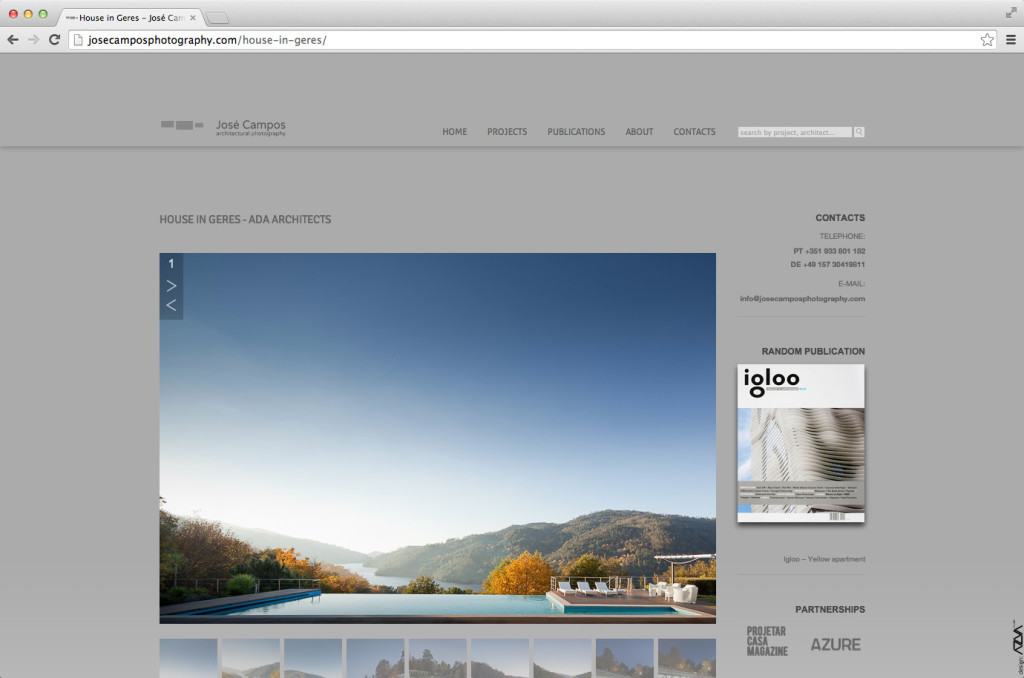
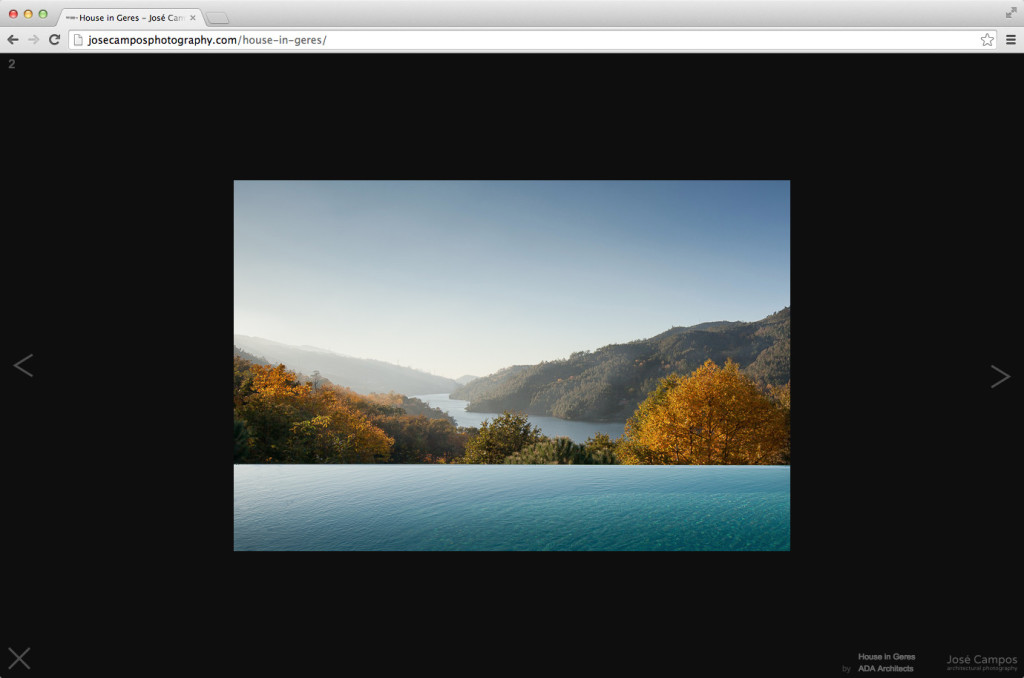
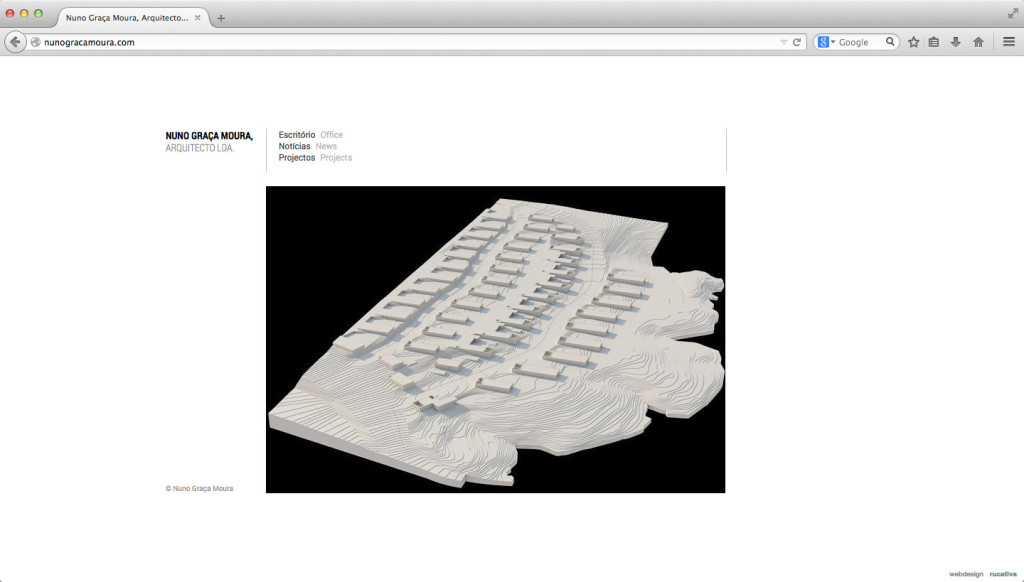
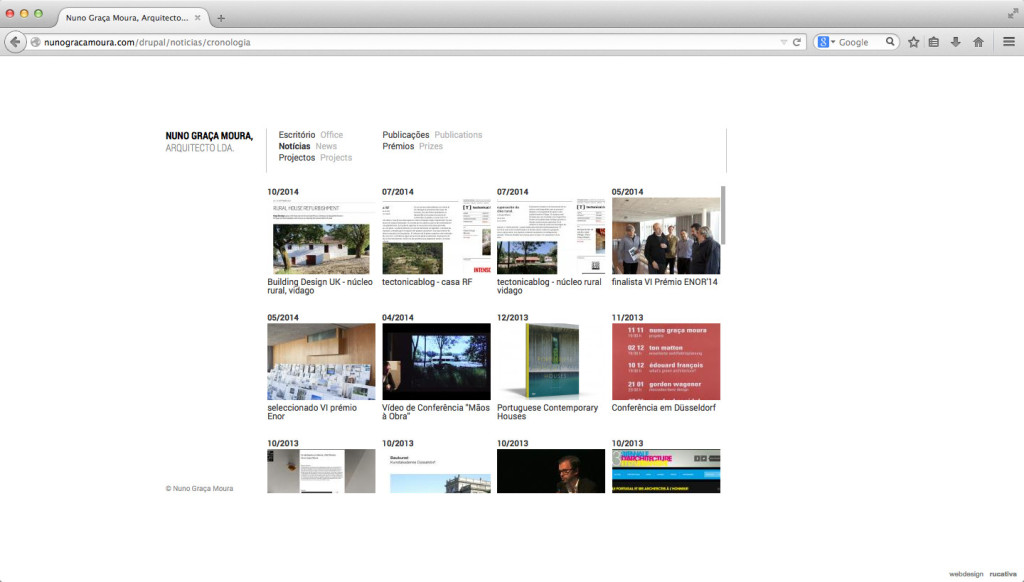
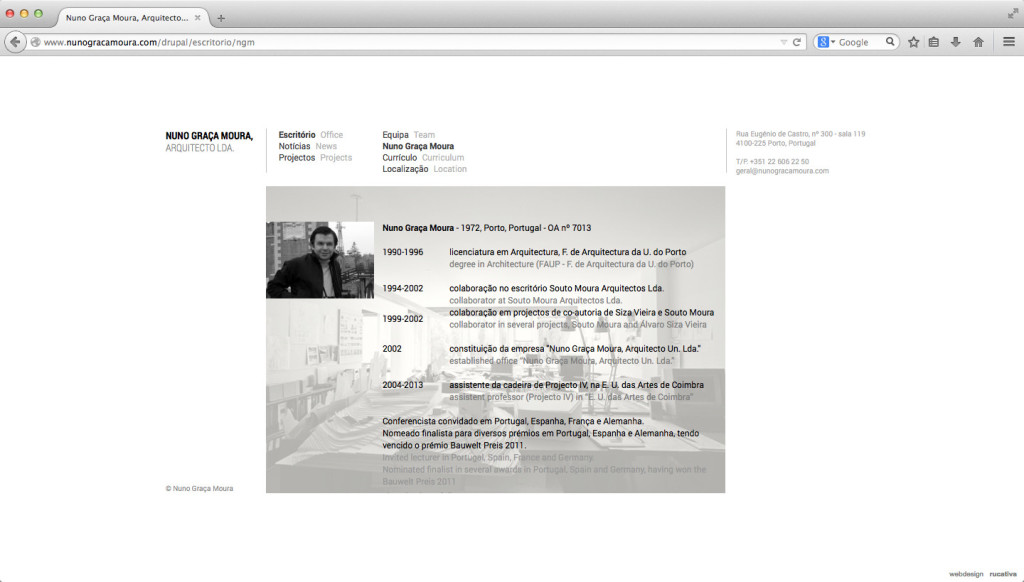
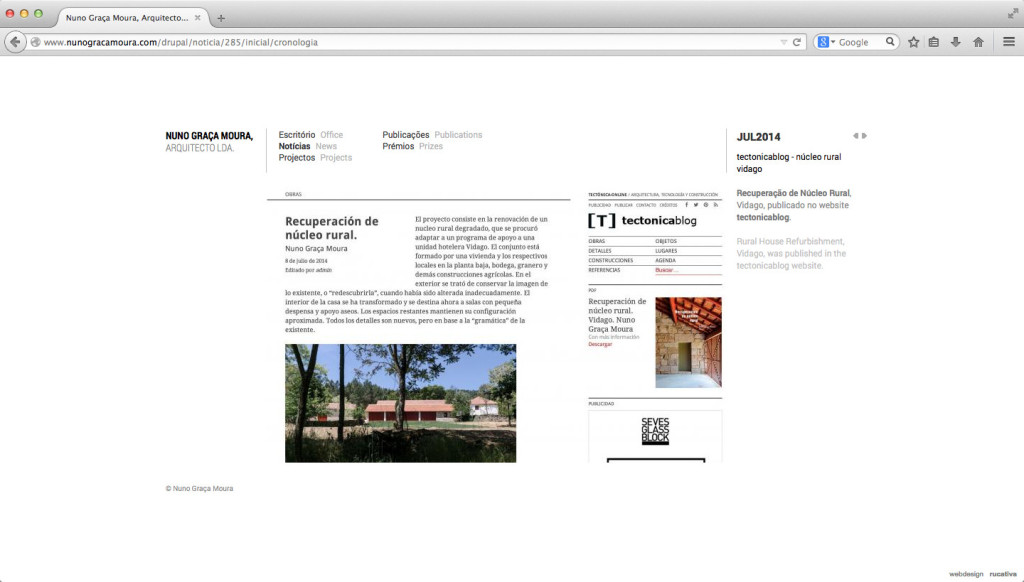
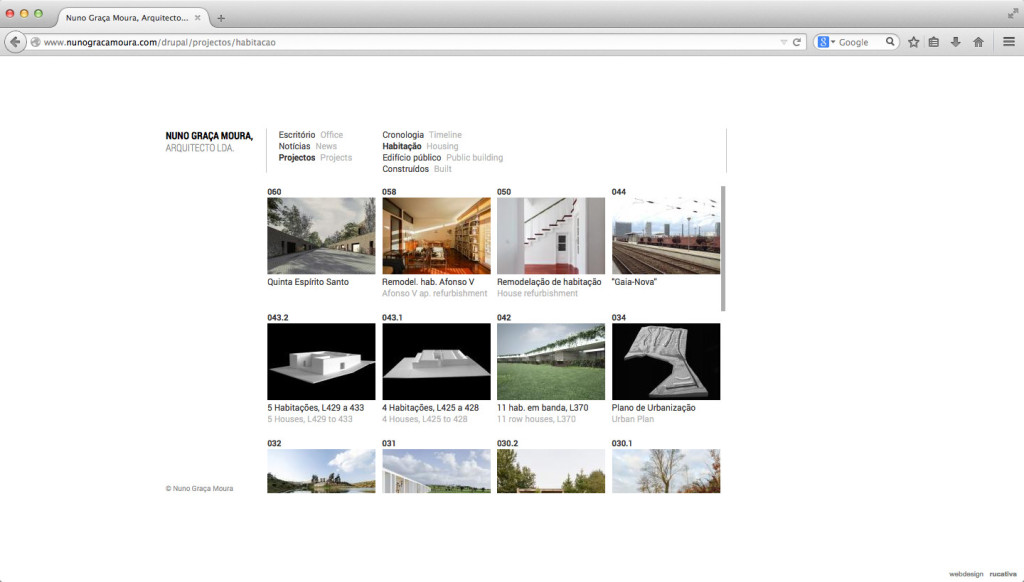
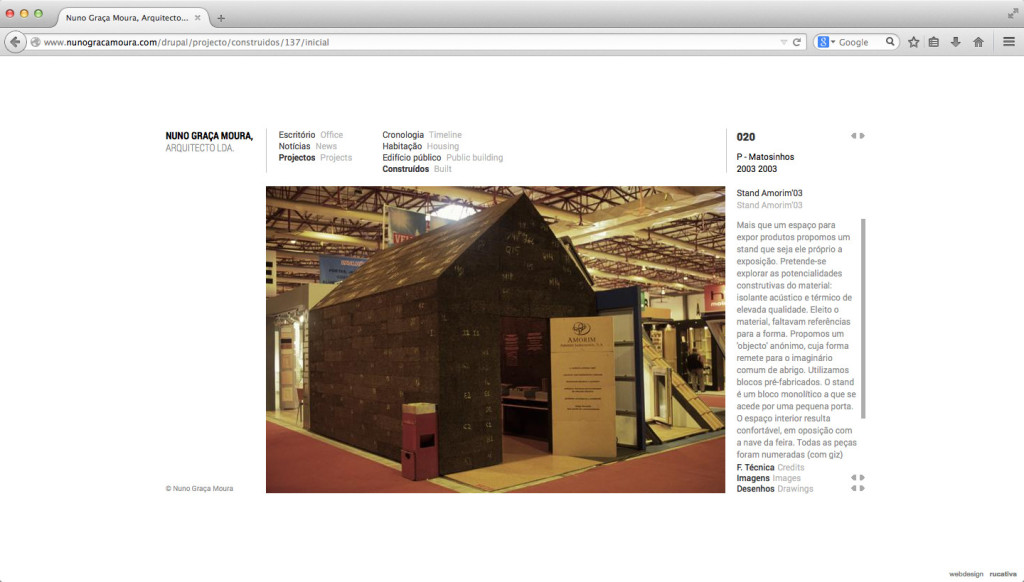
Nuno Graça Moura
A showcase of images. This was the starting point to the design of this website. Built around the images that were to be the soul of this page, all the information nests above, left and right. Everything was left as empty as possible so that the images would pop.
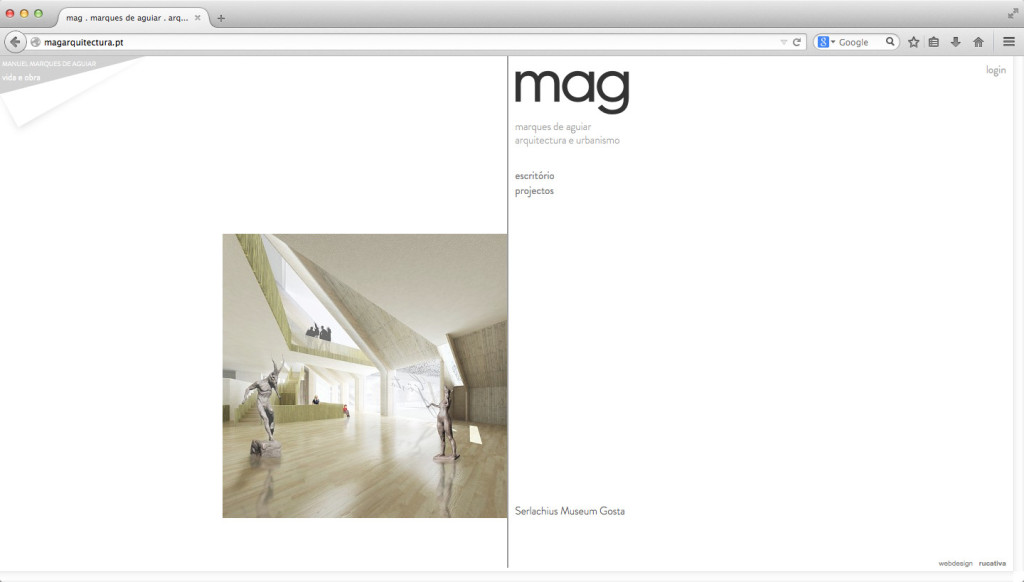
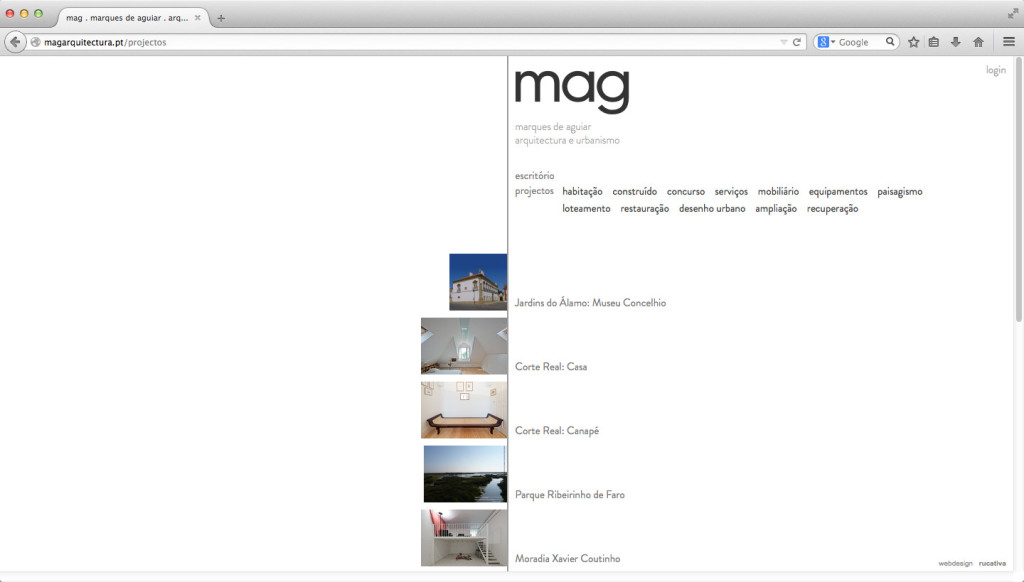
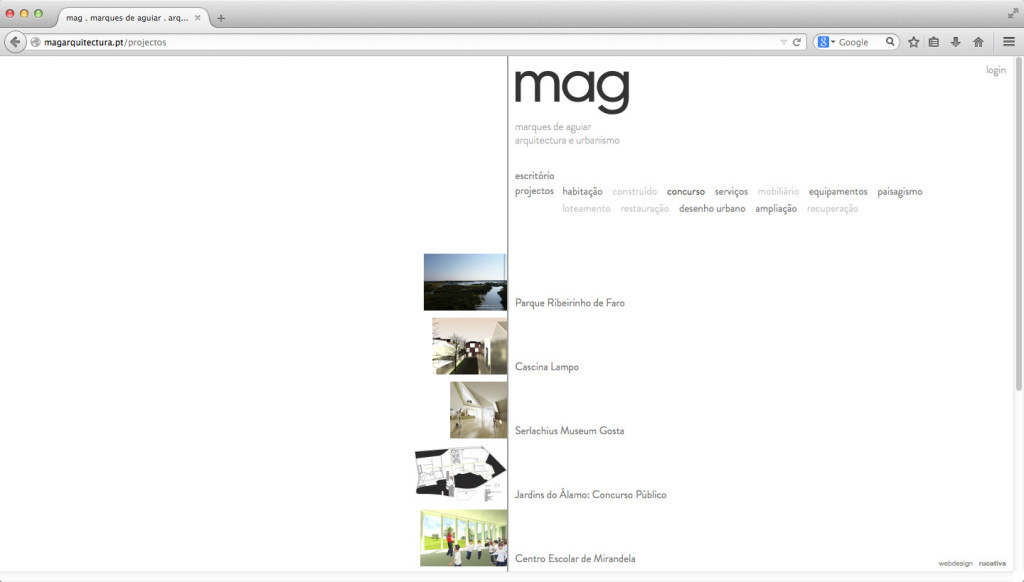
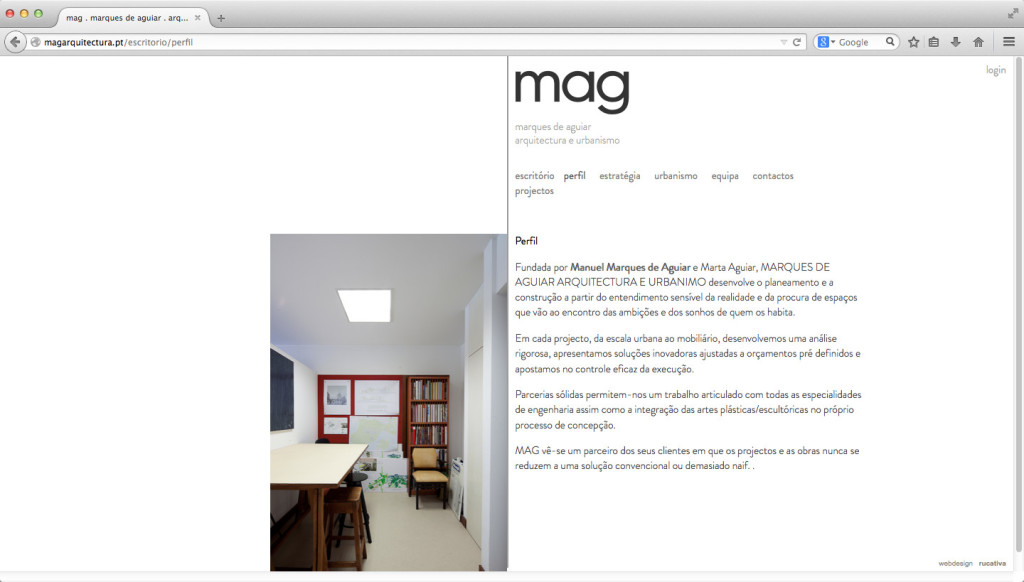
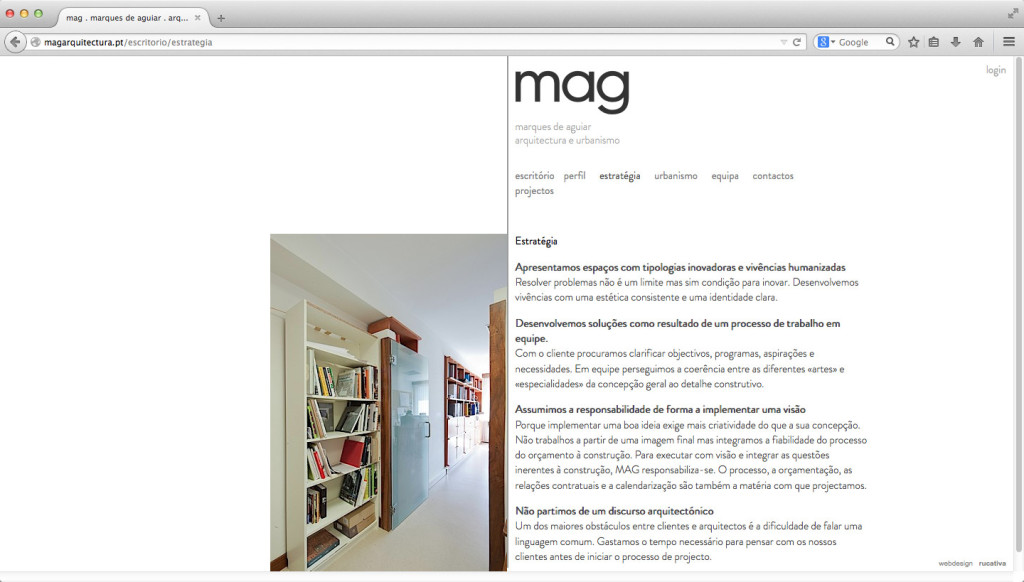
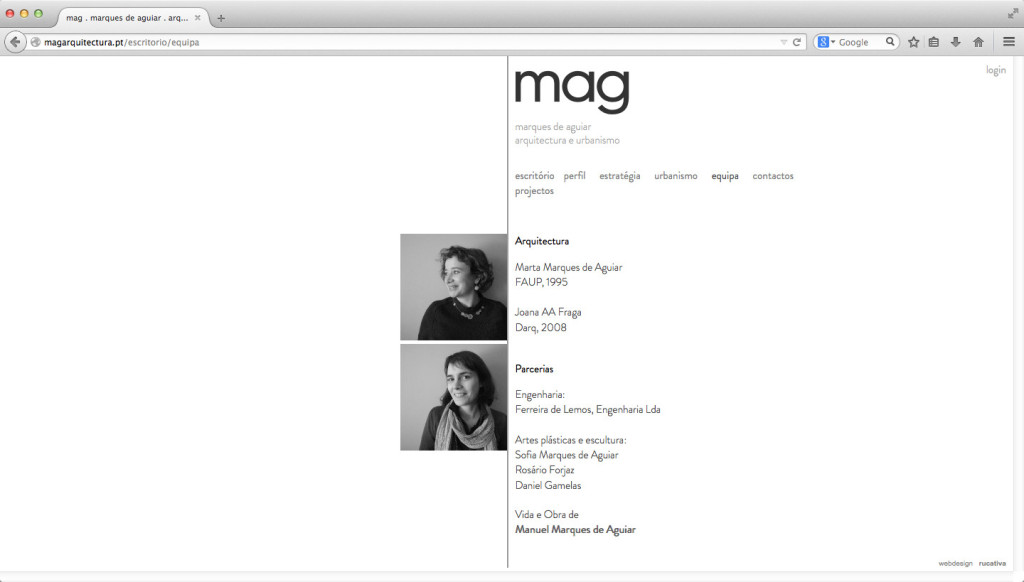
mag – Arquitectura & Urbanismo
The core of this design is based on its interactive tag system. With this system, one can effectively filter the projects until found. Multiple tag selections are allowed which, together with the animation, make the navigation very intuitive.
Another point to be considered is the verticallity of the website. The quest for direct understanding of construtive technology by this architecture office is translated in the understanding of web browsing as a native technology. Scrolling is part of the web and the most efficient way to browse content. This webdesign is a bit of a homage to this system.
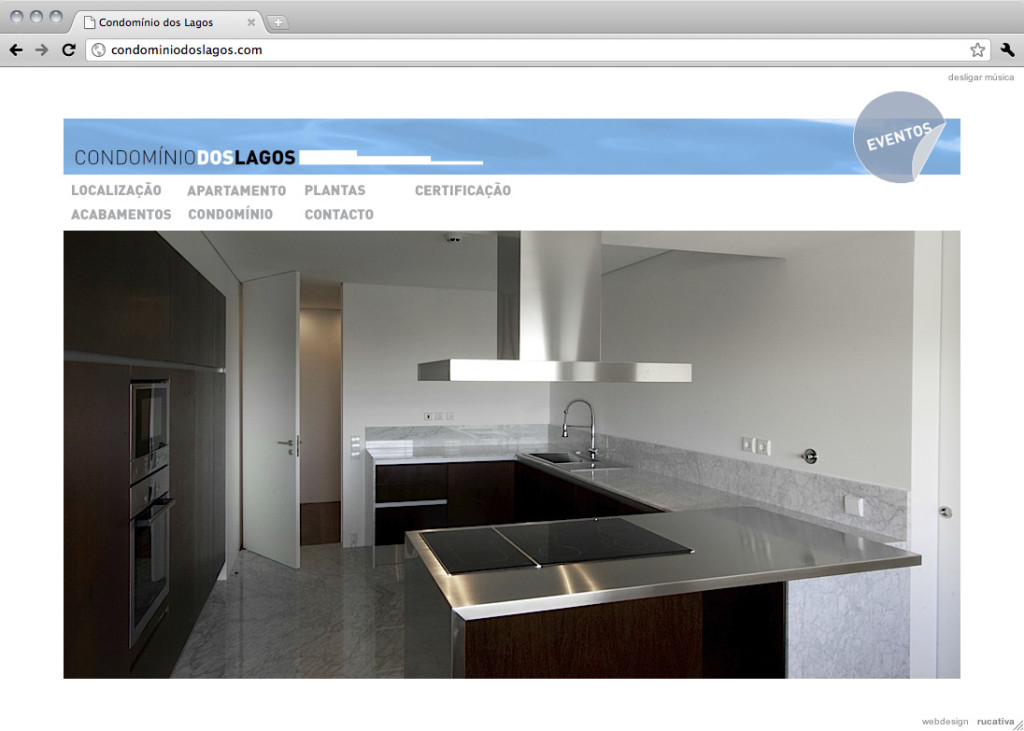
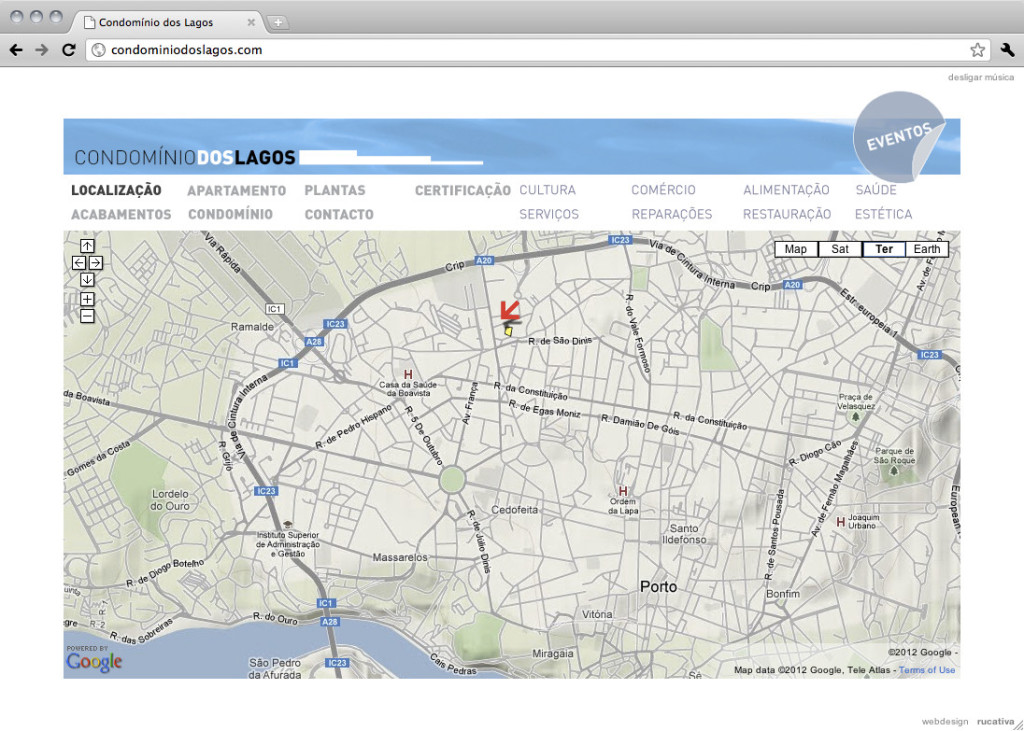
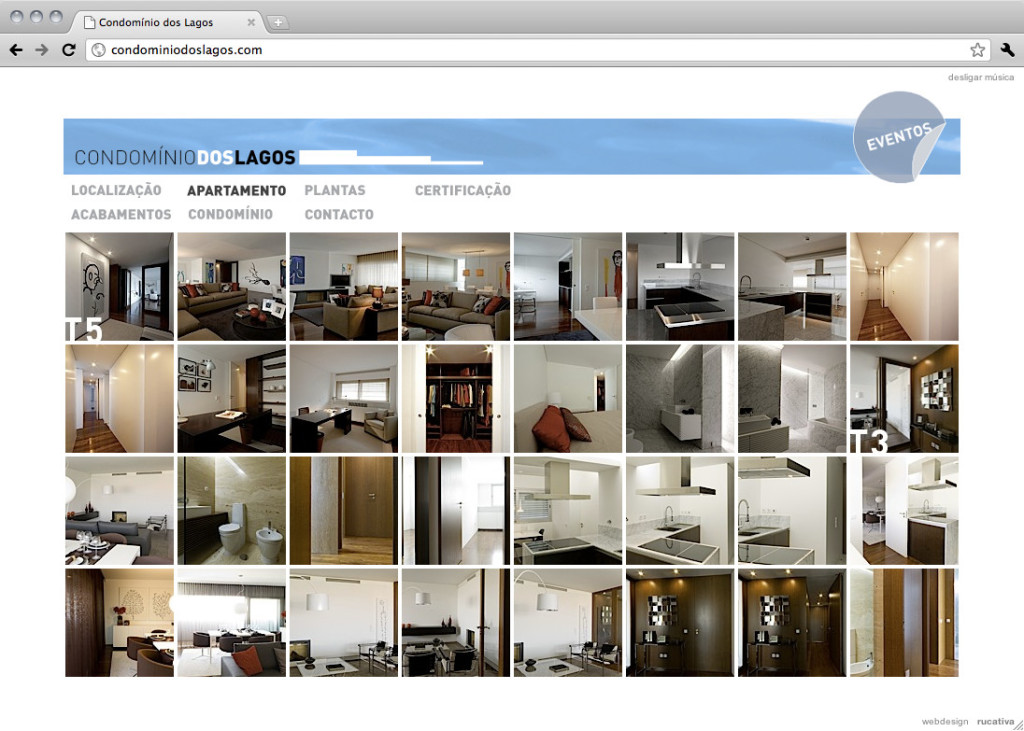
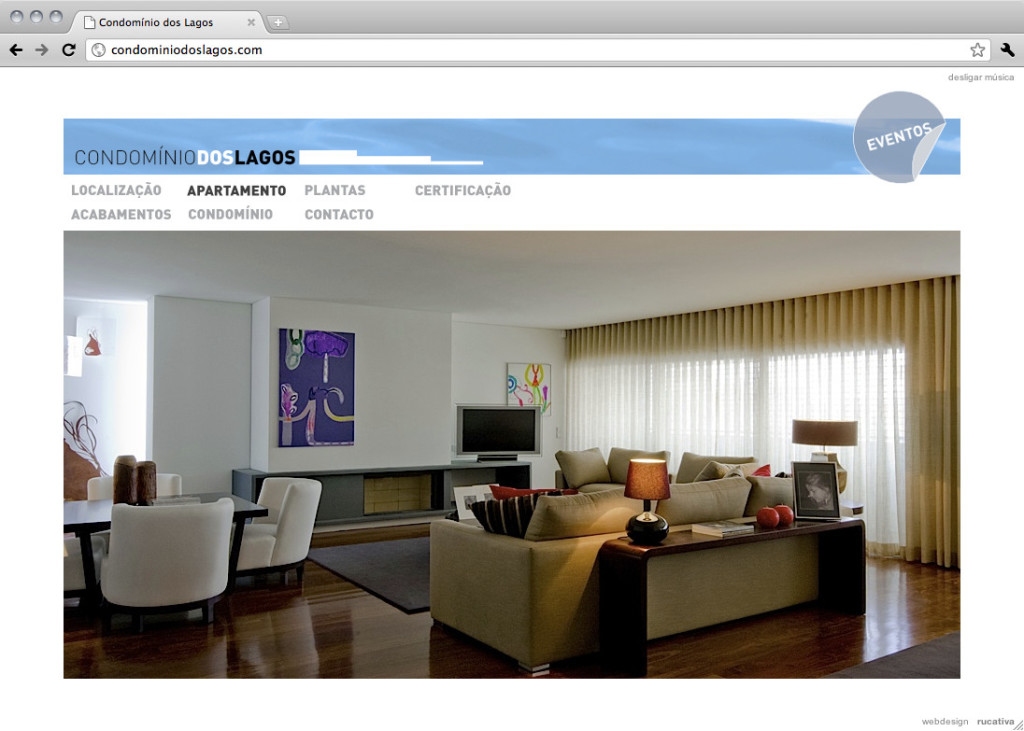
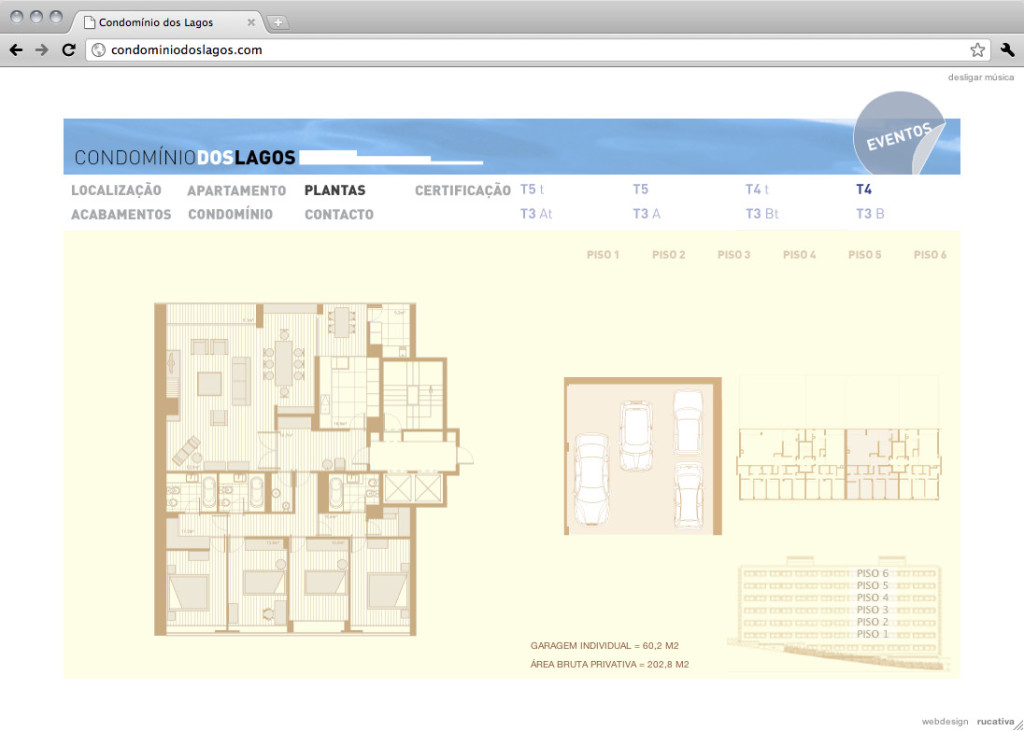
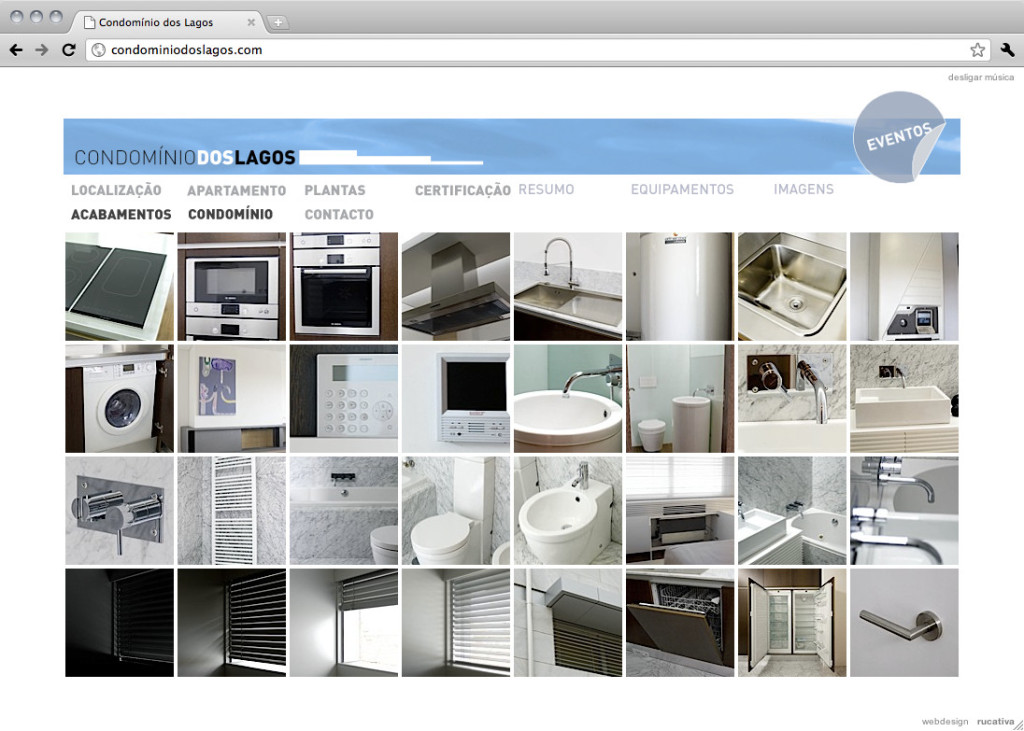
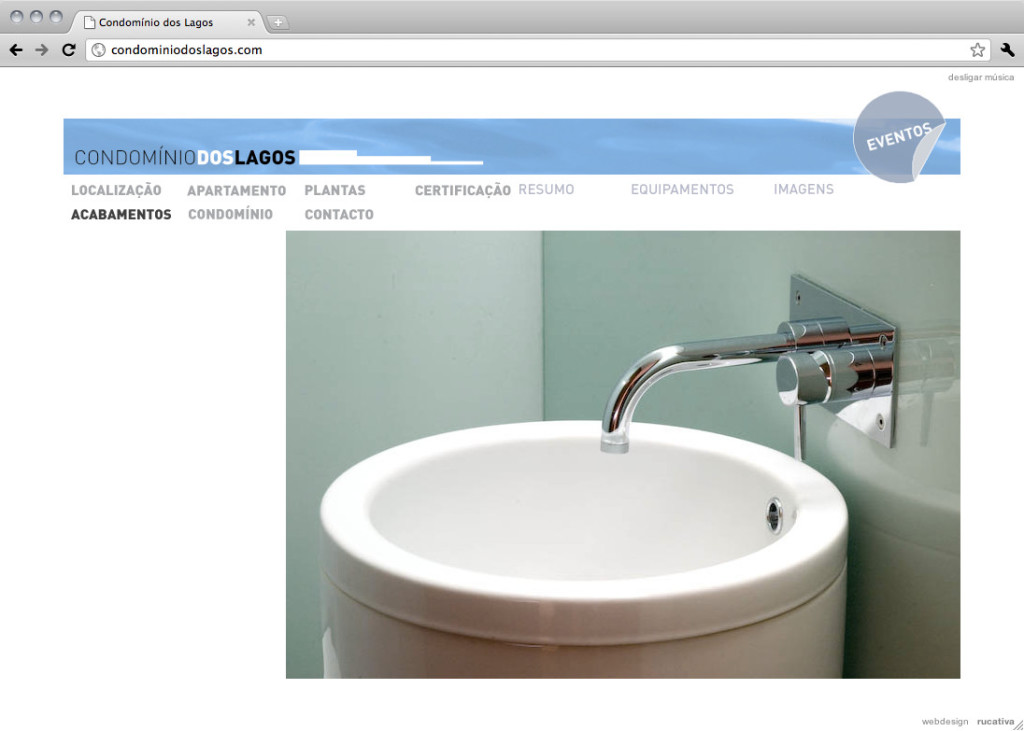
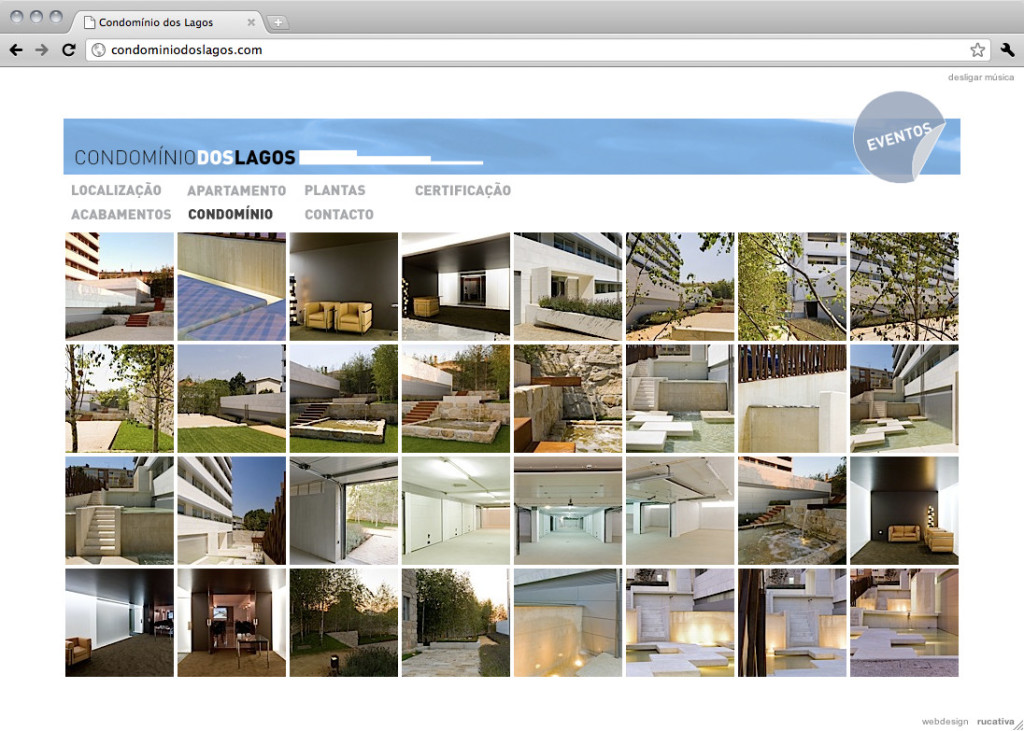
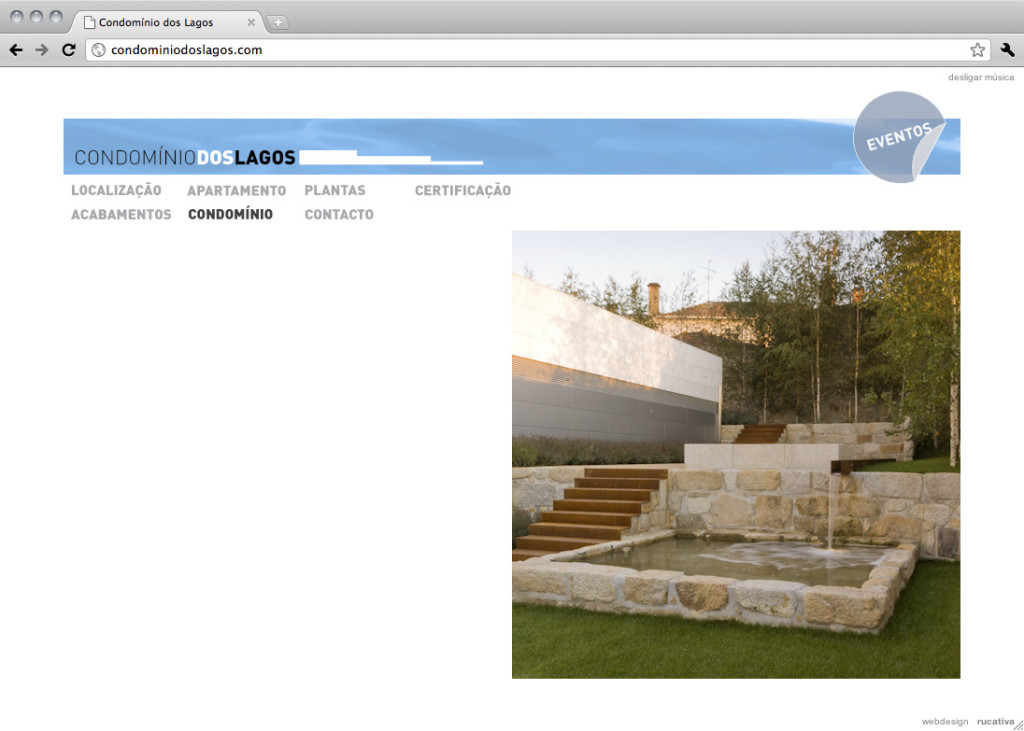
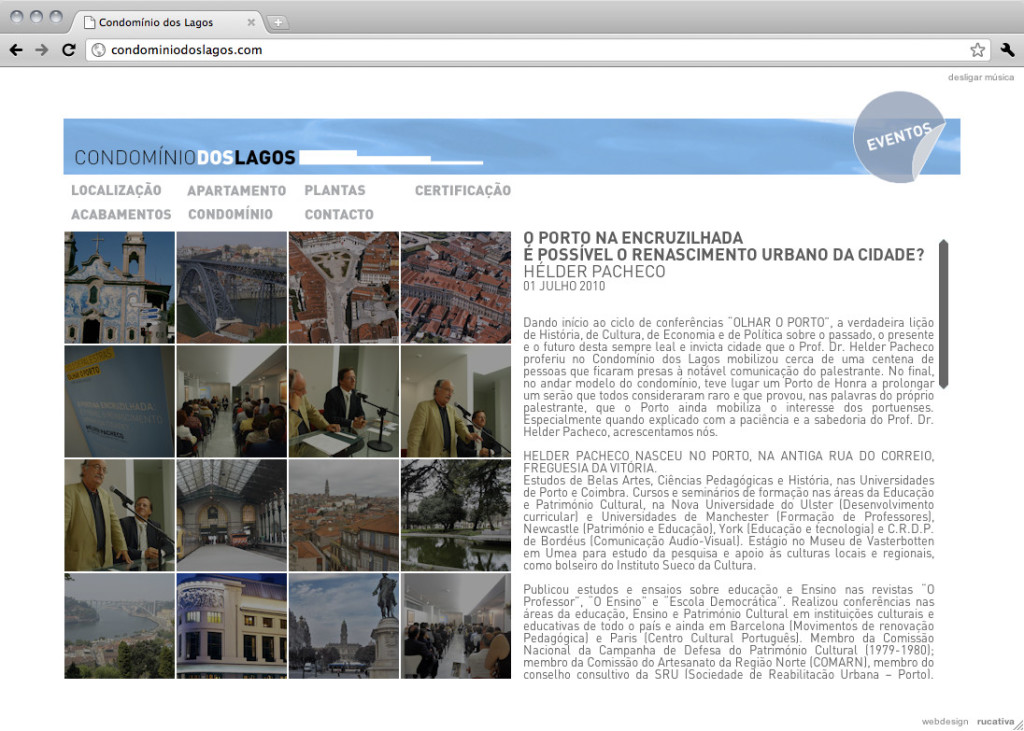
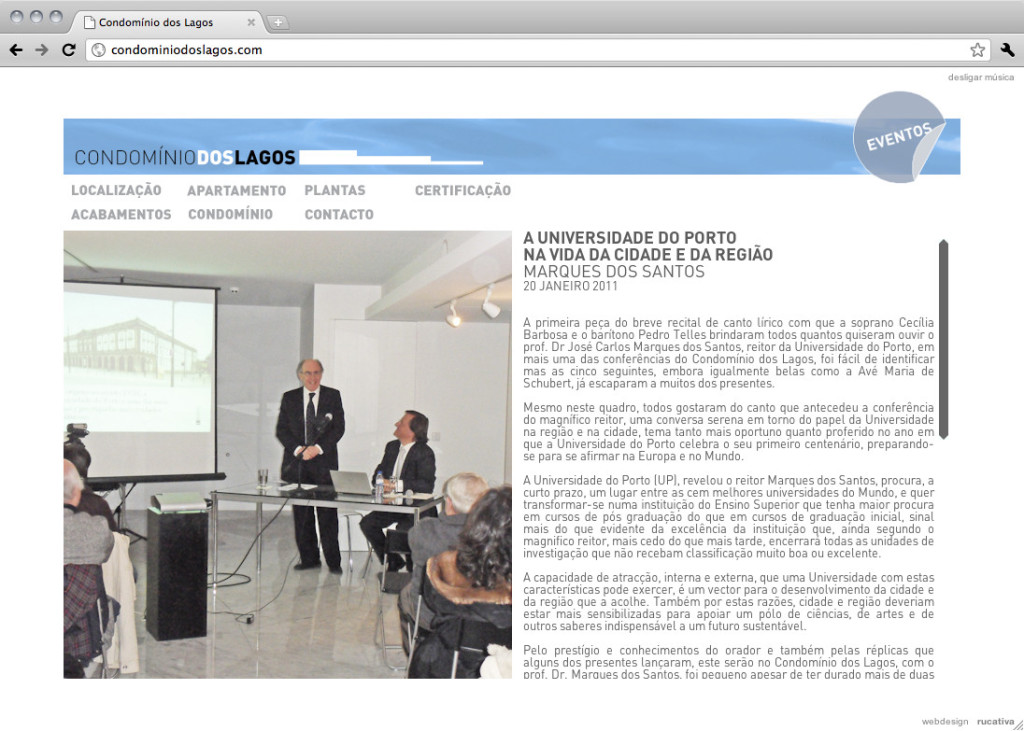
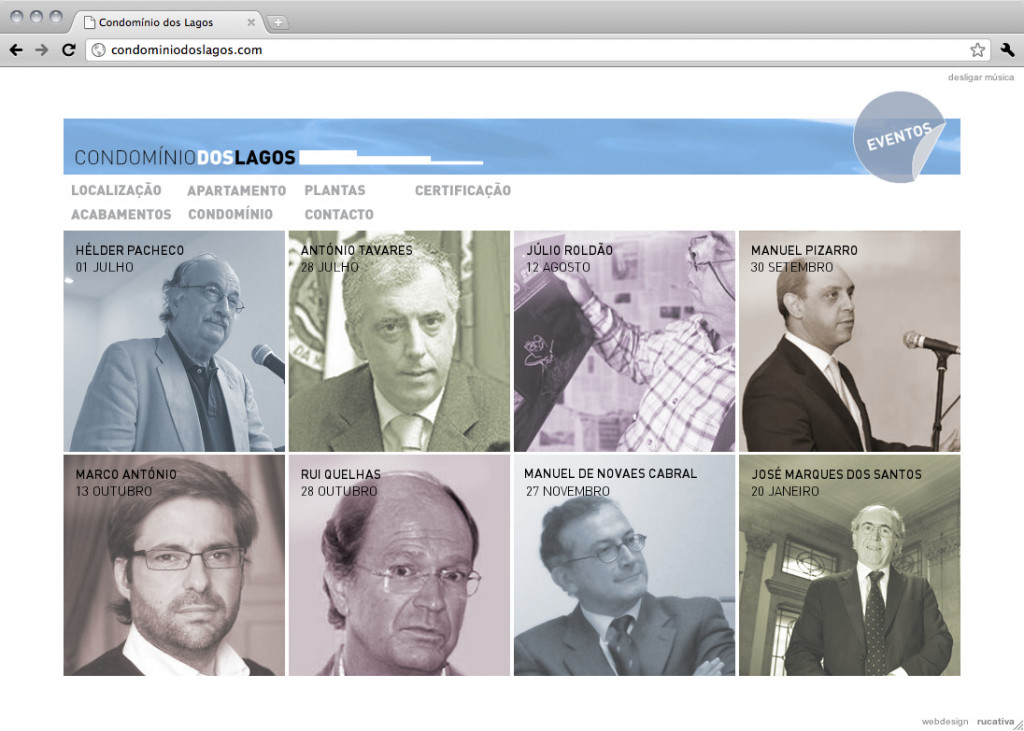
Condomínio dos Lagos
A website for the promotion of a real estate development in the center of Porto. One of the client’s requests was to show the kind of shops and services around the buildings site. Google Maps technology was used for this task.
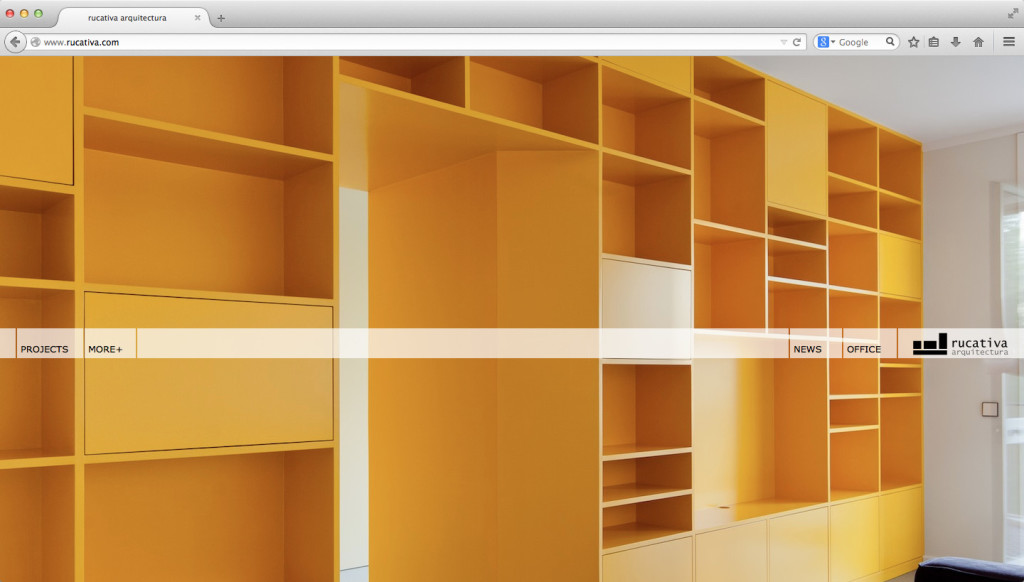
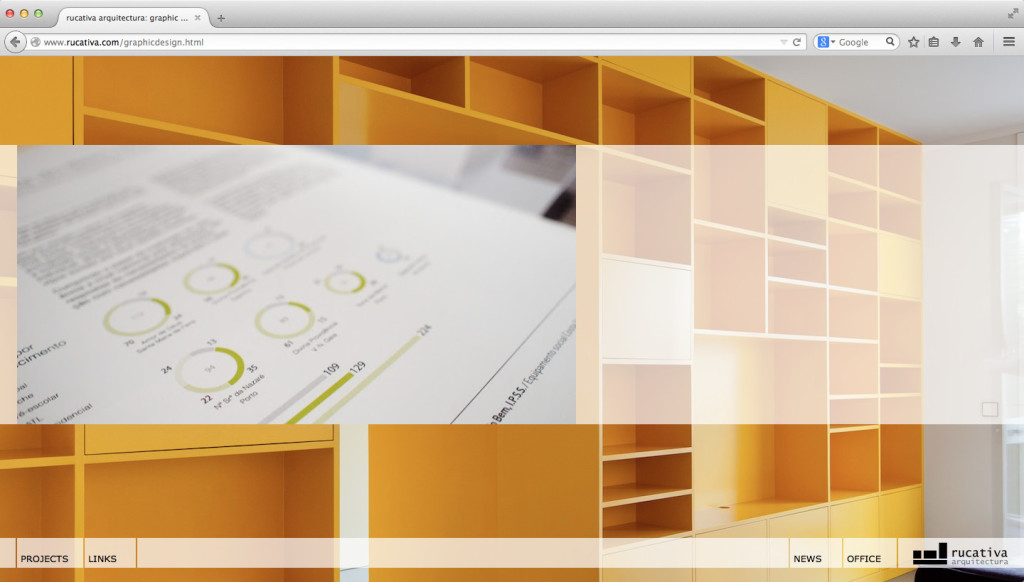
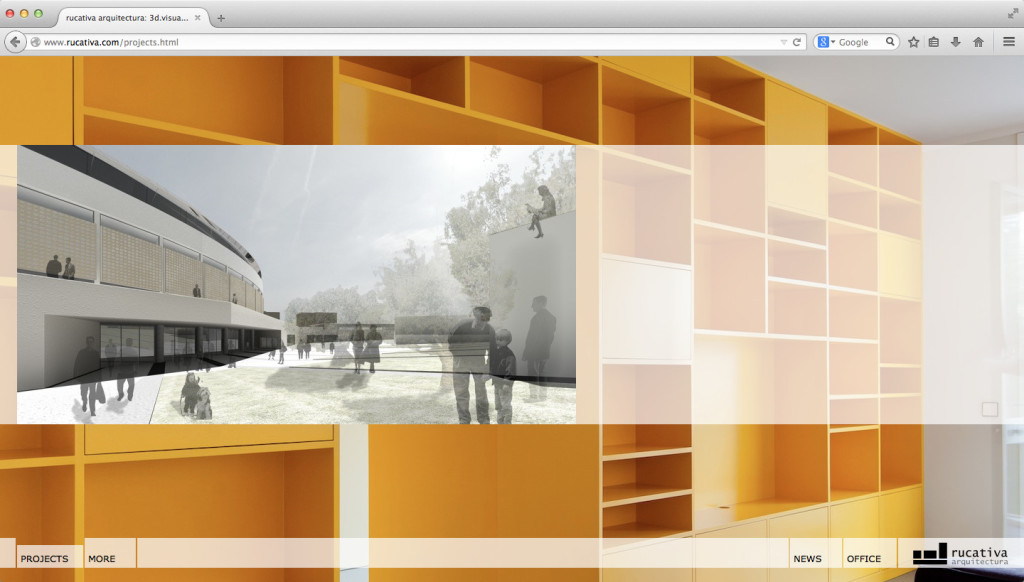
rucativa
This is rucativa’s website before many of it’s services transited to the new spin-off AZVA.
Cruzada do Bem
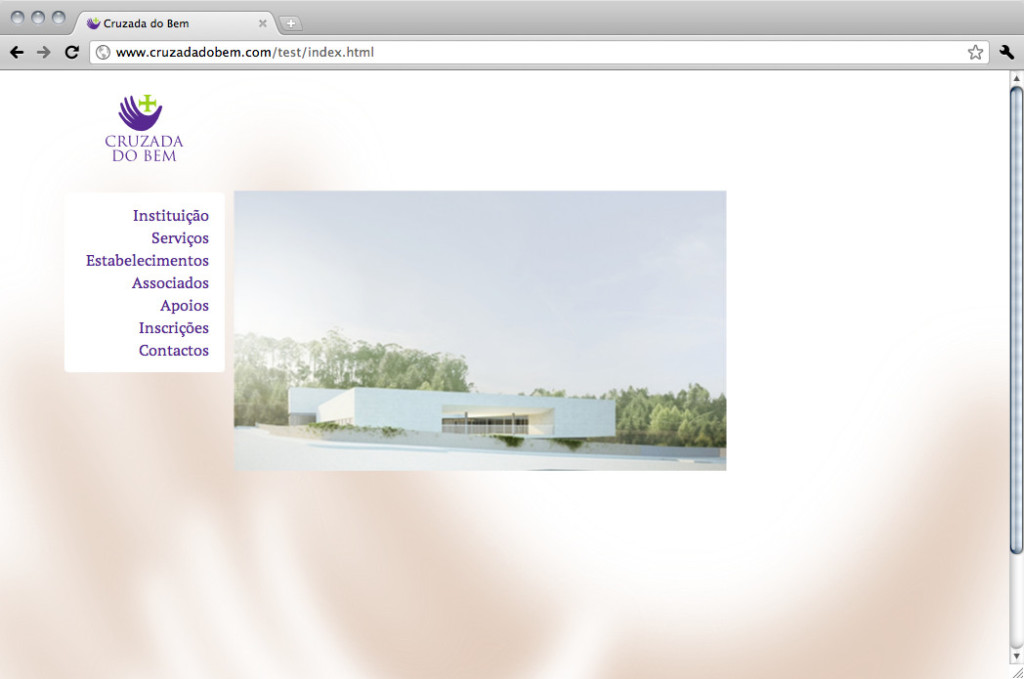
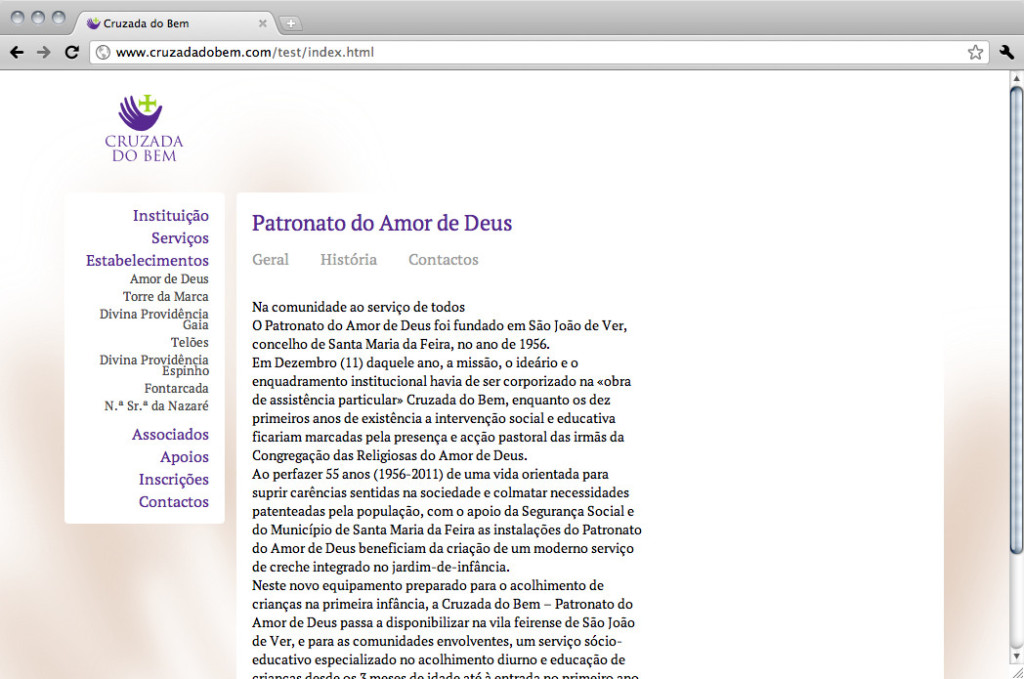
Still in its alpha version, Cruzada do Bem’s website will host many of this social institution’s services and houses, linking these informations. The main purpose is to make the whole experience as cohesive as the institution.
AEFAUP
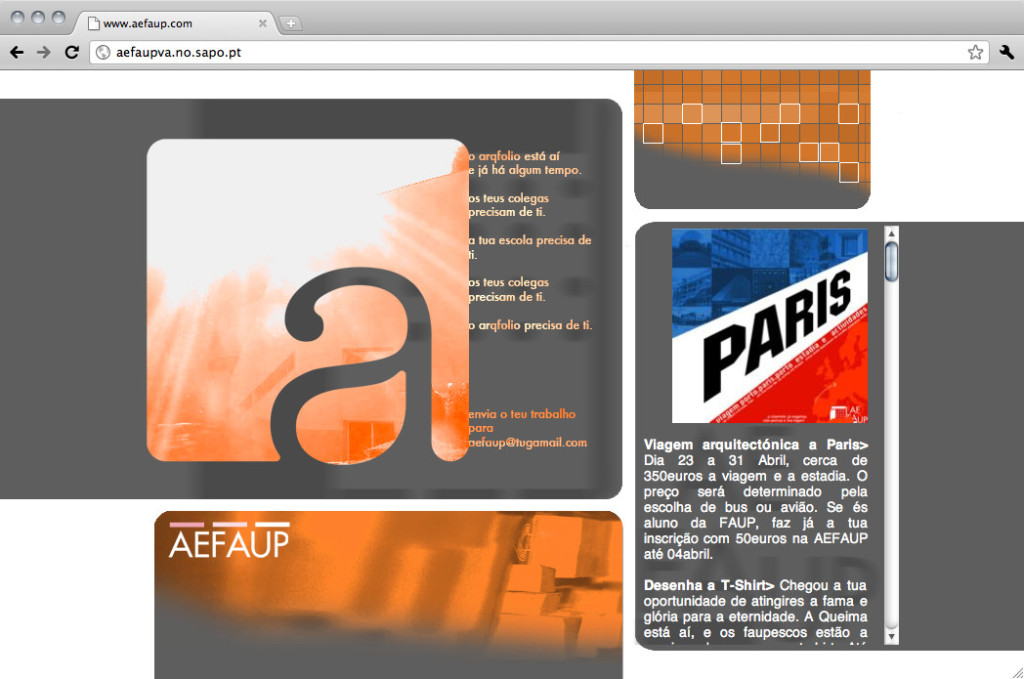
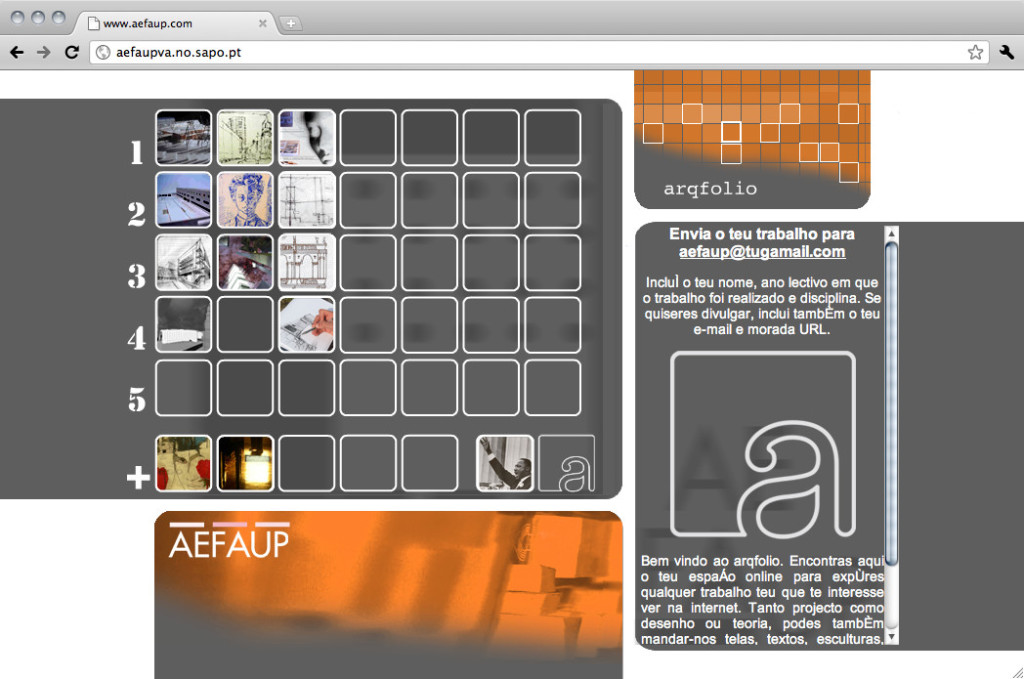
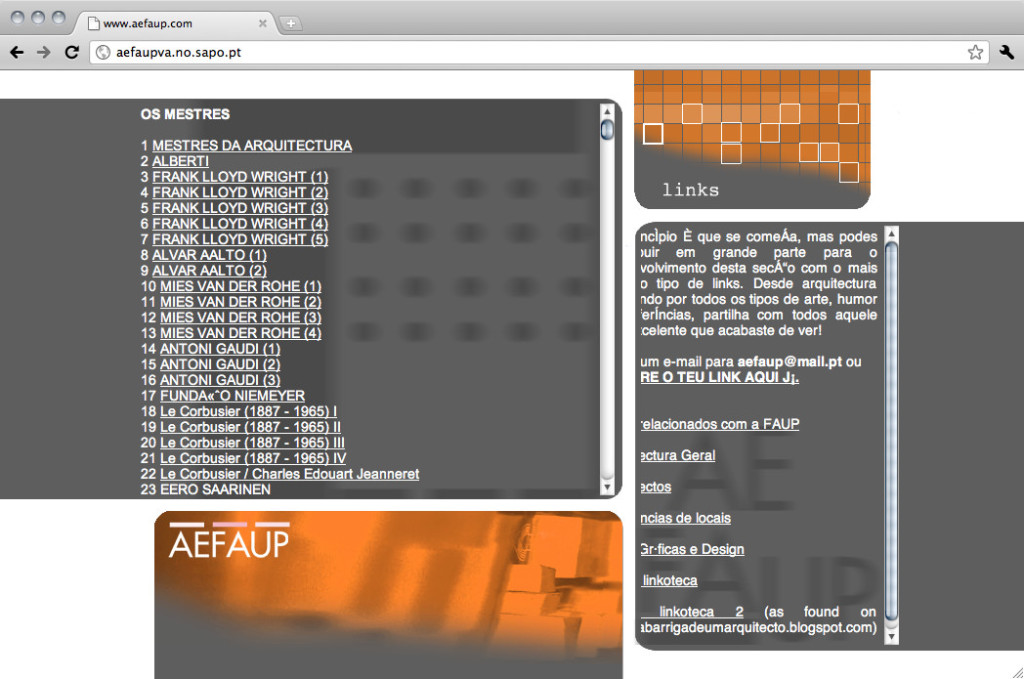
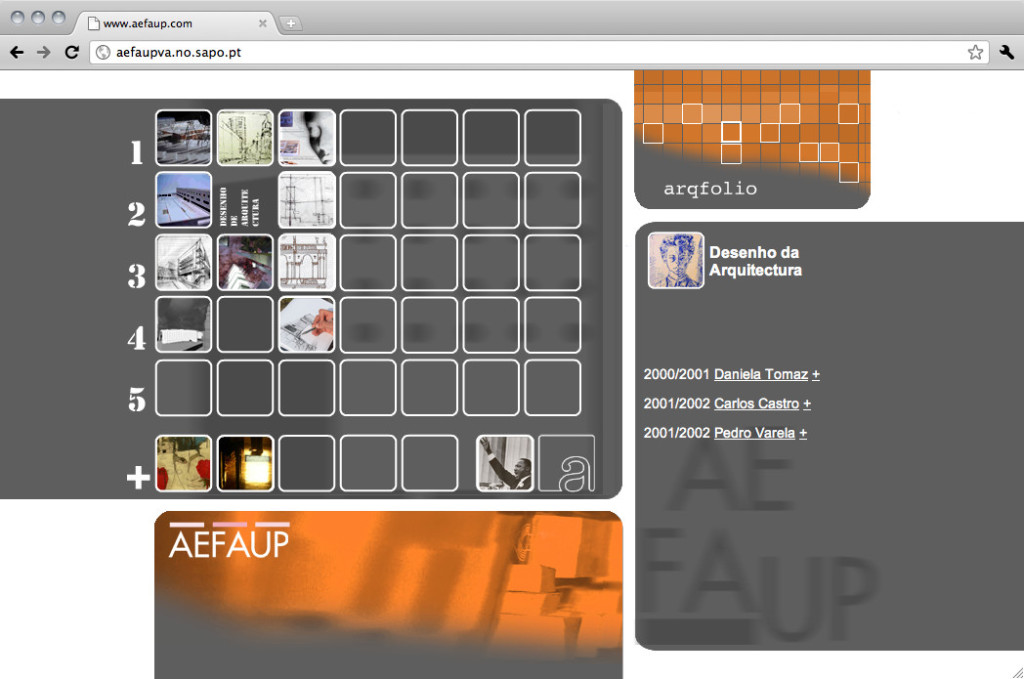
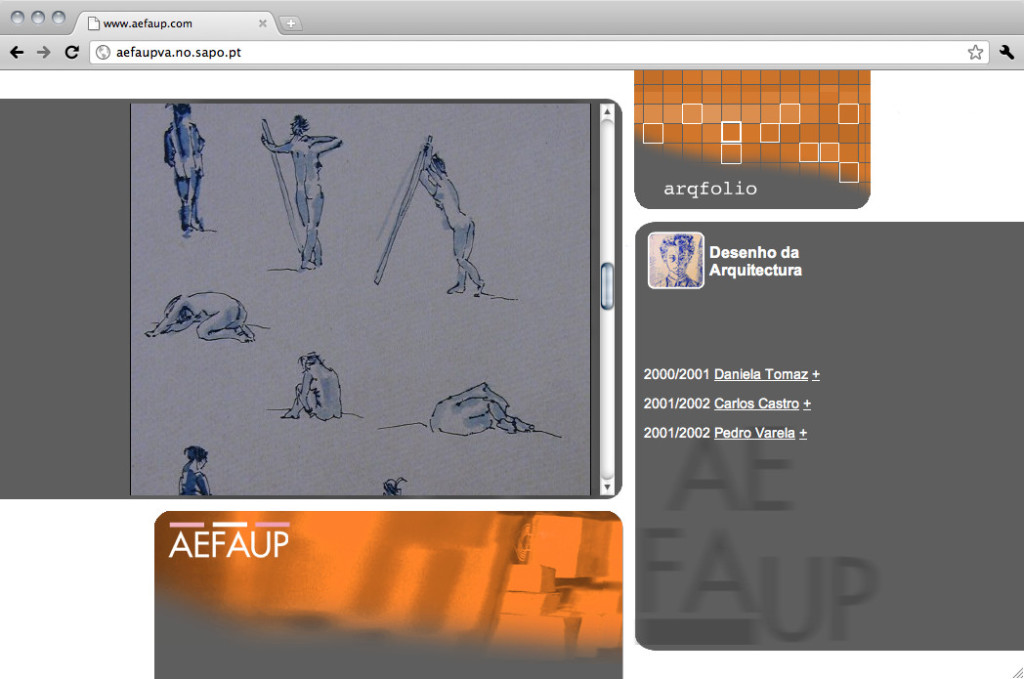
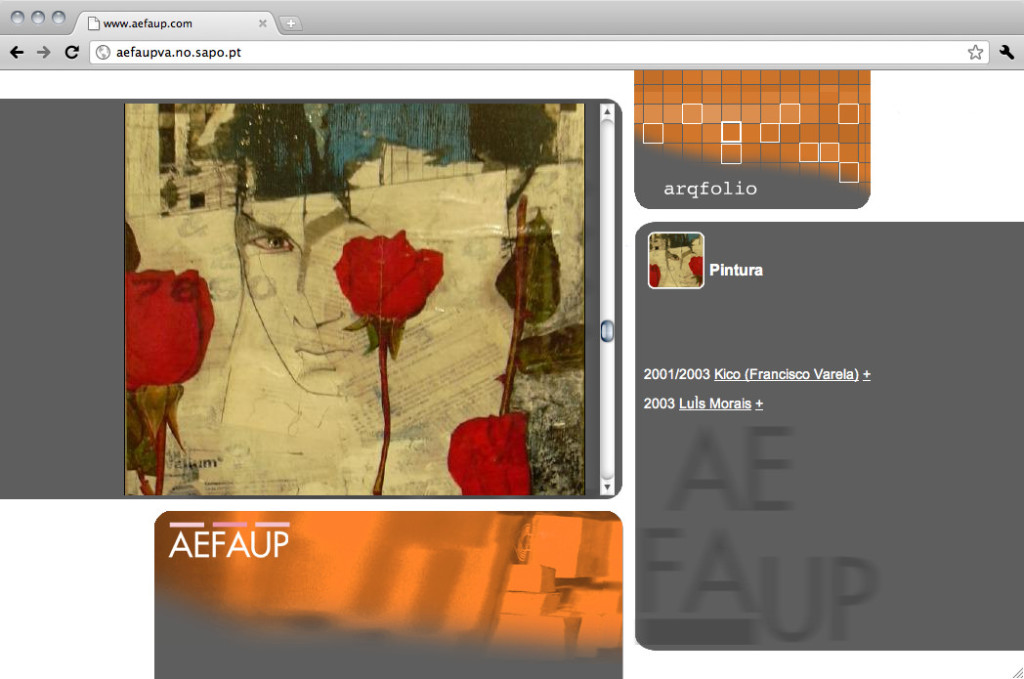
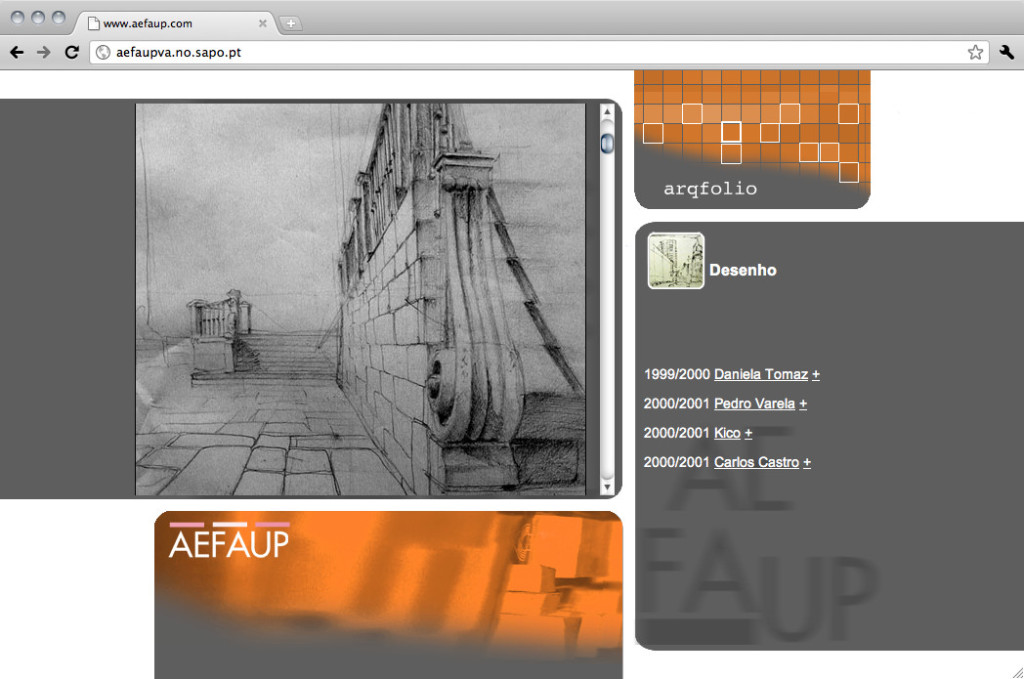
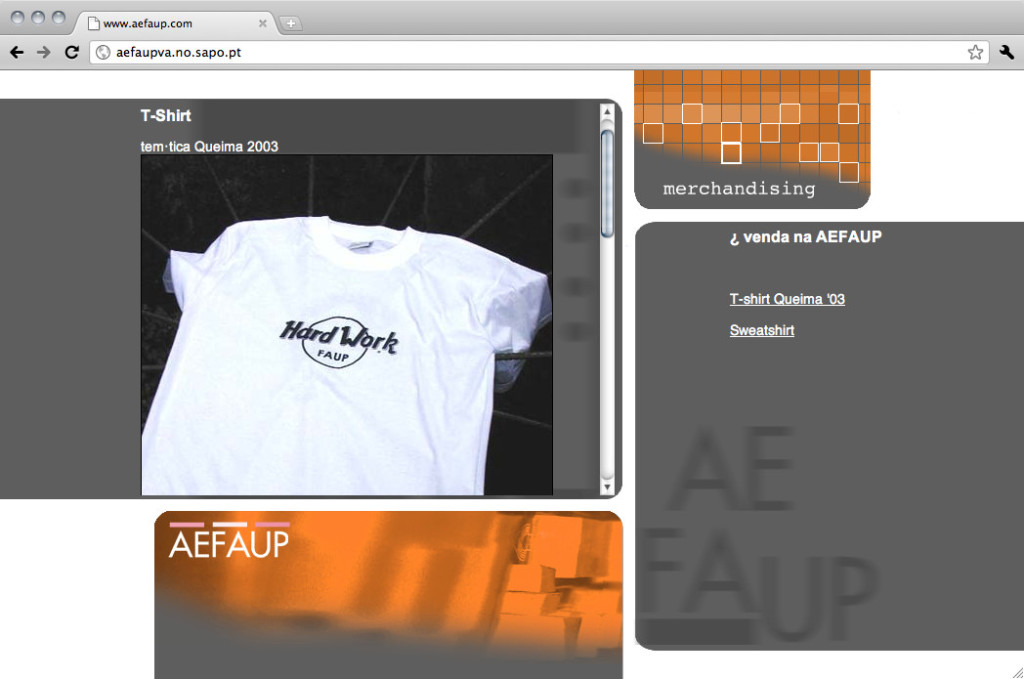
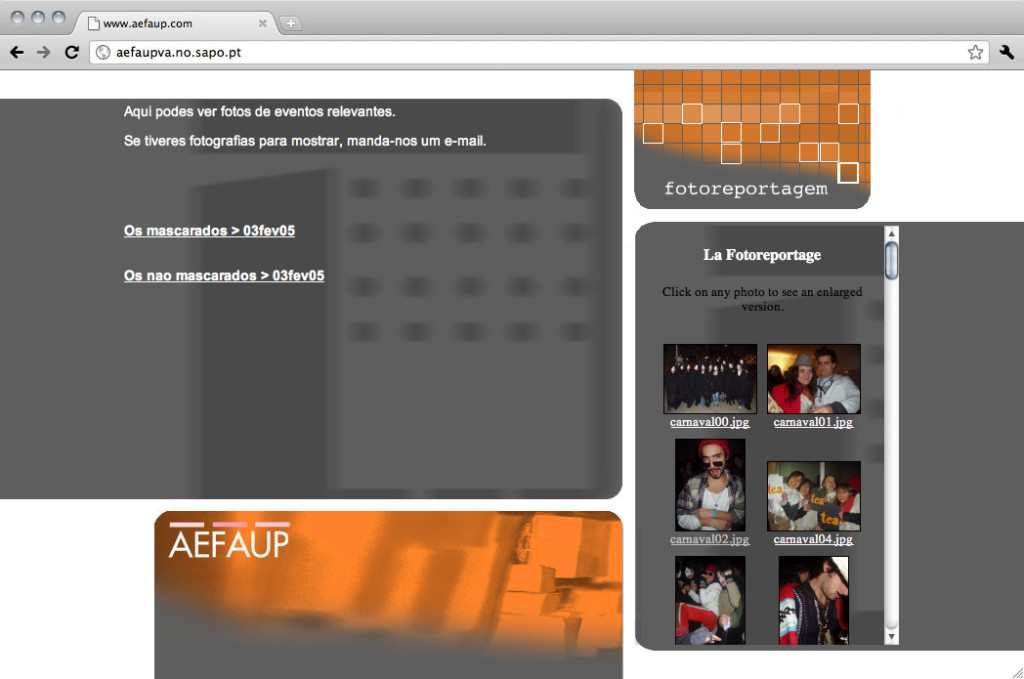
This was the AEFAUP – Faculty of Architecture of the University of Porto Student’s Association – website from ~2002 to ~2005. Its main features were a public forum, students online portfolio – dubbed arqfolio – and photo albums of the school’s events. Much of these features are now part of the social network paradigm.
AZVA
This is a bit of a recursive gallery. We didn’t want to neglect our own website, as it is also one of our designs.
The estabilished design priority in this website is the absence is of graphic helpers: all is done with type and the proportions between the parts.
AZVAvisuals is hiring a webdesigner
AZVAvisuals is now hiring a webdesigner in the Porto area, with experience in WordPress, PHP and jQuery.
Immediate availability required.
Contact azva@azvavisuals.com for more info.

HDR IBL in Blender Cycles
HDR (High Dynamic Range) IBL (Image Based Lighting) is a technique in which we use a texture to map the world (celestial sphere or sky dome) and, besides giving us a diffuse channel, it also emits light according to the texture itself. This produces very interesting and accurated results including shadows, most noticeable with cloudy or heterogeneous skies. Here, we used a free HDR by Peter Guthrie (www.peterguthrie.net/freesky2013) to illuminate this scene. The square frame have a semi-black transparent material so that the full range of color can be seen.
Download the .blend file here: cyclesHDR.blend

BSDF fun. All the shaders in blender 2.69
While working in a project we were like: “what was that shader that while being transparent, you can put some roughness into it…?” And thus the big list of shaders was born. So that you have a visual reference when looking for the right node to use into your material editor.

Xmas presents – Glowing Snowflakes Tutorial
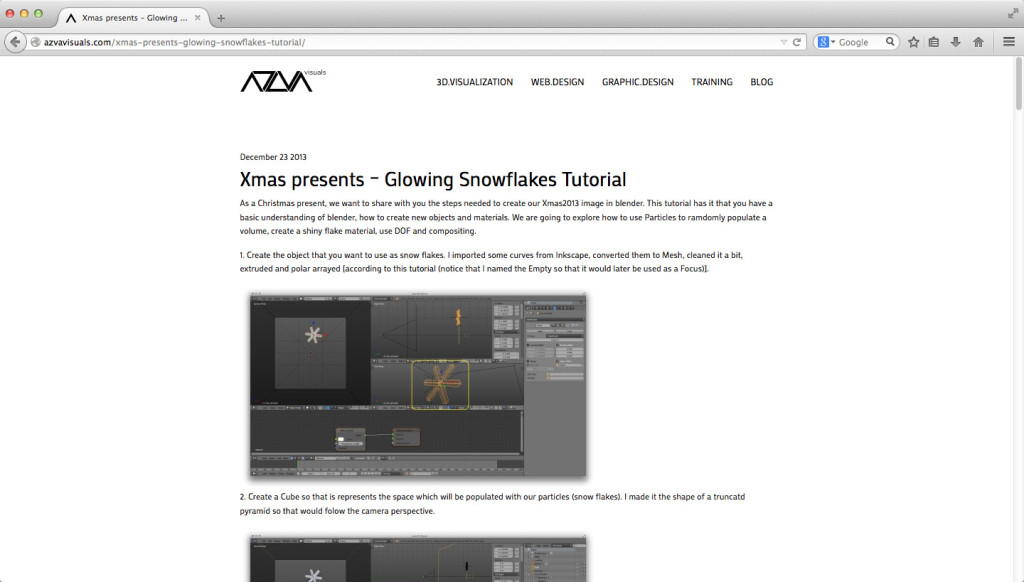
As a Christmas present, we want to share with you the steps needed to create our Xmas2013 image in blender. This tutorial has it that you have a basic understanding of blender, how to create new objects and materials. We are going to explore how to use Particles to ramdomly populate a volume, create a shiny flake material, use DOF and compositing.
1. Create the object that you want to use as snow flakes. I imported some curves from Inkscape, converted them to Mesh, cleaned it a bit, extruded and polar arrayed [according to this tutorial (notice that I named the Empty so that it would later be used as a Focus)].

2. Create a Cube so that is represents the space which will be populated with our particles (snow flakes). I made it the shape of a truncatd pyramid so that would folow the camera perspective.

3. Create the particle system. I highlighted all the necessary steps, but I would like ot explain some of them. This system was created for animation, so it is normal to consider particles being created and moving around: that is way we have controls for Start frame and End frame. As we are creating a still image, we set these both to 1 and be sure to set your blender frame to 1 as well. [Emit From: Volume] makes it possible for the particles to be created inside the cube; otherwise, these would only be created on its surface.

4. Render and watch the effect. This is clearly a daylight, and we want to change that.

5. Change the World material to suit a more nightly effect. Notice that our flakes are lost in the night darkness. We will make them emit light.

6. Create the Emission material following the node setup in the image. These now glow in the night.

7. Create some DOF (Depth of Field) following the settings in the Camera tab.

8. Now its time for some compositing. This is the image before compositing. I will be moving the Viewer node to the right for you to grasp the effect of each node.

9. Color Correction: I made the Highlights and Midtones a bit more yellowish

10. Lens Distortion: This makes it possible to add Chromatic Aberration

11. Blur: We use this to creat the glowing effect

12. Color Mix, Add: We are now adding the glowing blur to the original image

13. Glare: This node creates some nive lens flare effects

14. Color Mix, Mix: We are now missing the Glare with our previous image

15. Ellipse Mask: This will be the gene of our vignette

16. Blur: By blurring the ellipse, we get a nice mask to Multiply our image and create the vignetting effect

17. Color Mix, Mulitply: Final image! Don’t forget to add a Composite node. Then, head over to a UV/Image Editor, change to Viewer Node and hit F3.

Merry Christmas!!!

Emit direction
We were in need of emiting light from a plane in only one direction, so that the back of it would remain in darkness. After googling a bit, we came up with this material definition.


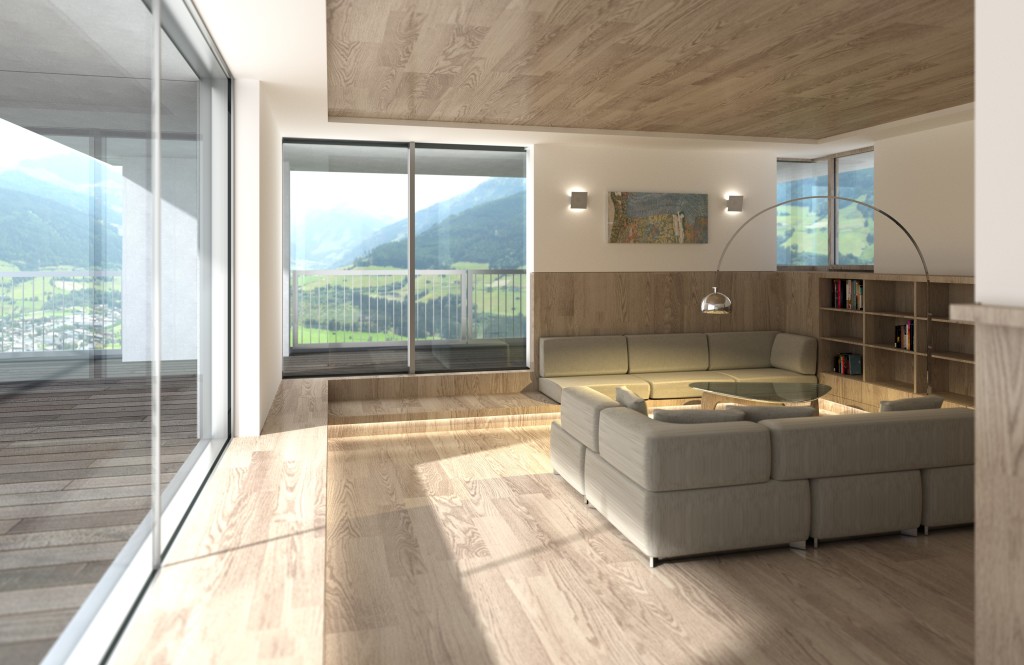
Loft M&B

Image developed by AZVAvisuals.
Architecture by Rui Pitta-Groz.
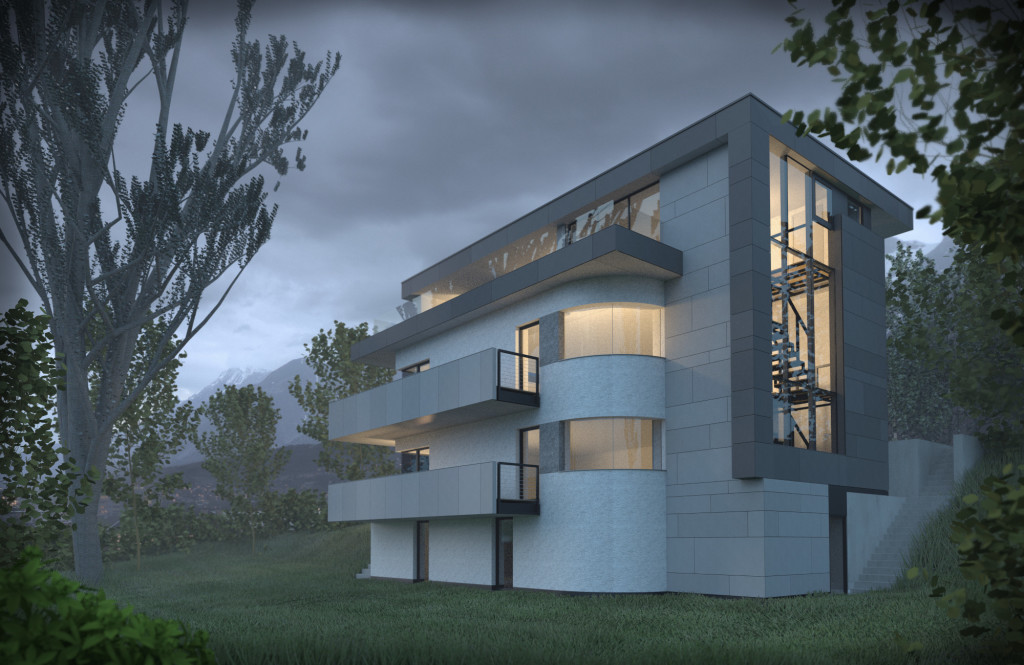
House MD

Image developed by AZVAvisuals.
Architecture by Rui Pitta-Groz.
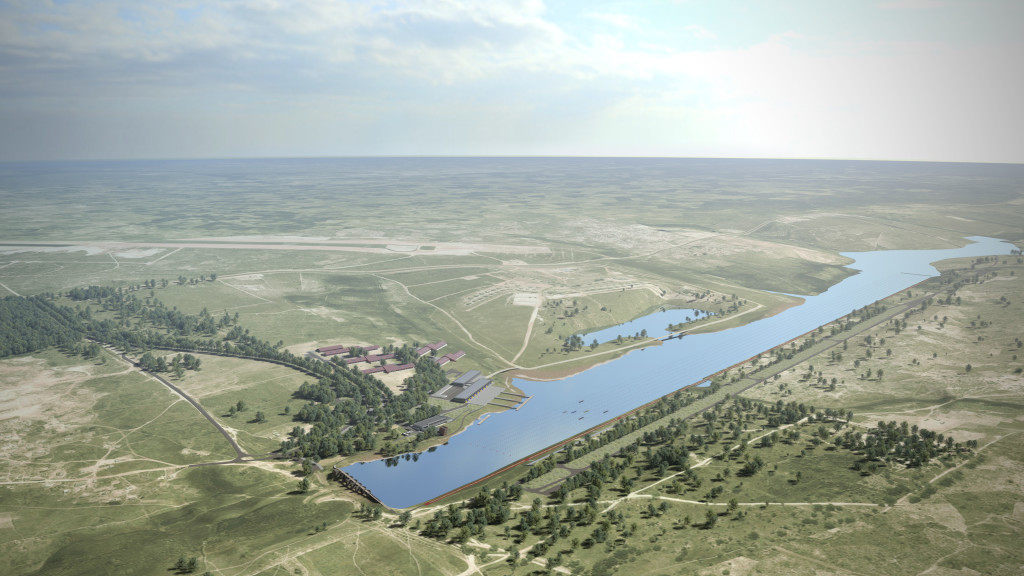
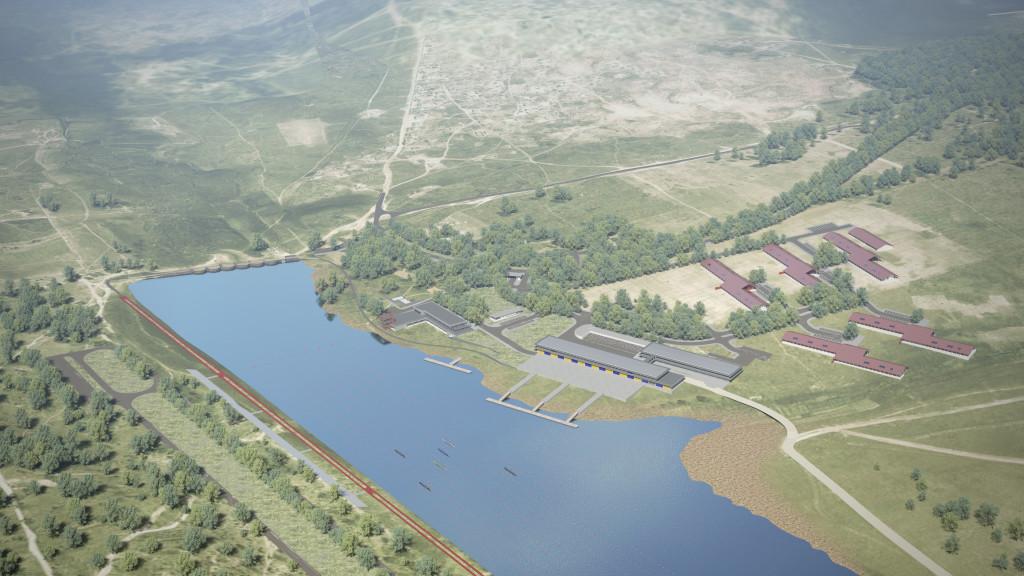
Menongue International Rowing Centre


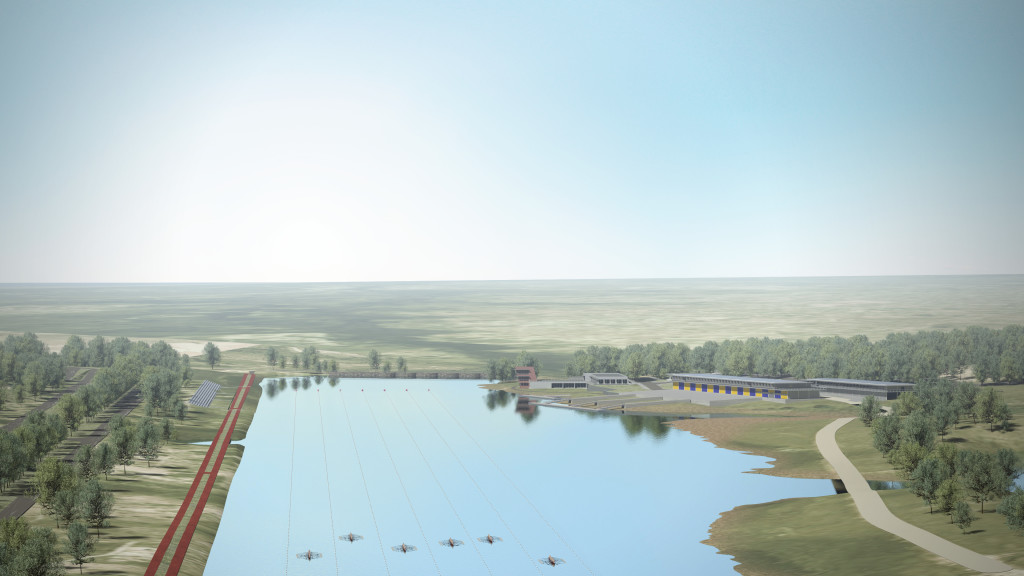
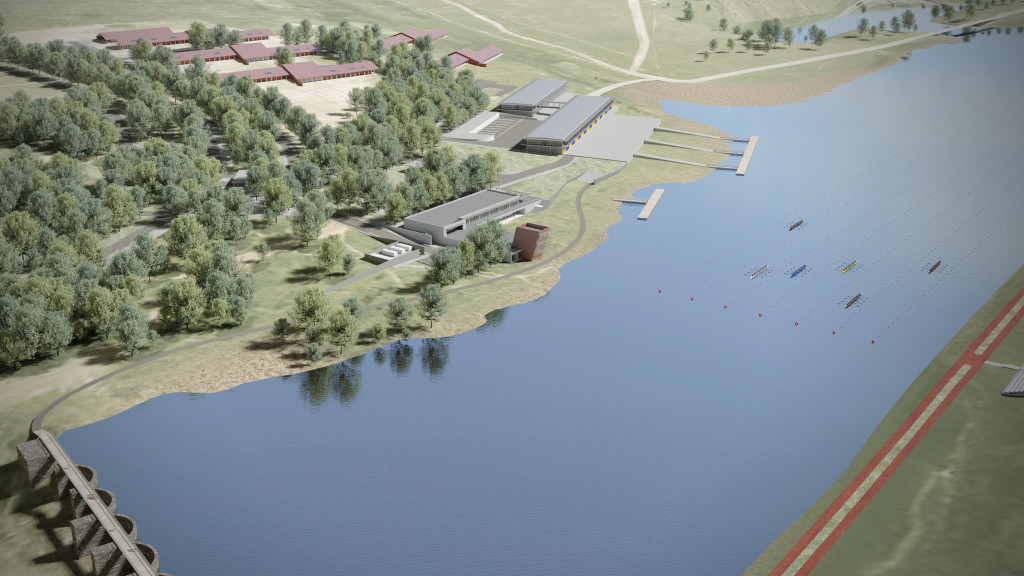
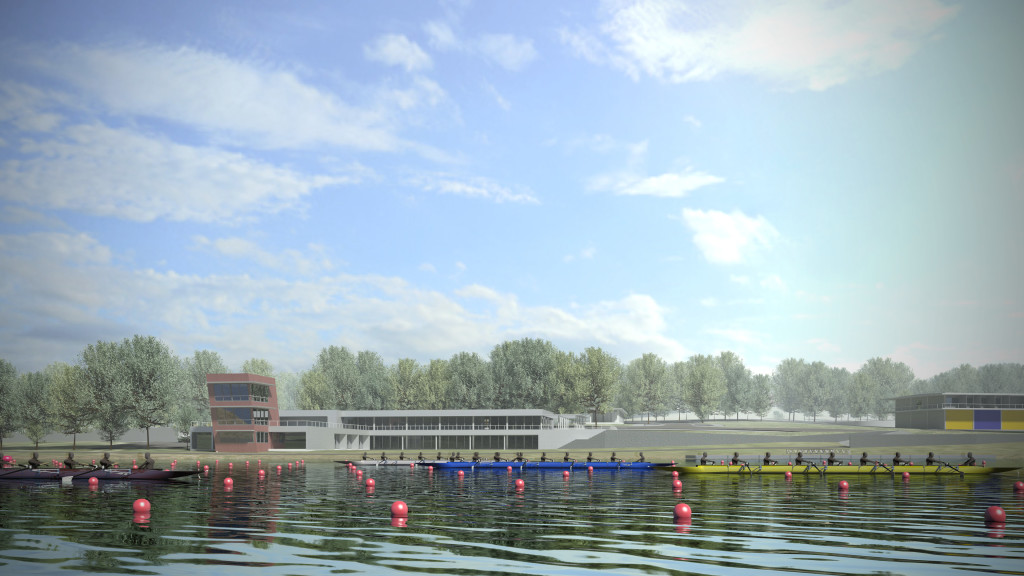
Images developed by AZVAvisuals for the Menongue International Rowing Centre. We used interesting techniques in these images. Trees were placed as particles in mesh points, following this tip from BlenderMama. Streets and other pavements were modelled with the Shrinkwrap Modifier; some attention must be given to remeshing and retopology as these modifiers are dependent on discrete geometry.
Architecture by RUI LIMA MARTINS, Arquitectura
Client: Provincial Government of Kuando Kubango
Haus M

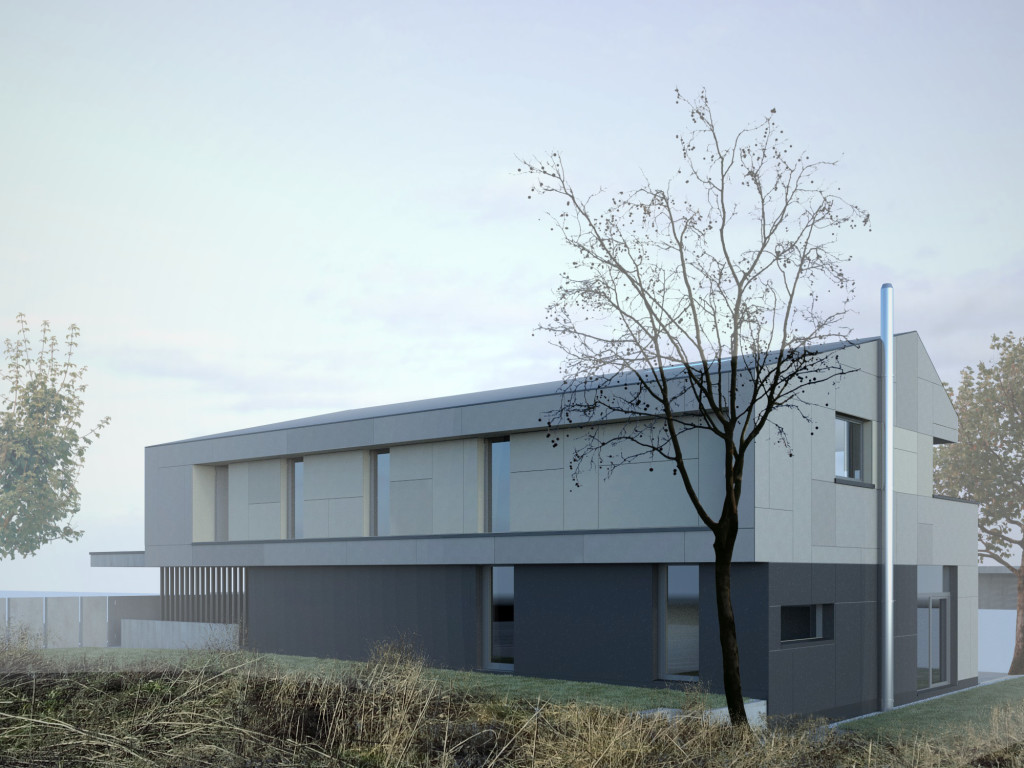
This house was modelled and rendered with Blender Cycles. We also used Gimp for post-processing.
Architecture by PG.
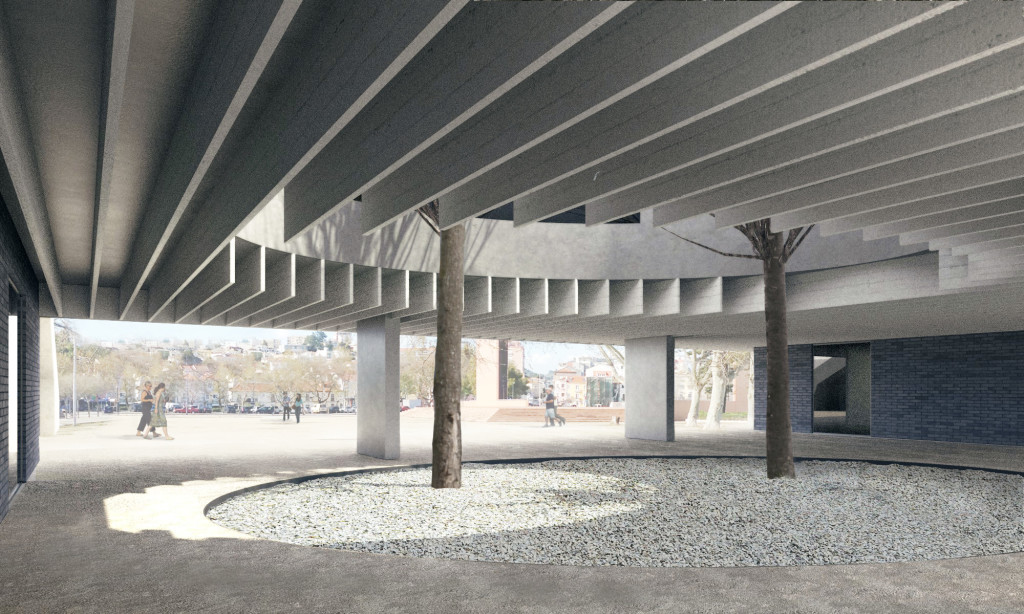
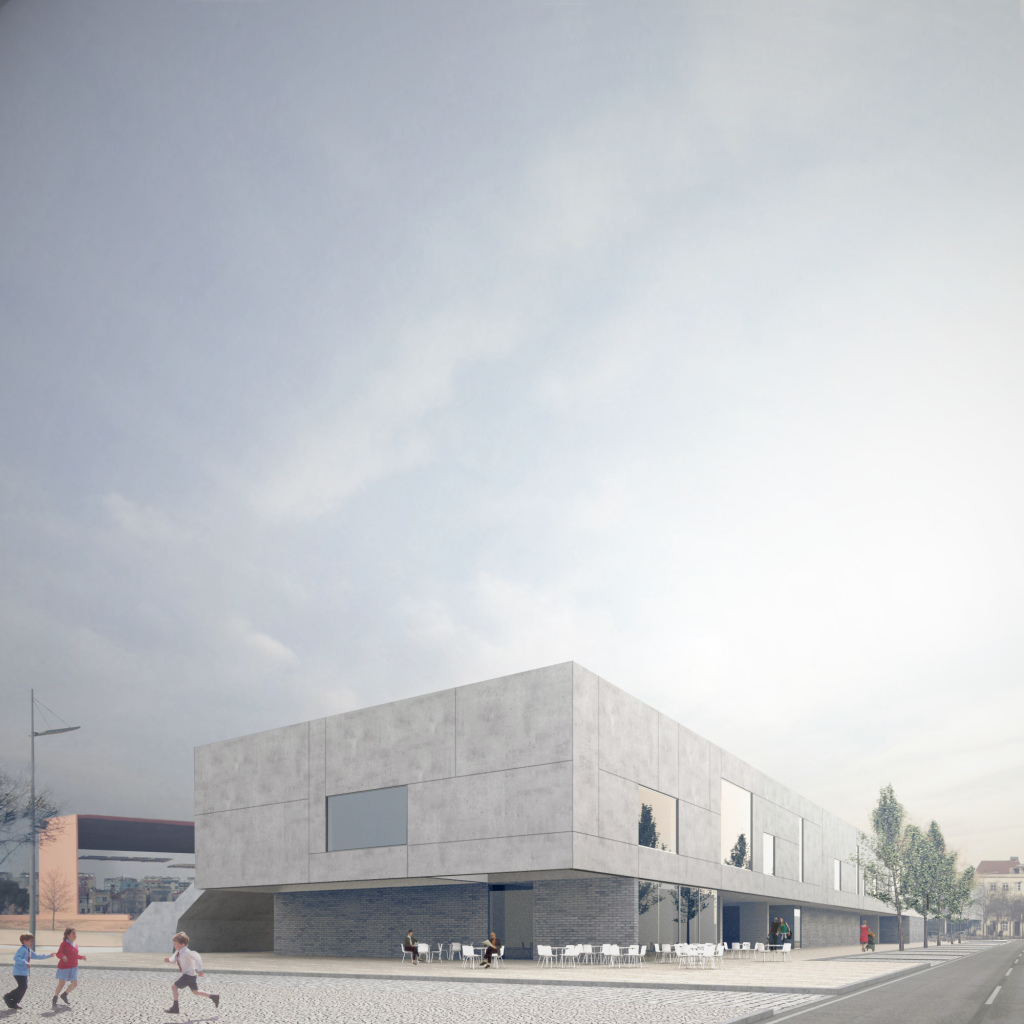
Setúbal Public Library Competition – Visualizations

Images developed by AZVAvisuals for paulasantos l arquitectura. This project, Setúbal Public Library Competition, was worked in Blender and rendered in Cycles, and lots of post-production in Gimp. We used the Tree Sapling add-on for some of the trees, and the excellent book collection by irokrhus.
Using fresnel shading in blender

It might be hard to find where to use fresnel angle calculation. This is the angle forme between the vision ray and the surface normal. It is useful to simulate the reflection of many surfaces. When we are near a water pool, for example, we can see the pool bottom if we look downwards, but farther away we can only see reflections. The same happens with glass in architecture. With the image above, it should be easier to understand how to use this effect. Use the “Blend” factor in the “Layer Weight” node to control Fresnel force.
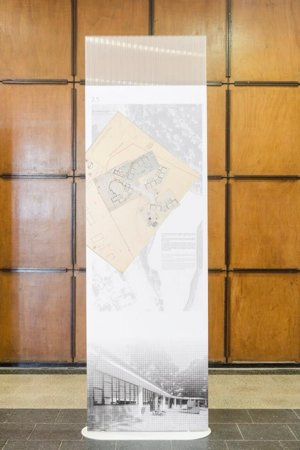
Graphic design for the École Française exhibition


We are proud to have designed this exposition within and about such a fine building by Manuel Marques de Aguiar, Luíz Cunha and Carlos Carvalho Dias: École Française in Porto. It was also our first experiment with Scribus, an open-source desktop publishing application.
We will soon post more photographs by Carlos Castro.
Panels, flyer and invitation graphic design: AZVAvisuals
Exposition organization: Marta Aguiar
Photographs: Carlos Castro
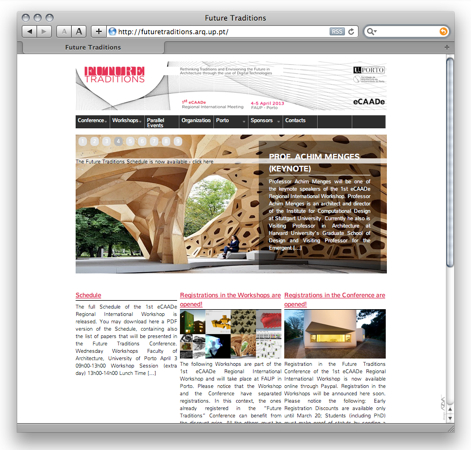
Future Traditions website and graphic design


AZVAvisuals is very proud to have sponsored the CEAAD’s Future Traditions regional international meeting through the design and implementation of its website http://futuretraditions.arq.up.pt/. We also were responsible for the brand and logo design.
Opensource Visualization Workshop

Within the 4000 Ateliers event, AZVAvisuals is organizing, together with Espaço2D, its first workshop focused in architecture visualization. Following some of our works developed with Blender, this will be the software used in the workshop, having open source software as its theme. The main objective will be the introduction to this software, and the output will be images in which the participants will have experimented with light, materials and shape. The final works will be shown during the afternoon, on 4000 Ateliers schedule. For more informations go to https://azvavisuals.com/workshop1305/. Por ocasião do evento 4000 Ateliers, a AZVAvisuals juntamente com o Espaço2D organiza o seu primeiro workshop focado na visualização de arquitectura. No seguimento dos trabalhos desenvolvidos no âmbito profissional, o software usado será o Blender, uma ferramenta opensource de animação 3D, com características semelhantes ao 3ds Max, ou Maya. O objectivo do workshop é a introdução ao Blender, tendo como resultado final a produção de imagens personalizadas em que os participantes poderão controlar a luz, materiais e forma. Os resultados serão impressos e serão expostos no Espaço2D durante o evento 4000 Ateliers. Para mais informações: https://azvavisuals.com/workshop1305/
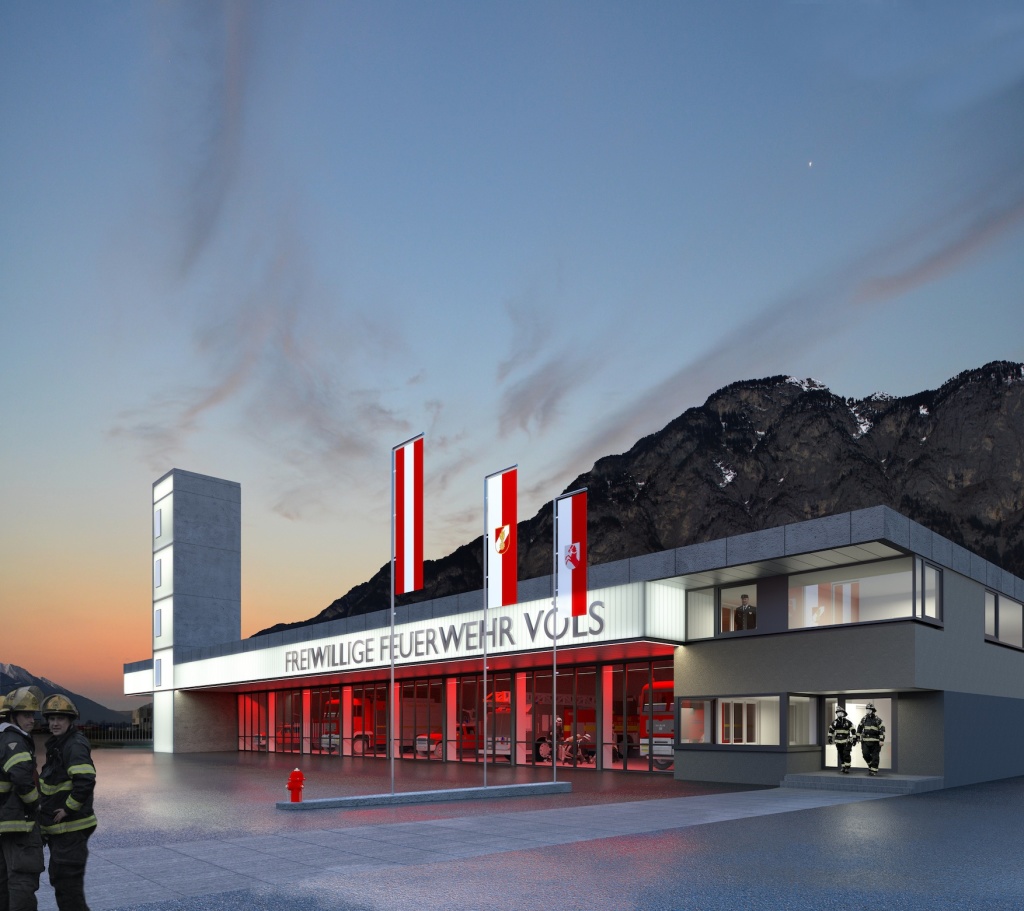
FEUERWEHR UND KATASTROPHENSCHUTZZENTRUM VÖLS

Architecture: Schwaighofer + Partner ZT GmbH
Execution project/Costs calculation: Swietelsky Baugesellschaft m.b.H., A.S.T Bau Ges.mb.H.
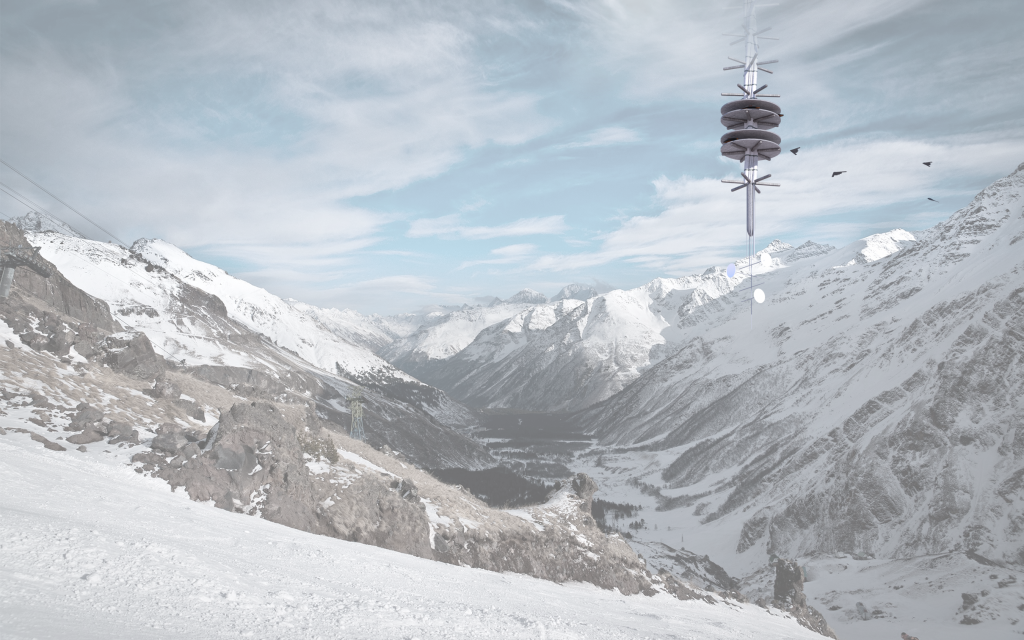
384400 – eVolo Skyscraper Competition

Images developed by AZVAvisuals for the 2013 eVolo Skyscraper Competition entry by architects Pedro Varela and Simão Pedro
Update geometry in blender
When re-importing an OBJ into blender, there is no material replacement. Blender won’t assume either the materials in the .blend nor the ones in the .obj . So what does it do? It creates duplicates in the form of materialname.001 . BlenderArtists.org forum user Alain has devised a clever modified OBJ import Add-on to circumvent this problem. It was posted originally in BlenderArtists.org forums here, but for the sake of being sure this precious file doesn’t disappear from the face of the internet, we are keeping a copy in our very own blog. Get it here.
Material variation
We tend to use open source software as much as possible, and blender fills the gap perfectly. However, it is quite usual that proprietary software is sometimes ahead of open source in terms of functionality. But it always comes to a moment when these projects catch on and reward us by our persistence. This is the case for randomly assigning materials to achieve easily natural effects found in nature. Tamir Lousky was kind enough to release Random Face Material Assigner, an add-on that does just this. We will surely use this add-on in future renderings!

Force randomness with components

While browsing some feeds, I came across this post by Tuğrul Yazar at DesignCoding, which gives some solutions to force randomness in Grasshopper through the use of scripting. This reminded me of a solution I created some weeks ago. For native components purists out there, here is a definition which uses no script at all.
Merry Christmas from AZVAvisuals

We want to thank all our friends and clients who supported the birth and development of this brand. A warm hug to all of you out there!
Pedro de Azambuja Varela
Website created for José Campos

We are very happy to finally make this work known to the general public. It has been some intensive months, but the result is much to our liking.
We were approached by José Campos with one aim: create a fully-fledged online backoffice so that his team could easily upload and maintain content on a personalized website. We were asked to start from a previous design by José Campos, and from there on, it has been WordPress and PHP all the way.

An intricate system of inter-connection between photography pages and related publishing counterparts are one of the features fo this project.
Other part of the site we full proud of is the Publications overview grid. Head over there and try hovering the covers. Only CSS3 was used to obtain this effect. All the content is database driven; this means that once a publication is inserted onto the site, it shows up everywhere it is related to.
The slideshow for each photographic project was also highly tweaked, but we will leave that to subsequent posts.
In the meanwhile, head over to http://www.josecamposphotography.com/ and take a look at out work while you enjoy beautiful architecture photographs.
Tips for a faster Blender Cycles rendering
This one comes from Andrew Price’s Blender Guru website. In case you’ve been living in some other Universe, you use or at least have heard of Cycles. On of its less good features is the time is takes for some simple renderings.
So, get the information right from its source, but I’ll post here the main topics either way:
Switch to GPU rendering
Reduce Bounces
Change Tile Size
Reduce Samples
The one tip I wasn’t totally aware yet is the “Change Tile Size”. Never thought it could have so much impact.
Blender batch rendering

This amazing (not so) little software never stops to impress us with its thriving community. This time, Nelson Fritsch has developed a Mac OS X software called bBatch, which deals with batch rendering in blender. Get it here.

Access PHP variable from anywhere
Sometimes you need to transport the value of a variable from one page to another. In order to save using the SQL, you can simply write it out in a file, and fetch from it again. This is a simple strategy that came in handy on a recent project (more details soon).
So, here is the code:
[sourcecode language="html"]

< ?php

include 'vars_in_file.php';

//The "include" prints at its location is written in the file vars_in_file.php

$my_var++;

//Do something to your variable

$var_str = var_export($my_var, true);

//The command var_export outputs or returns a parsable string representation of a variable

$var = "";

//Here we write what we want to be the content of the file vars_in_file.php

file_put_contents('vars_in_file.php', $var);

//Finally write to file. Ready to be called again at a later time.

? >

[/sourcecode]
Building in Rennweg, Vienna
This work was comissioned by Archoffice from Vienna. One of the key points of these images was to show the relationship between the existing garden, new building and street.
These visualizations were developed with Blender using a model created by the architects with Revit. We used Yafaray in one of the images, and the amazing Cycles engine in the other one. Can you guess which is which?
Sapling was used once again, as well as Particles to generate grass and ivy. Some of the pre-existing buildings were textured using UV Mapping and UV Unwrap.

Full images can be seen in the 3d.visualizations area, here.
Row housing in Parada de Todeia
We have uploaded a new work to the 3D.Visualization section. This image was produced with blender, yafaray and gimp. We used blender to import the 3d model and create custom trees using the excellent Sapling add-on. The image was rendered with yafary and all the post-processing (colors, background and people) was done with gimp. You can check out the full image here.

Minutes – a Mac OSX dashboard widget
The Dashboard has had its better days. In Mac OS Tiger it was full of promises, and all sorts of widgets arose. Too many, in fact.
But one has always sticked to my heart: Minutes. It still is, today, my favourite way of setting a quick timer/alarm while in the computer. For some reason, the developer’s page is not working anymore, making the Apple Downloads link useless.
This is my way of showing tribute to “Company: Nitram+Nunca” which seems to not exist anymore. So I grabbed my archived copy of Minutes and distribute it freely in AZVA’s blog.

Non-Photorealistic
While browsing the web, it came to our attention these images. Published in ArchDaily’s Fishing Boat Harbor and ‘River’ of Liopetri / Various Architects entry , the project was designed by Iereidis Vasilis, Michael Aimilios, Zomas Alexandros, Mitakou Eleni, Raisi Alexia, Hatzopoulos Dimitris, Fanou Paraskevi, and Lada Anastasia … so we can’t really tell who is responsible for the images.
But we do like the approach. The sky is very interesting as well as some of the compositions.


HTML5 elements in old Internet Explorer
I came across this issue while noticing a < header > element was being rendered in IE8 as a block element. After a quick search, I found this page which gives a quick and clean solution.
Basically, the idea is to create through javascript the HTML5 elements, give them block positioning and finally top all this with a conditional < !--[if lt IE 9] >.
I implemented their final piece of code:
[sourcecode language=”html”]
< !-- Pulled from http://code.google.com/p/html5shiv/ -->
< !--[if lt IE 9]>
< script src="//html5shim.googlecode.com/svn/trunk/html5.js">
< ![endif]-->
[/sourcecode]
and it worked like a charm!
José Campos Photography – Logo and Business Card


Vertically and Horizontally align
I really wanted to use pure CSS to make this happen, but after some hours investigating, I resorted to Javascript (in the form of Jquery).
To use this code do the following:
1. Make sure that the parent element has position: relative or absolute.
2. Give the target image the class “supercenter”
3. Paste this code in your js file or inside a script tag:
[sourcecode language="javascript"]

$(document).ready(function() {

    $("img.supercenter").each(function(){

        var parent_height = $(this).parent().height();

        var parent_width = $(this).parent().width();

        var image_height = $(this).height();

        var image_width = $(this).width();

        var top_margin = (image_height)/-2;

        var left_margin = (image_width)/-2;

        $(this).css( 'margin-top' , top_margin);

        $(this).css( 'margin-left' , left_margin);

        $(this).css( 'left' , '50%');

        $(this).css( 'top' , '50%');

        $(this).css( 'position' , 'absolute');

    });

});

[/sourcecode]
Use background image to align perspectives
Here is a quick tip to get an ad-hoc alignement for your photo montages. Use the photo as Background Image in the Camera viewport. Once there, it is easy to control your camera in the top and front views, so that we have a match.

AZVAvisuals logo


mag – marques de aguiar, arquitectura e urbanismo – Corporate Identity


WordPress function to retrieve first image
I needed to easily get the first image in a post. There is a native function called the_post_thumbnail(); , but it does not work in all situations. I wrote the following function in functions.php in the theme folder:
[sourcecode language="php"]

function azva_first_image($postID, $format) {

	$args = array( 	'post_type' => 'attachment',

					'order'     => 'ASC',

					'orderby' => 'menu_order',

					'numberposts' => 1,

					'post_status' => null,

					'post_parent' => $postID

				);

	$attachments = get_posts($args);

	if ($attachments) {

		foreach ( $attachments as $attachment ) {

			echo wp_get_attachment_image( $attachment->ID, $format );

		}

	}

}

[/sourcecode]
And use it by calling this code:
[sourcecode language=”html”]
ID, ‘little-square’); ?>
[/sourcecode]
Where ´little-square’ stands, you can use any of the image_size present in the same functions.php file.
Import OBJ while keeping materials
Anyone who as used Artlantis as main render engine for ArchiCAD models knows how straightforward it is to update new geometry.
The problem lies in Blender’s way of dealing with material entities. When a mesh is imported, Blender change it’s material name to “material.001” in case there is already a “material” in the scene, so nothing gets overwritten.
Blender Artist’s forum user Alain has modified the native OBJ importer script so it has an option for imported mesh’s to adopt existing materials. This modified script was posted in this forum thread, and you can download directly the modified script from here.
After downloading, you have to replace the folder of the same name inside Blender’s folder / package.

AZVAvisuals website launch party – Photos
The party was a success. We want to thank all the friends that supported us in this venture. There was even a delicious personalized chocolate cake with our logo on it!
If you feel like commenting, feel free to do so in our facebook photo album.
Photos by Diogo Assunção.
AZVAvisuals website launch party
Finally the footage arrived! We edited this video for all of you that couldn’t come to the party. Photos will come soon.
The video was originally posted in our facebook page.
Better Blender defaults
Blender is known for its lack of begginer’s user-friendliness. There are some settings you can change which well documented in Blair Willems’ blog, in this post.
I have some additional tips which I use myself, which can be taken as extensions to this great tip by Blair Willems.
Change default mouse button for selecting elements:

Emulate numeric keypad (useful for laptops):

Translation to Portuguese
The technical needs have been overcome. We still have to localize all the texts to portuguese, but it should be ready for launch day.
hello, world
At AZVA, we tend to like computers. As such, our first post wouldn’t be complete without the classic “hello, world“.

We hope to bring you various degrees of information regarding the technologies we use to keep AZVA running: 3D modelling software, 2D design software, webpage design coding languages and all that comes into our mind as being interesting to our readers.
This blog is also home of AZVA news and noteworthy informations.
See you soon.